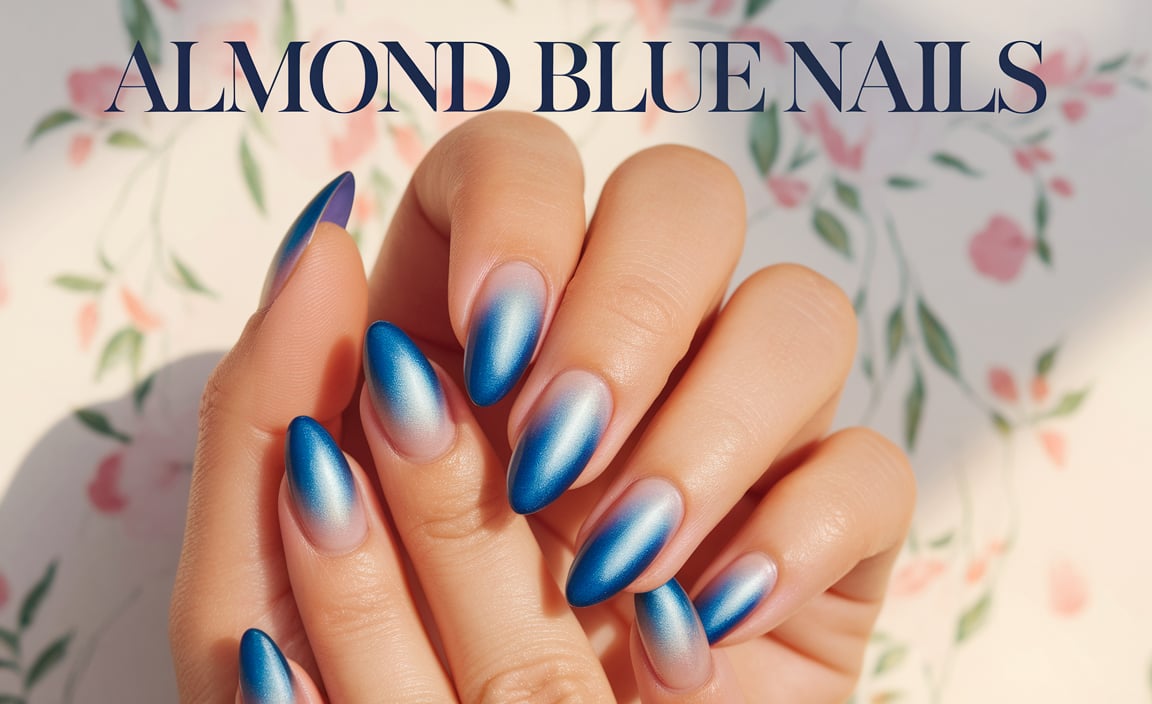
Shell nail designs are a super chic and surprisingly simple way to add a touch of ethereal beauty to your fingertips. Perfect for beginners, these designs mimic the iridescent shimmer of natural shells with easy techniques, making them an effortless yet eye-catching manicure trend.
Ever looked at your nails and wished for a little something extra? Something that feels special, a bit magical, but doesn’t require hours of practice? If you’re dreaming of nails that sparkle like the ocean’s treasures but think intricate nail art is out of reach, you’re in the right place! We’re diving into the world of shell nail designs – a trend that’s as gorgeous as it is achievable. Forget complicated steps; we’re making this as easy as a day at the beach. Get ready to transform your nails into tiny works of art with simple tricks that even absolute beginners can master. Let’s make your nails shine!
What Exactly Are Shell Nail Designs?
Shell nail designs are manicures inspired by the pearly, iridescent beauty found in seashells. Think soft, shimmering colors, layered textures, and that mesmerizing opalescent glow that catches the light. The “shell” effect is often created using special nail foils, pigments, or even layered polishes to mimic the natural patterns and sheen of abalone, mother-of-pearl, or other sea treasures. These designs can range from subtle hints of shimmer to full-blown, eye-catching oceanic vibes, making them incredibly versatile.
Why You’ll Love Shell Nail Designs (Especially as a Beginner!)
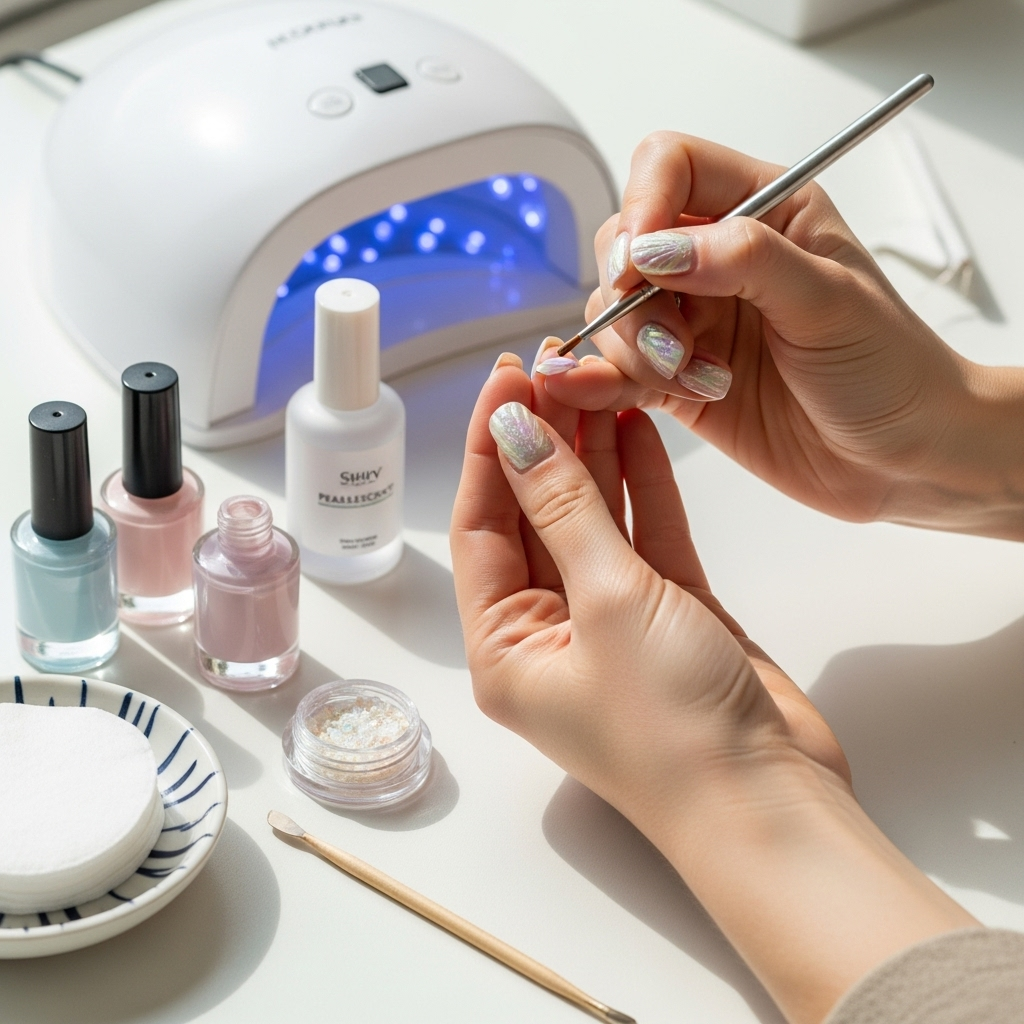
Shell nail designs are a dream for beginners for many reasons:
- Simplicity is Key: The techniques used are surprisingly straightforward. You don’t need a steady hand for tiny brushstrokes or complex layering.
- High Impact, Low Effort: These designs look incredibly intricate and professional, but they can be achieved with minimal effort and practice.
- Versatility Galore: Whether you prefer a minimalist accent nail or a full shimmering set, shell designs can be adapted to your style.
- Stunning Visuals: The natural iridescence and shimmer are universally appealing and can elevate any outfit.
- Forgiving Techniques: Some methods, like using foils, are very forgiving. If it’s not perfect the first time, it often still looks wonderfully unique.
Essential Tools for Your Shell Nail Design Journey
To get started with your shell nail adventure, you’ll need a few key items. Don’t worry, they are all readily available and easy to get the hang of!
Here’s a quick rundown of what you’ll want to have on hand:
- Base Coat: To protect your natural nails and help your polish adhere better.
- Top Coat: To seal your design, add shine, and make your manicure last longer.
- Nail Polish Colors: Choose a base color (white, cream, nude, or light pastel shades work great) and accent colors that evoke the sea.
- Shell Nail Foils: These are perhaps the easiest way to get the iconic shell look. They come in sheets with iridescent patterns and transfer onto the nail.
- Methyl Ethyl Ketone Solution (MEK) or Foil Glue: This is what helps the foil stick to your nails. MEK is often available at hardware stores, but specialized nail foil glue is also a great option. For safety guidelines on handling solvents, always refer to manufacturer instructions and consider adequate ventilation. The National Institute for Occupational Safety and Health (NIOSH) provides valuable resources on solvent safety.
- Tweezers or Cuticle Pusher: For placing and pressing the foil onto the nail.
- Optional: Iridescent Pigment Powders (Chrome Powders): These can be rubbed onto a tacky surface for a beautiful, luminous shimmer.
- Optional: Dotting Tools or Small Brushes: For adding subtle details or creating more intricate patterns if you feel adventurous after mastering the basics.
Genius Technique 1: The Foil Transfer Method
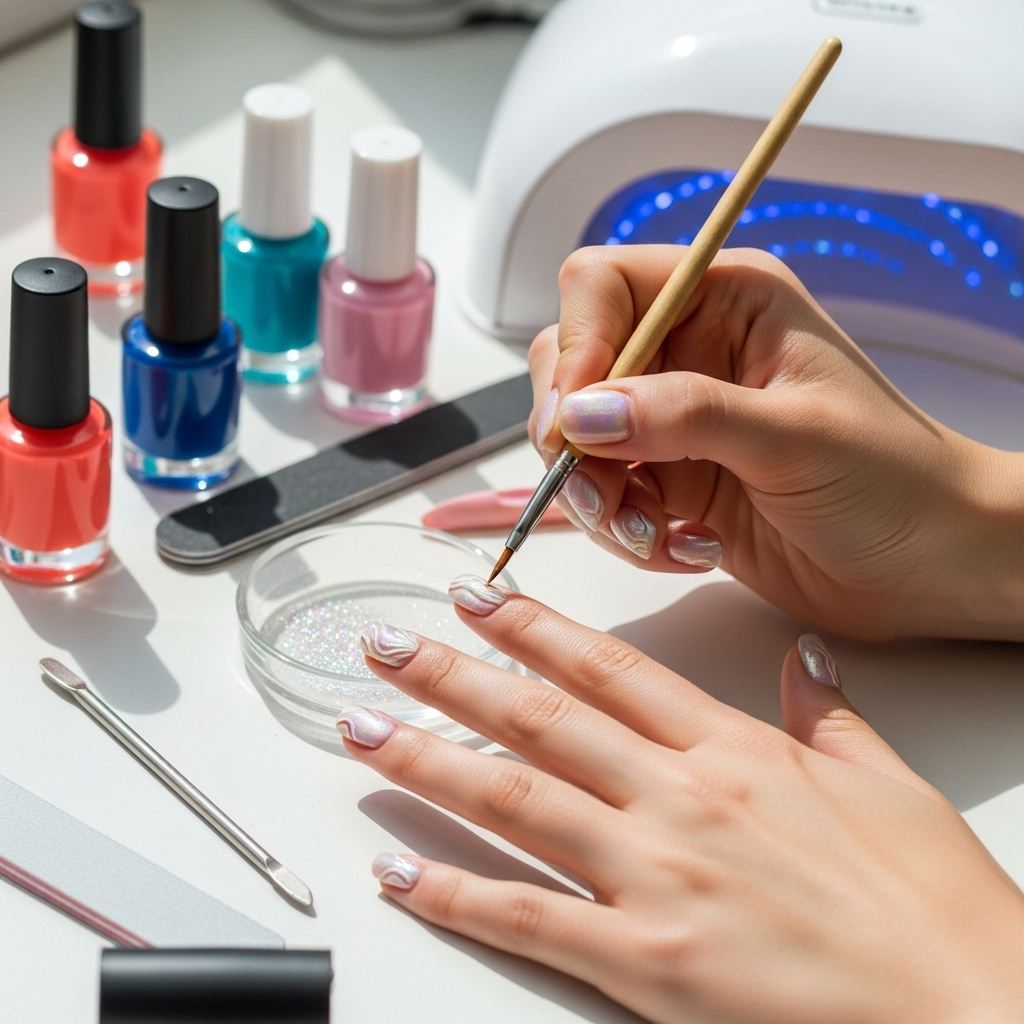
This is the most popular and beginner-friendly way to achieve stunning shell nail designs. It’s all about using special transfer foils that create an instant iridescent effect.
Step-by-Step Guide to Foil Shell Nails
Let’s get those gorgeous shell-inspired nails!
- Prep Your Nails: Start with clean, dry nails. Push back your cuticles and gently buff the surface. Apply a layer of your chosen base coat and let it dry completely.
- Apply Your Base Polish: Paint your nails with your desired base color. A solid, light color like white, cream, or very pale pink helps the foil’s iridescence pop. Let this polish dry until it’s slightly tacky, but not fully cured. A good test is to lightly touch it with the tip of your finger; it should feel sticky but not transfer color.
- Apply Foil Glue or MEK: Carefully apply a thin, even layer of your foil glue or MEK solution over the base polish. Ensure you cover the entire nail where you want the foil to adhere. Let it dry to a clear, tacky finish. This is crucial – if it’s too wet, the foil will smudge; if it’s too dry, it won’t stick.
- Transfer the Foil: Cut a piece of your shell nail foil slightly larger than your nail. Place the shiny side of the foil (the design side) onto your tacky glue. Gently press down, using a cuticle pusher or your fingertip, to ensure full contact.
- Peel Off the Foil: With a quick, decisive motion, peel off the foil. The iridescent design should transfer beautifully onto your nail! If some areas didn’t transfer, don’t worry. You can reapply glue to those spots and try again, or embrace the slightly imperfect, marbled look – it often adds to the natural seashell beauty.
- Seal the Deal: Once you’re happy with the foil transfer on all your nails, wait a minute or two for the foil to settle. Then, apply a generous top coat. This is essential to smooth out any unevenness from the foil and lock the design in place, preventing chipping and adding that glossy shine.
It really is that simple! The result is a beautiful, shimmering effect that looks like you’ve captured a piece of a real seashell right on your fingertips.
Genius Technique 2: The Iridescent Pigment Powder Rub-On
For a more ethereal, glowing finish that feels less like a distinct pattern and more like a natural shimmer, iridescent pigment powders are your best friend.
Step-by-Step Guide to Pigment Powder Shell Nails
This method gives a softer, more diffused iridescent effect.
- Start with a Tacky Base: Apply your base coat and then your chosen color polish (white, cream, or pastels work wonderfully here too). Ensure the polish is not fully dry but has a tacky surface. You can also use a specially designed “no-wipe” gel top coat for this step if you’re using gel polish.
- Apply the Pigment Powder: Dip a silicone tool or your fingertip (if it’s not too oily) into the iridescent pigment powder. Gently rub the powder over the tacky surface of your nail. You’ll see the shimmer start to appear!
- Rub for Full Coverage: Continue rubbing in small, circular motions until you achieve the desired level of shimmer and coverage. You can focus on specific areas for a more marbled look or cover the entire nail for an all-over glow.
- Brush Away Excess: Use a soft brush (like a fluffy makeup brush or a specialized nail brush) to gently sweep away any loose powder from the nail and surrounding skin.
- Seal Your Sparkle: Apply a clear top coat to seal in the pigment powder and give your nails a gorgeous, glossy finish. For gel polish users, cure the top coat under a UV/LED lamp as usual.
This technique offers a beautiful, glass-like shimmer that’s incredibly chic and sophisticated. It’s perfect for those who love a subtler, more luminous glow.
Pro Tips for Perfect Shell Nail Designs
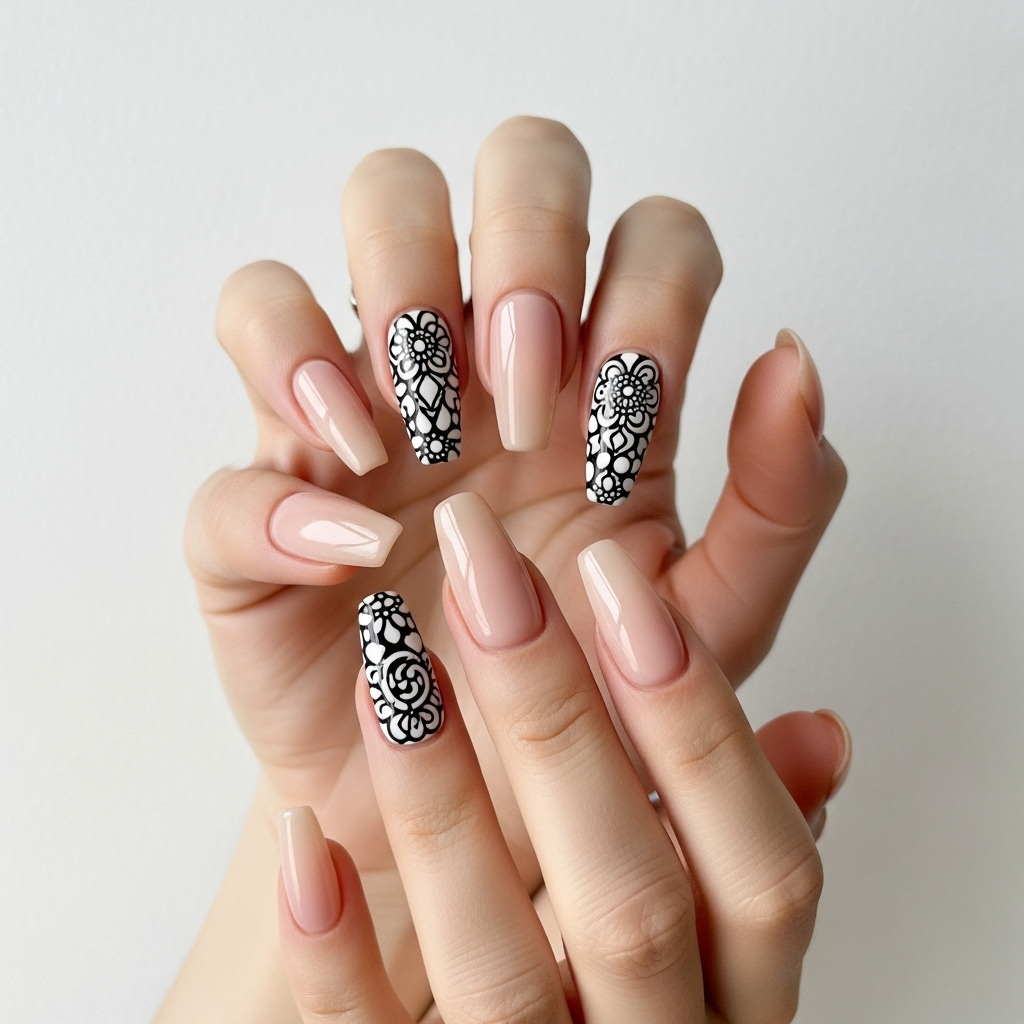
Here are a few extra tips to help you master these designs and get salon-worthy results at home:
- Cleanliness is Crucial: Always start with clean, dry nails. Oils from your skin can interfere with polish and foil adhesion.
- Patience with Drying Times: Resist the urge to rush the drying process for your base polish and foil glue. Tacky is key!
- Practice Makes Progress: Don’t be discouraged if your first attempt isn’t perfect. Keep practicing, and you’ll get the hang of it quickly.
- Experiment with Colors: Try different base colors under your foils or pigments. Sheer colors can create unique overlay effects.
- Layering for Depth: For an even more intricate look, try layering different colored foils or applying pigments over a slightly uneven base for a natural, marbled texture.
- Don’t Forget the Top Coat: This is your best friend for longevity and shine. A good quality top coat makes all the difference!
Troubleshooting Common Shell Nail Design Issues
Even the most “effortless” designs can have their hiccups. Here’s how to fix common problems:
| Problem | Solution |
|---|---|
| Foil Not Transferring Well | Ensure your base polish and foil glue are sufficiently tacky before applying the foil. Press firmly and peel quickly. For stubborn spots, reapply glue and foil, focusing on the area. |
| Foil Smudging or Patchy | This usually means the glue layer was too wet or too dry. Try to get that perfect sticky stage. Also, check if you’re pressing the foil down firmly enough across the entire nail. |
| “Cracked” or Uneven Foil Look | Sometimes, this is part of the charm, mimicking natural shell patterns! If you want it smoother, ensure your top coat is applied generously and evenly. A thicker, good-quality top coat can often smooth out minor imperfections. |
| Pigment Powder Fallout | Make sure you’re brushing away all excess powder before applying the top coat. A slightly tacky surface for the initial application helps the powder adhere better. |
| Manicure Chipping Quickly | This almost always comes down to the top coat. Ensure you cap the free edge of your nail (paint the very tip with your top coat) and apply it generously. A good quality quick-dry or gel top coat can improve durability. |
Are Shell Nail Designs Difficult for Beginners?
Absolutely not! Shell nail designs, particularly the foil transfer method, are celebrated for their beginner-friendliness. They offer a high-impact look with surprisingly simple steps that bypass the need for intricate freehand art. The foils do the heavy lifting, providing stunning iridescent patterns with just a press and peel. The pigment powder method is also very easy, requiring just a simple rub-on application. You’ll likely be amazed at how professional your nails look with minimal effort!
What Base Colors Work Best for Shell Nails?
The best base colors for shell nail designs are typically light, opaque, or semi-sheer shades that allow the iridescence to truly shine. Think:
- Classic White: Provides a clean canvas that makes the holographic and pearly effects pop the most.
- Cream or Off-White: Softer than pure white, offering a delicate base.
- Pale Pastels: Light blues, pinks, lilacs, or mint greens can create beautiful, subtle mermaid-like undertones.
- Nude or Light Beige: For a more sophisticated and understated shimmer.
- Clear or Sheer Pink: Can create a more translucent, “wet look” shell effect, especially with pigments.
The goal is to have a base that doesn’t compete with the shell design but rather enhances its unique, shimmering qualities.
How Long Do Shell Nail Designs Last?
With proper application and a good top coat, shell nail designs can last anywhere from 7 to 14 days, similar to a standard manicure. The durability largely depends on:
- Nail Preparation: Ensuring nails are clean, dry, and the surface is adequately prepped.
- Top Coat Quality: Using a high-quality, chip-resistant top coat is vital. Capping the free edge of the nail also significantly increases longevity.
- Daily Wear & Tear: How much your hands are exposed to water, harsh chemicals, or strenuous activity will affect how long any manicure lasts.
- Type of Polish: Regular nail polish will naturally have a shorter lifespan than gel polish, which is cured under a lamp and is generally more durable.
For gel polish versions, you can expect them to last even longer, often up to three weeks, provided they are applied and removed correctly to maintain nail health.
Can I Create Shell Nail Designs Without Special Foils or Powders?
Yes, you can! While foils and powders offer the most authentic and easiest “shell” effect, you can mimic the look with regular nail polish. It requires more artistic skill but can still be beautiful:
- Layering Translucent Colors: Use sheer, iridescent polishes layered over a pearly white or cream base.
- Marbling Techniques: Swirl thin lines of complementary colors (like blues, greens, and pinks) into a wet white base to create a marbled effect that can resemble shell patterns.
- Using Glitter Polishes: Strategic placement of fine, iridescent glitters can give a subtle shimmer reminiscent of shell interiors.
- Stamping: Some nail stamping plates have patterns that can evoke a shell-like texture or iridescence if paired with the right polish.
These methods are more advanced but are great ways to practice nail art and get creative with what you have!
Can Shell Nail Designs Be Done on Natural Nails?
Absolutely! Shell nail designs are fantastic for natural nails. In fact, they can make your natural nails look even more elegant and polished. The foil transfer method, in particular, is very forgiving and can be applied directly over your base-coated natural nails. The pigment powder method also works beautifully directly onto a tacky polish or gel base on natural nails. You don’t need extensions or acrylics to achieve this stunning effect!
Conclusion
There you have it – your complete guide to creating stunning, effortless shell nail designs! Whether you’re a complete beginner or looking to add some enchanting new techniques to your repertoire, the foil transfer and pigment powder methods are your secret weapons. They offer that touch of oceanic magic and sophisticated shimmer that elevates any manicure without the stress. Remember to prep well, be patient with drying times, and always seal your masterpiece with a great top coat. You’ve got this! Go ahead, embrace the iridescence, express your unique style, and let your nails capture the ethereal beauty of the ocean. Happy polishing!

