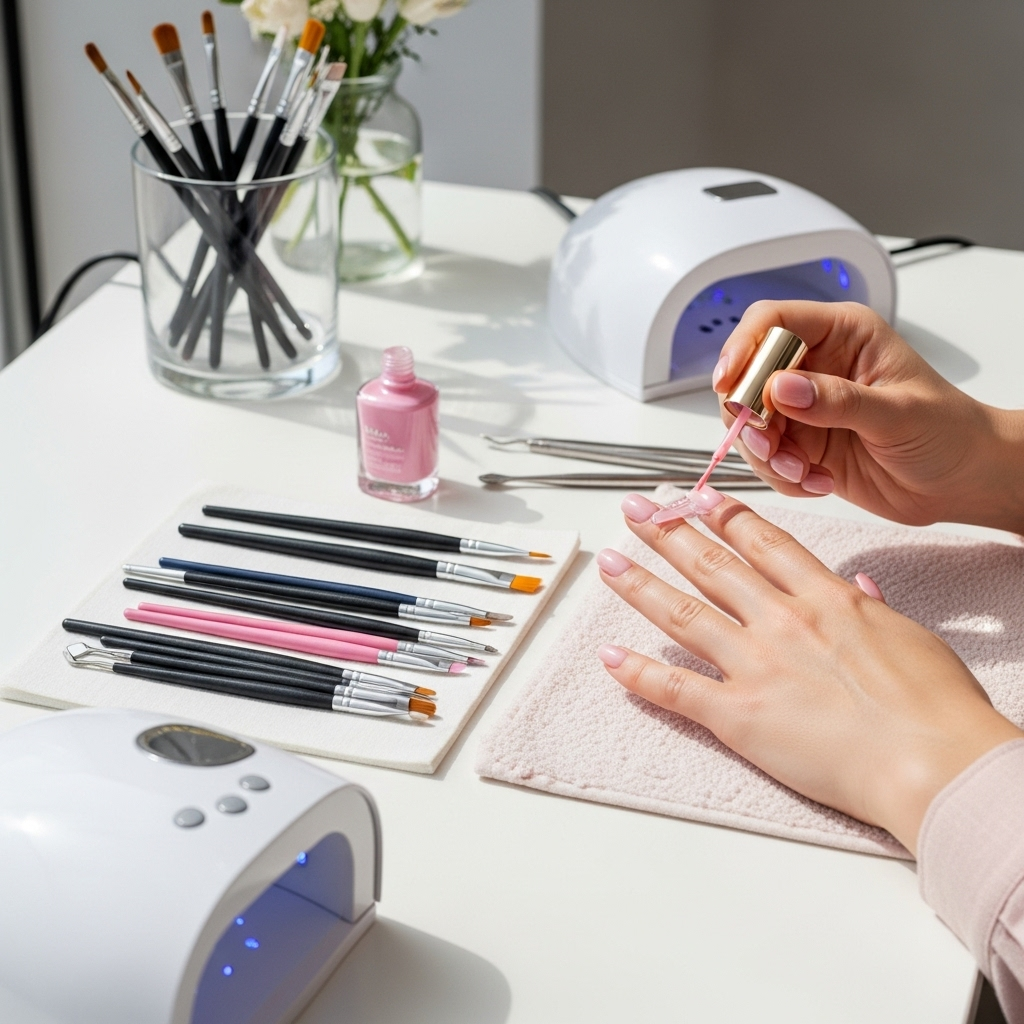
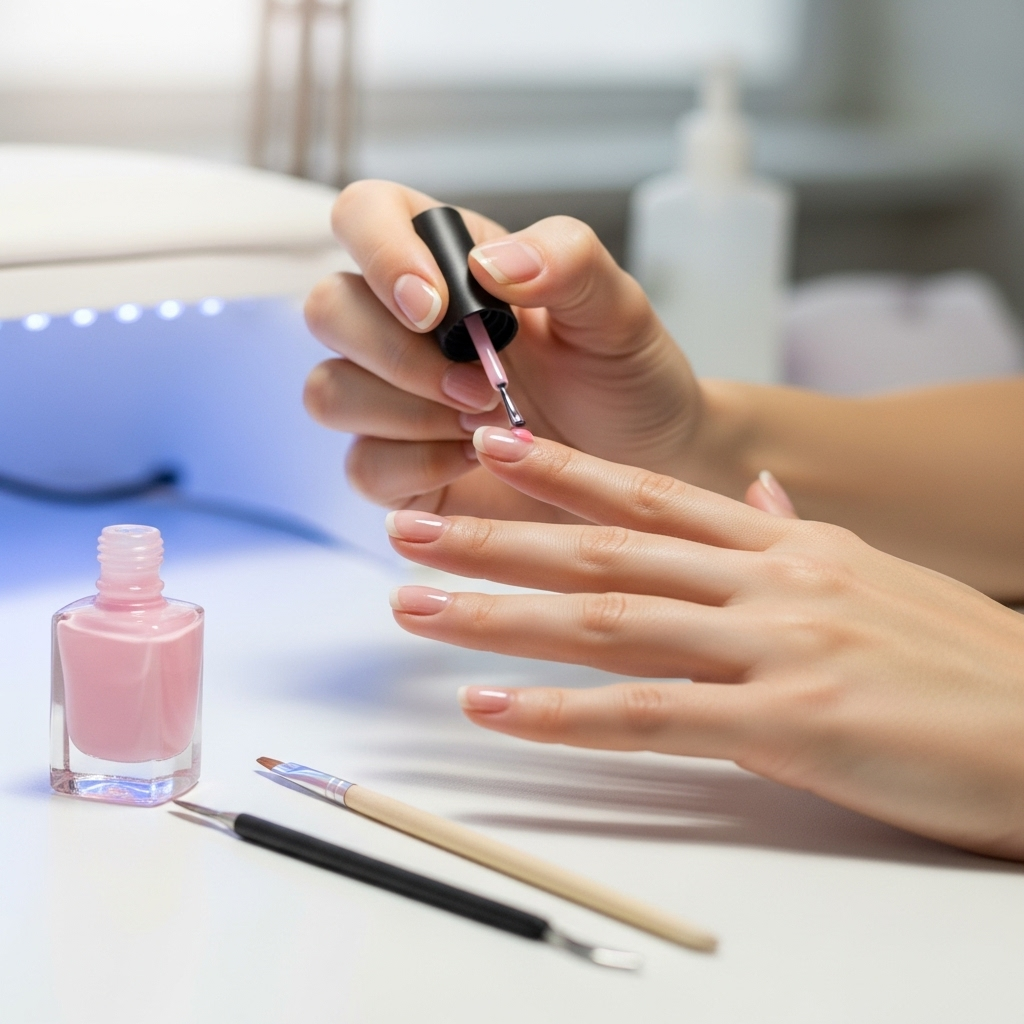
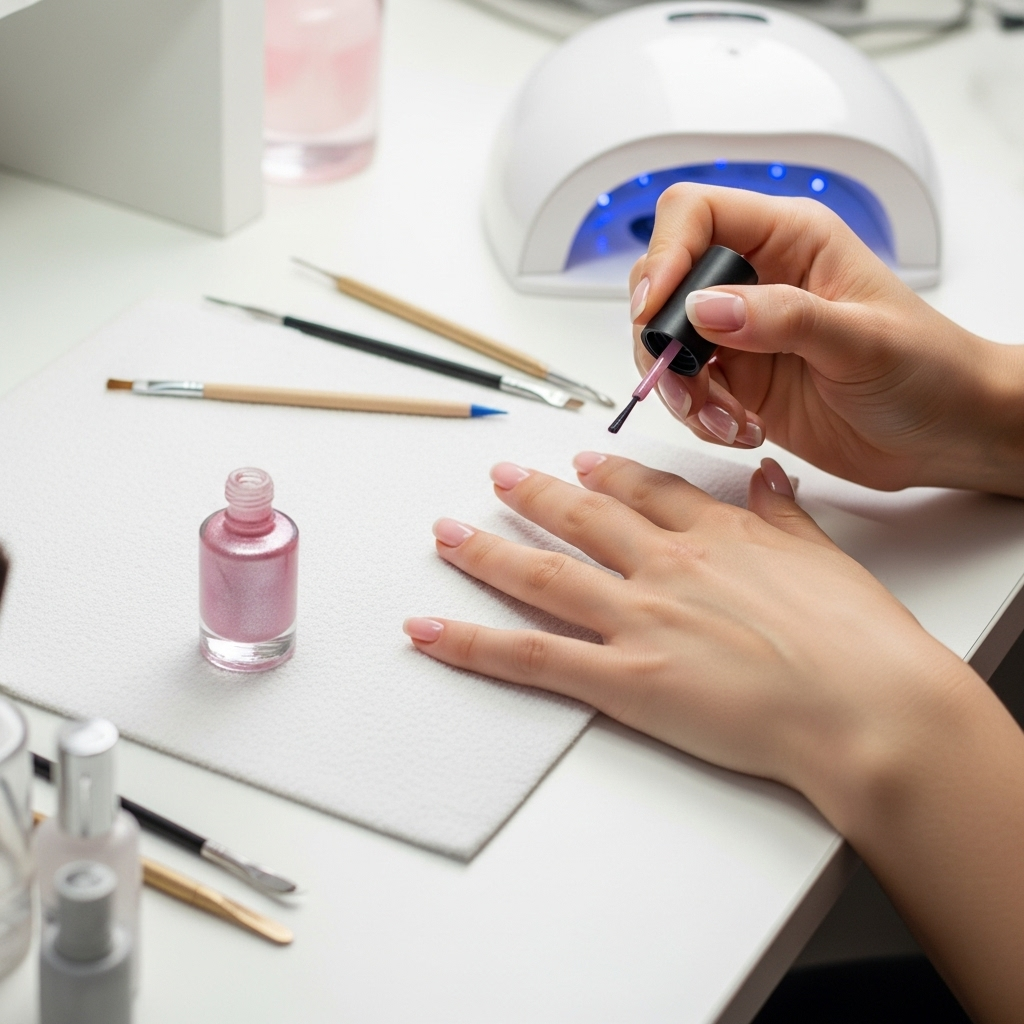
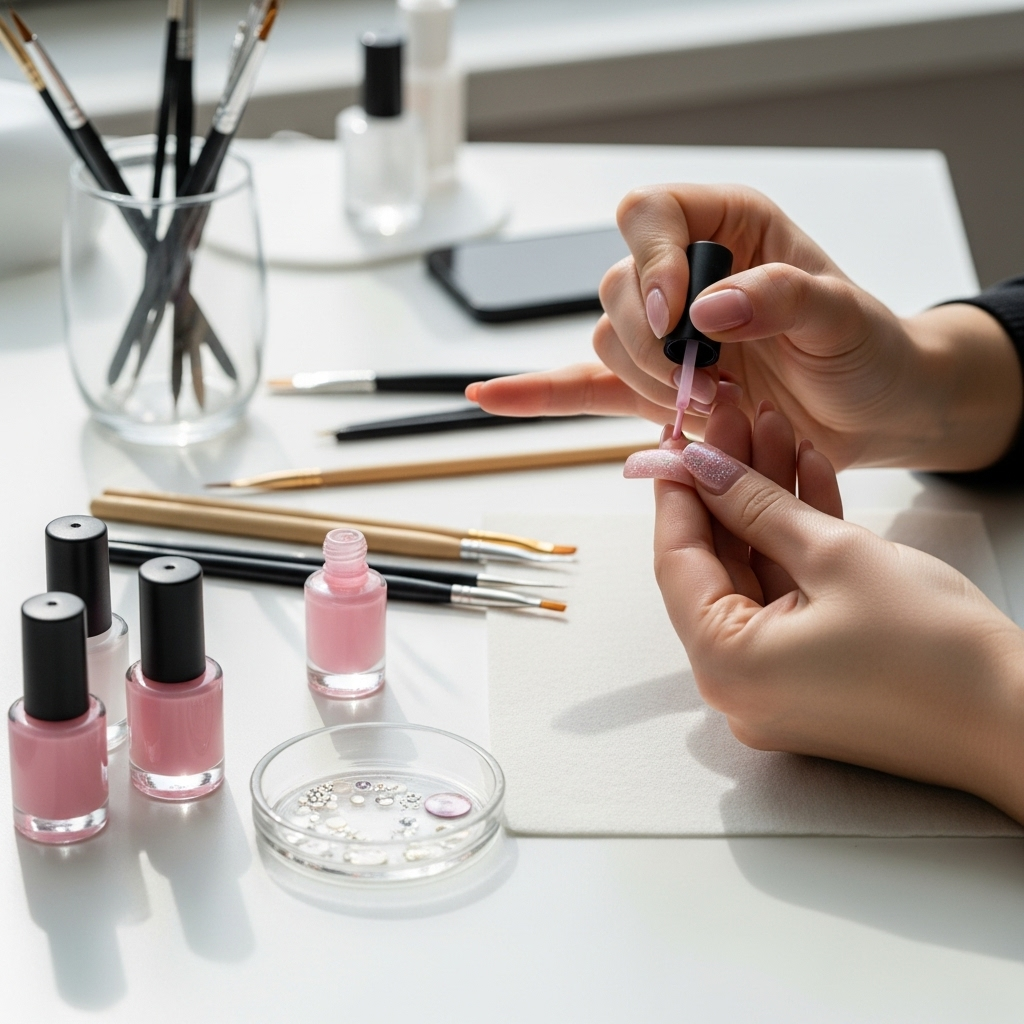
Sheer pink nails design offers a delicate, natural beauty that’s easy to achieve for any skill level. This versatile look provides a subtle pop of color and an effortlessly polished finish, perfect for everyday wear or special occasions. Learn simple techniques to create this elegant style at home.
Hello lovely nail enthusiasts! Lisa Drew here from Nailerguy, ready to dive into a manicure trend that’s as chic as it is simple: sheer pink nails! If you’ve ever felt intimidated by complex nail art or wished for a polished look that doesn’t scream for attention, you’ve come to the right place. Sheer pink nails are your answer to effortless beauty, offering a soft, sophisticated vibe that complements any outfit and occasion.
We all want our nails to look good without spending hours at a salon or wrestling with complicated tools at home. The beauty of sheer pink is its forgiving nature and its ability to enhance your natural nail color. It’s like a gentle hug for your fingertips, adding just the right amount of healthy-looking color and shine. Whether you’re a complete beginner or just looking for a quick, elegant update, this guide will walk you through everything you need to know to achieve stunning sheer pink nails yourself. Get ready to fall in love with your nails all over again!
<h2>Why Sheer Pink Nails Are Your New Best Friend</h2>
<p>Sheer pink nail polish is a staple for a reason! It hits that sweet spot between bare nails and a full-coverage color. It’s subtle, chic, and incredibly versatile. Let’s break down why this design is a winner for so many of us:</p>
<ul>
<li><strong>Universal Flattery:</strong> Sheer pink tones tend to look good on almost everyone, enhancing natural nail beds with a healthy-looking flush of color.</li>
<li><strong>Effortless Elegance:</strong> It’s the definition of “my nails but better.” It looks polished and put-together with minimal effort.</li>
<li><strong>Perfect for Any Occasion:</strong> From the office to a wedding to a casual brunch, sheer pink fits right in. It’s understated enough for formal settings and chic enough for everyday.</li>
<li><strong>Hides Imperfections:</strong> The subtle color can help camouflage minor nail discolorations or slight imperfections, giving a smooth, uniform appearance.</li>
<li><strong>Great Base for Accents:</strong> If you like a little something extra, sheer pink is an ideal canvas for delicate nail art, french tips, or glitter accents.</li>
<li><strong>Easy Application:</strong> Because it’s sheer, minor streaks or unevenness are much less noticeable than with opaque polishes, making it forgiving for beginners.</li>
</li>
</li>
</li>
</li>
</li>
</ul>
<h2>Getting Started: Your Sheer Pink Toolkit</h2>
<p>Before we start painting, let’s gather our supplies! You don’t need a salon full of tools to achieve a beautiful sheer pink manicure. Here’s what will help you create that effortless look:</p>
<h3>The Essentials:</h3>
<ul>
<li><strong>Nail File:</strong> To shape your nails perfectly. A glass file is gentle and can be a great investment for nail health. Learn more about nail filing techniques from the American Academy of Dermatology.</li>
<li><strong>Cuticle Pusher or Orangewood Stick:</strong> To gently push back your cuticles for a clean nail bed.</li>
<li><strong>Sheer Pink Nail Polish:</strong> The star of the show! Choose a shade that complements your skin tone.</li>
<li><strong>Top Coat:</strong> For shine, protection, and longevity. A quick-dry top coat is a lifesaver!</li>
<li><strong>Base Coat:</strong> Crucial for protecting your natural nails and helping polish adhere better.</li>
</li>
</li>
</li>
</li>
</li>
</ul>
<h3>Optional, But Nice to Have:</h3>
<ul>
<li><strong>Nail Buffer:</strong> To smooth out any ridges and add a bit of natural shine.</li>
<li><strong>Cuticle Oil:</strong> To nourish and keep your cuticles looking healthy and hydrated.</li>
<li><strong>Lint-Free Wipes or Cotton Pads:</strong> For cleaning nails before polish application.</li>
<li><strong>Nail Polish Remover:</strong> For any oopsies or starting fresh.</li>
<li><strong>Cotton Swabs:</strong> For precise clean-ups around the edges.</li>
<li><strong>Hand Cream:</strong> To finish off your manicure with soft, smooth hands.</li>
</li>
</li>
</li>
</li>
</li>
</li>
</li>
</ul>
<h2>The Secret to Perfect Sheer Pink Nails: Step-by-Step</h2>
<p>Creating beautiful sheer pink nails at home is surprisingly simple. Follow these steps, and you’ll have a salon-worthy manicure in no time!</p>
<h3>Step 1: Prep Your Nails (The Foundation of Beauty!)</h3>
<p>This is the most important step for a long-lasting, beautiful manicure. Don’t skip it!</p>
<ol>
<li><strong>Remove Old Polish:</strong> If you have any old polish on, swipe it away with nail polish remover and a lint-free wipe.</li>
<li><strong>Shape Your Nails:</strong> Using your nail file, gently file your nails into your desired shape. Always file in one direction to prevent splitting.</li>
<li><strong>Care for Cuticles:</strong> Apply a tiny bit of cuticle oil or remover to your cuticles. Gently push them back with a cuticle pusher or orangewood stick. Avoid cutting them, as this can lead to infection.</li>
<li><strong>Cleanse and Dry:</strong> Wash your hands to remove any oily residue from cuticle products. Make sure your nails are completely dry.</li>
<li><strong>Buff (Optional):</strong> If you like a smoother surface, gently buff your nail beds to remove ridges and create a uniform sheen.</li>
</li>
</li>
</li>
</li>
</li>
</li>
</li>
</ol>
<h3>Step 2: Apply the Base Coat</h3>
<p>A good base coat is your best friend for preventing staining and helping polish adhere. Apply one thin layer and let it dry completely.</p>
<h3>Step 3: The Sheer Pink Magic (Color Application)</h3>
<p>This is where the magic happens! The key to sheer pink nails is applying thin layers.</p>
<ol>
<li><strong>First Thin Coat:</strong> Apply one very thin coat of your sheer pink polish. Don’t try to get full coverage in one go. A thin coat dries faster and looks more natural.</li>
<li><strong>Let it Dry:</strong> Allow the first coat to dry for at least 1-2 minutes. Patience is key here!</li>
<li><strong>Second Thin Coat (If Needed):</strong> If you want a bit more color or opacity, apply a second thin coat. For a truly sheer look, you might only need one coat.</li>
<li><strong>Third Coat (Optional for Depth):</strong> Some sheer polishes look beautiful with two or even three very thin coats to build a lovely, translucent depth. Apply an additional thin coat if you desire more color intensity.</li>
<li><strong>Clean Up:<strong> If you got any polish on your skin, dip a cotton swab in nail polish remover and carefully clean up the edges for a crisp finish.</li>
</li>
</li>
</li>
</li>
</li>
</li>
</ol>
<h3>Step 4: Seal the Deal with a Top Coat</h3>
<p>A top coat adds shine, protects your polish from chipping, and gives your nails that final professional look. Make sure your color coats are dry before applying. A glossy top coat will make your sheer pink pop! For extra longevity, consider a gel-like top coat or a quick-dry formula.</p>
<h3>Step 5: Hydrate and Admire!</h3>
<p>Once the top coat is dry (and use a quick-dry spray if you're in a hurry!), apply a drop of cuticle oil to each nail. Gently massage it in. This adds a final touch of nourishment and makes your manicure look incredibly healthy and complete. Now, admire your beautiful, effortless sheer pink nails!</p>
<h2>Finding Your Perfect Sheer Pink Shade</h2>
<p>With so many shades of pink, how do you choose the perfect sheer one? It’s all about complementing your natural skin tone. Here’s a little guide to help you find your match:</p>
<table border="0" cellpadding="5" cellspacing="0">
<thead>
<tr>
<th>Skin Tone</th>
<th>Recommended Sheer Pink Shades</th>
<th>Why It Works</th>
</tr>
</thead>
<tbody>
<tr>
<td>Fair/Light</td>
<td>Ballet Slipper Pink, Light Candy Pink, Sheer Rose</td>
<td>These shades offer a delicate flush without appearing too stark or overwhelming the skin tone.</td>
</tr>
<tr>
<td>Medium</td>
<td>Peachy Pink, Warm Rose, Soft Coral Pink</td>
<td>Warmer undertones in these pinks harmonize beautifully with medium skin tones, adding warmth and vibrancy.</td>
</tr>
<tr>
<td>Olive</td>
<td>Muted Mauve Pink, Dusky Rose, Berry Pink</td>
<td>These slightly deeper or more muted pinks provide a sophisticated contrast and enhance olive undertones.</td>
</tr>
<tr>
<td>Deep/Dark</td>
<td>Vibrant Fuchsia Pink, Rich Berry Pink, Bright Rose</td>
<td>Bolder, more saturated pinks stand out beautifully, offering a stunning and noticeable pop of color.</td>
</tr>
</tbody>
</table>
<p>Remember, these are just guidelines! The best shade is the one that makes you feel fabulous. Don’t be afraid to experiment! Many brands offer polishes designed to mimic the look of a healthy nail bed, often labeled as “nude” or “milky” pinks.</p>
<h2>Elevate Your Sheer Pink Nails: Simple Design Ideas</h2>
<p>Sheer pink is a fantastic base for adding a touch of personality. Here are some super easy design ideas perfect for beginners:</p>
<h3>1. The Classic Sheer Pink</h3>
<p>This is the look we’ve detailed above – one to three thin coats of sheer pink polish for a clean, polished, “your nails but better” effect. It’s timeless and always chic.</p>
<h3>2. Delicate French Tips</h3>
<p>Apply a sheer pink base coat as usual. Once dry, use a fine brush or a white opaque polish to paint crisp white tips. For an even softer look, use a sheer white or milky polish for the tips.</p>
<h3>3. Subtle Glitter Accent</h3>
<p>Paint your sheer pink base. On one or two accent nails (like your ring fingers), dab a fine glitter polish over the top coat or directly onto the partially dry color. This adds just a hint of sparkle and sophistication.</p>
<h3>4. Tiny Dot Detail</h3>
<p>After applying your sheer pink and top coat, use a dotting tool or the tip of a bobby pin dipped in white or a complementary color to add a single, tiny dot near the cuticle or at the edge of the nail. It’s minimalist and adorable.</p>
<h3>5. Milky Pink Ombre</h3>
<p>This can be a bit trickier but is achievable with practice. Apply your milky or sheer pink polish. Then, using a makeup sponge, gently dab a slightly lighter or more opaque pink polish towards the tips, blending downwards for a soft gradient effect.</p>
<h3>6. “Glass Skin” Nails</h3>
<p>This trend is all about hyper-transparency and a dewy finish. Use a sheer polish that’s almost clear, perhaps with a hint of pink or iridescent shimmer. Focus on pristine cuticle work and a super glossy top coat for that luminous, “glass-like” appearance. Products like glass nail files can help achieve a perfect smooth surface for this look.</p>
<h2>Maintaining
