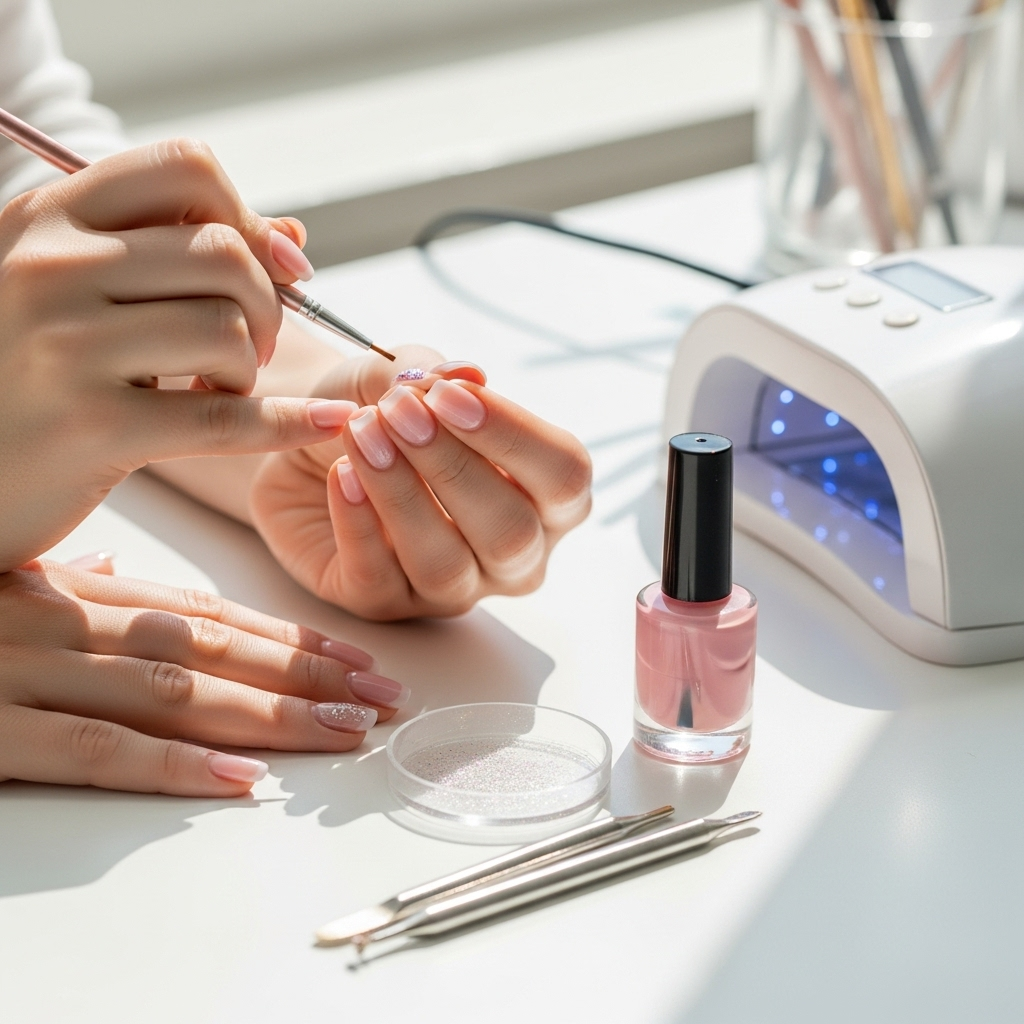
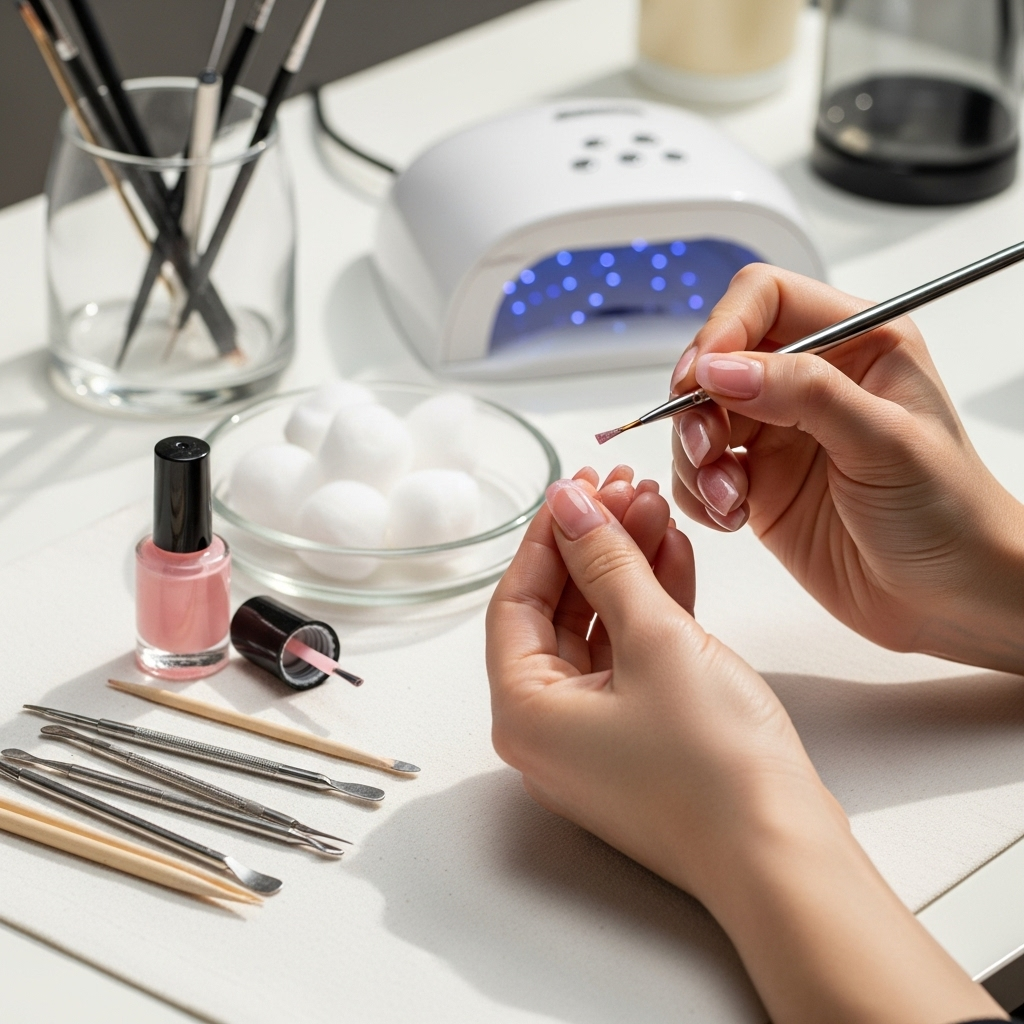
Sheer pink nails are the ultimate chic and versatile manicure. They offer a subtle, elegant pop of color that complements any outfit and occasion. From a clean, natural look to adding delicate accents, sheer pink nail designs are easy to achieve, making them perfect for beginners and busy individuals. Discover essential styles that will elevate your nail game effortlessly!
Ever feel like your nails could use a touch of elegance without being too bold? Sheer pink nails are a dream come true for so many of us! They’re the go-to choice when you want that “my nails but better” look. It can be frustrating when you’re aiming for a soft, sophisticated manicure, but end up with something that’s too opaque or just not quite right. Don’t worry, getting that perfect sheer pink vibe is totally achievable, even if you’re just starting out. We’ll walk you through the most stunning and simple sheer pink nail designs that are perfect for everyday wear and special moments alike. Get ready to fall in love with these effortless and chic looks!
Why We Love Sheer Pink Nails
Sheer pink nail polish is a true beauty staple. It’s like the little black dress of your nail color collection – always appropriate, always stylish, and incredibly flattering. The beauty of ‘sheer’ lies in its name: it allows a hint of your natural nail color to show through, creating a soft, translucent effect. This makes it incredibly forgiving and adaptable. Unlike opaque polishes, a sheer finish is less prone to showing imperfections and is perfect for a clean, healthy-looking manicure. Plus, it’s the ideal canvas for subtle nail art.
The appeal of sheer pink nails can be broken down into a few key points:
- Versatility: They go with absolutely everything! From casual jeans to elegant evening wear, sheer pink is your reliable sidekick.
- Natural Elegance: They offer a polished, sophisticated look that enhances your natural nail beauty.
- Beginner-Friendly: Application is usually forgiving, and touch-ups are less noticeable.
- Subtle Accent: They provide a perfect base for adding delicate nail art without overwhelming the look.
- Professional Appeal: Sheer pink is a classic choice for professional settings where a more subtle manicure is preferred.
Essential Sheer Pink Nail Looks for Beginners
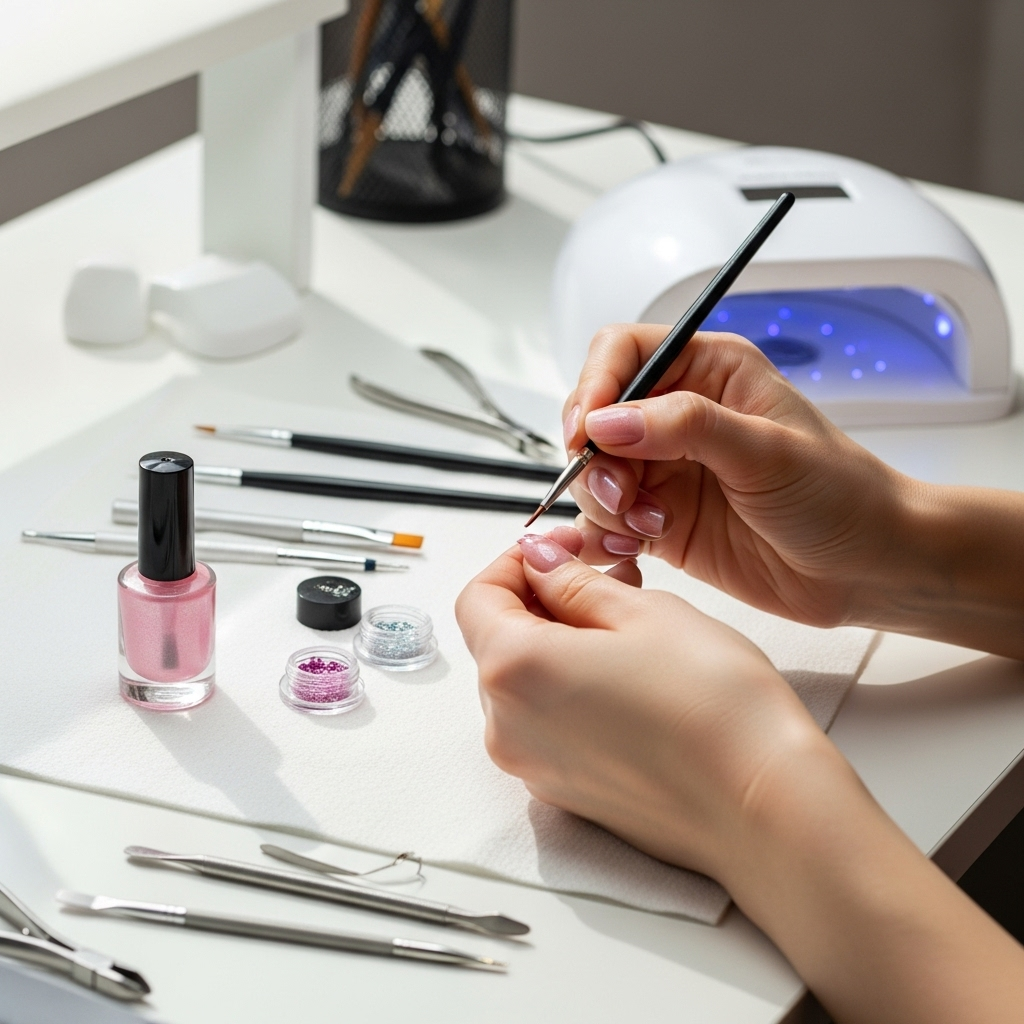
Ready to dive into the world of sheer pink perfection? Here are some of the most beautiful and easy-to-create designs that will make your nails look absolutely stunning. We’ll focus on looks that are perfect for anyone just starting their nail art journey.
1. The Classic Sheer Pink Manicure
This is the foundation of sheer pink elegance. It’s all about achieving that seamless, healthy glow. It’s the ultimate “clean girl” aesthetic for your nails.
What You’ll Need:
- Base Coat
- Sheer Pink Nail Polish (choose a shade that complements your skin tone – think soft rose, baby pink, or peachy pink)
- Top Coat
- Nail File
- Cuticle Pusher
Steps:
- Prep Your Nails: Start by gently filing your nails into your desired shape. Use a cuticle pusher to carefully push back your cuticles. This creates a clean canvas and makes your polish application look more professional.
- Apply Base Coat: A good base coat protects your natural nails from staining and helps your polish adhere better. Apply one thin layer and let it dry completely.
- Apply Sheer Pink Polish: Apply your chosen sheer pink polish in thin, even coats. Most sheer polishes look best with two to three coats, depending on the opacity you desire. Allow each coat to dry for a minute or two before applying the next. This builds up the color gradually for a more natural look.
- Apply Top Coat: Once the final coat of polish is dry, apply a generous layer of top coat. This seals in the color, adds a beautiful shine, and helps your manicure last longer.
- Clean Up: If you get any polish on your skin, use a small brush dipped in nail polish remover to carefully clean up the edges.
This look is timeless and incredibly easy. It’s the perfect way to feel put-together with minimal effort.
2. Sheer Pink with a Delicate French Tip
Elevate the classic sheer pink with a subtle French tip. This design adds a touch of sophistication and is surprisingly simple to achieve.
What You’ll Need:
- Base Coat
- Sheer Pink Nail Polish
- Opaque White or Creamy White Nail Polish (or a nude shade for a softer look)
- Thin Nail Art Brush or French Tip Guide Stickers
- Top Coat
Steps:
- Nail Prep and Base Coat: Follow steps 1 and 2 from “The Classic Sheer Pink Manicure.”
- Apply Sheer Pink: Apply two coats of your sheer pink polish to all nails and let them dry completely.
- Create the French Tip:
- Using a Brush: Dip a thin nail art brush into your white polish. Gently draw curved lines along the free edge of each nail. Take your time and try to make the lines as even as possible.
- Using Guide Stickers: Apply French tip guide stickers along the natural curve of your nail, just below the free edge. Paint the exposed tip with your white polish. Remove the sticker carefully while the polish is still slightly wet to avoid a clean edge.
For a softer look, you can use a nude or very light pink polish instead of white.
- Apply Top Coat: Once the tips are completely dry, apply a generous top coat over the entire nail to seal everything in and give it a smooth finish.
This is a more polished version of a French manicure, offering a chic and refined look that’s perfect for any occasion.
3. Sheer Pink with Subtle Glitter Accents
Add a touch of sparkle to your sheer pink nails! This design is perfect for when you want a little extra glamour without being over the top.
What You’ll Need:
- Base Coat
- Sheer Pink Nail Polish
- Fine Glitter Polish or Loose Glitter (silver, gold, or iridescent work beautifully)
- Toothpick or Dotting Tool (for precise glitter placement)
- Top Coat
Steps:
- Nail Prep and Base Coat: Follow steps 1 and 2 from “The Classic Sheer Pink Manicure.”
- Apply Sheer Pink: Apply two coats of your sheer pink polish and let them dry.
- Add Glitter:
- Glitter Polish: Apply a thin layer of glitter polish over the sheer pink. You can apply it to the entire nail, just the tips, or create a gradient effect by dabbing it towards the tip.
- Loose Glitter: Lightly tap a small amount of loose glitter onto a surface. Use a damp nail polish brush or a toothpick to pick up a tiny amount of glitter and place it strategically on your nail. You might want to place a few specks at the cuticle, along the free edge, or create a small cluster. Apply one coat of top coat over the glitter to help it adhere before your final top coat.
For a more subtle effect, focus the glitter near the cuticle or the free edge.
- Apply Top Coat: Once the glitter is dry (if using loose glitter), apply a thick layer of top coat to fully encapsulate it and create a smooth surface.
This design adds just enough sparkle to make your nails stand out, making it perfect for parties or just a fun Tuesday!
4. Sheer Pink with a White or Gold Foil Stripe
A thin metallic stripe can add a modern edge to a soft sheer pink base. This is incredibly chic and surprisingly easy to do.
What You’ll Need:
- Base Coat
- Sheer Pink Nail Polish
- Nail Foil Adhesive
- Transfer Foil (white, gold, silver, or rose gold)
- Small Scissors or Foil Cutter
- Top Coat
Steps:
- Nail Prep and Base Coat: Follow steps 1 and 2 from “The Classic Sheer Pink Manicure.”
- Apply Sheer Pink: Apply two coats of your sheer pink polish and let them dry thoroughly.
- Apply Foil Adhesive: Paint a thin stripe of nail foil adhesive onto the nail where you want your stripe to be. You can place it horizontally across the middle, diagonally, or vertically along one side of the nail. Let the adhesive dry until it becomes tacky (usually a minute or two – it will look translucent, not wet).
- Apply Foil: Cut a piece of your chosen foil slightly larger than the adhesive stripe. Place the shiny side of the foil down onto the tacky adhesive and press firmly. Smooth it out with your finger or a cuticle stick.
- Remove Foil: Quickly but gently peel off the foil backing. The metallic color should transfer onto your nail.
- Apply Top Coat: Carefully apply a top coat over the entire nail, making sure to seal the edges of the foil to prevent peeling.
This ultra-modern design is minimalist yet impactful, adding a sophisticated touch to your sheer pink nails.
5. Gradient Sheer Pink (Ombre)
The ombre effect, or gradient, is gorgeous with sheer pinks. It creates a soft, blended look that’s incredibly flattering.
What You’ll Need:
- Base Coat
- At least two shades of Sheer Pink Polish (one lighter, one slightly deeper, or pair sheer pink with a sheer nude)
- Makeup Sponge (a fine-textured one works best)
- Top Coat
- Base Coat (for cleaning up edges)
Steps:
- Nail Prep and Base Coat: Follow steps 1 and 2 from “The Classic Sheer Pink Manicure.”
- Apply First Sheer Pink Color: Paint one or two coats of your lighter sheer pink polish on all nails. Let it dry.
- Prepare the Sponge: Cut a small section of your makeup sponge. You can create the gradient by either applying the two sheer pink shades side-by-side on the sponge, or by layering them onto the nail directly. For a simple gradient, paint the lighter shade on the cuticle side and the darker shade on the tip side of the sponge.
- Create the Gradient: Gently dab the sponge onto your nail, starting from the tip and working down towards the cuticle. You may need to reapply polish to the sponge and dab several times to build up the color and blend the shades seamlessly.
- Clean Up and Top Coat: Once you achieve your desired look, carefully use a brush dipped in nail polish remover to clean up any smudged polish around your cuticles and sidewalls. Apply a generous top coat to smooth out the gradient and add shine.
This design offers a beautiful depth and is a lovely way to experiment with color blending.
6. Sheer Pink with Tiny Dots
Adding small dots is a super simple way to introduce some detail to your sheer pink nails. It’s cute, playful, and easy to customize.
What You’ll Need:
- Base Coat
- Sheer Pink Nail Polish
- Opaque White, Black, or a Contrasting Color Nail Polish
- Dotting Tool or a Toothpick
- Top Coat
Steps:
- Nail Prep and Base Coat: Follow steps 1 and 2 from “The Classic Sheer Pink Manicure.”
- Apply Sheer Pink: Apply two coats of your sheer pink polish and let them dry completely.
- Add Dots: Dip your dotting tool or toothpick into the contrasting polish. Gently place small dots onto your nails. You can create a pattern (like a single line of dots, scattered dots, or dots around the cuticle) or just add a few random dots.
- Apply Top Coat: Once the dots are completely dry, carefully apply a top coat over the entire nail to seal them in.
These tiny accents add personality without being overwhelming, making them perfect for everyday wear.
Tips for Perfect Sheer Pink Nails
Achieving flawless sheer pink nails is all about a few simple techniques. Even as a beginner, you can master these to get salon-worthy results!
Nail Preparation is Key
Before you even pick up a polish bottle, make sure your nails are prepped. This means filing them to the desired shape, gently pushing back your cuticles (never cut them at home!), and ensuring your nails are clean and dry. A smooth, clean surface makes all the difference.
Choosing the Right Shade
Sheer pinks come in a range of undertones. Some might lean peachy, others more cool-toned. Consider your skin tone:
| Skin Tone | Recommended Sheer Pink Undertones | Why it Works |
|---|---|---|
| Fair/Light | Cool pinks, dusty rose, soft peachy-pinks | These shades enhance the natural rosy tones without washing out the skin. |
| Medium | Warm pinks, rose gold, delicate coral-pinks | These tones complement warmer undertones in the skin beautifully. |
| Deep/Dark | Vibrant pinks, berry-toned sheers, rich rose | These shades provide a lovely contrast and a rich, sophisticated look. |
Application Techniques
- Thin Coats are Better: For sheer polishes, resist the urge to slap on thick coats. Thin, even layers build up the color beautifully and prevent pooling or streaking.
- Allow Drying Time: Each coat needs to dry for at least 1-2 minutes before the next. Patience pays off for a smooth, chip-free finish.
- Don’t Skip the Top Coat: A good quality top coat is your best friend. It adds shine, protects your manicure from chipping, and makes the color pop. Consider a quick-dry top coat if you’re in a hurry!
Dealing with Streaks
Sheer polishes can sometimes be streaky. If this happens, don’t panic! Adding another thin coat can often even it out. If the streaks persist, it might be the brush. Ensure you’re not overloading the brush and that you’re applying evenly. A good quality top coat can also help to smooth out minor imperfections.
External Resources for Nail Care
For more in-depth nail care and hygiene practices, the Centers for Disease Control and Prevention (CDC) offers valuable advice on keeping your nails healthy.
Sheer Pink Nails vs. Opaque Pink Nails

Deciding between sheer and opaque pink can be tricky! Here’s a quick comparison to help you choose the right finish for your desired look.
| Feature | Sheer Pink Nails | Opaque Pink Nails |
|---|---|---|
| Appearance | Translucent, natural, “my nails but better” look. Shows a hint of the natural nail. | Solid, full coverage. Hides the natural nail completely. |
| Application Ease | Generally very forgiving; streaks are less noticeable. | Can show brush strokes or streaks more easily if not applied perfectly. |
| Versatility | Goes with everything; ideal for subtle elegance and professional settings. | Can be a bolder statement. Offers a wider range of color depth. |
| Nail Art Base | Excellent for delicate accents, French tips, or achieving a softened look. | Great for bold designs, geometric patterns, or when a strong color base is needed. |
| Look & Feel | Light, airy, sophisticated. | Vibrant, opaque, can be bold or subtle depending on the shade. |
Sheer pinks are fantastic for achieving that effortless, polished look that’s always in style. Opaque pinks offer more vibrancy and coverage for a statement manicure.
FAQ: Your Sheer Pink Nail Questions Answered
Got questions about these gorgeous sheer pink nails? We’ve got you covered!
Q1: What is the best way to apply sheer pink nail polish for a streak-free finish?
A: Apply in thin, even coats. Allow each coat to dry for at least a
