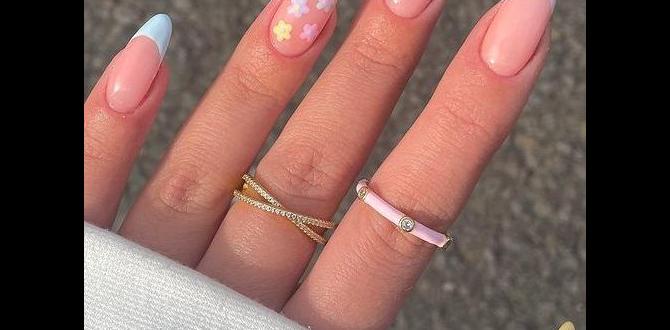
Sheer nude nails offer a sophisticated, clean, and versatile canvas for effortless beauty, perfect for any occasion. From subtle elegance to a polished finish, these barely-there shades enhance natural beauty, making hands appear delicate and refined. Discover simple yet chic sheer nude nail ideas to elevate your look with ease.
Are you dreaming of nails that look polished and chic without being over the top? Sometimes, you just want that “my nails but better” vibe. Sheer nude nails are the answer! They’re like a whisper of color, giving your hands a clean, elegant, and sophisticated look. But if you’ve only ever seen them on others, you might wonder how to achieve that flawless finish yourself. It’s easier than you think, and I’m here to guide you every step of the way. Get ready to discover the simple, beautiful world of sheer nude nails!
Why We Love Sheer Nude Nails: The Undeniable Appeal
Sheer nude nails have that magic touch. They’re universally flattering and incredibly versatile. Think of them as the little black dress of the nail world – always in style, always appropriate. Whether you’re heading to a job interview, a casual brunch, or a fancy event, sheer nude nails are your go-to. They add a touch of refinement without demanding attention, allowing your personal style to shine through.
The beauty of sheer nude polishes lies in their subtlety. They can:
- Enhance your natural nail bed color.
- Make your fingers appear longer and more slender.
- Create a clean, put-together look with minimal effort.
- Serve as a perfect base for delicate nail art.
- Complements any skin tone.
Let’s dive into making these effortless beauties a reality for you.
Choosing Your Perfect Sheer Nude Shade: Beyond Just Nude
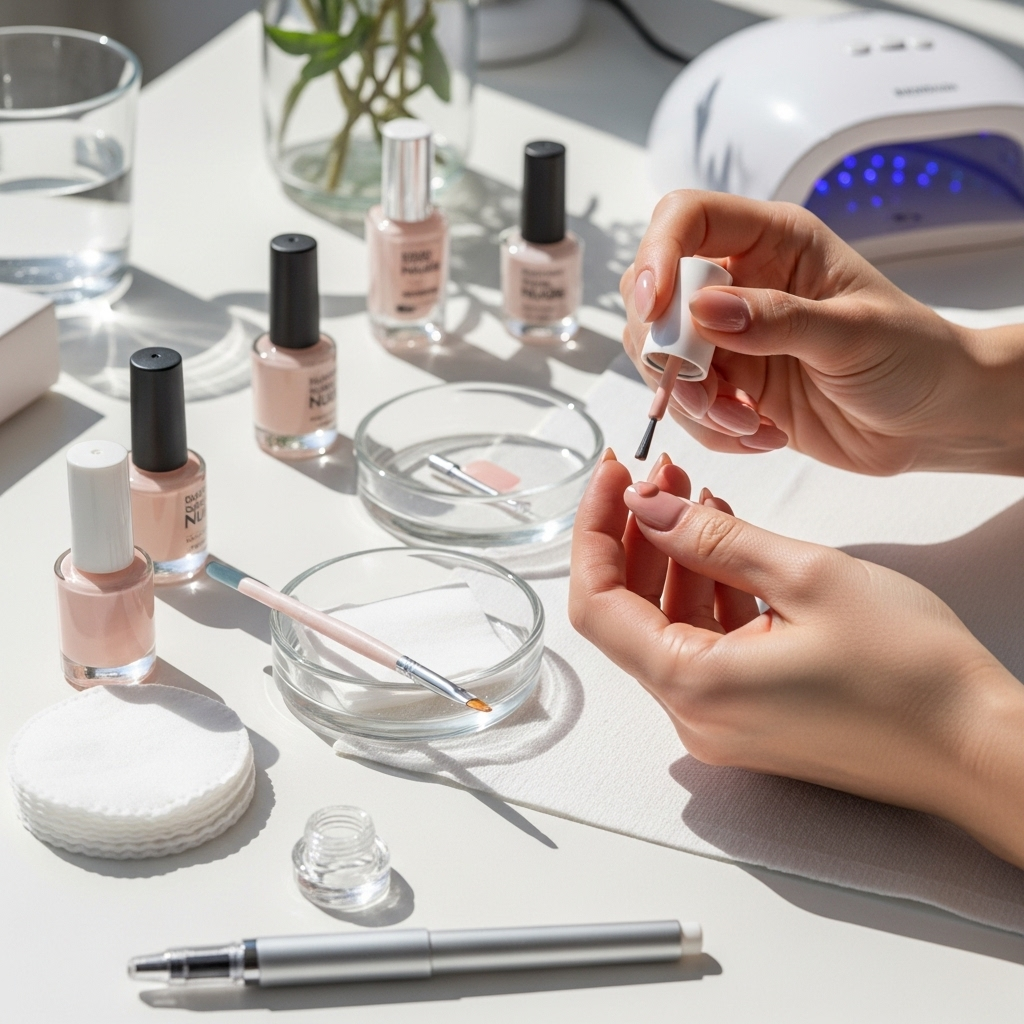
The term “nude” can be a little misleading because it encompasses a wide spectrum of soft, neutral tones. Finding your perfect sheer nude is key to that “effortless beauty” look. It’s all about complementing your unique skin tone. Here’s a simple guide:
For Lighter Skin Tones:
Look for shades with pink or cool undertones. Vanilla, pale blush, or milky beige polishes often work beautifully. These shades add a hint of warmth without looking too stark against fair skin.
For Medium Skin Tones:
Peachy nudes, warm beiges, and light caramel shades are your best friends. These tones pick up the warmth in your skin, creating a harmonious and natural look.
For Deeper Skin Tones:
Rich caramels, deep tans, and chocolates can appear as sheer nudes on deeper complexions. Look for shades with earthy or warm undertones that provide a lovely contrast and definition.
Don’t be afraid to experiment! swatch polishes on your fingertip before buying to see how they look against your skin. Remember, sheer polishes are forgiving, so even if it’s not a 100% perfect match, it will likely still look beautiful.
The Essential Tools for a Flawless Sheer Nude Manicure
You don’t need a professional salon to achieve stunning sheer nude nails. With a few basic tools and a little patience, you can create salon-quality results at home. Here’s what you’ll need:
- Nail File: To shape your nails perfectly. A fine-grit file is best for natural nails to prevent damage.
- Cuticle Pusher or Orange Stick: To gently push back your cuticles for a clean nail bed.
- Nail Buffer: To smooth out any ridges and prep the nail surface for polish.
- Base Coat: Essential for protecting your natural nails and helping polish adhere better.
- Your Chosen Sheer Nude Nail Polish: Select a formula that offers buildable coverage.
- Top Coat: To seal in your color, add shine, and prevent chips.
- Cuticle Oil: To keep your cuticles hydrated and looking healthy.
- Lint-Free Wipes: For a streak-free polish application.
- Optional: Nail Strengthener: If your nails are prone to breaking.
- Optional: Rubbing Alcohol or Nail Polish Remover: To ensure nails are completely clean and oil-free before polish.
Having these on hand will make your manicure process smooth and enjoyable. Think of it as your DIY manicure toolkit!
Step-by-Step: Achieving the Perfect Sheer Nude Manicure
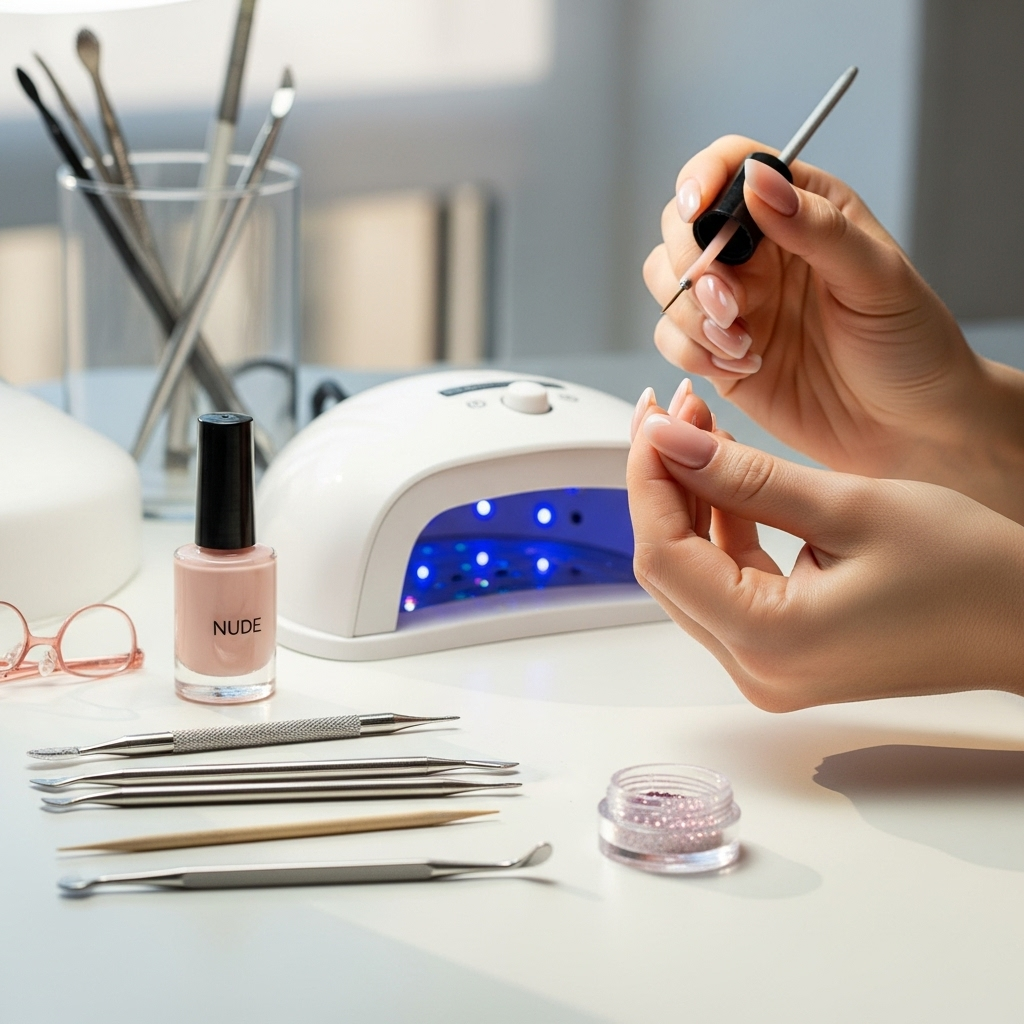
Ready to get those gorgeous sheer nude nails? Follow these simple steps for a flawless finish:
Step 1: Prep Your Canvas
Start by removing any old nail polish. Then, shape your nails using a nail file. Aim for a shape that complements your fingers – almonds, ovals, or squoval shapes are usually very flattering with sheer polishes. Gently push back your cuticles with a cuticle pusher or orange stick. Avoid cutting them, as this can lead to damage. Lightly buff your nail surface to create a smooth base and remove any natural oils. Wipe your nails with a lint-free wipe and a bit of rubbing alcohol or nail polish remover to ensure they are clean and oil-free.
Step 2: Apply a Protective Base Coat
This is a crucial step! Apply one thin layer of your favorite base coat. This not only protects your natural nails from staining but also creates a smooth surface for your polish to adhere to, which helps prevent chipping. Let it dry completely (usually 1-2 minutes).
Step 3: The Sheer Nude Magic (First Coat)
Now for the star of the show! Apply your chosen sheer nude polish. The key here is to apply a thin coat. Don’t try to get full opacity in one go. Sheer polishes are meant to be buildable. Brush the polish evenly from the base of the nail to the tip. Avoid getting too much polish on the brush, as this can lead to pooling and streaks. Let this first coat dry for at least 2-3 minutes.
Step 4: Building Coverage (Second Coat)
Once the first coat is dry to the touch, apply a second thin coat of your sheer nude polish. You should start to see the color deepening and becoming more opaque, while still retaining that beautiful sheer quality. Again, let this coat dry thoroughly. If you desire even more depth or color payoff, you can apply a third thin coat, ensuring each layer dries adequately before applying the next.
Step 5: Seal the Deal with a Top Coat
This is what gives your manicure that glossy, lasting finish. Apply one generous, smooth layer of your top coat. Make sure to cap the free edge of your nail by running the brush along the tip. This helps prevent chipping and adds extra shine. Let your top coat dry completely. This can take anywhere from 5-10 minutes, depending on the formula.
Step 6: Hydrate and Admire!
Once your nails are fully dry (and resist the urge to touch them for a while!), apply a drop of cuticle oil to each nail. Gently massage it into your cuticles and the surrounding skin. This adds a final touch of polish and keeps your nails looking healthy and well-cared-for. Now, admire your beautiful, effortless sheer nude nails!
Troubleshooting Common Sheer Nude Nail Issues
Even with simple manicures, we can hit a few snags. Here are some common issues with sheer nude nails and how to fix them:
- Streaky Application: This is common with sheer formulas. Ensure your polish is mixed well (roll the bottle gently, don’t shake!). Apply thin, even coats and let each one dry sufficiently before applying the next. If you have a stubborn streak, a gentle swipe with your slightly dampened (with polish remover) brush can sometimes smooth it out.
- Not Opaque Enough (or Too Opaque): Sheer polishes are meant to be subtle. If you want a bit more color without losing the sheer effect, a third thin coat is often the answer. If you accidentally went too opaque, you can try gently buffing a tiny bit of the color off, or simply remove it and start again with thinner coats.
- Uneven Color Distribution: This often happens if you’re applying too much polish or uneven strokes. Use a steady hand and aim for consistent coverage. A good base coat also helps create a more even canvas.
- Bubbles: Bubbles usually form when polish is applied too thickly or when shaking the bottle introduces air. Always apply thin coats and avoid shaking the bottle vigorously.
Remember, practice makes perfect! The more you do your nails, the better you’ll become at handling different polish formulas and achieving that flawless look.
Sheer Nude Nail Ideas: Elevating the Simple
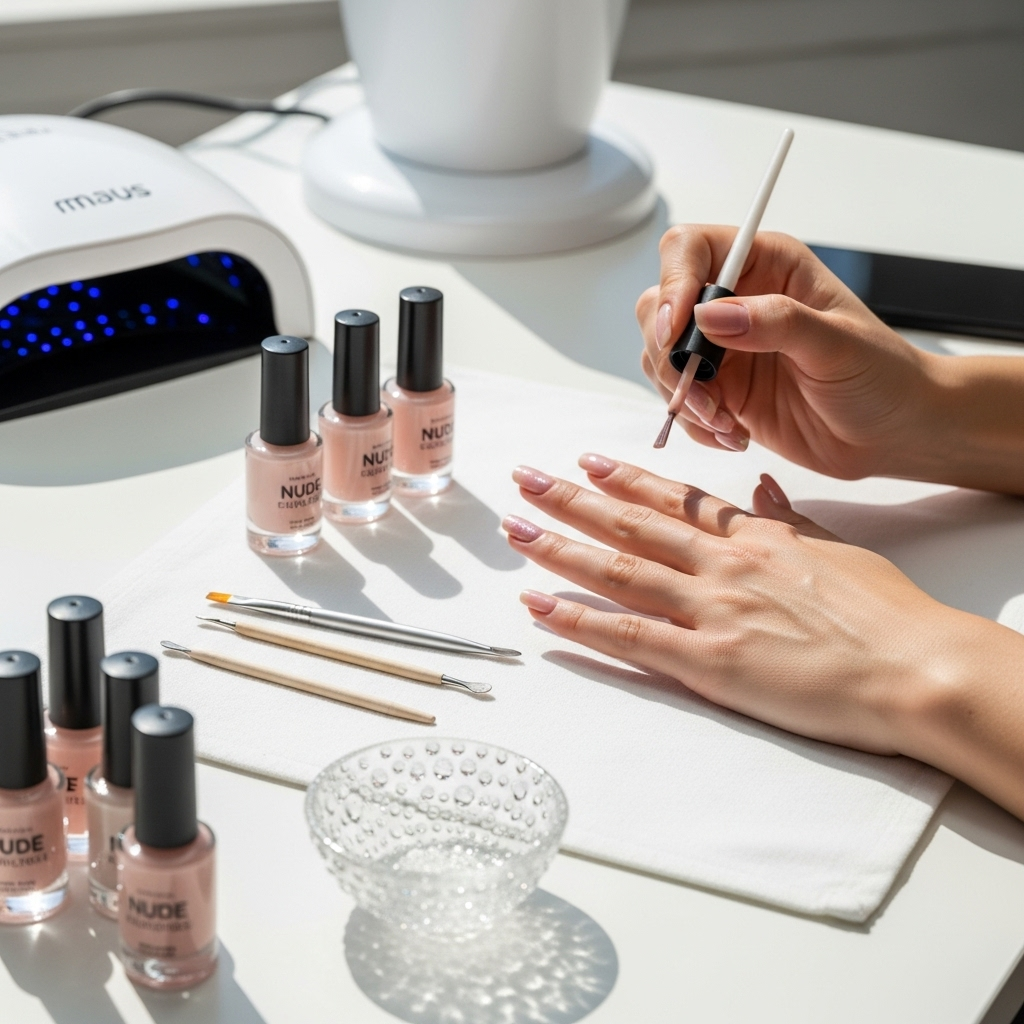
While a solid sheer nude polish is gorgeous on its own, you can easily elevate this classic look with a few simple additions. These ideas are beginner-friendly and add a touch of personality without overwhelming the natural beauty of sheer nude nails.
1. The French Manicure, Reimagined
A delicate sheer nude base with a crisp, white tip is a timeless choice. For a modern twist, try a sheer nude with a subtle shimmer base and a pearlescent white or even a soft champagne tip. This adds a refined glow that’s perfect for special occasions.
| Sheer Nude French Manicure Variations | Effect | Occasion |
|---|---|---|
| Classic Sheer Nude with White Tip | Clean, polished, understated elegance. | Everyday, professional, formal events. |
| Shimmer Sheer Nude with Pearlescent Tip | Soft glow, ethereal, romantic. | Weddings, date nights, holidays. |
| Sheer Nude with Colored Tip (e.g., Pastel, Gold) | Subtle pop of color, modern, trendy. | Spring/summer, creative workspaces. |
2. Subtle Shimmer & Glitter Accents
A sheer nude polish with a hint of iridescent shimmer or a fine glitter mixed in can add a touch of subtle sparkle. Alternatively, use a sheer nude as your base and add a single stripe of fine glitter polish along the cuticle line or across the tip. This minimalist approach is chic and eye-catching.
3. The “Clean Girl” Aesthetic: Minimalist Art
This trend embraces a polished, low-maintenance look. Think of adding a tiny dot at the base of one nail, a single delicate line down the center, or a minuscule heart near the cuticle using black, white, or a metallic polish. These tiny details make a big impact without being fussy, perfect for busy individuals.
4. Ombre with a Twist
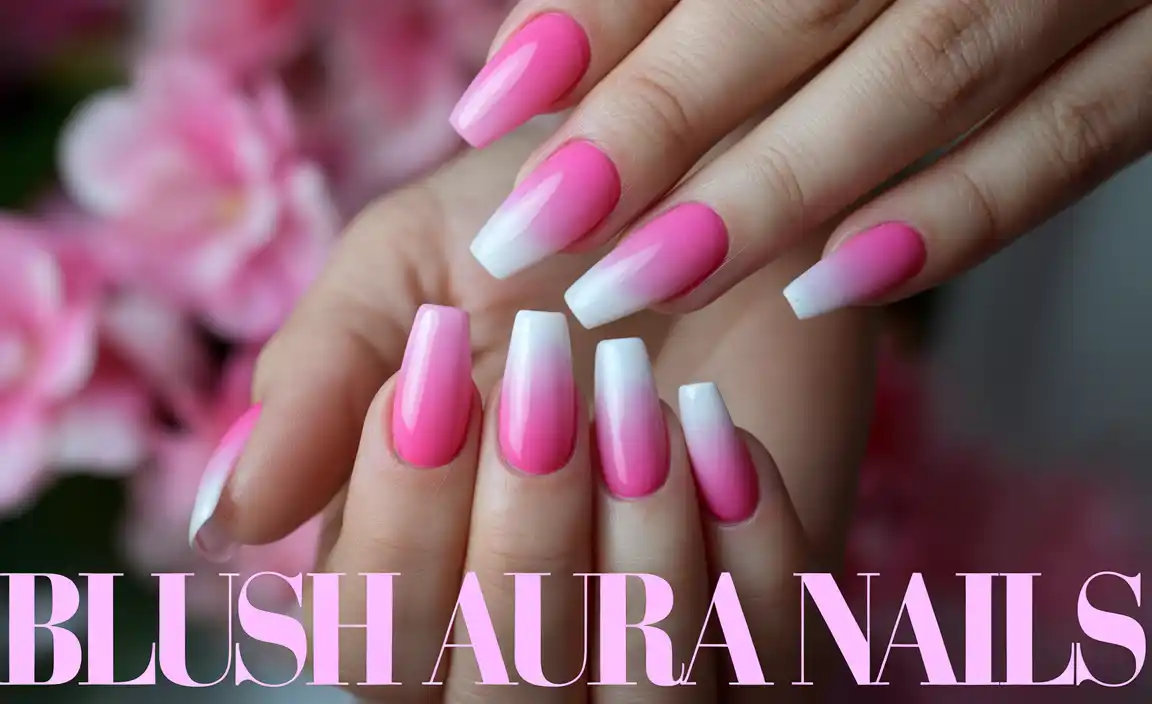
A sheer nude ombre can be incredibly sophisticated. Blend a couple of similar sheer nude shades together, or create a subtle gradient from a lighter sheer nude at the cuticle to a slightly deeper sheer nude at the tip. This adds dimension and visual interest.
5. Sheer Nude with Topical Designs
Embrace the idea of using your sheer nude nails as a canvas for delicate, placement-based designs. Think small fleurs-de-lis, tiny stars, or even subtle marble-effect decals strategically placed as an accent nail. You can explore tutorials on applying nail decals for beginners to get these looks.
6. Glossy vs. Matte Finish
Don’t forget the power of finish! A classic glossy top coat gives your sheer nude nails that undeniable shine. For a more modern and velvety look, switch to a matte top coat. Both are incredibly elegant and transform the same base color.
Maintaining Your Sheer Nude Manicure
To keep your beautiful sheer nude nails looking pristine for as long as possible, a little maintenance goes a long way. Here are some tips:
- Reapply Top Coat: Every 2-3 days, apply a fresh layer of top coat. This reinforces the protective barrier, adds shine, and helps prevent chips.
- Moisturize Regularly: Keep your hands and cuticles hydrated with lotion and cuticle oil. Dry skin can make even the most perfect manicure look less polished. Apply cuticle oil daily, especially before bed.
- Protect Your Nails: Wear gloves when doing household chores, especially washing dishes or using cleaning chemicals. These can degrade the polish and dry out your hands and nails.
- Be Gentle: Avoid using your nails as tools to open cans, scrape off labels, or pry things open. This is a surefire way to cause chips and breaks.
- Quick Fixes: If you notice a tiny chip, you can sometimes carefully file it smooth and apply a dab of top coat or even a tiny bit of your sheer nude polish to blend it in.
With these simple habits, your effortless sheer nude manicure can last longer, continuing to provide that polished, put-together look.
The Longevity of Sheer Nude Nails
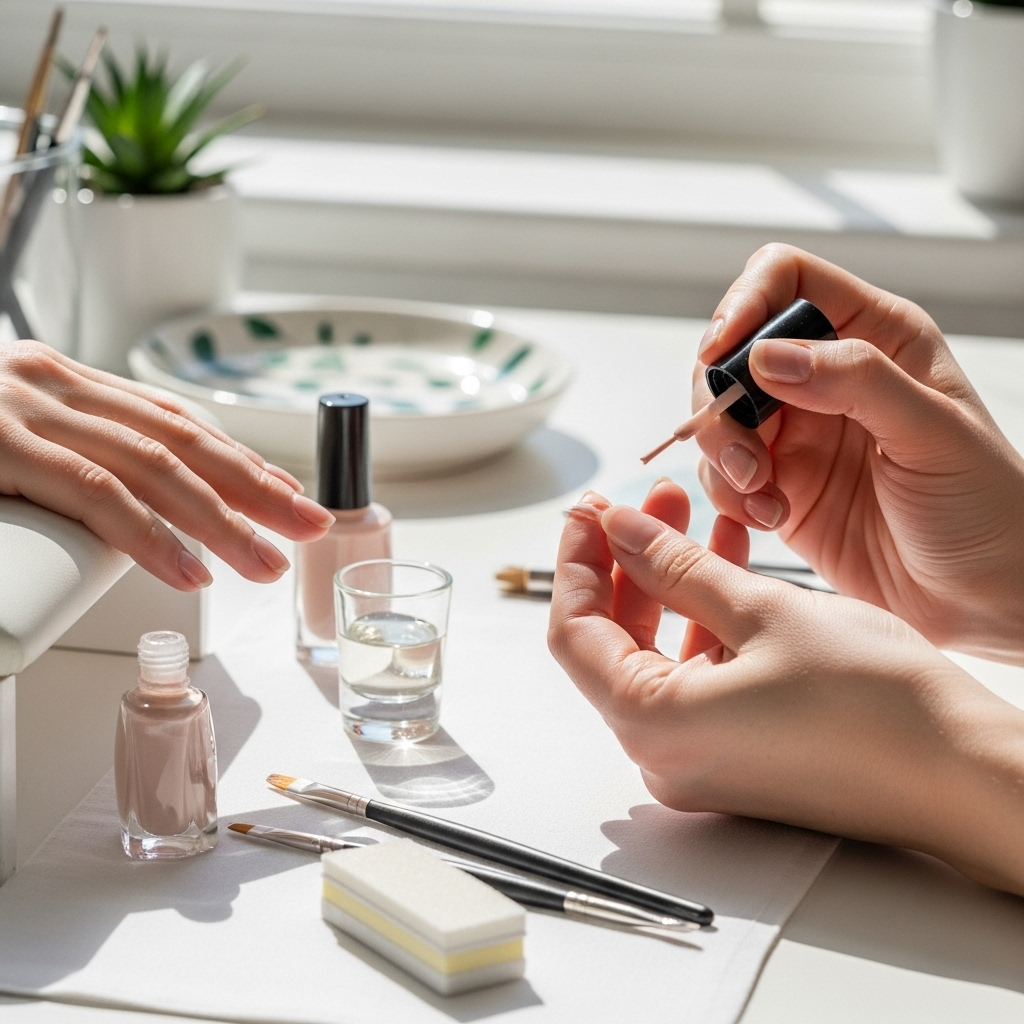
Sheer nude nails have a unique advantage when it comes to longevity compared to bolder colors. Because they are subtle, minor imperfections like slight tip wear or small chips are often less noticeable. This means your manicure can look good for a longer period. When applied correctly with a good base and top coat, a well-maintained sheer nude manicure can last anywhere from 5 to 10 days. The key is the application technique – thin, even coats that are allowed to dry properly, combined with regular top coat touch-ups and diligent moisturizing, will significantly extend the life of your manicure. For even longer wear, especially if you’re hard on your hands, consider using a gel polish system at home, which can last up to two weeks. However, the beauty of traditional polish is its ease of removal and reapplication, making touch-ups or full changes convenient.
FAQs About Sheer Nude Nails
Q1: What makes a nail polish “sheer”?
A sheer nail polish has a translucent formula. Unlike opaque polishes that cover the nail bed completely, sheer polishes allow a hint of your natural nail to show through, creating a delicate, translucent color effect.
Q2: Are sheer nude nails suitable for all skin tones?
Yes! The trick is finding the right undertone within the nude family. Shades with pink, peach, or caramel undertones exist to complement a wide range of skin tones, ensuring everyone can find a flattering sheer nude shade.
Q3: How many coats of sheer nude polish should I use?
This depends on the specific polish and the desired look. Generally, two to three thin coats are recommended. Each coat builds coverage without becoming too thick, preserving the sheer, natural-looking effect.
Q4: Can I wear sheer nude nails to professional events?
Absolutely! Sheer nude nails are a top choice for professional environments. They are understated, elegant, and convey a sense of polish and competence without being distracting.
Q5: How do I prevent sheernude polish from looking streaky?
Ensure your polish is well-mixed (roll the bottle!). Apply thin, even coats, and allow adequate drying time between each layer. Using a good quality brush and a steady hand also helps achieve a smooth, streak-free finish.
Q6: Is a base coat really necessary for sheer nude polish?
Yes, especially for lighter-colored polishes, a base coat is highly recommended. It protects your natural nails from potential staining, creates a smoother surface for polish application, and helps your manicure last longer by improving adhesion.
Conclusion: Embrace the Effortless Allure
Sheer nude nails are more than just a trend; they’re a timeless statement of understated elegance. They offer a polished, refined look that complements every style, skin tone, and occasion. From the simple beauty of a single shade to the subtle sophistication of a French tip or a hint of shimmer, there are endless ways to embrace this effortless allure. By understanding how to choose the right shade, prepare your nails, and apply the polish with care, you can achieve that perfect “my nails, but better” finish right at home. So go ahead, experiment with different sheer nude tones, add a touch of your personality with minimalist accents, and enjoy the confidence that comes with beautifully simple nails. Your perfect, effortless manicure awaits!

