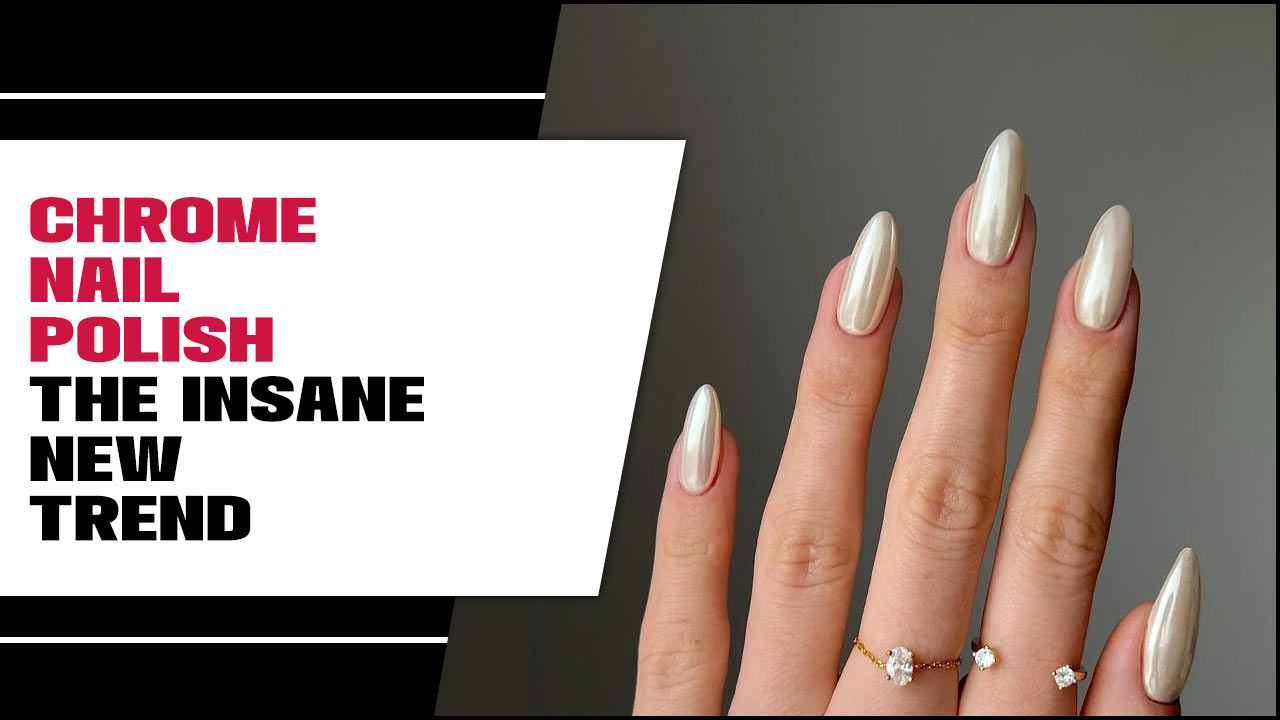
Sheer glaze nails are a trendy, glassy finish for your nails, achieved with translucent polish for a subtle, luminous look. This guide breaks down how to get this beautiful, effortless style at home, ensuring a professional-looking manicure that’s perfect for any occasion.
Ever scrolled through nail inspo and seen those gorgeous, almost-see-through nails that look like perfectly polished candy? Those are likely sheer glaze nails, and guess what? You can totally rock this look yourself! Many people feel intimidated by trendy nail techniques, thinking they need professional skills or fancy tools. But the truth is, achieving that beautiful, subtle glaze effect is simpler than you might think. This guide is your friendly roadmap to understanding and creating stunning sheer glaze nails right at your fingertips. Get ready to add a luminous touch to your style without any fuss!
What Exactly Are Sheer Glaze Nails?
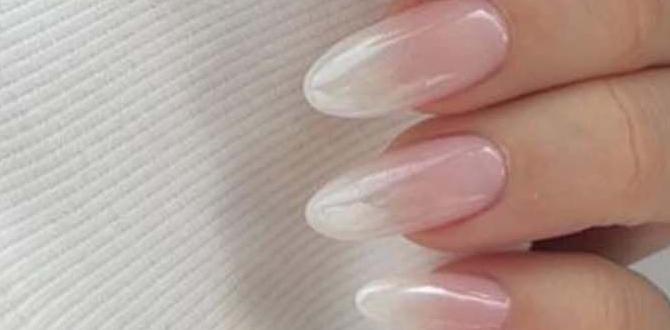
Sheer glaze nails are all about achieving a delicate, translucent color with a high-gloss finish. Think of it like a stained-glass window for your nails, or the sweet, shiny coating on a piece of hard candy. Unlike opaque polishes, sheer polishes allow a hint of your natural nail to show through, creating a soft, diffused color that looks incredibly sophisticated and modern. This multi-dimensional effect makes them a favorite for those who love a polished look without being over the top. They’re versatile, chic, and surprisingly easy to master!
Why Are Sheer Glaze Nails So Popular?
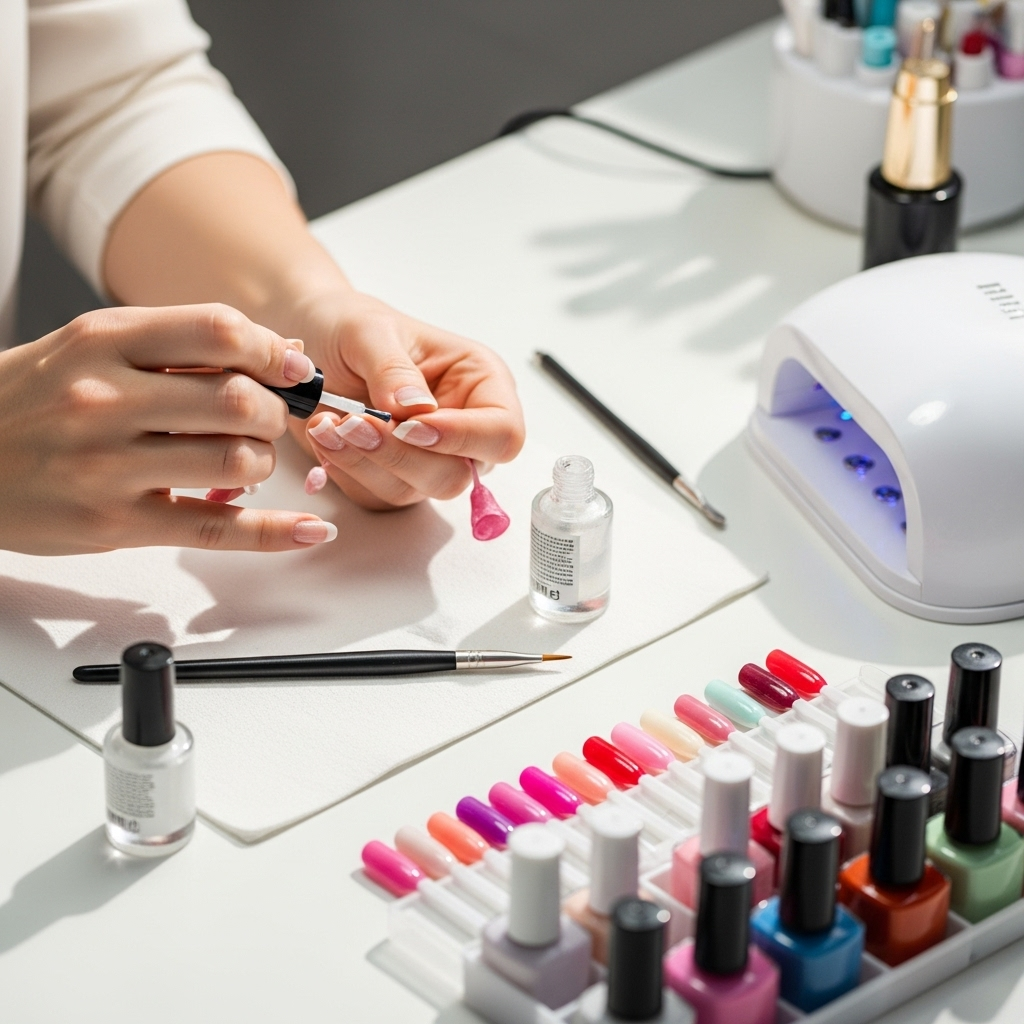
Their popularity isn’t just a fleeting trend; it’s built on solid style. Sheer glaze nails offer a unique blend of subtlety and impact. They give your nails a healthy, “lit-from-within” glow that’s universally flattering. Plus, they are incredibly forgiving for DIY manicures, as any minor imperfections are less noticeable than with opaque polishes. This makes them ideal for beginners and busy individuals alike. They also pair beautifully with almost any outfit and occasion, from casual everyday wear to elegant evening events, making them a go-to for a polished finish.
The Magic Behind the Sheen: How Sheer Polish Works
The secret to sheer glaze nails lies in the formula of the polish itself. Unlike regular nail polish, which is packed with pigments to create a solid color, sheer polishes contain a much lower concentration of pigment suspended in a clear base. This allows light to pass through the polish, giving it that translucent, glowing effect. When applied in multiple thin coats, the color deepens, and the light refracts and reflects off the surface multiple times, creating the signature “glaze” or “glassy” look. It’s this interplay of light and subtle color that makes them so captivating.
Essential Tools and Materials for Sheer Glaze Nails
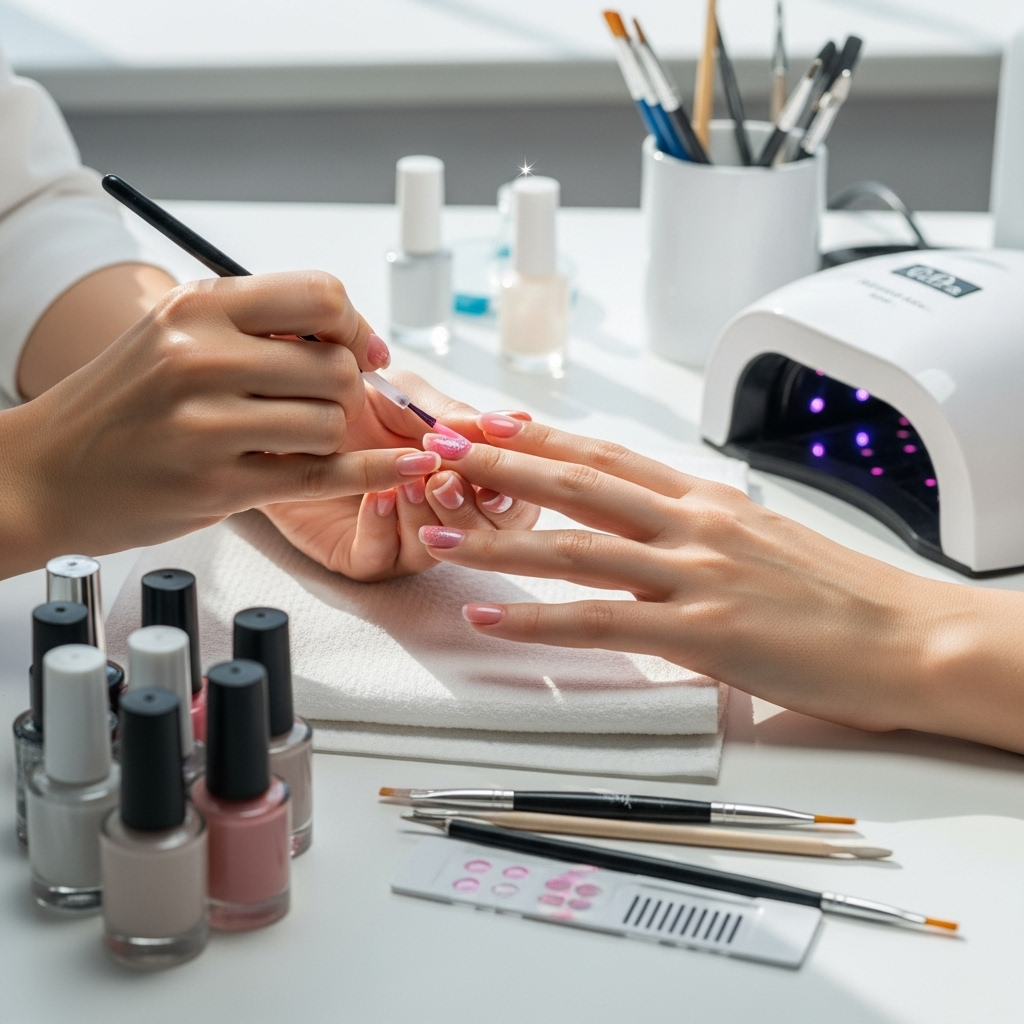
Getting that perfect sheer glaze finish at home is totally achievable with a few key items. You don’t need to be a pro nail tech to gather what you need; most of these are staples in any nail polish collection. Having the right tools makes the application smoother and the results so much better. Let’s break down what you’ll want to have on hand:
Nail Prep Essentials:
- Nail Polish Remover: To ensure a clean canvas, it’s crucial to remove any existing polish.
- Cotton Pads or Balls: For applying the remover.
- Cuticle Pusher or Orangewood Stick: To gently push back your cuticles for a neat appearance.
- Nail File: To shape your nails to your desired length and form.
- Buffing Block: A gentle buffer can smooth out ridges and create a perfect surface for polish.
The Star Players: Polishes and Top Coat
- Base Coat: Essential for protecting your natural nails, preventing staining, and helping the polish adhere better.
- Sheer Polish(es): This is where the magic happens! Choose your desired color(s).
- Top Coat: A high-shine, quick-dry top coat is crucial for achieving that signature glassy glaze and sealing your manicure.
Application Aids:
- Thin Nail Art Brush (Optional): For any minor clean-ups or intricate details if you decide to get creative.
- Clean-up Brush or Cotton Swabs: For tidying up any polish that got on your skin.
- Alcohol Swabs or Lint-Free Wipes: To ensure nails are free of natural oils before polish application.
Step-by-Step: Achieving Your Perfect Sheer Glaze Nails
Ready to dive in? Here’s a simple, step-by-step guide to get you those beautiful sheer glaze nails. We’ll keep it easy, fun, and focused on achieving a professional look from start to finish. Remember, patience and thin coats are your best friends here!
- Prep Your Nails: Start by removing any old polish. Then, gently push back your cuticles. Shape your nails with a file. Lightly buff your nail surface with a buffing block to create a smooth canvas. This step is vital for a long-lasting, beautiful manicure.
- Apply Base Coat: Swipe on a thin, even layer of your favorite base coat. Let it dry completely. This protects your nails and helps the color glide on smoothly.
- Apply First Coat of Sheer Polish: This is where the fun begins! Apply a thin, even coat of your chosen sheer polish. Don’t worry if it looks streaky; that’s normal with sheer polishes. The real magic happens with subsequent coats. Let this layer dry for at least 1-2 minutes.
- Apply Second Coat of Sheer Polish: Apply another thin coat of the sheer polish. You’ll notice the color becoming more defined and less streaky. The goal is to build up the color gradually. Allow this coat to dry for at least 1-2 minutes.
- Apply Third Coat (Optional): For a deeper color or more intense glaze effect, apply a third thin coat. Again, let it dry sufficiently. The number of coats depends on the opacity of your sheer polish and your desired color intensity.
- Nail Clean-up: If any polish has smudged onto your skin, now is the time to clean it up. Dip a small brush or cotton swab into nail polish remover and carefully trace around your cuticle line to create crisp edges.
- Apply Top Coat: Once your sheer polish layers are completely dry, apply a generous, high-shine top coat. This is what gives your nails that ultra-glossy, glassy glaze effect. Make sure to cap the free edge of your nails by running the brush along the tip.
- Final Dry and Enjoy: Let your nails dry completely. For a quick-dry top coat, this might only take a few minutes. Now, admire your beautiful, luminous sheer glaze nails!
Choosing Your Perfect Sheer Polish Shade
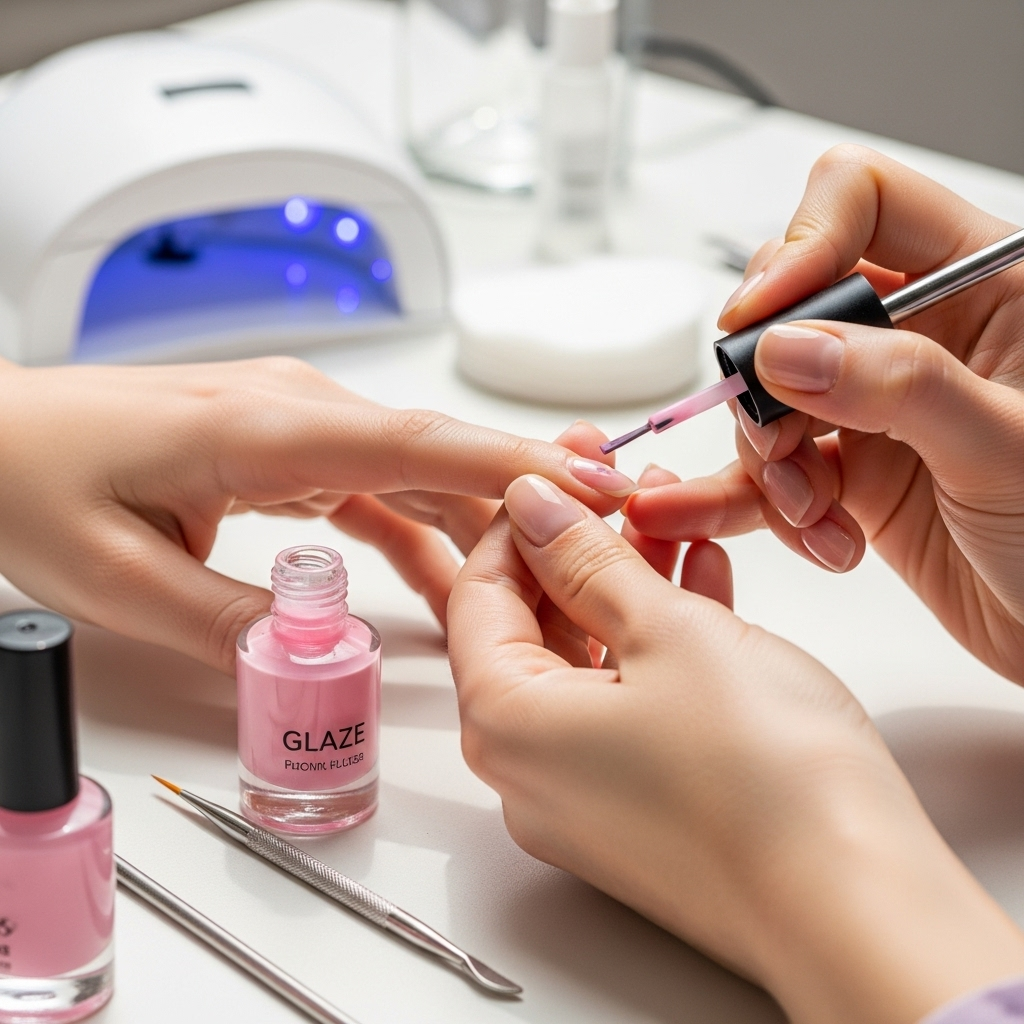
The beauty of sheer glaze nails is their versatility in color. You can opt for classic, subtle tones or go for something a bit more playful. Here’s a guide to popular shades and what to consider:
Popular Sheer Polish Colors:
- Sheer Pink/Ballet Slipper: Think natural, healthy-looking nails with a subtle flush of color. Perfect for everyday wear and a “your nails but better” effect.
- Sheer Nude/Beige: Offers a sophisticated, clean look that elongates the fingers. Great for professional settings or a minimalist vibe.
- Sheer Peach/Coral: Adds a touch of warmth and a gentle glow, bringing a subtle summery feel.
- Sheer Lilac/Lavender: A delicate, romantic hue that can look ethereal and chic.
- Sheer Red/Berry Tones: Provides a more noticeable pop of color while still maintaining that translucent glaze effect. Think of it like a juicy piece of fruit!
Factors When Choosing:
- Your Skin Tone: Just like with foundation, some shades will complement your skin tone better. Warmer tones often look great with peachy or coral sheers, while cooler tones can shine with pinks or lilacs. Neutrals work wonderfully for everyone.
- Desired Look: Are you aiming for an ultra-subtle, barely-there effect, or do you want a more pronounced color? This will dictate how many coats you apply and the depth of the shade you choose.
- Occasion: For professional environments, stick to nudes, soft pinks, or beige. For a fun weekend look, consider peach, coral, or even a sheer berry tone.
Don’t be afraid to experiment! Sometimes, the unexpected shade can be the most stunning. You can even layer different sheer colors to create unique custom shades.
Pro Tips for a Flawless Glaze Finish
Want to elevate your sheer glaze nails from good to absolutely stunning? Lisa Drew from Nailerguy has a few secrets up her sleeve to ensure your manicure looks like it came straight from a salon. These tips are easy to incorporate and make a big difference!
- Thin Coats are Key: I cannot stress this enough! Thick coats of any polish can lead to bubbling and a messy finish, but with sheer polishes, thin coats are essential for building that smooth, even translucency and avoiding streaks.
- Allow Drying Time Between Coats: Impatience is the enemy of a good manicure. Let each coat of sheer polish dry for at least 1-2 minutes before applying the next. This prevents smudging and ensures a smooth, even application.
- The Top Coat is Your Best Friend: Don’t skimp on the top coat! A high-quality, shiny top coat is what truly brings out the “glaze” effect and adds that irresistible glass-like finish. Look for quick-dry formulas to speed up the process.
- Seal the Deal with Edge Capping: Running your top coat brush along the free edge (the tip) of your nail is a crucial step. This “caps” the polish and helps prevent chipping, making your gorgeous glaze last longer.
- Moisturize Those Cuticles: Healthy cuticles frame your beautiful nails. After your polish is completely dry, apply a good cuticle oil. This makes your whole manicure look polished and keeps your skin healthy.
- Cleanliness is Next to Glaze-ness: Ensure your nail plates are completely free of oils and dust before you start. Use an alcohol swab or a dedicated nail dehydrator for a squeaky-clean surface. This helps your polish adhere properly.
- Consider a Gel Top Coat (With Caution): For ultimate shine and durability, some people opt for a gel top coat applied over their regular sheer polish, curing it under a UV/LED lamp. However, ensure you’re familiar with gel polish removal to avoid damaging your nails. For beginners, a high-quality regular top coat is usually sufficient.
Beyond Basic Sheer: Adding a Touch of Flair
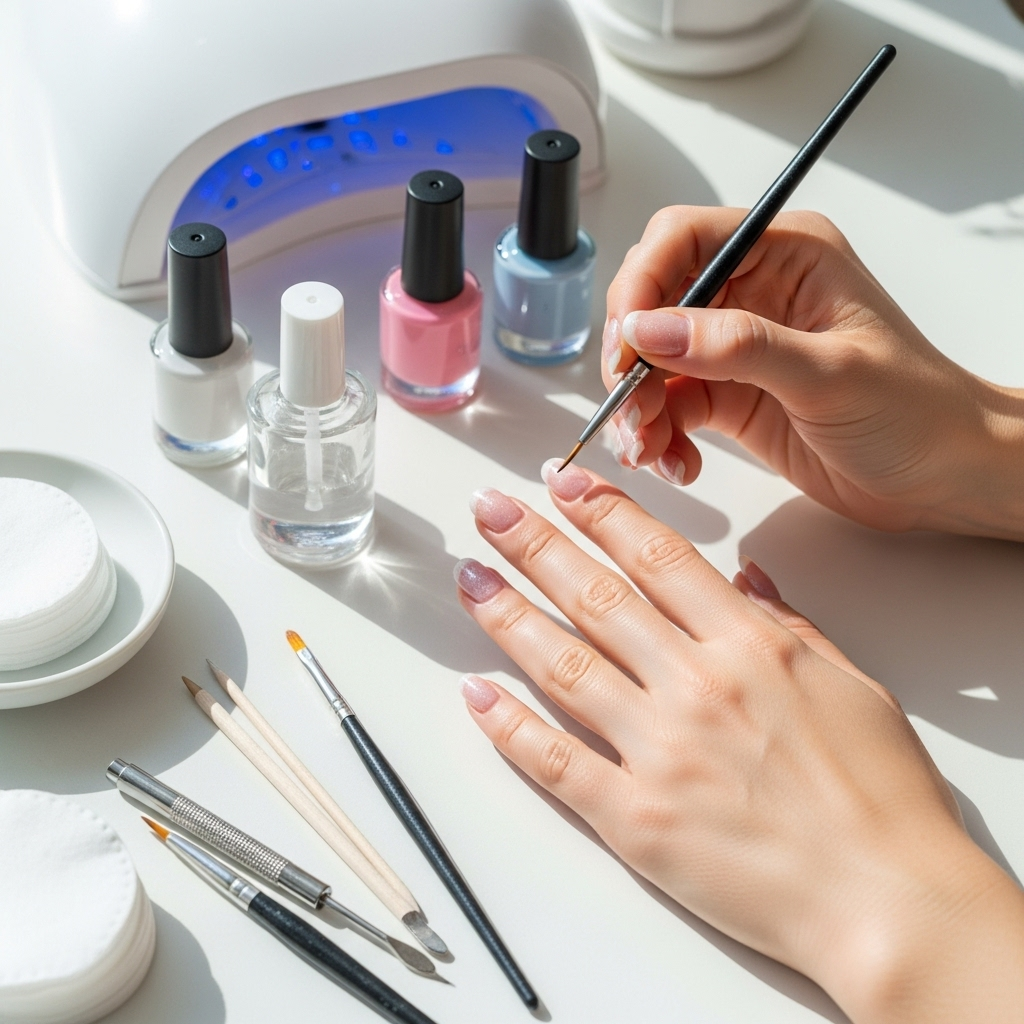
Once you’ve mastered the basic sheer glaze nail, why stop there? These translucent canvases are perfect for adding a little something extra. Here are some fun ways to play with the sheer glaze look:
Subtle Nail Art with Sheer Polish:
- Ombre Effects: Blend two sheer colors together for a soft, gradient look. Start with one color at the base and blend another towards the tip, or create a gradient across multiple nails.
- French Tips: Use a sheer pink or nude as your base and a slightly more opaque or a contrasting sheer color for delicate French tips.
- Minimalist Designs: Use a fine-liner brush and a slightly darker or metallic polish to add tiny dots, lines, or abstract shapes over your sheer base.
Layering for Depth:
- Glazed Donut Nails, Simplified: While the viral “glazed donut” look often involves a chrome powder over a sheer polish, you can get a similar luminous effect by layering a pearlescent or iridescent sheer polish over a solid base color.
- Color Mixing: Mix a drop of a more pigmented polish into a clear or sheer base to create your own custom sheer shade.
The key is to keep the art subtle so it complements, rather than overwhelms, the beautiful sheer glaze effect. Remember, it’s all about enhancing the translucency and shine!
Sheer Glaze Nails vs. Other Nail Finishes
To truly appreciate the beauty of sheer glaze nails, it helps to understand how they compare to other popular nail finishes. Each offers a distinct look and feel.
| Finish Type | Description | Sheer Glaze Comparison |
|---|---|---|
| Opaque Cream | Full coverage, solid color with a smooth finish. Pigment-heavy. | Sheer glaze is translucent; opaque cream is solid and lacks depth. |
| Jelly | Translucent, vibrant, and often more saturated color than sheer, with a glassy look. | Similar translucency but jelly polishes are typically more intensely colored and less “diluted.” |
| Metallic | Polished, reflective finish with a high shine and often a brushed metal appearance. | Sheer glaze focuses on translucency and subtle luminosity, not intense reflection. |
| Matte | Non-shiny, velvety finish that absorbs light. | Sheer glaze is all about high gloss; matte is the opposite. |
| Glitter | Contains small reflective particles (glitter) suspended in a clear or colored base. | Sheer glaze is smooth and uniform; glitter has texture and sparkle. |
As you can see, sheer glaze nails sit in a sweet spot, offering a sophisticated translucency that’s distinct from solid colors, vibrant jellies, or sparkling glitters. They provide a unique “lit-from-within” quality that’s hard to achieve with other finishes.
Nail Care for Maintaining Your Sheer Glaze Look
To keep your beautiful sheer glaze nails looking their best, a little ongoing care goes a long way. Just like any manicure, protecting your work will help it last and keep your nails healthy underneath.
- Regular Moisturizing: Keep your hands and cuticles hydrated. Dry, flaky skin can detract from even the most perfect polish. Use cuticle oil daily and a good hand cream as needed.
- Touch up Chips Promptly: If you notice a small chip on a single nail, you can often fix it by applying another thin coat of your sheer polish followed by a top coat, rather than redoing the whole nail.
- Wear Gloves for Chores: Protect your nails from harsh chemicals and prolonged water exposure by wearing rubber gloves when washing dishes, cleaning, or gardening. This is one of the best ways to extend the life of any manicure.
- Avoid Using Nails as Tools: Resist the urge to open cans, scrape labels, or use your nails to pry things open. This puts unnecessary stress on the polish and your natural nail. Check out nail strengtheners if you find your nails are prone to breaking.
- Gentle Removal: When it’s time to change your color, use an acetone-free or good quality nail polish remover. Soak a cotton ball, press it onto the nail for a few seconds to soften the polish, and then gently wipe away. Avoid harsh scrubbing.
Frequently Asked Questions About Sheer Glaze Nails
What is the difference between sheer polish and jelly polish?
Sheer polish is more diluted with pigment, offering a very light, translucent wash of color with a soft, diffused look. Jelly polish has less pigment than cream but more than sheer, creating a more vibrant, glass-like, and often brighter translucent effect. Think of sheer as a light tint and jelly as a vibrant candy.
How many coats of sheer polish should I use?
It depends on the specific polish and your desired color intensity. Typically, 2-3 thin coats are recommended. Start with two and see if you like the color. Add a third if you want it deeper. Always ensure each coat is dry before applying the next.
Can I use regular nail polish and make it sheer?
You can achieve a sheer effect by mixing a tiny amount of opaque polish with a clear polish or a clear top coat. However, control is key, as too much opaque polish will make it streaky or solid. It’s generally easier and yields better results to use polishes specifically formulated as sheer.
Are sheer glaze nails suitable for all nail lengths?
Absolutely! Sheer glaze nails look fantastic on all nail lengths, from short and practical to long and dramatic. The translucent effect can actually make shorter nails appear longer and more elegant.
How long do sheer glaze nails typically last?
With proper application and care, sheer glaze nails can last anywhere from 5-10 days, similar to regular manicures. Using a good base coat and a robust top coat, especially capping the free edge, will significantly improve longevity. Avoiding harsh chemicals and using gloves for chores also helps.
What’s the best way to clean up mistakes with sheer polish?
Use a small, precise brush (like a fine liner nail art brush or a small synthetic makeup brush) dipped in nail polish remover. Gently trace around the cuticle and sidewalls where the polish shouldn’t be. Cotton swabs can be used for larger mistakes, but brushes offer more

