Shattered Glass Nails: Your Stunning Guide
Shattered glass nails create a mesmerizing, iridescent effect that looks like tiny, fragmented pieces of a mirror or crystal embedded on your nails. This stunning manicure trend is surprisingly achievable for beginners with the right tools and a few simple steps. Get ready to turn heads with this dazzling nail art!
What Exactly Are Shattered Glass Nails?
Imagine tiny, glittering shards scattered across your nail bed, catching the light with every move. That’s the magic of shattered glass nails! This unique nail art technique uses special holographic or iridescent cellophane pieces to mimic the look of broken glass. It’s a modern, eye-catching design that adds a touch of glamour and sophistication to any outfit.
This trend has exploded in popularity because it’s incredibly versatile. Whether you prefer a subtle shimmer or a bold, full-coverage look, shattered glass nails can be customized to your style. Plus, they offer a fantastic way to experiment with nail art without needing advanced freehand skills.
In this guide, we’ll break down everything you need to know to achieve this stunning effect at home. We’ll cover the essential tools, a simple step-by-step process, and tips to make your shattered glass nails last. Let’s dive in and create some nail art magic!
Why You’ll Love Shattered Glass Nails
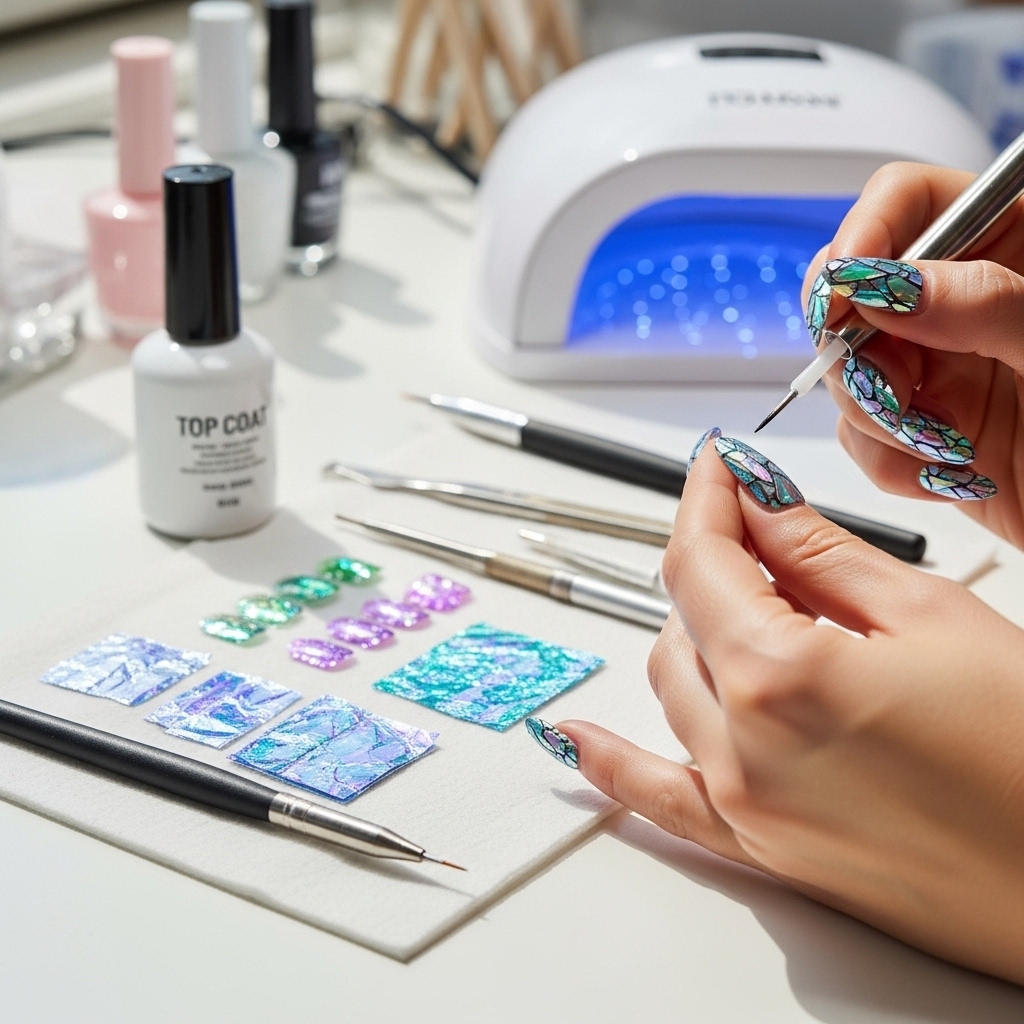
This trend isn’t just about looking fabulous; it’s also about the experience. Shattered glass nails are:
- Eye-Catching: They reflect light beautifully, making your nails the center of attention.
- Unique: Stand out from the crowd with a manicure that’s truly different.
- Versatile: Works with almost any polish color as a base and can be styled subtly or boldly.
- Achievable: You don’t need to be a nail art pro to get this look!
- Long-Lasting: With proper application, your shattered glass effect can stay put for days.
Essential Tools for Your Shattered Glass Manicure
Gathering the right supplies is key to a successful shattered glass nail design. Don’t worry, most of these are readily available at beauty supply stores or online. Here’s what you’ll need:
- Base Coat: To protect your natural nails and help polish adhere.
- Colored Nail Polish: This will be your background color. Darker colors often make the shattered glass pieces pop more!
- Shattered Glass Nail Foil/Cellophane: This is the star product! It usually comes in sheets of iridescent or holographic material. You can find them in various colors and finishes. A quick search for “aurora nail foil” or “iridescent nail flakes” will yield great results.
- Top Coat: A good quality, quick-drying top coat is crucial for sealing in the design and adding shine.
- Tweezers or a Nail Art Tool: For picking up and placing the tiny foil pieces.
- Scissors or Cuticle Nippers: To cut the foil into smaller, manageable pieces.
- Optional: Gel Polish & UV/LED Lamp: If you prefer a gel manicure, you’ll need gel base coat, gel color, and a UV/LED lamp to cure each layer. Gel polish offers superior durability and shine for this design.
Step-by-Step: Creating Your Shattered Glass Nails
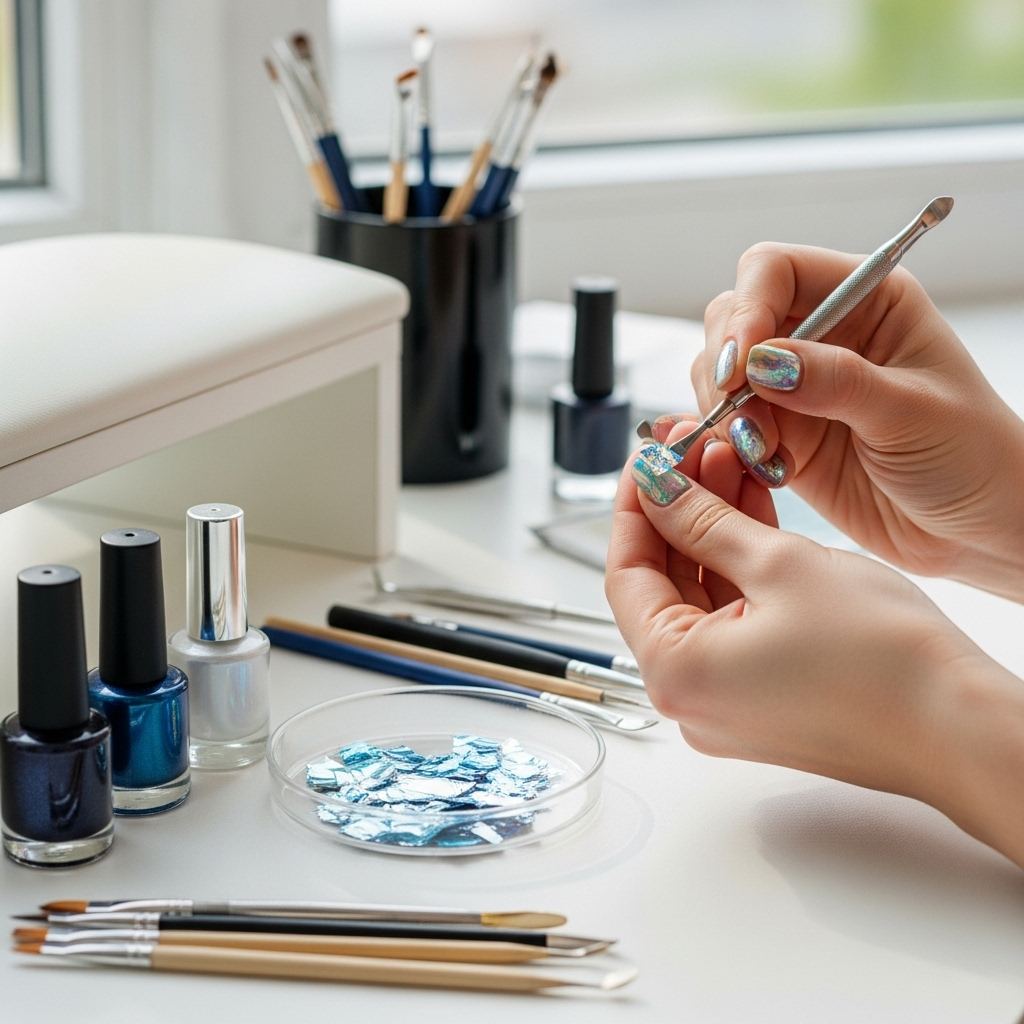
Ready to get started? Follow these simple steps for a dazzling shattered glass manicure:
Step 1: Prepare Your Nails
Start with clean, dry nails. Push back your cuticles gently using a cuticle pusher. If you have any old polish on, remove it completely with nail polish remover. For a smoother finish, you can gently buff your nails with a fine-grit nail file. This step is crucial for any manicure, ensuring a clean canvas for your art.
Step 2: Apply Your Base Coat
Apply one thin layer of your chosen base coat. This protects your nails from staining and provides a smooth surface for your polish. Let it dry completely.
Step 3: Apply Your Colored Polish
Paint your nails with your desired base color. For a true shattered glass effect, dark colors like black, deep blue, or burgundy work exceptionally well as they create a dramatic contrast. Apply one or two coats, allowing each to dry thoroughly. If you’re using gel polish, cure each coat under your UV/LED lamp according to the manufacturer’s instructions.
Step 4: Prepare the Shattered Glass Foil
This is where the magic begins! Take your shattered glass nail foil and use clean scissors or cuticle nippers to cut it into small, irregular shapes. You want pieces that range from tiny specks to slightly larger fragments. The more varied the shapes, the more realistic and “shattered” the effect will look. Don’t aim for perfect shapes like squares or circles – think organic and broken.
Step 5: Apply the Foil Pieces
This step requires a bit of patience. Dip the tip of your tweezers or nail art tool into your cuticle oil or a tiny bit of nail glue (if using regular polish, this helps the foil stick; with gel, you often apply it to a slightly tacky cured surface). Carefully pick up a foil piece and place it onto your nail. You can arrange them randomly, overlap them slightly, or create a specific pattern. Don’t worry about covering the entire nail if you want a more subtle look; strategically placed pieces can be just as effective. If a piece isn’t quite where you want it, you can carefully nudge it with your tool. If you’re using gel, you would typically apply the foil to a tacky, uncured layer of gel top coat, pressing it gently into the surface, and then cure. Alternatively, you can apply it to a fully cured gel top coat. For regular polish, a slightly tacky surface is often best.
A common and effective method for gel polish is:
- Apply and cure your colored gel polish.
- Apply a thin layer of gel top coat and do not cure it. Let it stay tacky.
- Gently press the foil pieces onto the tacky top coat.
- Once you’re happy with the placement, cure your nails under the UV/LED lamp.
For regular nail polish, you can apply the foil to a nail that is mostly dry but still has a slight tackiness, or use a tiny dab of nail glue under each piece for better adherence. Ensure the pieces are laying flat to avoid snagging.
Step 6: Seal the Design with Top Coat
Once all your foil pieces are in place and you’re happy with the look, it’s time to seal everything in. Apply a generous layer of your top coat. Make sure to cap the free edge of your nails – this is the tip of your nail – to prevent chipping and peeling. For gel manicures, cure the final layer of gel top coat under your UV/LED lamp.
It’s often recommended to apply two layers of top coat, especially if using regular polish, to ensure all the foil pieces are fully encapsulated and smoothed out. This protects the fragile foil from lifting and gives your nails a beautiful, smooth finish.
Step 7: Clean Up and Admire!
Use a small brush dipped in nail polish remover to clean up any polish smudges around your cuticles or fingertips. Then, step back and admire your stunning, DIY shattered glass nails!
Achieving Different Shattered Glass Effects
The beauty of shattered glass nails lies in their adaptability. Here’s how you can tweak the look:
- Full Coverage vs. Partial: Do you want your entire nail to gleam with fragmented light, or just a few strategically placed pieces? Full coverage is dramatic, while partial application can be more understated and elegant.
- Color Combinations: Experiment with different base colors and foil colors. A black base with iridescent foil is classic, but try a deep purple with blue-toned foil, or even a pastel base with rainbow foil!
- Underlying Sparkle: Before adding the shattered glass foil, you can apply a layer of glitter polish or fine glitter to the wet base color for an extra layer of dimension.
- Shape and Size of Foil Pieces: Tiny shards create a delicate shimmer, while larger, more irregular pieces give a bolder, more pronounced shattered effect.
Tips for Longevity and Flawless Application
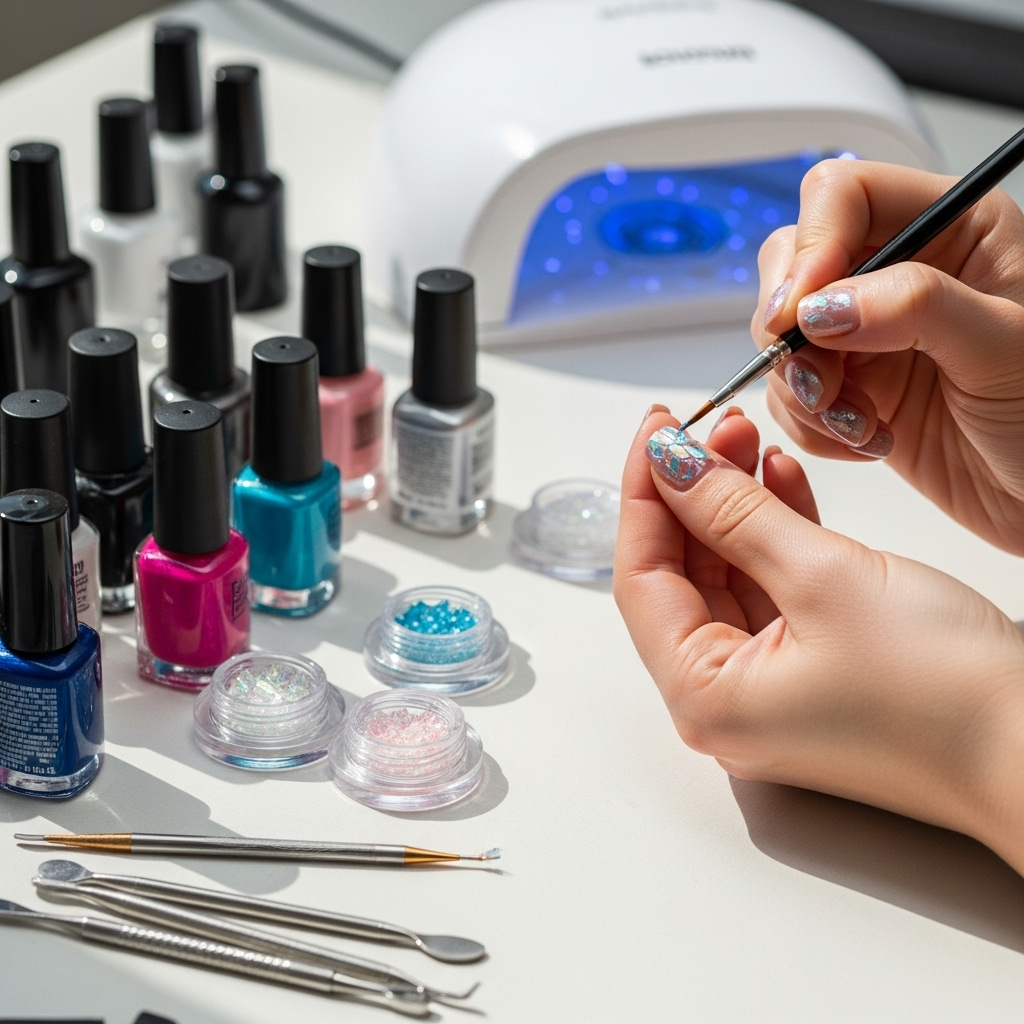
Want your shattered glass nails to last and look their best? Keep these tips in mind:
- Patience is Key: Don’t rush the drying times between coats, and take your time placing the foil pieces.
- Smooth Application: Ensure each foil piece lies as flat as possible. Lifting edges can snag and peel.
- Generous Top Coat: A thick, smooth top coat is vital for encapsulation and protection. Always cap your free edge!
- Regular Maintenance: Even with the best application, regular polish can chip. For gel, this is less of a concern.
- Avoid Harsh Chemicals: Wear gloves when doing household chores involving harsh cleaning agents, as these can degrade polish and top coats.
- File Gently: If you need to trim your nails, be careful not to snag the foil pieces.
Shattered Glass Vs. Other Nail Foils
You might have seen other types of nail foils. How does shattered glass differ?
Shattered glass foil typically refers to pre-cut, fragmented pieces of holographic or iridescent cellophane. Regular transfer foils, on the other hand, usually come in solid sheets with intricate designs that are transferred onto the nail using a special adhesive and then sealed. The application process and the final look are quite different. Transfer foils give a smooth, printed design, while shattered glass provides a textured, fragmented, light-reflecting effect.
Here’s a quick comparison:
| Feature | Shattered Glass Foil | Transfer Foil |
|---|---|---|
| Material Appearance | Fragmented, irregular pieces; iridescent/holographic | Solid sheets with designs; can be holographic or metallic |
| Application | Pieces are individually placed onto a tacky surface | Applied using foil glue or specific adhesive, then transferred |
| Texture | Slightly textured due to overlaid pieces | Smooth, flat design |
| Effect | Broken glass, mosaic, iridescent shimmer | Printed designs, metallic finishes, intricate patterns |
| Tools Needed | Tweezers, scissors, base/color/top coat (gel or regular) | Foil glue, applicator tool, base/color/top coat (gel or regular) |
Troubleshooting Common Issues
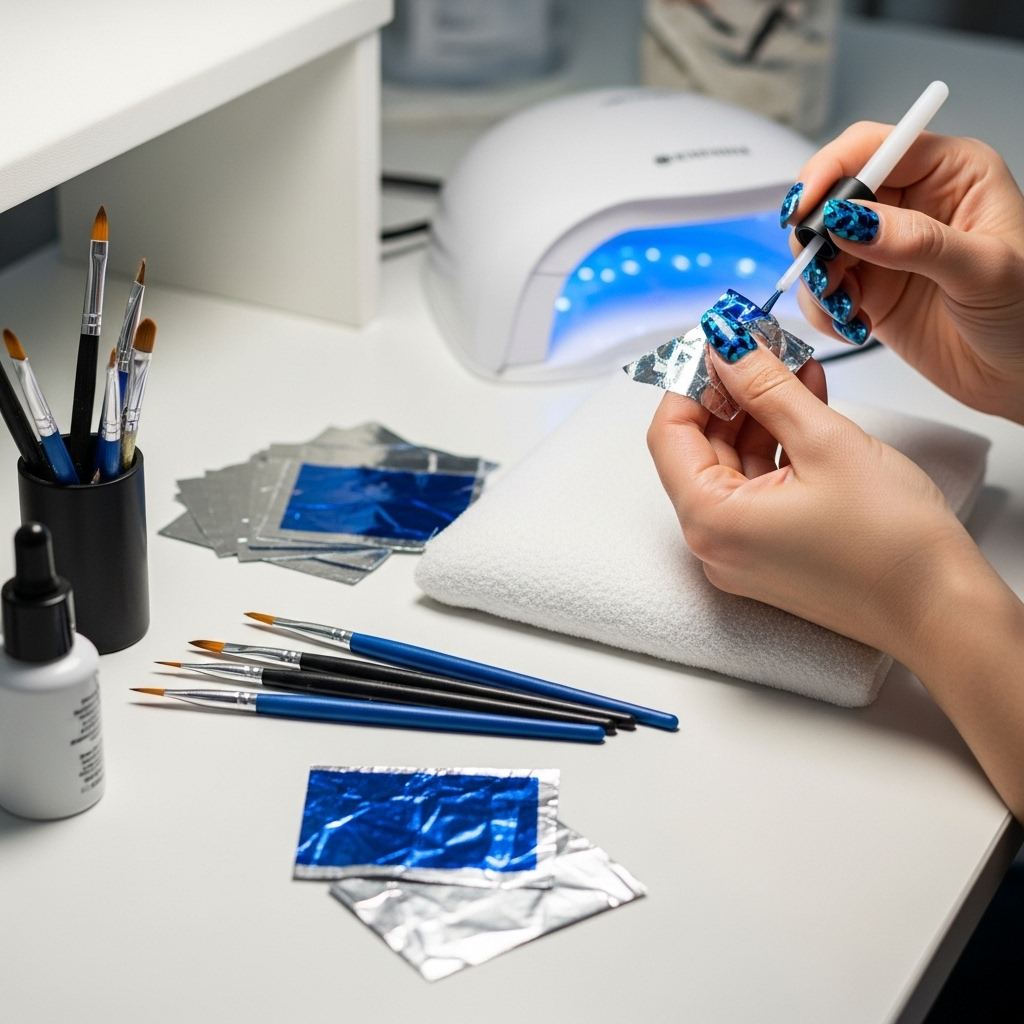
Even with the best intentions, you might run into a few hiccups. Here’s how to fix them:
- Foil Pieces Won’t Stick: If using regular polish, ensure the nail is slightly tacky. If it’s too wet, the foil will sink; if it’s too dry, it won’t adhere. Try a tiny bit of nail glue under tricky pieces. For gel, make sure you’re applying to a sufficiently tacky uncured layer or a properly prepped cured surface.
- Pieces Are Lifting: This usually means they weren’t fully encapsulated by the top coat. Apply another layer or two of top coat, making sure to cap the free edge.
- Uneven Surface: If the foil pieces create a bumpy texture, a few extra layers of a thicker top coat can help smooth it out. For gel, a builder gel or a thick viscosity top coat can be used to even out the surface before the final cure.
- Too Much Foil: If you feel you’ve gone overboard, you can gently scrape off some excess pieces with an orangewood stick before applying your final top coat.
FAQ: Your Shattered Glass Nail Questions Answered
Q1: Can I do shattered glass nails with regular nail polish?
Yes, absolutely! While gel polish often provides a more durable and seamless finish, you can achieve a beautiful shattered glass effect with regular nail polish. The key is to apply the foil pieces when the base color is mostly dry but still has a slight tackiness to help them adhere.
Q2: What color base is best for shattered glass nails?
Darker colors like black, navy, deep red, or purple tend to make the shattered glass effect pop the most because of the strong contrast. However, lighter colors can create a softer, more ethereal look, and even clear polish with strategically placed foil can be stunning.
Q3: How do I get the foil pieces to lie flat?
Gently press each piece down with your tweezers or nail art tool after placing it. Avoid bunching or overlapping pieces too much if you want a smooth finish. A generous top coat will further help to seal and smooth the surface.
Q4: How long do shattered glass nails typically last?
With regular nail polish, you can expect them to last 3-5 days, depending on how much wear and tear your hands endure. If you use gel polish and cure properly, they can last two weeks or even longer!
Q5: Can I reuse the shattered glass foil?
No, once the foil has been applied and sealed, it’s not designed to be reused. The adhesive properties are used up in the transfer process.
Q6: Where can I buy shattered glass nail foil?
Shattered glass nail foil, often labeled as “holographic nail foil,” “aurora nail foil,” or “iridescent nail flakes,” can be found online from retailers like Amazon, eBay, and specialized nail art supply websites. Many beauty supply stores also carry them.
Conclusion
And there you have it – your comprehensive guide to creating stunning shattered glass nails! We’ve covered everything from the must-have tools to the detailed steps and tips for a long-lasting, eye-catching finish. This trend is a fantastic blend of creativity and simplicity, allowing you to express your personal style with dazzling results.
Remember, practice makes perfect. Don’t be discouraged if your first attempt isn’t flawless. Each manicure is a learning opportunity, and you’ll soon find your rhythm for placing those shimmering shards. Whether you go for a bold, full-coverage look or a subtler, partial application, your nails are sure to turn heads.
So, gather your supplies, unleash your inner nail artist, and get ready to rock this spectacular trend. Happy polishing!

