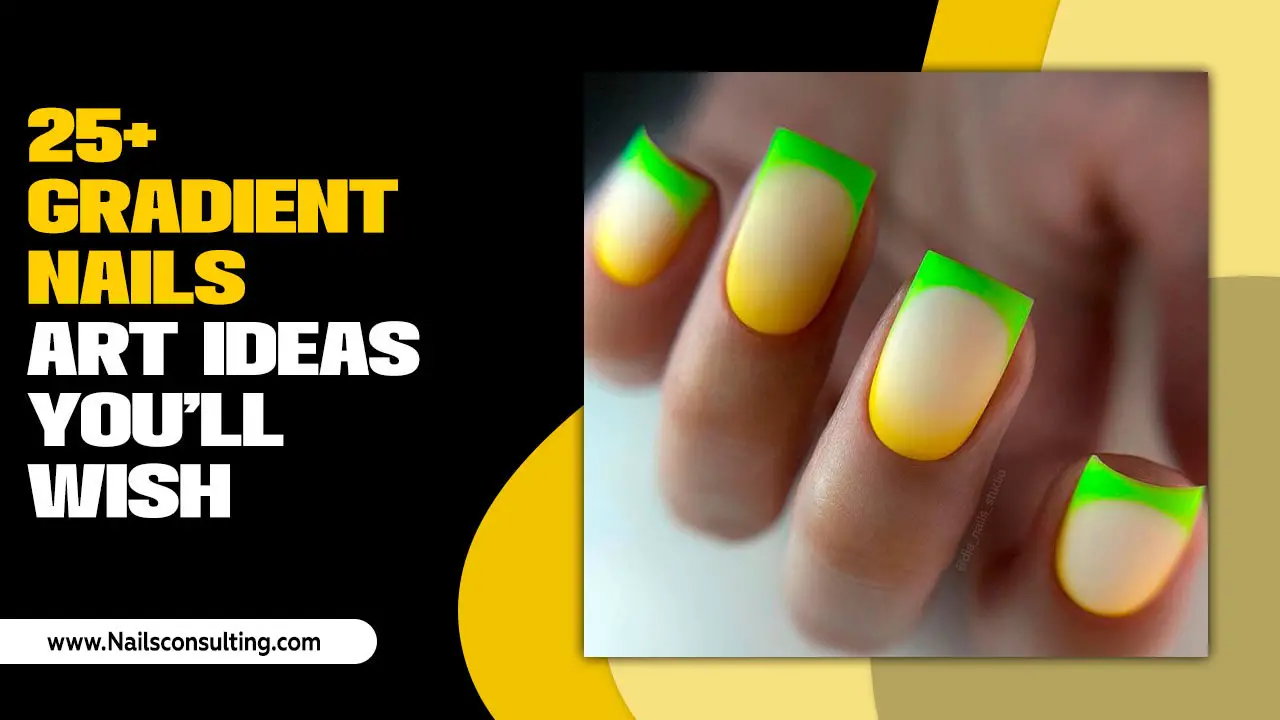
Absolutely! Shattered glass nails are a dazzling, trending nail art style that looks complex but is surprisingly easy to achieve at home. With just a few key materials and simple steps, you can create these eye-catching, reflective manicures that turn heads. Get ready to elevate your nail game!
Ever seen those mesmerizing nails that shimmer and shift like tiny, fractured rainbows? Those are shattered glass nails, and they’re not as intimidating as they look! If you’ve ever felt that your nail art game could use a serious dose of sparkle and sophistication, you’re in the right place. Learning to create shattered glass nails is a fantastic way to add that “wow” factor to your look. It might seem like salon-exclusive magic, but I’m here to show you how simple and fun it can be to achieve this stunning effect right in your own home. Get ready to ditch dull and dive into dazzling!
What Exactly Are Shattered Glass Nails?
Shattered glass nails are a nail art technique that mimics the look of broken glass, creating a multi-dimensional, holographic, and super shimmery effect on your nails. Instead of actual glass, we use special iridescent cellophane or foil pieces that reflect light beautifully, giving the illusion of shattered, glittering fragments embedded in the polish. It’s a unique and eye-catching style that’s perfect for anyone looking to add a touch of glamour and personality to their manicure.
Why Are Shattered Glass Nails So Stunning & Essential?
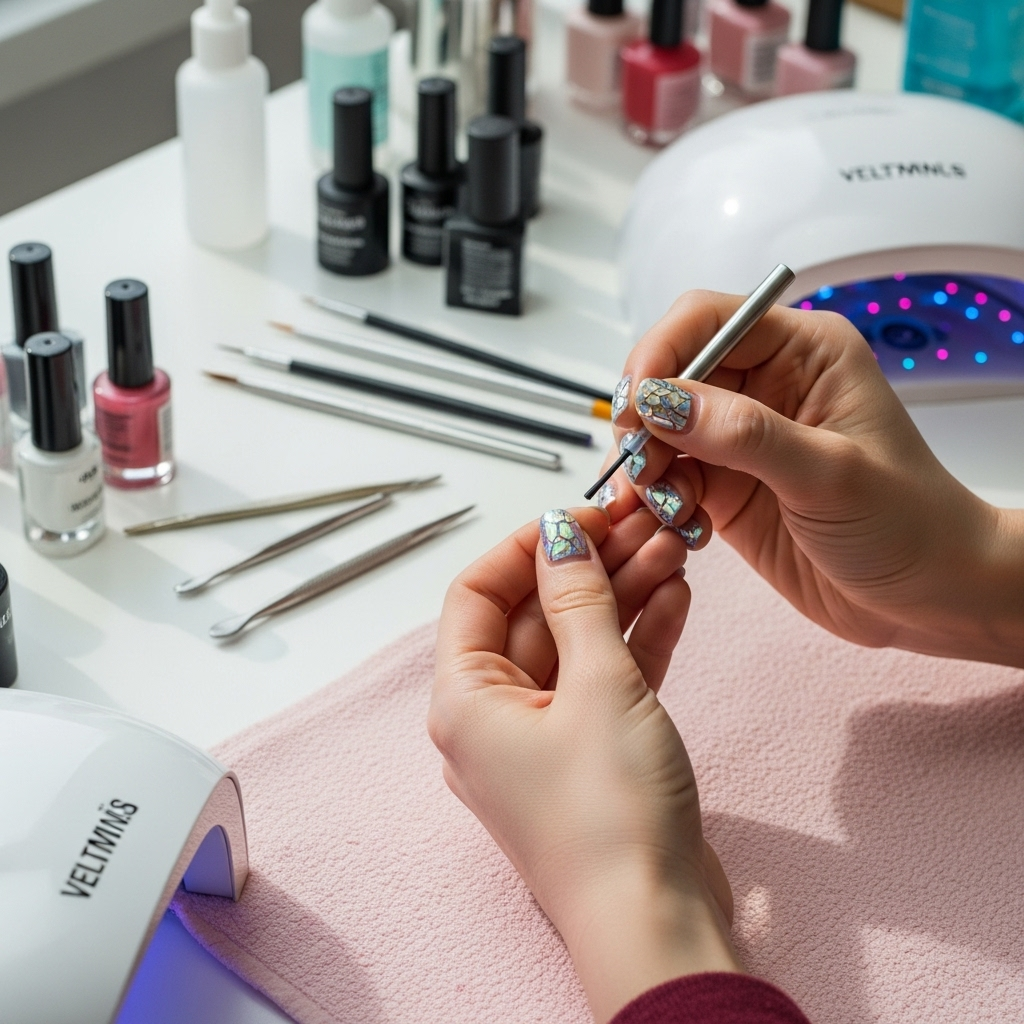
These nails are more than just a trend; they’re a statement! Here’s why they’ve captured so many hearts:
- Unmatched Sparkle: The way they catch and reflect light is simply breathtaking.
- Versatile Style: They can be adapted to virtually any color base, from subtle nudes to bold neons.
- Easy DIY Appeal: While they look intricate, the application process is surprisingly beginner-friendly.
- Conversation Starter: Get ready for compliments! These nails are guaranteed to get noticed.
- Confidence Booster: A little bit of shimmer can go a long way in making you feel fabulous.
Gather Your Shattered Glass Nail Essentials
Before we dive into the “how-to,” let’s make sure you have everything you need. Think of this as your treasure map to a perfect shattered glass manicure!
The Must-Have Tools and Materials:
- Base Coat: To protect your natural nails and help polish adhere.
- Your Choice of Nail Polish Color: This will be the background for your “glass.” Darker colors often provide a dramatic contrast.
- A Reliable Top Coat: Crucial for sealing in the design and adding shine. A gel top coat is recommended for longevity if you’re using gel polish.
- Iridescent Cellophane or Foil: This is the star of the show! You can find these specifically marketed as “shattered glass nail stickers” or “holographic nail flakes.” They come in small sheets or rolls. You can also use specific types of craft cellophane, but nail-specific products are designed for ease of use. For more on choosing the right craft materials, consider resources like ArtSupply.com’s guide to craft materials.
- Scissors or Nail Art Clippers: To cut the cellophane into irregular pieces.
- Tweezers: For precise placement of the cellophane pieces.
- Optional: A clean-up brush or cotton swab: For tidying up any mistakes around the cuticle.
- Optional: UV/LED Lamp: If you’re using gel polish and gel top coat.
Step-by-Step: Creating Your Shattered Glass Nails
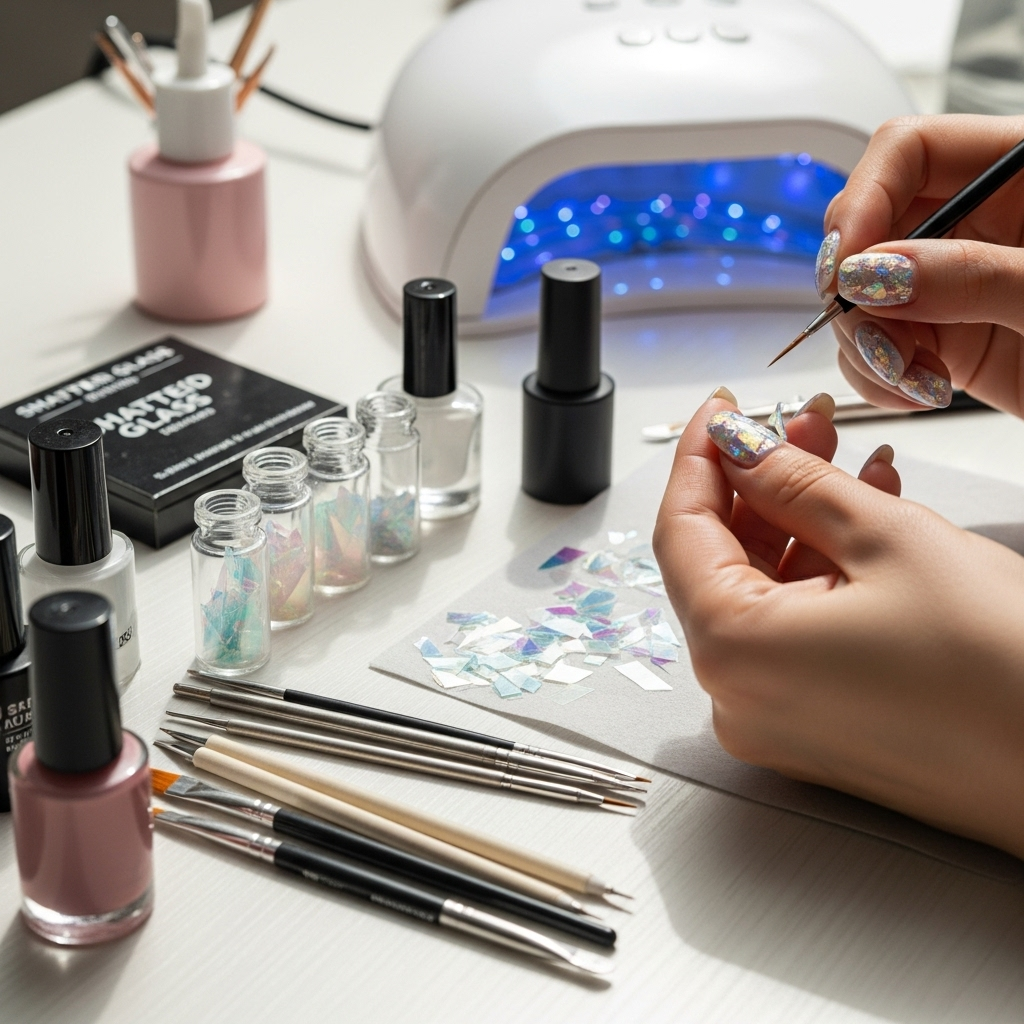
Ready to create some magic? Follow these simple steps for a stunning shattered glass manicure.
-
Prep Your Nails
Start with clean, dry nails. Gently push back your cuticles and shape your nails to your desired length and form. If you have any old polish on, remove it completely. Apply a thin layer of your base coat and let it dry.
-
Apply Your Base Color
Apply two thin coats of your chosen nail polish color. Allow each coat to dry for at least 5 minutes before applying the next. The opacity of this color will greatly influence how your shattered glass effect looks. Darker colors tend to make the iridescent pieces pop more!
-
Prepare Your “Glass” Pieces
Take your iridescent cellophane or foil and cut it into small, irregular shapes. Think tiny shards, not perfect squares! The more varied the shapes, the more realistic and dynamic your shattered glass effect will look. Don’t make them too large, as they need to lie relatively flat on your nail.
-
Apply the Top Coat (The Sticky Layer)
This is a key step! Apply a generous, slightly thicker-than-usual layer of your top coat over the dried base color. You want it to be tacky enough to grab onto the cellophane pieces but not so wet that it causes them to slide around uncontrollably. If you’re using gel polish, apply a thin layer of gel no-wipe top coat and cure it under your UV/LED lamp for the recommended time, then do not wipe off the sticky layer.
-
Place the “Glass” Shards
Using your tweezers, carefully pick up the pre-cut cellophane pieces and gently press them onto the tacky top coat. Arrange them in a scattered, shattered pattern. Overlap some pieces, leave gaps, and experiment with placement until you achieve a look you love. There’s no right or wrong way here – aim for an artful, random arrangement!
-
Seal the Deal with Another Top Coat
Once you’re happy with the placement of your shards, apply another layer of top coat over the entire nail. Make sure to fully encapsulate the cellophane pieces, paying special attention to the edges. This layer smooths out the texture and protects your design. If you used gel polish, cure this final top coat layer under your UV/LED lamp.
-
Clean Up and Admire!
If any polish or shards got on your skin, use a clean-up brush dipped in nail polish remover (or rubbing alcohol for gel) to gently tidy the edges around your cuticle. Once your top coat is fully dry (or cured), you’re done! Admire your stunning, dazzling shattered glass nails!
Tips for the Perfect Shattered Glass Manicure
Want to take your shattered glass nails from good to absolutely fabulous? Here are a few pro tips:
- Experiment with Background Colors: While dark colors are popular, don’t be afraid to try lighter shades, pastels, or even French tips for a softer, more ethereal look.
- Matte Top Coat Magic: For a totally different vibe, try a matte top coat instead of a shiny one. The contrast between the smooth matte finish and the iridescent shards can be incredibly chic.
- Don’t Overdo It: Sometimes, less is more. A few strategically placed shards can be just as impactful as a full nail coverage.
- Practice Makes Perfect: Your first attempt might not be flawless, and that’s okay! The more you practice, the more comfortable you’ll become with placing the pieces and achieving the look you desire.
- Consider Different Foil Types: Beyond cellophane, there are also holographic transfer foils that can be used with special adhesive. While the application differs, the “shattered” effect can still be achieved.
- Proper Seal is Key: Ensure your top coat completely covers the cellophane pieces. This prevents them from snagging on clothes or peeling off prematurely. For a smooth finish, you might need 2-3 layers of top coat.
Shattered Glass Nails: Pros and Cons
Like any nail art trend, shattered glass nails have their highlights and a few things to consider. Knowing these can help you decide if they’re the right choice for you!
| Pros | Cons |
|---|---|
| Unique and eye-catching holographic effect. | Can feel slightly textured if not sealed properly with enough top coat. |
| Relatively easy to apply, even for beginners. | Requires specific “shattered glass” cellophane or foil material. |
| Highly customizable with different base colors and shard arrangements. | Can be time-consuming to place each shard perfectly. |
| Long-lasting, especially when using gel products. | May snag on delicate fabrics if corners aren’t fully sealed. |
| Versatile for various occasions, from casual to formal. | Requires a steady hand and good lighting for precise placement. |
Frequently Asked Questions About Shattered Glass Nails
Here are some common questions beginners have about this dazzling nail art!
- What is the best base color for shattered glass nails?
- Darker colors like black, navy, or deep jewel tones often provide the most dramatic contrast, making the iridescent shards pop. However, lighter colors like white, pastels, or even clear polish can create a softer, more ethereal “ice shard” effect. It really depends on the look you’re going for!
- Can I use regular cellophane from a craft store?
- Some craft cellophanes might work, but nail-specific “shattered glass” cellophane or flakes are generally thinner, more iridescent, and easier to work with for nail art. They’re designed to lie flat and adhere well. Always test a small piece first before committing to your nails!
- How do I make my shattered glass nails smooth?
- The key to a smooth finish is ample top coat. Apply enough top coat to fully cover and encase the “glass” shards. You might need two or even three layers of top coat, allowing each to dry (or cure under a lamp) before applying the next. Ensure you cover the edges of the shards!
- Will shattered glass nails snag on things?
- If the cellophane pieces aren’t fully sealed and smoothed down with top coat, they can potentially snag. This is why applying a generous top coat and ensuring all edges are covered is crucial. If using regular polish, make sure it’s completely dry before exposing it to potential snags.
- How long do shattered glass nails typically last?
- When applied over regular nail polish, they can last as long as a regular manicure (3-7 days), depending on your daily activities. For significantly longer wear (1-3 weeks), it’s best to use gel polish and a gel top coat, cured under a UV/LED lamp. The gel formula helps to lock everything in place more securely.
- Can I remove shattered glass nails easily?
- Removing them is similar to removing regular nail polish or gel. For regular polish, use acetone-based remover. For gel, you’ll need to soak your nails in acetone or use a gel remover wrap. The top coat and flakes will eventually break down and lift off.
Beyond the Basics: Elevating Your Shattered Glass Look
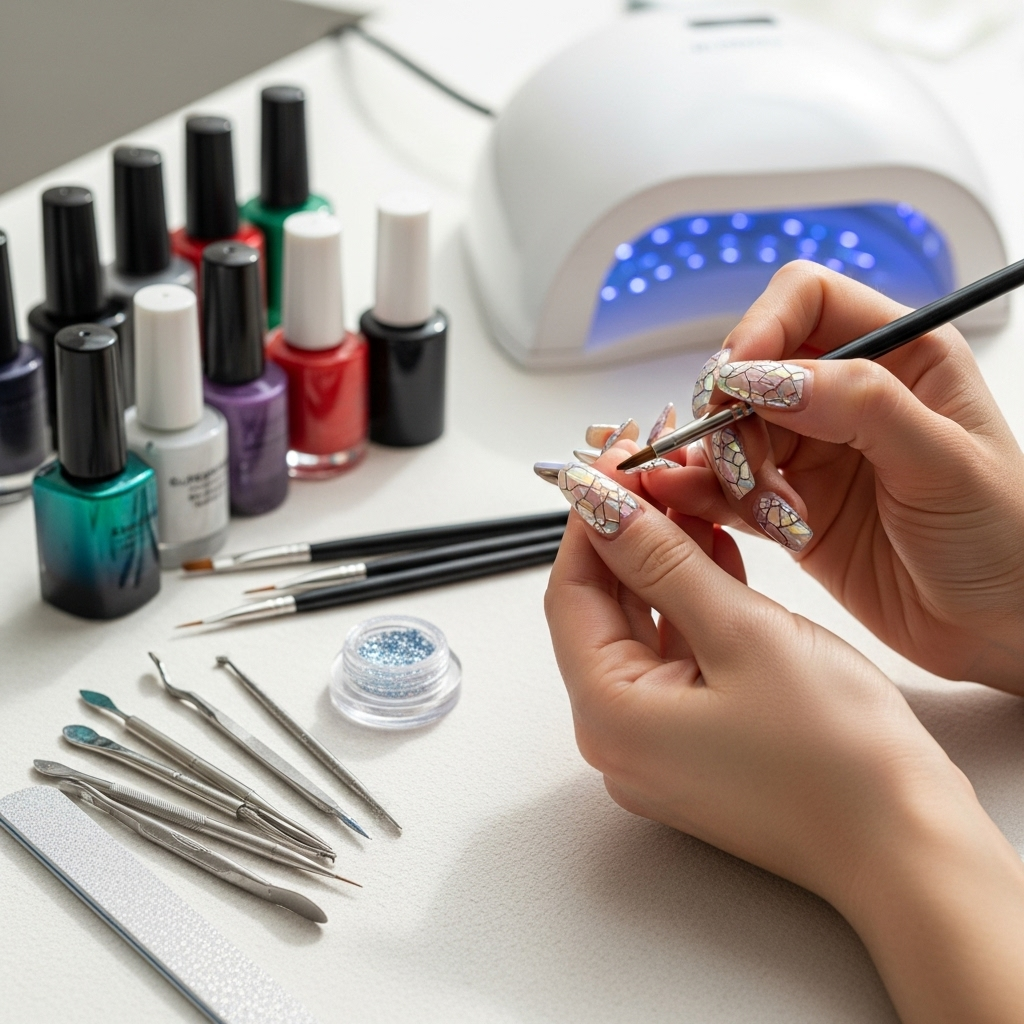
Once you’ve mastered the basic technique, there are so many ways to get creative! Consider accenting just one or two nails with the shattered glass effect while keeping the others solid. You could also try layering different colors of cellophane pieces on top of each other for an even more intense, prismatic look. For a truly unique design, try applying the base color in a French tip pattern and then adding shattered glass accents to the tips!
If you’re using a dark, solid color as your base, the shattered glass shards will have a dramatic, almost cosmic appearance. On the other hand, a lighter, pastel base can give you a whimsical, fairy-like shimmer. Don’t be afraid to experiment with textures too – a matte top coat over the shattered glass can create a fascinating contrast!
For those who love a bit of extra sparkle, consider adding fine glitter to your base color or even a touch of holographic polish under the cellophane. The possibilities are truly endless and are limited only by your imagination!
Conclusion
And there you have it! Shattered glass nails are a fantastic way to add a touch of otherworldly sparkle and sophistication to your manicure. They might look like they belong in a high-end salon, but as you’ve seen, they are completely achievable at home with a few simple tools and a little bit of practice. Embrace the process, have fun with the placements, and get ready to rock a nail look that is truly unforgettable. Whether you’re heading to a special event or just want to brighten your everyday, shattered glass nails are a stunning and essential way to express your unique style. So grab your supplies, get creative, and let those nails shine!

