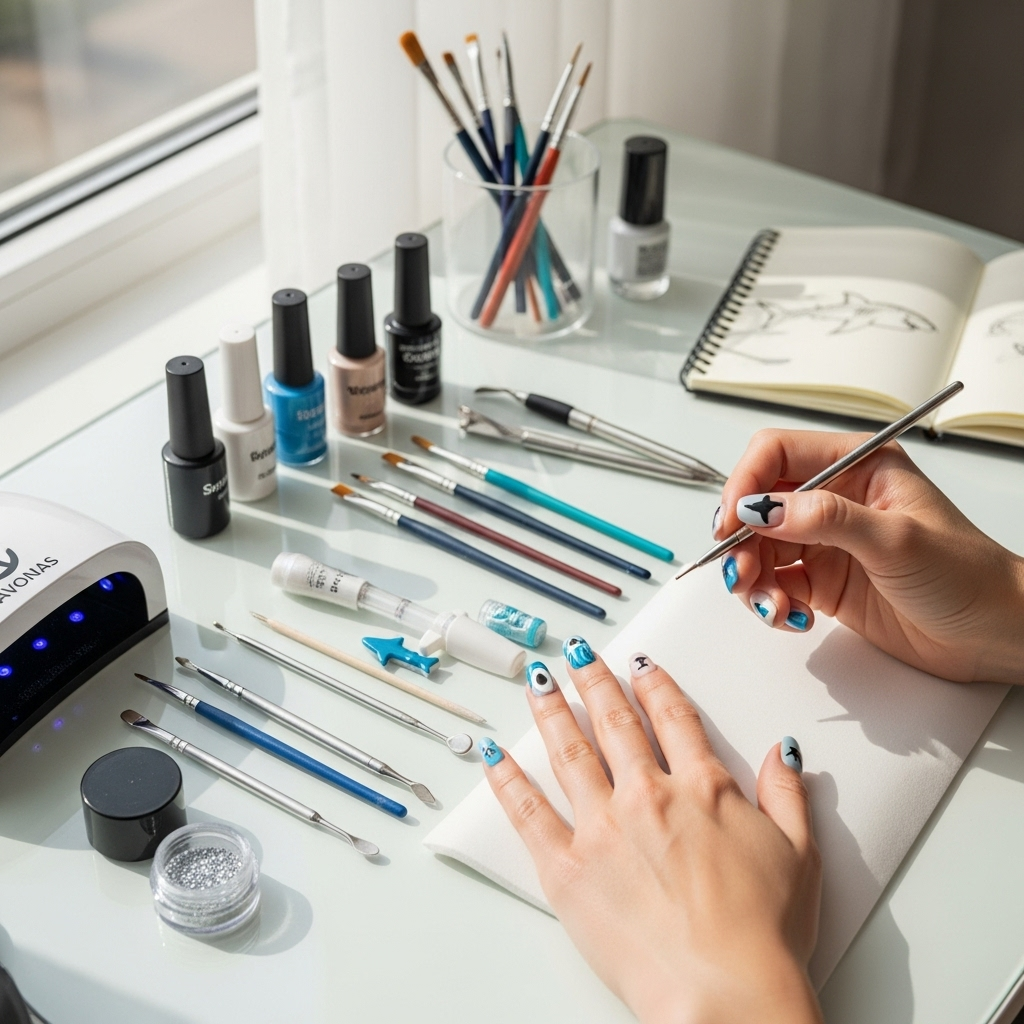
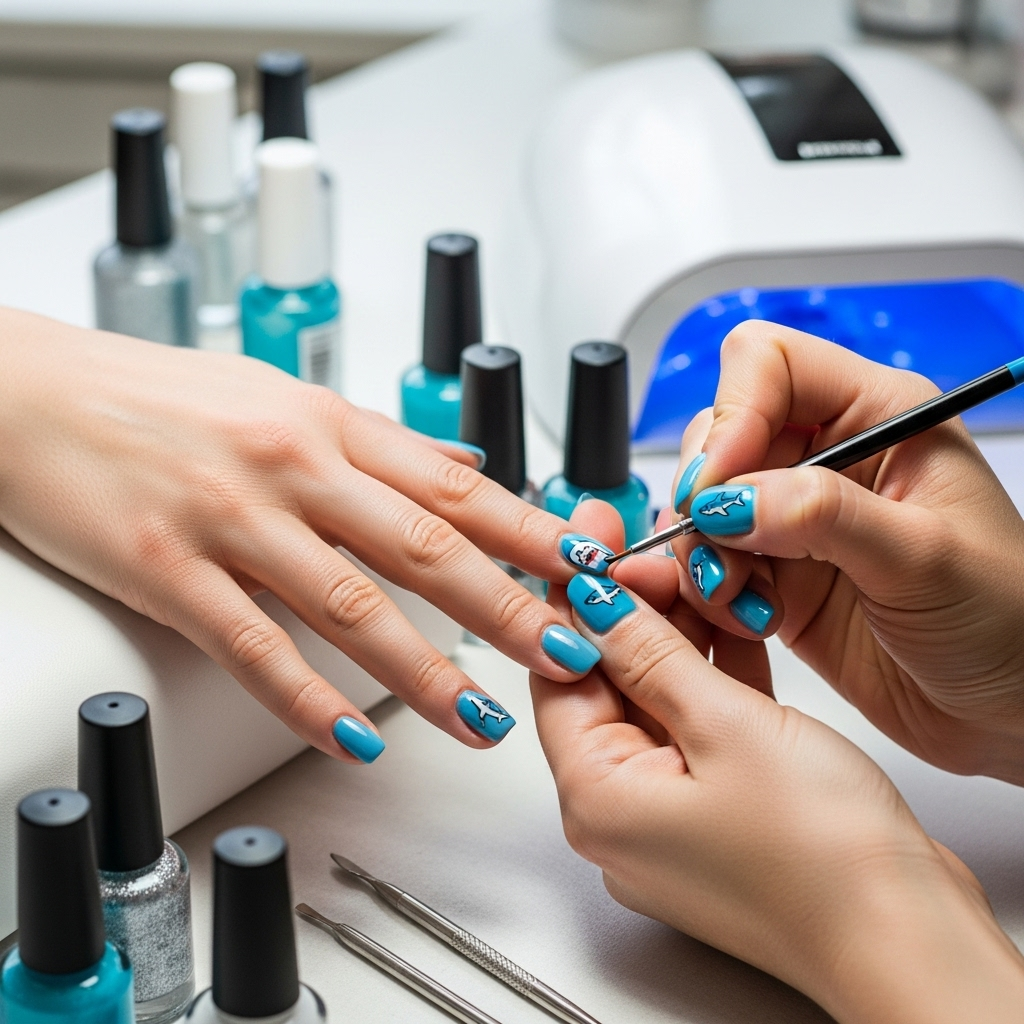
Shark nail designs are a fun, edgy way to express your unique style! Perfect for any occasion, these designs range from subtle hints of the ocean to bold, statement-making looks. With a few simple techniques and the right inspiration, anyone can create stunning shark-inspired manicures. Get ready to dive into the coolest nail art trends!
Are you looking to add a splash of personality to your nails? Maybe you’ve seen those incredible ocean-themed manicures and wondered how you could rock some shark vibes yourself. It can feel a little intimidating to try complex nail art, especially if you’re just starting out. But don’t worry! Creating jaw-some shark nail designs is totally achievable, even for beginners. We’re going to break it down, step-by-step, with tons of easy-to-follow ideas.
Whether you want fierce and fabulous or subtly chic, there’s a shark nail design waiting for you. Get ready to unleash your inner artist and make your fingertips the talk of the town. Let’s dive in!
Quick Summary: Shark Nail Designs for Everyone!
Shark nail designs offer a fantastic way to showcase your adventurous spirit and love for marine life. From realistic portrayals to abstract fin silhouettes, these designs are surprisingly easy to create with basic nail art tools. We’ll guide you through simple techniques and inspiring ideas, ensuring even beginners can achieve stunning, unique results that make a statement.
Why Shark Nails Are Trending
Sharks, often misunderstood creatures of the deep, are making waves in the fashion and beauty world. Their sleek lines, powerful presence, and association with the ocean’s mystery make them a compelling muse for nail art. This trend isn’t just for Halloween; it’s about embracing a bit of edge and showcasing your bold side. Plus, with the ongoing popularity of ocean-themed aesthetics and beachy vibes, shark nails fit right in!
Think about it: a flash of a dorsal fin peeking out from a neutral polish, or a dramatic, full-nail illustration. These designs can be as subtle or as striking as you want. They’re a fun way to break away from traditional floral or glitter patterns and show off a different facet of your personality. And the best part? You don’t need to be a professional nail technician to achieve these looks. We’re talking simple, clever techniques that anyone can master.
Essential Tools for Your Shark Nail Adventure
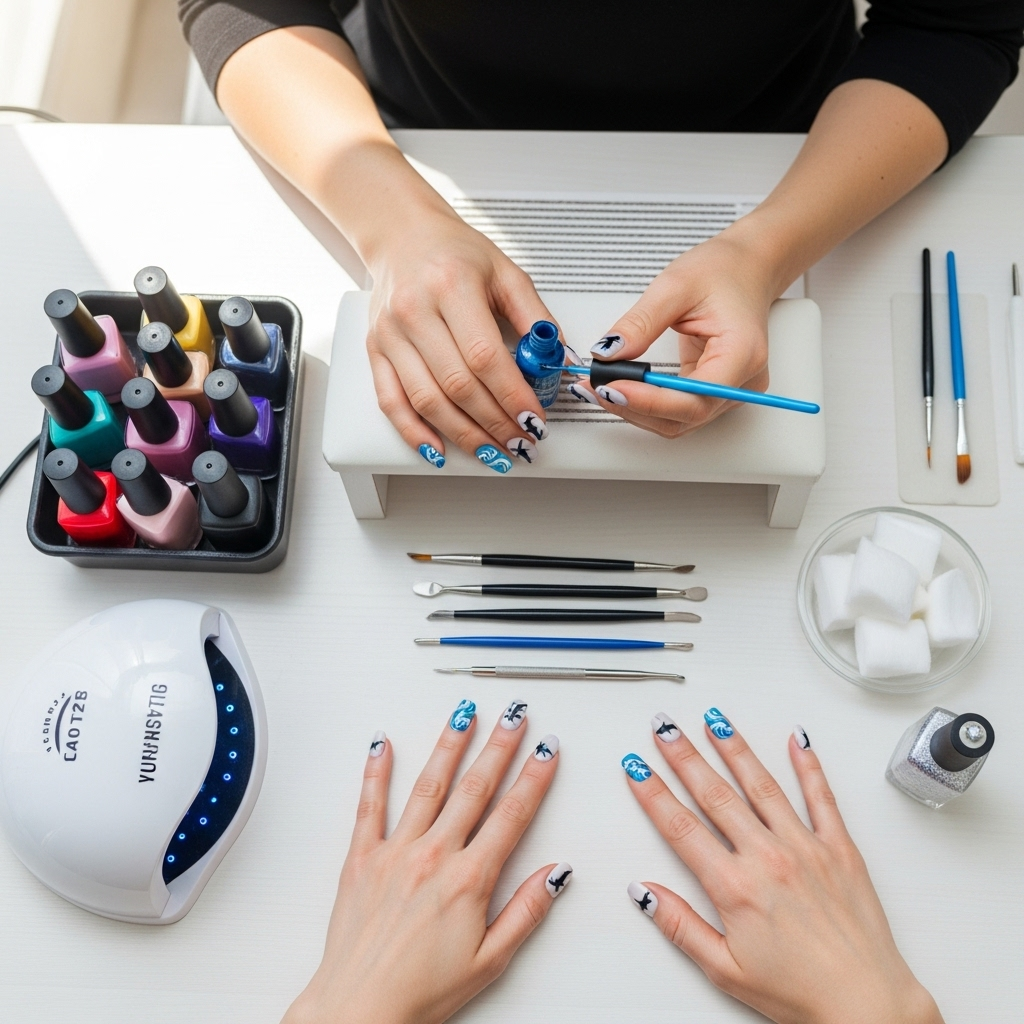
Before we dive into the designs, let’s gather your essential toolkit. You don’t need a salon’s worth of equipment! Here are the basics that will help you create amazing shark nail art:
- Base Coat: Protects your natural nails and helps your polish last longer.
- Top Coat: Seals your design and adds a glossy finish.
- Nail Polish Colors: Think blues (ocean shades), grays (shark skin), white (teeth/foam), black (details), and possibly some pinks or reds for a bit of drama.
- Detail Brushes: A fine-tip brush is crucial for drawing fins, teeth, and outlines.
- Dotting Tools: Great for creating small accents or bubbles.
- Stencils or Tape: Helpful for creating clean lines, like for a wave or a fin shape.
- Nail Polish Remover & Cotton Swabs: For cleaning up any mistakes – because they happen to everyone!
- Optional: Nail Art Pens: These can be super easy for beginners to draw fine lines and details.
“Having the right tools makes all the difference,” says Lisa Drew of Nailerguy. “You don’t need to invest a fortune. A good detail brush and a steady hand are your best friends for creating intricate designs.”
Beginner-Friendly Shark Nail Design Ideas
Ready to get creative? Let’s start with designs that are perfect for beginners. These ideas focus on simple shapes, clever color combinations, and easy techniques.
1. The Subtle Fin Flair
This is the perfect design if you want a hint of shark without being too overt. It’s elegant, chic, and super easy to achieve.
How to Create the Subtle Fin Flair:
- Prep Your Nails: Start with clean, dry nails. Apply your favorite base coat.
- Choose Your Base Color: Opt for a sophisticated shade like a deep ocean blue, a neutral gray, or even a soft sandy beige for a beachy feel. Apply one or two coats and let it dry completely.
- Paint the Fin: Using a dark gray or black polish and a fine-tip detail brush, paint a simple, clean triangle shape on the tip of one or two nails. Think of a classic dorsal fin silhouette. Place it on the side edge of the nail tip for a dynamic look.
- Add a Clean-Up: Use a cotton swab dipped in nail polish remover to neaten the edges of your fin if needed.
- Seal the Deal: Apply a generous coat of top coat to protect your design and add shine.
Pro-Tip: For an even more minimalist look, use a metallic gray or silver polish for the fin!
2. The Wave and Fin Combo
Combine the power of the ocean with the iconic shark fin for a winning design. This uses simple lines and shapes for a great effect.
How to Create the Wave and Fin Combo:
- Base Color: Apply a light to medium blue polish as your base. Let it dry.
- Create the Wave: With a white or very light blue polish and a thin brush, draw a gentle wave line across the bottom third of one or two nails. You can make it slightly curved.
- Add the Fin: On a different nail, or on top of the wave if you want a dramatic scene, paint a sharp, dark gray or black triangle fin.
- Optional: Water Effect: You can add tiny white dots above and below the wave line to mimic sea foam.
- Finish: Apply your top coat.
This design is fantastic because it immediately evokes the ocean. The contrast between the blue, white, and dark fin makes it pop without being overly complicated.
3. The Shark Bite Accent
A playful and edgy design that’s deceptively simple. It looks like your nail has had a “bite” taken out of it!
How to Create the Shark Bite Accent:
This is a cool, modern take on shark-themed nails that’s sure to get noticed. It’s also easy to customize with different accent colors.
4. The Shark Silhouette Glow
This design uses negative space and highlights to create a cool, almost glowing-effect shark silhouette. It’s modern and stylish.
How to Create the Shark Silhouette Glow:
- Clear or Nude Base: Apply one or two coats of a sheer nude or clear polish.
- Draw the Silhouette: With a thin black or dark gray brush, sketch the outline of a shark’s body and fin on one or two nails. Keep the lines fluid and simple.
- Add Shimmer: While the black polish is still wet, carefully place a few fine iridescent or holographic glitter particles along the outline of the shark. This will give it a subtle shimmer. Alternatively, after the black polish is dry, use a fine brush to carefully apply a shimmery polish over the black outline.
- Optional: Glow Effect: For a unique look, you can even use a glow-in-the-dark polish for the shark! Paint the silhouette and let it charge in light, then enjoy the glow.
- Top Coat: Apply a clear top coat, being careful not to smudge your intricate design.
For more on creating impactful nail designs with negative space, check out resources from universities like The Ohio State University regarding art and design principles. Understanding basic composition can really elevate your DIY nail art!
5. The Minimalist Grey Fin
This is all about simplicity and sophistication. It’s the epitome of “less is more” and perfect for everyday wear.
How to Create the Minimalist Grey Fin:
- Monochromatic Base: Paint all your nails with a sleek medium-gray polish. Ensure it’s perfectly dry.
- Single Fin Accent: On one accent nail (like your ring finger), use a slightly darker or lighter shade of gray, or even black, with a fine brush to paint a tiny, sharp fin near the cuticle. The placement is key here – a small fin at the cuticle looks very intentional.
- Clean Lines: Make sure the fin shape is sharp and precise.
- Seal: Apply a good top coat.
This look is incredibly chic and surprisingly effective. It’s a subtle nod to the theme that only those “in the know” will fully appreciate.
Intermediate Shark Nail Designs for the Adventurous
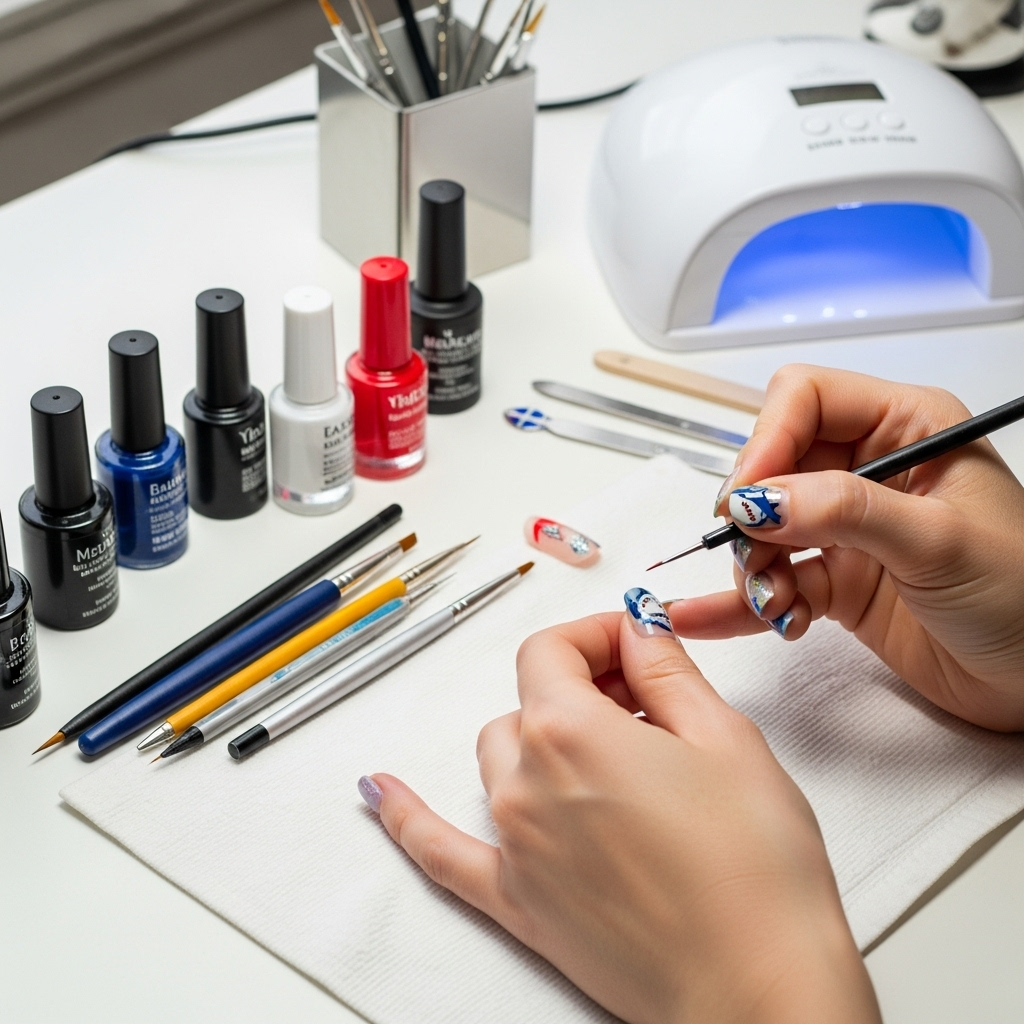
Ready to level up your nail art game? These designs require a little more detail but offer spectacular results.
6. The Realistic Shark Illustration
This is for the nail artists who love a challenge! It’s all about intricate detail and bringing a fierce predator to life on your nails.
How to Create the Realistic Shark Illustration:
- Dramatic Base: Use a deep navy blue or black as your base for a “deep sea” effect.
- Sketch with White: Lightly sketch the outline of a shark’s body and fin using a very fine white brush. Think about the classic silhouette of a Great White or Hammerhead.
- Layer Colors: Gradually build up the shark’s body. Use various shades of gray, from light silver to charcoal, to create dimension and shading. Blend the colors softly to mimic the texture of shark skin.
- Add Details: Use a fine black brush for the eye, gills, and define the edges of the fins and tail. Don’t forget the sharp white triangles for teeth!
- Highlight & Shadow: Add subtle highlights with a lighter gray or white where light would hit the shark’s body. Use darker grays or black for shadows underneath the fins and body to give it a 3D effect.
- Water Elements: You could add subtle blue or white swirls around the shark to represent water.
- Top Coat: Seal your masterpiece with a glossy top coat.
This design might take patience, but the result is a stunning piece of art. For techniques on blending and shading, exploring art tutorials online, even those for traditional mediums, can offer insights. For example, understanding how light and shadow work in painting can directly transfer to creating depth on your nails.
7. The Shark Attack Scene
This design is all about creating a dynamic, action-packed moment on your nails, complete with splashes and teeth!
How to Create the Shark Attack Scene:
- Ocean Background: Paint your nails in gradient blues, moving from a lighter sky blue at the top to a deep navy at the bottom.
- The Breaking Wave: On one or two nails, create a dynamic breaking wave effect using white and light blue polish. You can use a sponge to dab on colors for a frothy texture or use a brush to paint crashing water.
- The Shark Jaw: On another nail, paint a menacing shark jaw opening. Use black for the inside of the mouth and white for the sharp rows of teeth lining the jawline.
- Splatter Effect: Use a stiff brush or a toothbrush dipped in white polish to flick small splatters onto the nails, simulating water spray or blood (if you’re going for a more intense look).
- Detailing: Use a fine brush to add any extra spray details or sharper edges to the teeth.
- Finish: Apply a high-shine top coat.
This is a dramatic and fun design that really tells a story on your fingertips.
8. The Hammerhead Geometry
Hammerhead sharks have such a unique shape, making them perfect for geometric nail art. This design plays with shapes and lines for a modern, art-deco feel.
How to Create the Hammerhead Geometry:
- Base Colors: Use a combination of black, white, and a bold accent color like teal or electric blue.
- The Hammerhead Shape: On one nail, use black polish and a fine brush to paint the distinctive hammer shape of the hammerhead’s head. Keep it clean and geometric.
- Add the Eye: Place a small white dot or a tiny black dot on the “hammer” part for the eye.
- Geometric Body: On other nails, use black and white polish with tape or stencils to create sharp, angled lines and geometric patterns that complement the hammerhead shape. Think triangles, sharp angles, and clean breaks.
- Accent Color Pop: Use your bold accent color for small details within the geometric patterns or as the color for the shark’s body before adding the geometric overlays.
- Seal and Shine: Apply a top coat.
This is a more abstract take that’s super stylish and can be incredibly eye-catching. It shows off your artistic flair in a unique way.
Shark Nail Design Inspiration by Type of Shark
Different sharks offer different aesthetic possibilities. Here are a few ideas based on iconic shark species:
| Shark Type | Color Palette | Design Element Inspiration | Beginner Friendliness |
|---|---|---|---|
| Great White | White, Gray, Black | Sharp fins, powerful jaws, rows of teeth, sleek body | Medium-High (focus on fins/teeth) |
| Hammerhead | Gray, Black, White, Teal/Blue accents | Geometric head shape, simple body lines, distinctive eyes | Medium (geometric shapes can be tricky) |
| Tiger Shark | Gray, Black (for stripes), White | Striped patterns, robust build, powerful presence | Medium (stripes require patience) |
| Bull Shark | Gray, White | Broad snout, stout body, aggressive look | High (focus on simple, strong shapes) |
| Whale Shark | Blue, Gray, White (for spots) | Dot patterns, gentle giant vibe, large fins | High (dots are easy
|

