Want cool shark nail designs? This guide makes it easy! Learn simple steps, gather your tools, and create awesome shark-themed manicures at home. Get ready for fin-tastic nails!
Ever look at your nails and wish they had a bit more… bite? You’re not alone! Many of us love the idea of unique nail art, but sometimes it feels a little out of reach. Especially when you picture something as fun and fierce as shark nail designs. Don’t worry! Creating these awesome looks is totally doable, even if you’re new to nail art. We’re going to walk through it step-by-step, making it super simple.
Get ready to dive in and discover how to bring these cool ocean predators to your fingertips. We’ll cover everything from basic shapes to adding those special details that really make your shark nails pop. You’ll feel so confident showing off your new look!
Your Shark Nail Design Adventure Starts Here!
Shark nail designs are a fantastic way to express your wild side and love for marine life. From fierce predator vibes to cute cartoon sharks, there’s a shark design for everyone. This guide is your ultimate resource, whether you’re aiming for a subtle nod to the ocean or going all-out with a jaw-some manicure. We’ll break down what you need and how to apply it, so you can feel like a pro, no matter your skill level.
Why Are Shark Nail Designs So Popular?
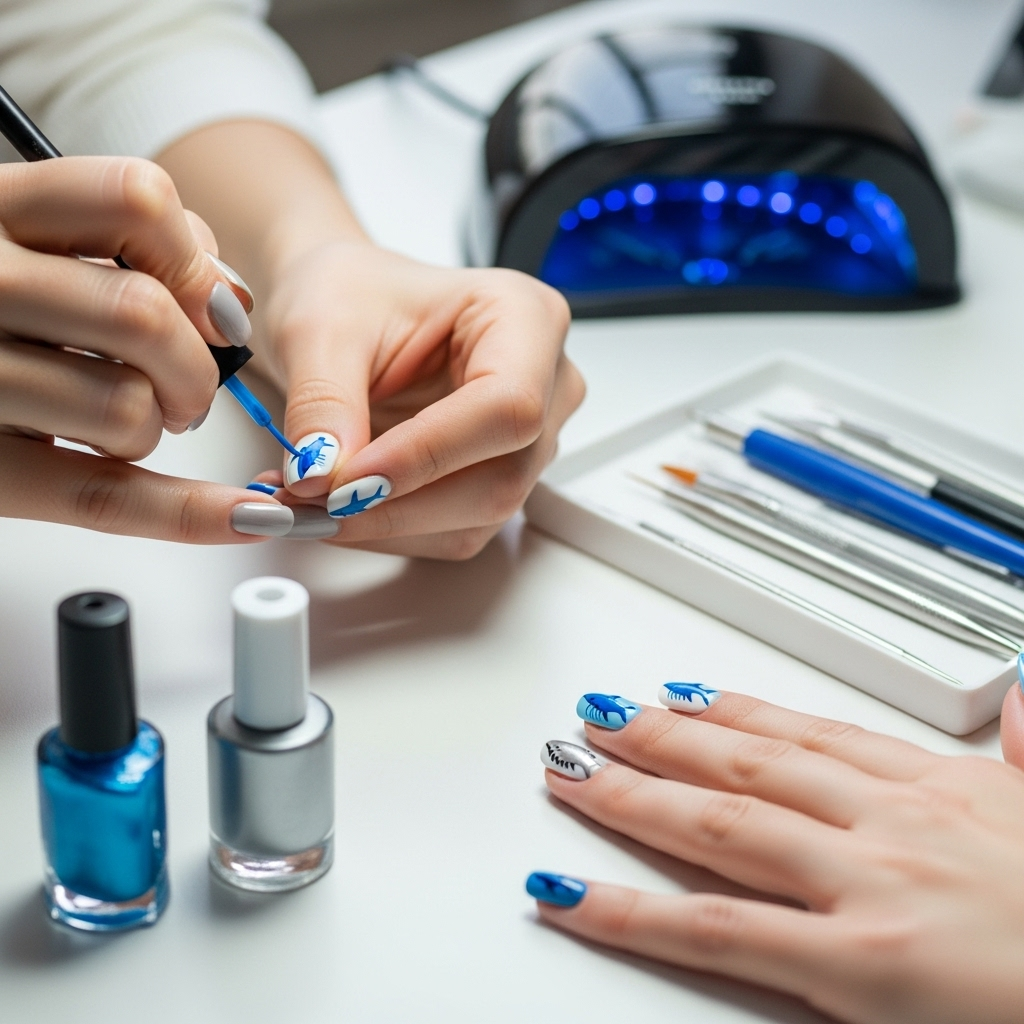
It’s no secret that sharks have a captivating mystique. They’re powerful, mysterious, and incredibly fascinating creatures. This fascination translates perfectly into nail art! Shark nail designs offer a unique way to stand out. They can be edgy, playful, or even a little bit spooky, depending on the style you choose. Plus, who doesn’t love a good conversation starter when their nails look this good? They’re perfect for beach vacations, shark week, or anytime you want to make a splash!
Gathering Your Shark-Tastic Supplies
Before we dive into the fun part – creating the designs – let’s make sure you have everything you need. Think of these as your artist’s tools for aquatic artistry!
Essential Nail Polish Colors
The foundation of any great shark design starts with the right colors. You don’t need a massive collection; just a few strategic shades will do!
- Grays: Various shades of gray are your best friends for shark bodies. Light gray, charcoal, and even a silvery gray can work wonders.
- White: Perfect for belly accents, sharp teeth, and subtle highlights.
- Black: Ideal for outlines, eyes, and creating depth.
- Blues: Ocean blues or deep sea blues can be used for background effects or ombre styles that blend into the shark.
- Red (Optional): For a touch of danger or a playful pop of color, maybe for a tiny detail.
Key Nail Art Tools
While you can do a lot with just polish, a few simple tools will elevate your shark nail game significantly.
- Base Coat: Crucial for protecting your nails and helping polish adhere better.
- Top Coat: Seals your design and adds a glossy finish, making your art last longer.
- Fine-Tipped Nail Art Brush: This is your primary tool for drawing details like fins, eyes, and teeth.
- Dotting Tool: Great for small, precise dots or creating rounded shapes.
- Toothpick: A surprisingly versatile tool for blending, creating small details, or cleaning up edges.
- Nail Polish Remover & Cotton Swabs: For quick clean-ups and perfecting those lines.
Choosing Your Base: Natural vs. Artificial Nails
Shark nail designs work beautifully on both natural and artificial nails. The key is to start with a clean, smooth surface. For natural nails, ensure they are trimmed and filed to your desired shape. If you opt for artificial nails like acrylics or gel extensions, they can provide a perfect canvas for more intricate designs.
Regardless of your nail type, a good base coat is non-negotiable. It prevents staining and gives your polish something to grip onto, ensuring your masterpiece stays put!
Simple Shark Nail Design Ideas for Beginners
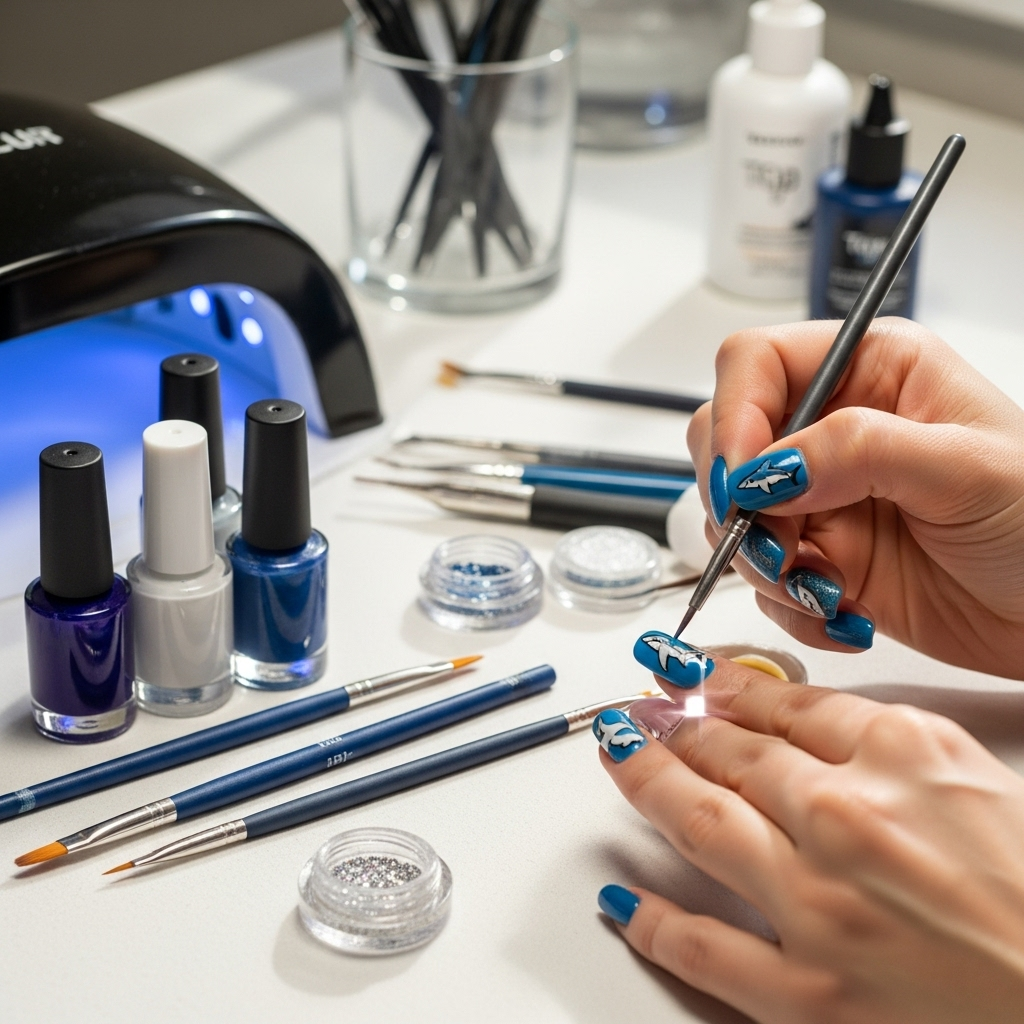
Ready to get creative? Let’s start with some easy-to-achieve shark nail designs. You’ll be amazed at what you can do with a little patience and these simple techniques.
1. The Classic Grey Shark Fin
This is a great starting point. It focuses on one iconic element – the fin!
- Prep: Apply your base coat, let it dry, and then paint all your nails a nice ocean blue or a deep grey.
- Draw the Fin: Using a fine-tipped brush and a darker shade of gray (or black), carefully paint a triangle shape near the cuticle of one or two accent nails. This represents the iconic dorsal fin.
- Add Detail: With a slightly lighter gray or white, you can add a subtle line down the center of the fin to give it some dimension.
- Eyes: Using a dotting tool and black polish, add a tiny dot for an eye on one of the nails where you drew the fin, but not on the fin itself – place it on the nail body!
- Seal: Once everything is completely dry, apply a clear top coat.
2. The Ombre Shark Effect
This design uses color blending to create a more abstract shark-inspired look.
- Prep: Apply a base coat. Then, paint your nails with a gradient of blues and greys. You can use a makeup sponge to dab colors together for a smooth ombre effect, blending from a lighter blue at the tip to a darker grey at the cuticle, or vice-versa.
- Shark Silhouette (Optional): Once the ombre is dry, you can use white polish and a thin brush to carefully paint a simple shark silhouette outline on one or two nails.
- Teeth Detail (Optional): On the silhouette nail, you can add tiny white triangles along the mouth line.
- Seal: Finish with a generous top coat.
3. Cute Cartoon Shark
Perfect for a playful, less intimidating vibe!
- Prep: Start with a base coat and paint your nails a light grey.
- Shark Body: On an accent nail, use a slightly darker grey to paint a rounded, almost egg-like shape starting from the cuticle and extending partway up the nail. This is your shark’s body.
- Face Details: Use black polish and a fine brush. Draw a simple smile line for the mouth (a gentle curve). Then, add a small black dot for an eye above the mouth line.
- Teeth: Using white polish and a very fine brush or a toothpick, carefully add tiny white triangles along the smile line for teeth.
- Dorsal Fin: On top of the body shape near the cuticle, add a small grey triangle for a dorsal fin.
- Seal: Apply your top coat when dry.
4. The Jaws-Inspired Minimalist
For those who love a subtle, iconic touch.
- Prep: Apply base coat. Paint all nails a deep blue or black.
- Red Accent: On one or two accent nails, use a very fine brush and red polish to paint a single, bold, horizontal line across the nail, either in the middle or closer to the tip. This hints at the menace without being a full shark.
- Optional Shark Teeth: If you’re feeling bold, you can add a few small white triangles just above or below the red line to suggest a mouth.
- Seal: Finish with a clear top coat.
Taking Your Shark Nails to the Next Level: Intermediate Techniques
Once you’ve mastered the basics, feel free to experiment with these slightly more advanced techniques to add depth and detail to your shark nail art.
1. Adding Realistic Texture and Shading
Giving your shark a 3D effect can make it look much more lifelike.
- Use Lighter/Darker Shades: After applying the base grey for your shark body, use a slightly darker grey to paint subtle lines along the edges and under the fins to create shadows. Use a lighter grey or white to highlight the belly and the top of the body where light would hit.
- Color Blending: For a more natural look, you can lightly blend the lighter and darker greys while they are still wet using a clean, dry brush or a toothpick. This creates a smoother transition. Websites like NailCareHQ offer great visual guides for blending techniques that can be applied here.
- Highlighting: A tiny touch of white polish as a highlight on the eye or the curve of the body can make it “pop.”
2. Detailed Shark Teeth
Sharp, realistic teeth make a big impact!
- Base Layer: Paint the mouth area with white polish first.
- Individual Teeth: Once the white is dry, use a very fine brush and black polish to draw a thin outline around the white area. Then, use the brush with a tiny bit of white polish to draw sharp, triangular points sticking out from the outline.
- Layering Gums: You can even add a very subtle pink or reddish tint to the gum line just behind the teeth for added realism, though this is advanced.
3. Incorporating Water or Ocean Elements
Surround your shark with its natural habitat!
- Water Splashes: Use white polish and a fine brush to add little flicking lines and dots around your shark to simulate water splashes.
- Bubbles: Use a dotting tool and white or light blue polish to create small, scattered bubbles around your shark design. You can create a gradient effect by using lighter shades for bubbles further away and a slightly darker shade for those closer.
- Ocean Waves: On accent nails without a shark, paint simple white curved lines on a blue background to mimic waves.
Advanced Shark Nail Designs: For the Fearless Artist!
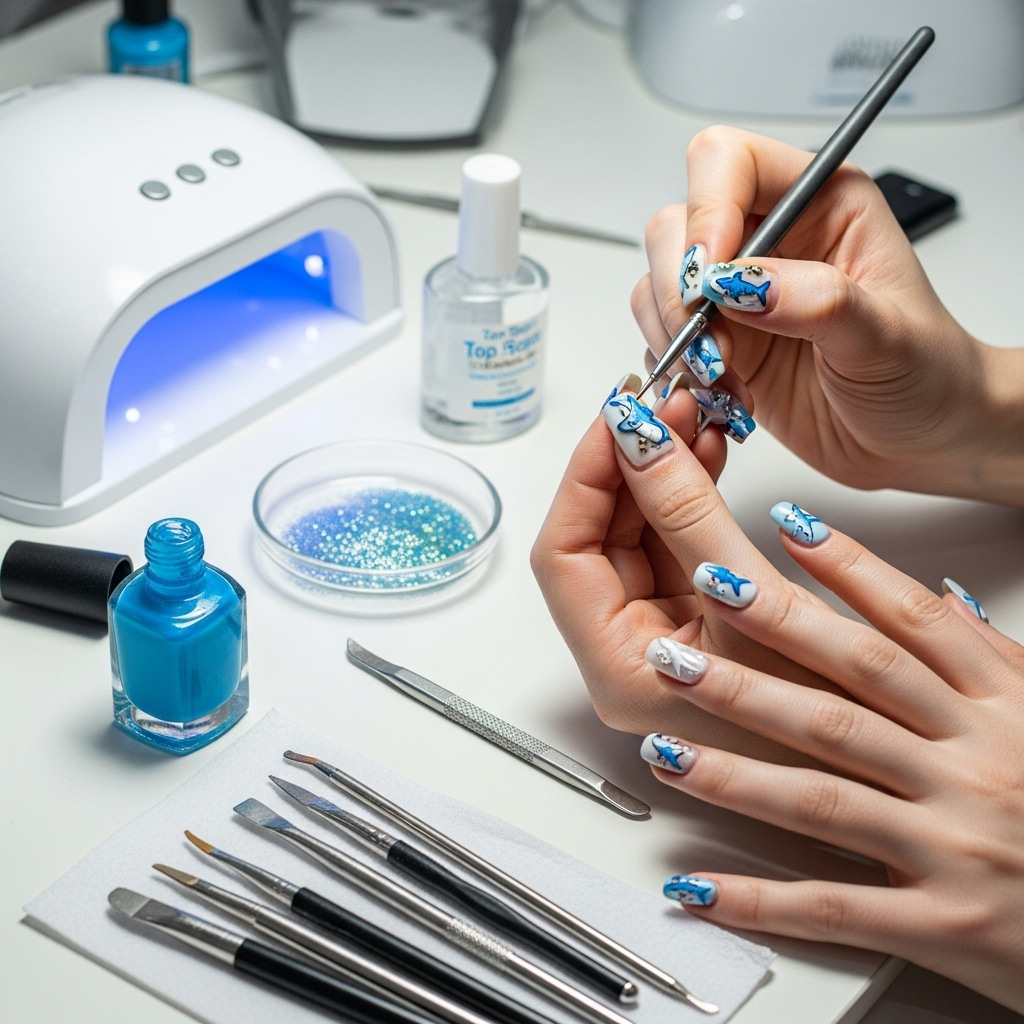
Think you’re ready to tackle something truly epic? These advanced designs require a bit more precision and practice, but the results are incredibly rewarding.
1. The Full Shark Body Silhouette
This involves painting a complete shark shape across multiple nails or one large one.
- Planning is Key: Decide which nails will form the shark’s body. You might use one long nail for the main body and tail, and a smaller nail for the head, or spread it across two or three fingers.
- Outline First: Using black polish and a fine brush, sketch out the entire silhouette of the shark across your chosen nails. Ensure you create a flowing line from one nail to the next.
- Fill In: Carefully fill in the silhouette with your base grey polish.
- Add Depth: Use lighter and darker greys for shading, just like in the intermediate techniques, to give the body dimension. Think about where the light would hit and where shadows would fall.
- Details: Add the eye, fins, and any underwater elements.
2. 3D Shark Fins
This involves creating raised elements for a truly eye-popping effect.
- Gel or Acrylic: This technique is best achieved using 3D gel or acrylic sculpting powders and liquids.
- Sculpting: Using these materials with a sculpting brush, you can build up a raised shark fin directly on the nail. The process is similar to how nail technicians apply extensions.
- Painting: Once the 3D element is cured (under a UV/LED lamp for gel, or air-dried for acrylic), you can paint it with your desired grey shades and add details as you would a flat design.
- Caution: For those new to 3D materials, it’s best to practice on a few fake tips first or watch detailed tutorials from nail professionals. For DIY, ensure you are using products in a well-ventilated area and follow manufacturer instructions. Check out resources like those from the Occupational Safety and Health Administration (OSHA) on nail salon safety for important health considerations when working with these products.
3. The “Shark Attack” Scene
Create a narrative on your nails!
- Base: Use a deep blue or black polish for the deep sea.
- Main Shark: Paint a menacing shark – perhaps mid-attack – on your largest nail. Focus on sharp teeth and an open mouth.
- “Victim” Nail: On an adjacent nail, you could paint a distressed background with red streaks or a few white spots to represent a boat or a swimmer’s buoy.
- Water Effects: Use white and light blue polishes to create dynamic water, splashes, and foam around the shark to convey movement and intensity.
- Final Polish: Add a glossy top coat to seal your underwater drama.
Maintaining Your Shark Nail Designs
You’ve created a masterpiece! Now, let’s make sure it lasts:
- Wait to Get Wet: Avoid washing dishes or soaking your hands for at least an hour or two after applying your top coat. Polish needs time to fully harden.
- Wear Gloves: When doing chores like cleaning or gardening, wear rubber gloves. This protects your nails and your beautiful artwork from harsh chemicals and wear and tear.
- Moisturize: Keep your cuticles and nails hydrated with cuticle oil. Healthy nails are less likely to chip or break, which helps your design look its best.
- Avoid Using Nails as Tools: Try not to use your nails to scrape, pry, or open things. This is a common way to chip even the most durable polish.
- Touch-Ups: If you notice a small chip or wear, you can sometimes carefully touch it up with matching polish and a fine brush, then seal with a top coat.
Troubleshooting Common Shark Nail Design Issues
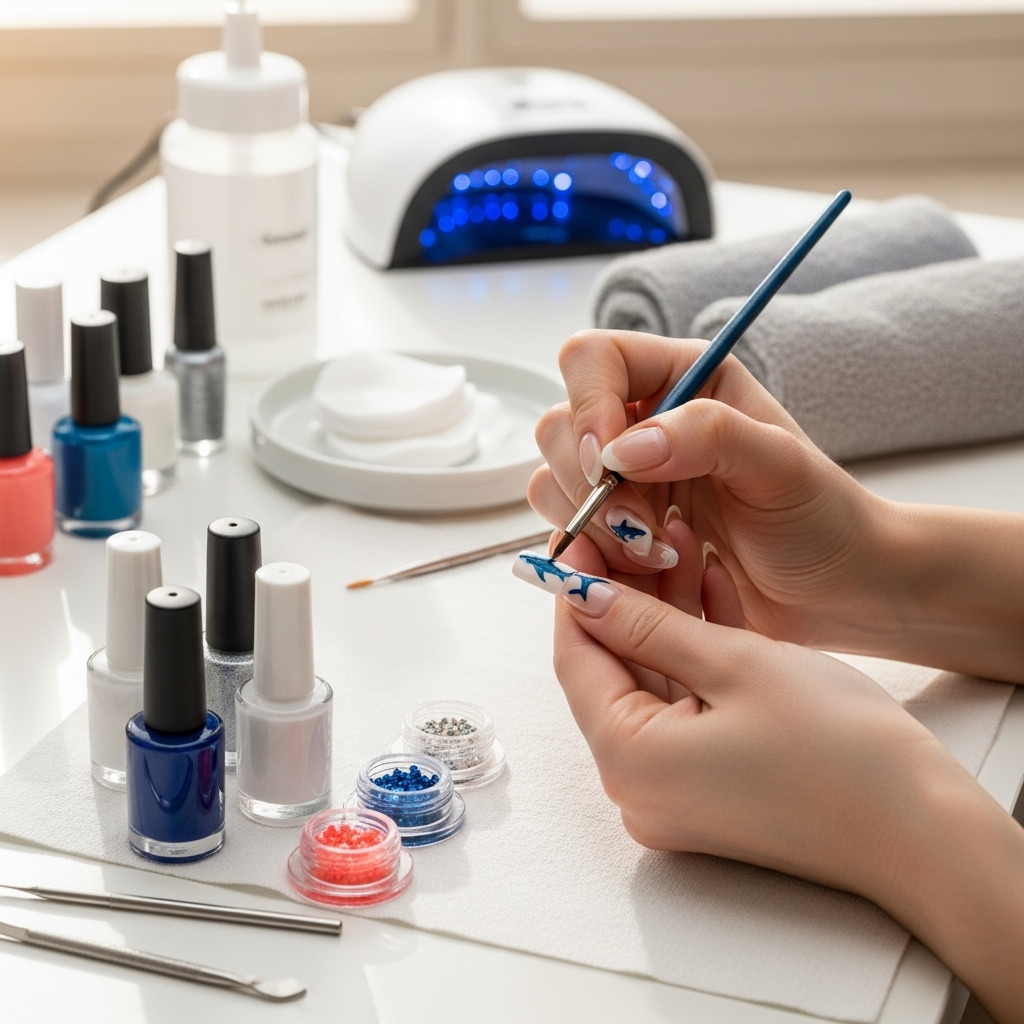
Even the most skilled artists encounter occasional hiccups! Here’s how to fix them.
Problem: Streaky Polish Application
Solution: Ensure your polish is well-mixed. Apply thin, even coats rather than one thick one. For ombre effects, use a makeup sponge and don’t press too hard.
Problem: Wobbly Lines
Solution: Stabilize your hands! Rest your elbows on a table. Use a steady, minimal wrist movement. If lines are still wobbly, embrace it as part of the DIY charm or use a clean-up brush dipped in polish remover to refine the edges.
Problem: Polish Smudging Before Drying
Solution: Patience is key! Allow each layer of polish and design to dry completely before adding the next. If a design smudges, gently try to fix it with a toothpick or, if it’s too bad, carefully remove it with polish remover and start that step again.
Problem: Paint is Too Thick or Too Thin
Solution: For thick polish, try adding a drop of nail polish thinner (not remover – that breaks it down!). For thin polish that’s hard to control, let a tiny bit evaporate in the open bottle for a minute or two, or use a less amount on your brush.
A Table of Shark Nail Design Elements
Here’s a quick reference for some common shark-inspired nail art elements and how to achieve them:
| Design Element | Primary Colors | Key Tools | Beginner Difficulty |
|---|---|---|---|
| Basic Fin | Greys, Black | Fine brush | Easy |
| Shark Body Silhouette | Greys, Black | Fine brush, Toothpick | Medium |
| Realistic Teeth | White, Black, Pink (optional gums) | Very fine brush | Medium-High |
| Bubbles/Water Splashes | White, Light Blue | Dotting tool, Fine brush | Easy |
| Full Scene (multiple nails) | Various blues, greys, black, white, red | Fine brush, Dotting tool, Sponge (optional) | High |
Frequently Asked Questions About Shark Nail Designs
Q1: Can I really do shark nail designs if I’m a total beginner?
A1: Absolutely

