Shamrock nail designs offer a fun and festive way to celebrate St. Patrick’s Day or simply add a touch of green magic to your manicure. From minimalist shamrocks to intricate clover patterns, these proven looks are surprisingly easy to achieve, even for beginners. Get ready to impress with dazzling green nail art!
Spring is in the air, and with it comes the allure of St. Patrick’s Day! For many of us, this means embracing all things green. And what better way to get into the festive spirit than with some adorable shamrock nail designs? You might think intricate nail art is out of reach, but trust me, with a few simple tools and a little patience, you can create stunning shamrock nails that will make you feel lucky all day long. Forget those frustrating attempts at perfect dots or smudged clovers; this guide is designed to make creating beautiful shamrock manicures fun and easy for everyone. Ready to unlock your inner nail artist? Let’s dive into the wonderful world of shamrock nail designs!
Why Shamrock Nails? A Little Bit of Luck!
Shamrock nail designs are more than just a seasonal trend; they’re a charming way to express your style and bring a little cheer to your day. The iconic three-leaf clover, a symbol of good luck, is universally recognized and universally adored. Whether you’re heading to a St. Patrick’s Day party, a casual get-together, or simply want to brighten your everyday look, shamrock nails are a fantastic choice. They’re versatile, allowing for designs ranging from super simple to elegantly detailed, fitting any skill level. Plus, who doesn’t love a bit of luck? Wearing a charm on your fingertips is a delightful reminder to embrace positivity and good fortune.
Getting Started: Your Shamrock Nail Art Toolkit
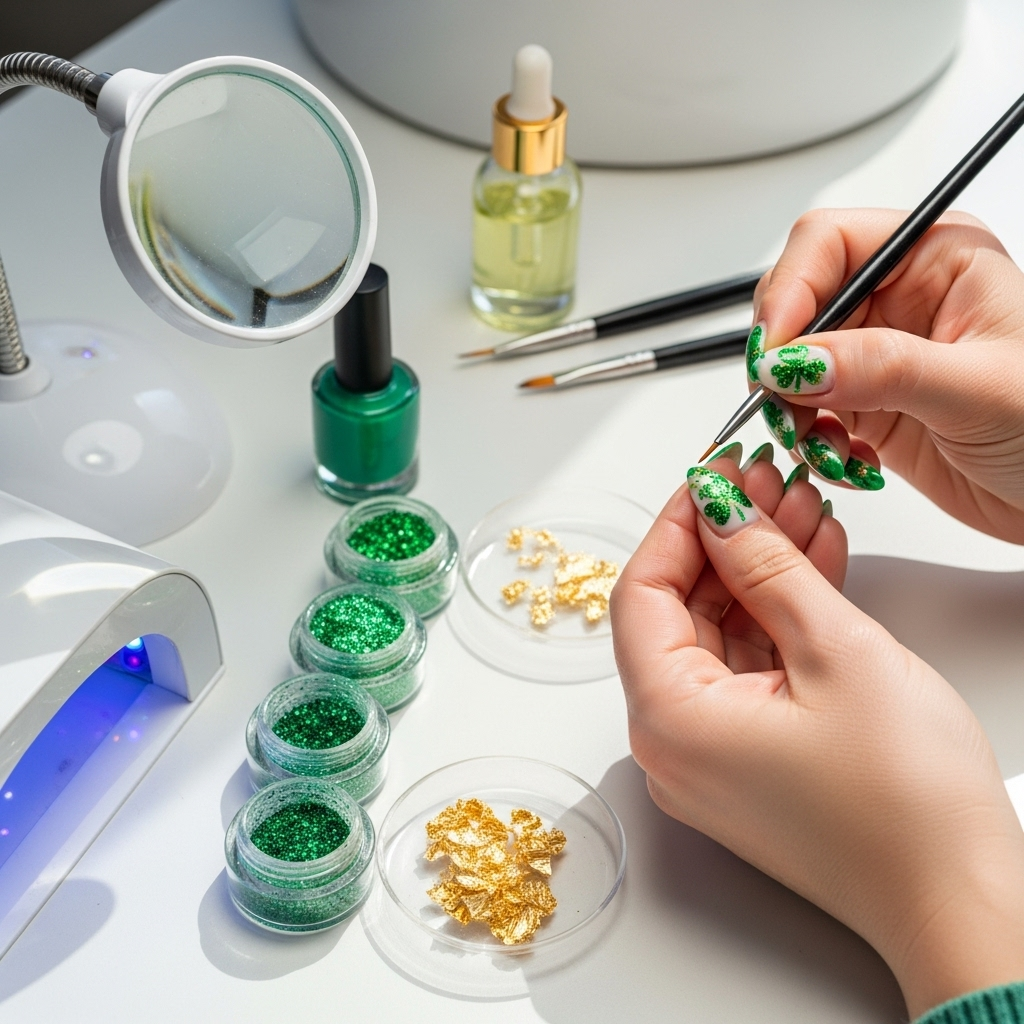
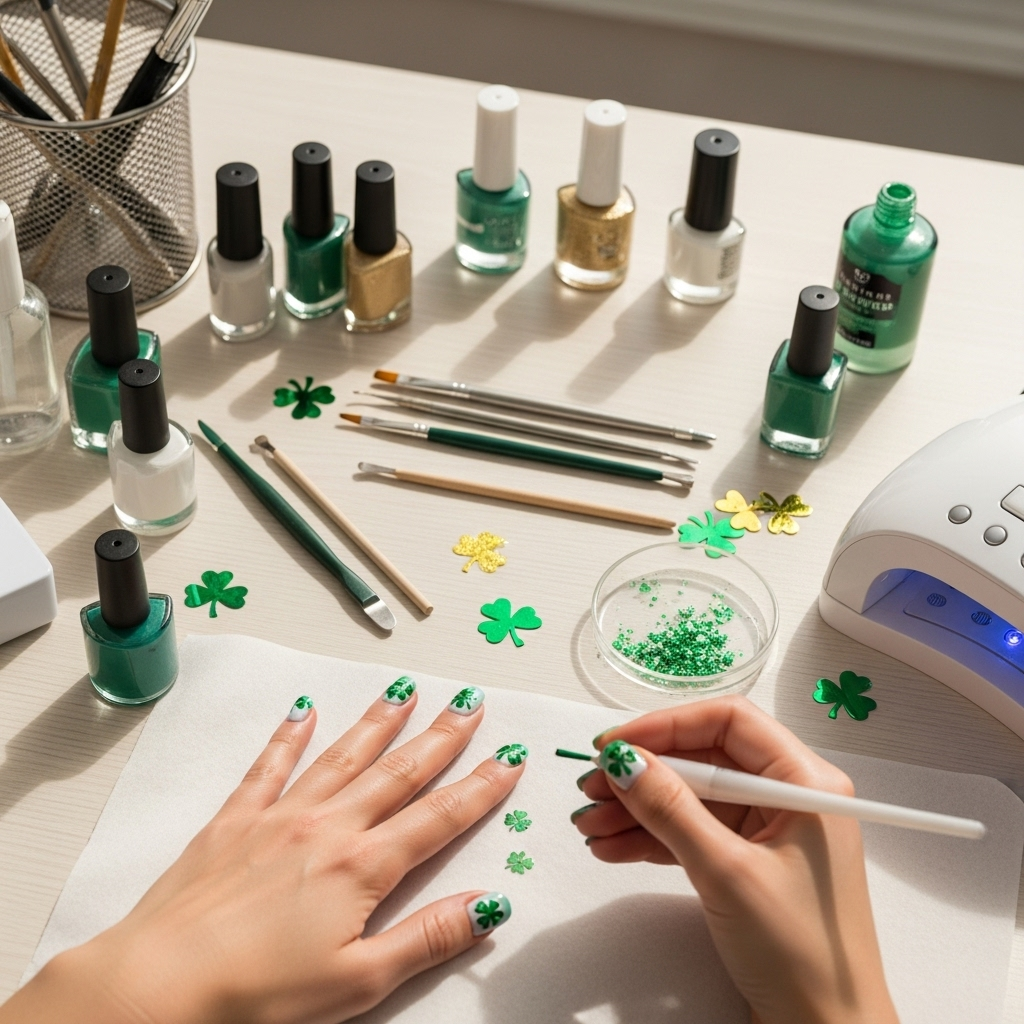
Before we start painting, let’s gather our supplies. Don’t worry, you probably have most of these already! Having the right tools makes all the difference between a “trying too hard” look and a “wow, she did that herself?” masterpiece.
Essential Tools for Shamrock Nail Designs
Base Coat: Protects your natural nails and helps polish adhere better.
Top Coat: Seals your design and adds a super glossy finish.
Green Nail Polish: The star of the show! Various shades of green work wonderfully.
White or Light Green Polish (Optional): For accents, outlines, or backgrounds.
Dotting Tools: These have a round tip and are perfect for creating dots, which are the building blocks for many shamrock designs. A set usually comes with various sizes.
Fine-Tipped Nail Art Brush: Ideal for drawing stems, outlines, and delicate details.
Toothpicks or Orange Stick: Can be used as DIY dotting tools or for cleaning up mistakes.
Nail Polish Remover & Cotton Swabs: For those little oops moments.
Clear Nail Polish Remover Pads (Optional): Great for quick clean-ups without mess.
Optional, But Helpful Tools
Stencils: Pre-cut designs that can help achieve perfect shapes.
Stamping Plates: Plates with engraved shamrock patterns that you can stamp onto your nails.
Water Marbling Tools: For creating unique, swirling effects if you’re feeling adventurous.
Beginner-Friendly Shamrock Nail Design Ideas
Let’s get to the fun part! These designs are perfect for anyone just starting with nail art. They’re simple, effective, and totally gorgeous.
1. The Classic Dot Shamrock
This is the easiest shamrock design, perfect for absolute beginners. It uses simple dots to create the iconic shape.
What you’ll need:
- Base coat
- Green nail polish
- A medium-sized dotting tool
- Top coat
How to do it:
- Apply a base coat to clean nails and let it dry completely.
- Paint your nails a solid color. A classic green or even a deep emerald looks great, but you can also use white or a soft pastel for a lighter feel. Let this layer dry thoroughly.
- Dip your medium dotting tool into your green nail polish.
- On each nail, create three medium-sized dots that almost touch in a triangular formation.
- Now, create a smaller dot in the center, where the three larger dots meet. This will help blend them together and create the clover shape.
- If you want to add a stem, use a fine-tipped brush or a toothpick dipped in green polish to draw a small line extending from the bottom of the clover.
- Once everything is dry, apply a top coat to seal your design and add shine.
2. The Minimalist Outline Shamrock
Sometimes, less is more! This design uses simple lines to create a chic, modern shamrock.
What you’ll need:
- Base coat
- Green nail polish
- Fine-tipped nail art brush
- Top coat
How to do it:
- Start with your base coat and let it dry.
- Apply your chosen nail polish color. White, nude, or a light grey make excellent backgrounds for this design. Let it dry.
- Dip your fine-tipped brush into the green polish.
- On your nail, draw three small, imperfect circles or leaf shapes clustered together. Don’t worry about perfection; slightly irregular shapes add to the charm.
- Connect the bottoms of these three shapes with a gentle curve.
- Add a tiny stem if you like.
- Finish with a top coat.
3. The Accent Nail Shamrock
This is a fantastic way to incorporate shamrocks without committing to a full set. Pick one or two nails to feature your shamrock art.
What you’ll need:
- Base coat
- Your favorite nail polish color for the base
- Green nail polish
- Dotting tool or fine brush
- Top coat
How to do it:
- Apply base coat, then paint all your nails with your chosen color, except for the accent nail(s).
- On the accent nail(s), you can either apply the same color or a contrasting color like white or light pink. Let it dry.
- Using green polish and your dotting tool or brush, create your shamrock design on the accent nail. You can try the dot method or the outline method.
- Let the shamrock design dry completely.
- Apply top coat to all nails, including the accent nail, to ensure a uniform finish.
Taking It Up a Notch: Intermediate Shamrock Nail Designs
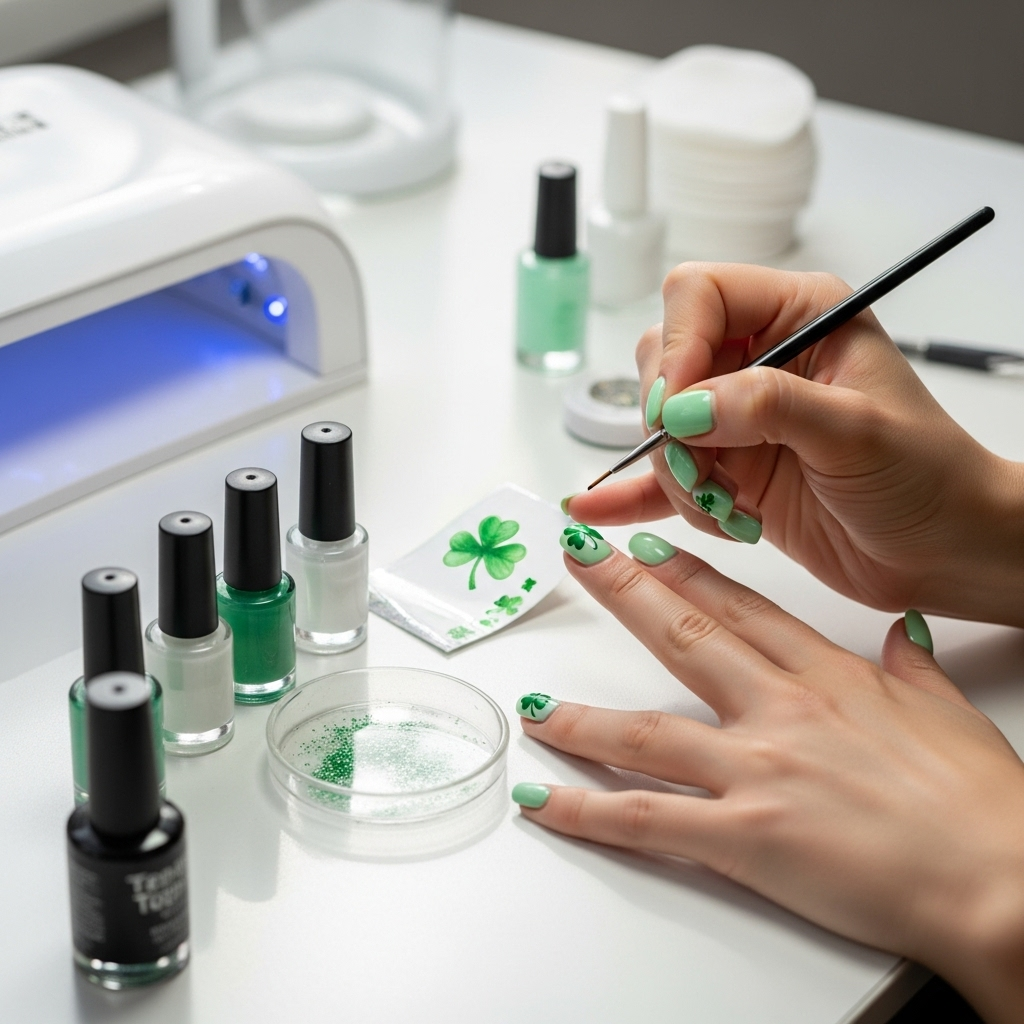
Once you’re comfortable with the basics, try these designs that add a little more flair and detail.
4. The Glitter Shamrock Accent
Add a touch of sparkle with glitter! This design is elegant and festive.
What you’ll need:
- Base coat
- Green nail polish
- Fine-tipped nail art brush
- Green or iridescent glitter polish
- Top coat
How to do it:
- Prep your nails with base coat and apply your chosen background polish. Let it dry.
- On one or two accent nails, create your shamrock shape using green nail polish and a fine brush or dotting tool.
- While the green polish is still wet, carefully brush or dab some green or iridescent glitter polish over the shamrock design. Don’t overdo it; a light dusting is best.
- Alternatively, you can create a glitter shamrock itself by using a fine brush dipped in glitter polish to form the shape.
- Let it dry thoroughly, then apply a generous top coat to smooth out any texture from the glitter and ensure longevity.
5. The St. Patrick’s Day Pattern Play
Mix shamrocks with other fun St. Patrick’s Day elements for a dynamic look!
What you’ll need:
- Base coat
- Green nail polish
- Gold or white nail polish
- Dotting tools, fine brush, or stamping tools
- Top coat
How to do it:
- Start with a base coat and apply a solid green polish.
- Once dry, choose a few nails for your accent art.
- On one nail, paint a simple shamrock using a lighter green or white polish.
- On another nail, try creating small gold or white polka dots.
- You could also use gold polish to draw subtle stripes or checkered patterns on other nails.
- Connect the designs with a fine brush if needed, or add tiny gold dots around the shamrocks for extra sparkle.
- Finish with a protective top coat over all nails.
6. Elegant Ombre with Subtle Shamrocks
Ombre nails are timeless, and adding tiny shamrocks gives them a festive twist.
What you’ll need:
- Base coat
- A lighter green polish and a darker green polish
- Makeup sponge
- Fine-tipped nail art brush
- Top coat
How to do it:
- Apply base coat and let it dry.
- On a makeup sponge, swipe stripes of the lighter and darker green polishes next to each other.
- Gently dab the sponge onto your nail to create an ombre effect. Repeat for desired color intensity, letting each layer dry slightly.
- Once the ombre is dry, use a very fine brush with a darker green or even black polish to paint tiny, minimalist shamrocks scattered across the ombre nails.
- Ensure the shamrocks are small so they complement, not overwhelm, the ombre.
- Seal everything with a smooth top coat.
Expert Tips for Perfect Shamrock Nails
Even with simple designs, a few pro tricks can elevate your DIY manicure.
Thin Coats are Key: Applying multiple thin coats of polish is always better than one thick coat. It dries faster, looks smoother, and is less prone to smudging.
Let it Dry (Really!): Patience is a virtue, especially in nail art. Ensure each layer of polish is completely dry before moving to the next step. Use a quick-dry top coat if you’re in a hurry.
Clean Up Mistakes Immediately: Keep nail polish remover and cotton swabs handy. Dip a swab in remover and carefully trace around your cuticle or any smudges while the polish is still wet. It’s much harder to fix once dry.
Practice on a Nail Wheel or Paper: Before you go for your actual nails, try the design on a nail wheel or even a piece of paper. This helps you get a feel for the tools and polish application. You can find reusable nail wheels online that are perfect for practice.
Don’t Forget the Stems: A simple stem can make your shamrock design look more complete. It doesn’t need to be complicated, just a fine line below the leaves.
Consider a Matte Top Coat: For a sophisticated alternative to high gloss, try a matte top coat over your finished shamrock design.
Advanced Shamrock Nail Art: For the Ambitious

Feeling confident? Ready to try something that might require a bit more precision or time? These advanced ideas are sure to turn heads.
7. Intricate Clover Patch
Instead of a single shamrock, create a small patch of clovers on one or more nails.
What you’ll need:
- Base coat
- Green nail polish
- Fine-tipped nail art brush
- Optional: a slightly darker green for depth
- Top coat
How to do it:
- Prepare nails with base and a solid color.
- On your accent nail, begin by painting one medium-sized shamrock using your chosen method (dots or freehand).
- While the first is still slightly wet (or after it’s dry, depending on your desired effect), add smaller shamrocks around it, overlapping slightly.
- You can use a slightly darker green to add subtle shading to the edges of the clovers for a bit of dimension, or simply stick to one shade.
- Ensure each of your “patches” looks organic and not too uniform.
- Finish with a generous top coat.
8. Stamping Techniques for Perfect Shamrocks
If you have stamping plates, this is your moment to shine! Stamping ensures perfect, repeatable designs.
What you’ll need:
- Base coat
- Your preferred nail polish colors
- Stamping plate with shamrock designs
- Stamping polish (or a highly pigmented regular polish)
- Stamping stamper and scraper
- Top coat
How to do it:
- Apply base coat and your main polish color. Let dry completely.
- Choose your shamrock design from the plate.
- Apply a generous amount of stamping polish over the desired image on the plate.
- Quickly scrape off the excess polish at an angle using the scraper.
- Immediately press the stamper onto the polished design, pick it up, and then roll the stamper onto your nail. Practice this motion!
- Let the stamped design dry for a minute, then apply a top coat carefully. Avoid aggressive brushing to prevent smudging the stamp.
Tip: For best results with stamping, work quickly and use a stamper that has a bit of “give” to it. Check out tutorials specifically for stamping for advice on polish consistency and technique.
Color Palettes and Combinations
While green is the obvious choice for shamrocks, don’t be afraid to experiment!
Classic Green: Emerald, forest, lime, or mint green polishes.
Gold Accents: Pairs beautifully with all shades of green for a touch of luxury.
White/Cream: Excellent as a background, for outlining, or for a softer shamrock look.
Black: For a bolder, graphic contrast and sharp outlines.
Pink/Purple: For a whimsical, unexpected twist on the traditional shamrock.
Rainbow: Why not have every color shamrock? Perfect for a fun, vibrant statement.
Consider using a color palette tool online to find complementary shades if you’re feeling creative. Many offer inspiration based on seasons or moods.
Table: Shamrock Nail Design Style Guide
Choosing the right shamrock design depends on your mood, skill level, and the occasion.
| Design Style | Best For | Difficulty Level | Key Elements |
|---|---|---|---|
| Classic Dot Shamrock | Beginners, quick manicures | Easy | Three dots forming leaves, central dot |
| Minimalist Outline | Chic, modern looks, busy individuals | Easy | Simple line art, clean and understated |
| Glitter Shamrock Accent | Evening events, festive occasions | Easy to Medium | Sparkle, glitter polish, accent nails |
| Pattern Play | Fun, playful St. Patrick’s Day celebrations | Medium | Mix of shamrocks, dots, stripes |
| Ombre with Shamrocks | Elegant, trendy aesthetic | Medium | Smooth color transition, delicate shamrock accents |
| Intricate Clover Patch | Detailed nail art enthusiasts | Medium to Advanced | Multiple overlapping shamrocks, shading |
| Stamped Shamrocks | Achieving perfect symmetry and detail | Medium (with practice) | Stamping plates, precise designs |
Frequently Asked Questions about Shamrock Nail Designs
Here are some common questions beginners have about creating their own shamrock nails.
Q1: How do I make the shamrock dots look like actual leaves?
The trick is to make them slightly tear-drop shaped rather than perfect circles. For the dotting tool method, try to pick up a little more polish and press slightly harder as you lift off the nail to create a subtle point. For freehand, use your brush to gently nudge the edges into a more leaf-like curve.
Q2: What’s the best way to draw a clean shamrock stem?
Use a very fine-tipped nail art brush. Dip it in green polish, wipe off any excess on the edge of the bottle, and then draw a single, smooth stroke from the bottom of your shamrock cluster downwards. If you make a mistake, quickly clean it up with a cotton swab dipped in nail polish remover before it dries.
Q3: Can I use regular polish or do I need special nail art polish?
You can absolutely use regular nail polish! Nail art polish


