Looking for charming and festive shamrock nail designs? Get ready for easy DIY ideas and essential tips to create stunning manicures perfect for St. Patrick’s Day or any time you want a touch of luck and green glamour. We’ll cover everything from simple dots to fun, complete shamrock art!
Feeling lucky and ready to add some green to your look? Shamrock nail designs are a super fun way to celebrate St. Patrick’s Day, or just bring a little bit of playful luck to your fingertips any day of the year! Sometimes, finding the perfect design that’s both cute and simple can feel a little tricky, right? Don’t worry, I’m here to help! We’ll walk through some easy-to-follow steps and share my favorite tips to make your shamrock nails look absolutely stunning. Get ready to embrace your inner nail artist and create some seriously charming manicures!
Why Shamrock Nails Are So Much Fun
Shamrock nail designs are more than just a trend; they’re a mood! They instantly bring a sense of playfulness and good fortune. Whether you’re heading to a St. Patrick’s Day party, want a subtle nod to the holiday, or just love the color green, shamrocks are a fantastic choice. They’re versatile, fitting a range of styles from minimalist chic to bold and festive. Plus, mastering a few shamrock techniques will give you a go-to design that’s always a winner.
Getting Started: Your Shamrock Nail Tool Kit
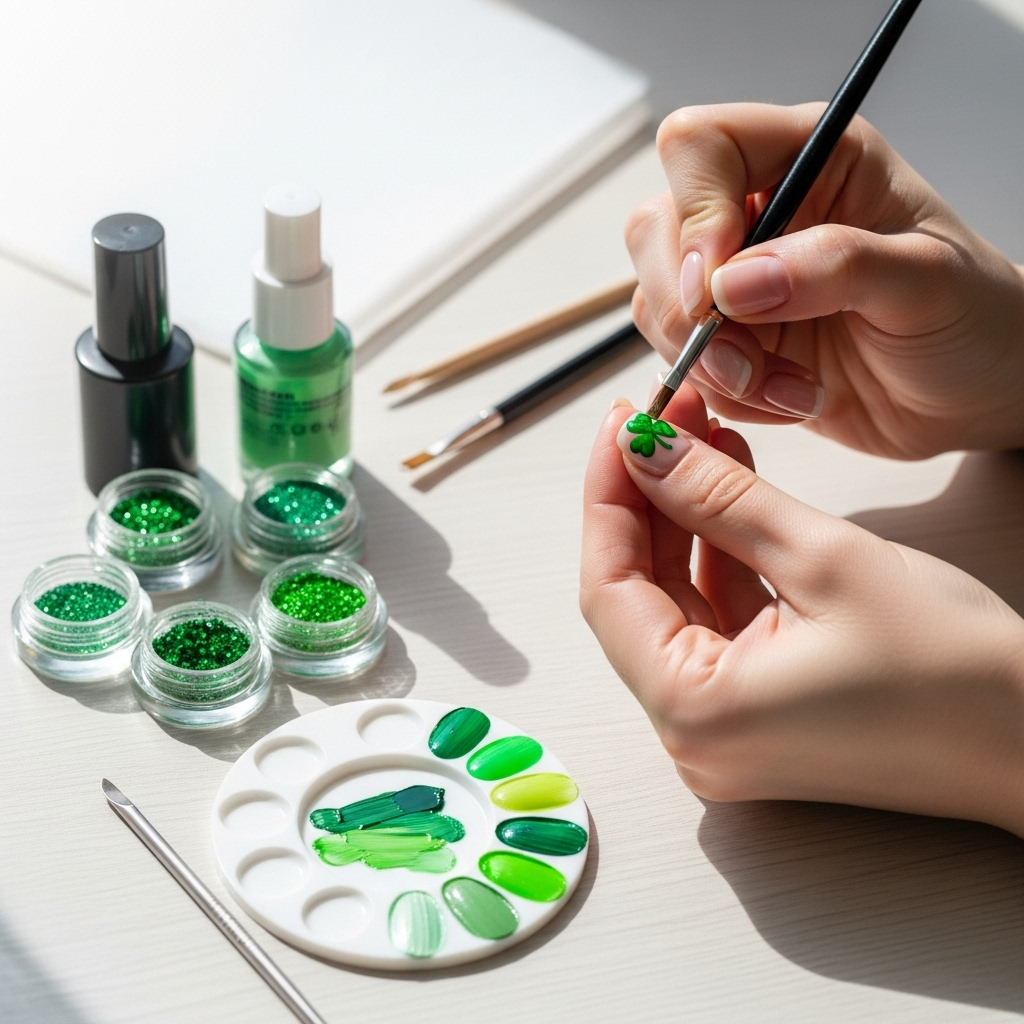
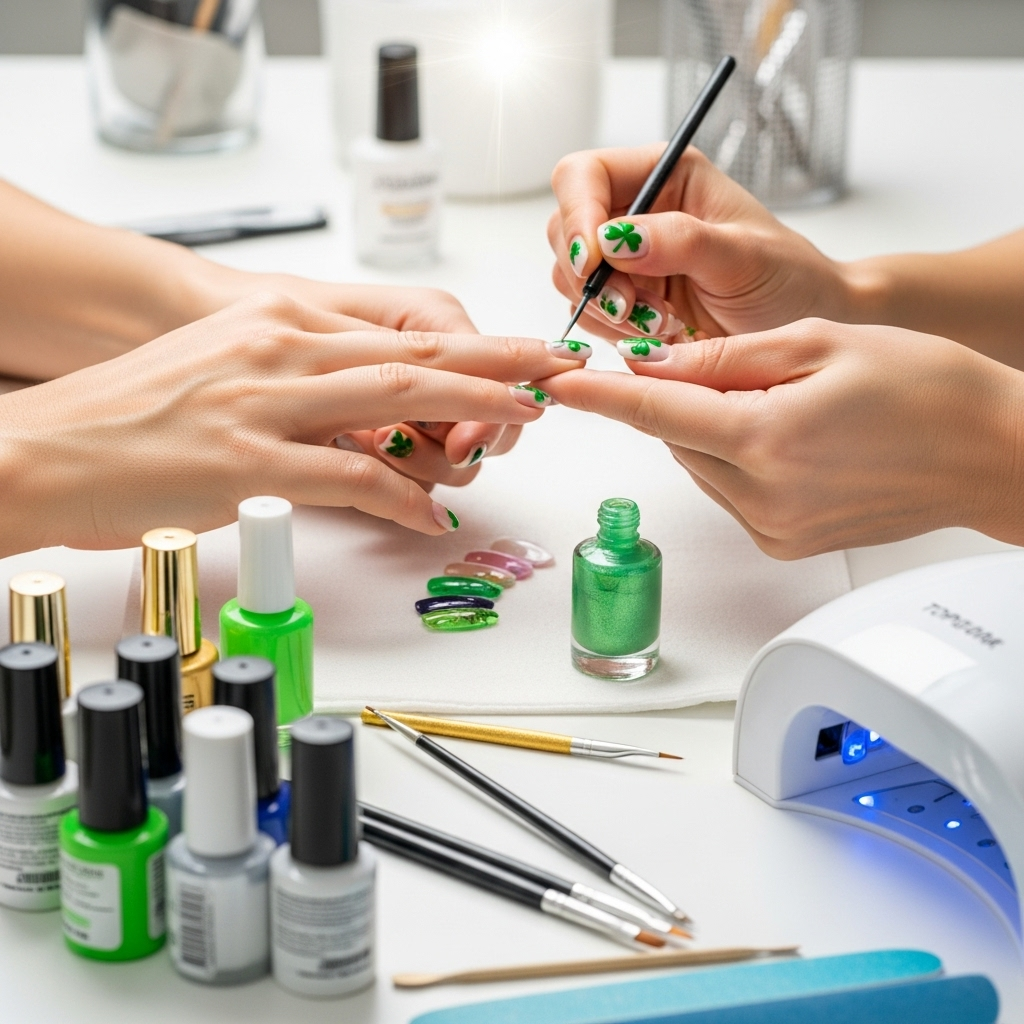
Before we dive into the fun part – creating the designs – let’s make sure you have the right tools. Don’t worry, you don’t need a whole professional salon’s worth of supplies! Most of these are probably already in your nail polish collection or are easy to find.
Here’s a basic list of what you’ll need:
- Base Coat: To protect your natural nails and help polish adhere better.
- Top Coat: To seal your design, add shine, and make it last longer.
- Green Nail Polish: This is your star color! Different shades of green will give you different looks.
- White or Light Green Polish: This is great for the base or for adding highlights.
- Dotting Tools: These are lifesavers for creating perfect little dots, which are essential for shamrocks. They come in various sizes. If you don’t have them, the tip of a bobby pin or a toothpick can work in a pinch, though dotting tools offer more control.
- Fine-Tipped Brush: A thin brush is excellent for drawing stems, outlines, or adding small details.
- Clear or White Polish (Optional for outlines): For adding definition to your shamrock shapes.
- Nail Polish Remover & Cotton Swabs: For cleaning up any little mistakes.
Essential Shamrock Nail Design Techniques for Beginners
Ready to get creative? Let’s break down a few super-easy shamrock nail design ideas that anyone can do!
Method 1: The Simple Dot Shamrock
This is the easiest way to get a shamrock look, perfect for your first try!
Step-by-Step:
- Prep Your Nails: Start with clean, dry nails. Apply a base coat and let it dry completely.
- Apply Your Base Color: Paint your nails your desired base color. A light green, white, or even a clear coat works beautifully. Let this dry thoroughly.
- Create the Leaves: Take your green polish and a medium-sized dotting tool. On your nail, create three equally spaced dots in a slightly curved line, like the top of a heart.
- Add the Fourth Leaf: Now, create one more dot just below the center of the three you just made, slightly overlapping them, to form the fourth leaf. You should now have a clover shape made of four dots!
- Add a Stem: Use a fine-tipped brush or a toothpick dipped in green polish to draw a small stem extending downwards from the bottom leaf.
- Seal the Deal: Once everything is dry, finish with a generous layer of top coat to protect your adorable shamrock.
Method 2: The Painted Shamrock (Slightly More Detail)
This method gives a slightly more defined shamrock using your brush.
Step-by-Step:
- Prep and Base: Apply base coat and your chosen base color (a soft green or nude is lovely). Let it dry.
- Sketch the Shape: With a fine-tipped green brush, lightly sketch out the outline of your shamrock. Think of it as drawing three small rounded shapes that meet at the top, with a fourth slightly below.
- Fill in the Leaves: Carefully fill in the sketched outlines with your green polish. You can do this with your brush or by dabbing with a small dotting tool.
- Add a Simple Stem: Use your brush to draw a clean stem.
- Outline for Definition (Optional): For an extra pop, you can use a tiny bit of white or black polish with your finest brush to outline the shamrock very thinly.
- Top Coat: Apply a clear top coat to seal and shine.
Method 3: The Glitter Shamrock Accent
Who doesn’t love a bit of sparkle? This is a fun way to make your shamrock design really stand out.
Step-by-Step:
- Base Layer Love: Apply base coat, then your favorite green polish or a neutral shade to your nails. Let it dry.
- Dotting Fun: Using a dotting tool and a contrasting green polish (or even white!), create your four shamrock dots as described in Method 1.
- Stem Time: Add a quick stem with green polish.
- Bring on the Glitter: While the green polish is still a little wet, carefully dab a bit of green or gold glitter onto the shamrock. You can use your dotting tool or a fine brush to pick up glitter.
- More Glitter (Optional): For an all-out festive look, you can do a glitter accent nail on one or two fingers.
- Secure and Shine: Once the polish and glitter are completely dry, apply a thick layer of top coat. This is especially important to make sure the glitter is smooth and doesn’t snag.
Advanced Shamrock Techniques & Style Inspirations
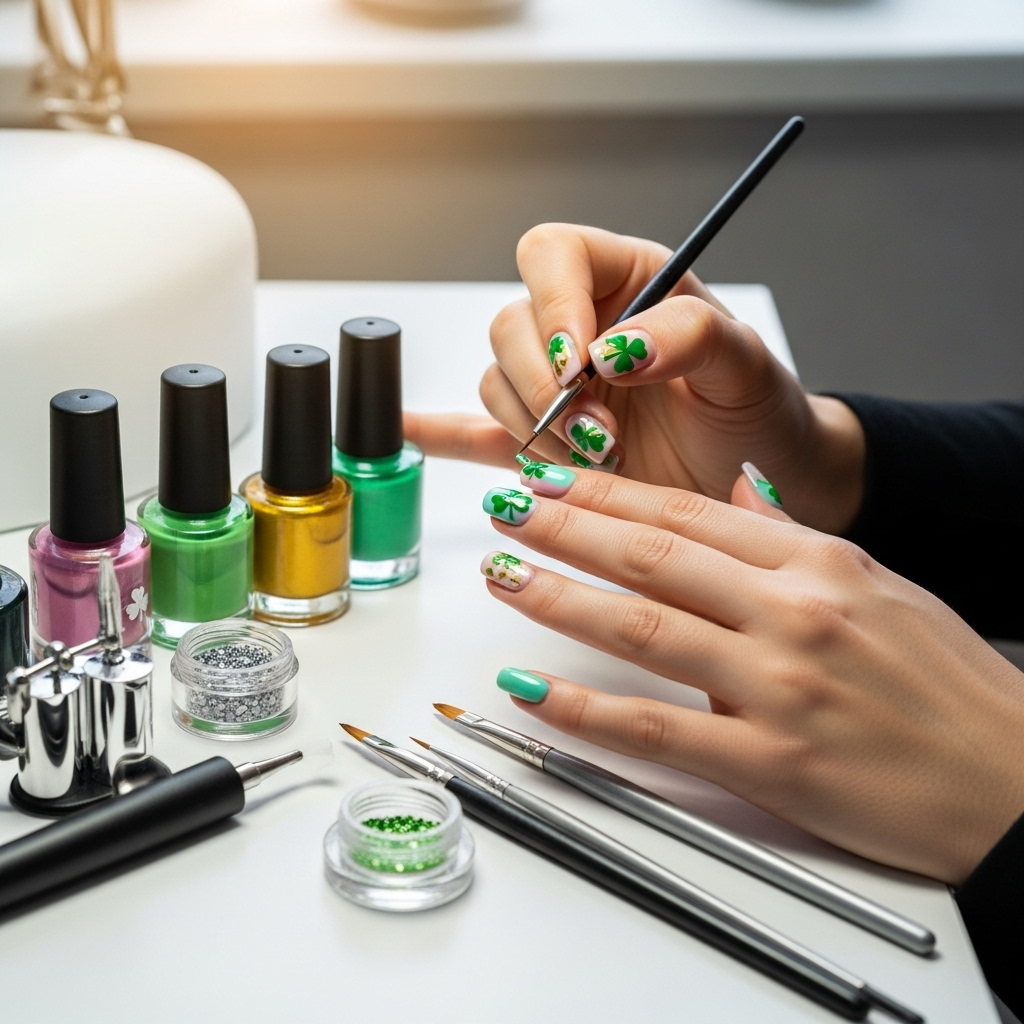
Once you’ve got those basic techniques down, you might be ready to play with some more advanced or varied shamrock nail designs!
The “Lucky” Accent Nail
Combine your shamrock with a word!
Base: Use a solid green or a more natural tone.
Shamrock: Create a small, simple shamrock on one accent nail (like your ring finger).
Word Art: With a very fine brush and white or gold polish, carefully write “Lucky” below or beside your shamrock. This is definitely for those with a steady hand!
Ombre Shamrock Nails
This is a beautiful way to layer colors.
Gradient Base: Create a green ombre effect on your nails, fading from dark green to light green, or even from green to white.
Shamrock Detail: Use a darker green or black polish to carefully paint or dot small shamrocks over the ombre background. The contrast will make them pop.
Negative Space Shamrocks
This modern twist uses the natural nail as part of the design.
Stencils or Tape: Use nail art tape or small cut-out stencils to create a shamrock shape on your nail.
Polish Application: Paint over the stencil/tape.
Reveal: Carefully peel away the tape when the polish is still slightly wet. You’ll have a shamrock shape where the polish isn’t. You can then fill this negative space with glitter or a different color polish, or leave it as is. For the best results, it’s good to start with a clear or light base coat. You can also achieve this by painting your nail a solid color and then using a fine brush to paint the outline of a shamrock, leaving the inside of the shape unpainted.
Shamrock French Tips
A fun twist on a classic!
Green French Tips: Instead of white, use a bright green polish to create your French tips.
Shamrock Detail: On one or two nails, add a tiny shamrock at the base of the French tip or on the nail bed.
Essential Nail Care for Beautiful Polish
No matter how cute your shamrock designs are, they look best on healthy nails. Here are some quick tips for keeping your nails in top shape. Good nail health comes from consistent care, much like maintaining a healthy body. According to experts at the Mayo Clinic, proper nail care involves keeping them clean and dry to prevent bacteria growth, trimming them regularly, and being gentle to avoid tearing or splitting.
Moisturize: Use cuticle oil daily. This keeps your cuticles soft and prevents hangnails, which can ruin a perfect manicure.
File Gently: Always file in one direction to avoid weakening the nail. Avoid sawing back and forth.
Protect: Wear gloves when doing household chores, especially washing dishes, as harsh chemicals can damage polish and nails.
Hydration: Drink plenty of water! It really does help your nails (and skin!) stay hydrated from the inside out.
Troubleshooting Common Nail Art Issues
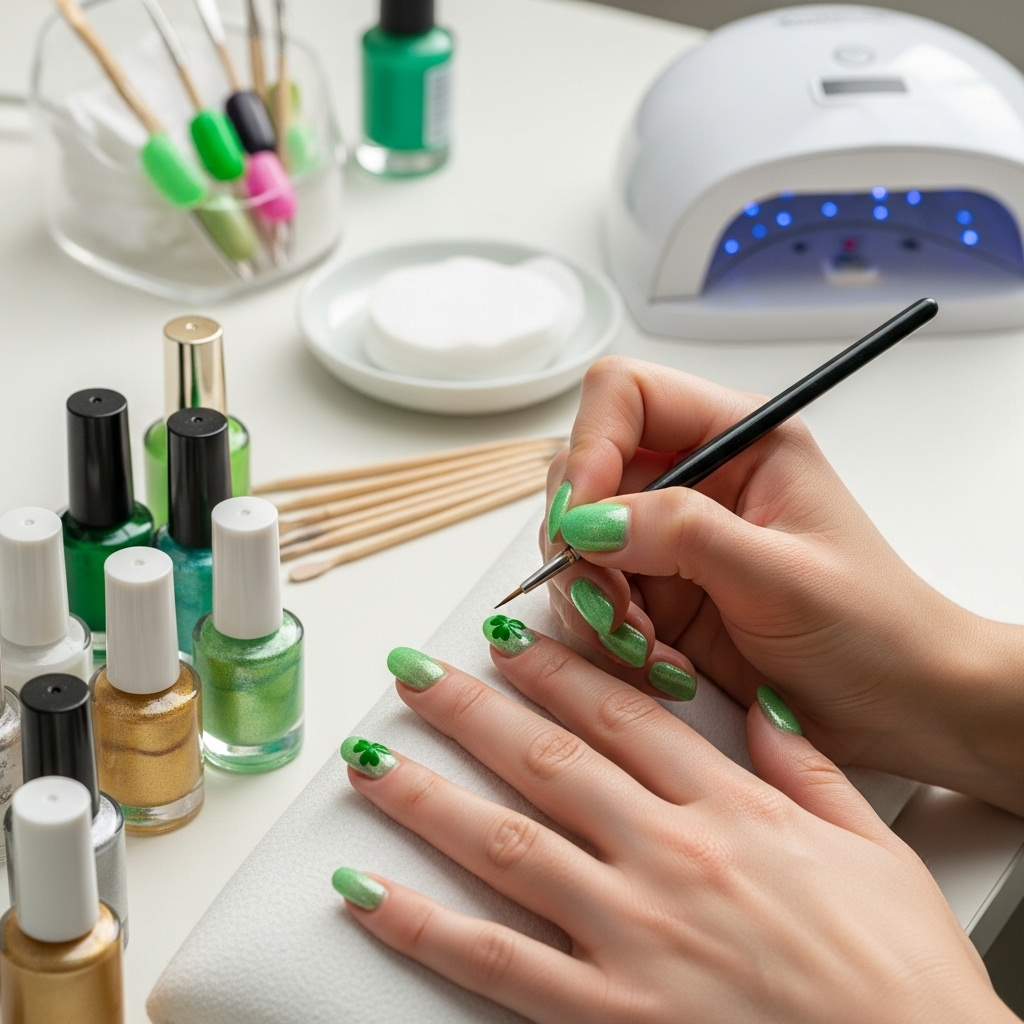
Even the best nail artists encounter a hiccup now and then! Here are some common problems and how to fix them:
Smudged Polish?
The Fix: Wait for polish to be completely dry before touching anything. If it’s a fresh smudge, try to gently smooth it over with a bit more polish applied with your brush. For dried smudges, you might need to remove the polish on that nail and start over. A quick-drying top coat can sometimes help “save” slightly smudged nails by smoothing them out.
Chipped Polish?
The Fix: If it’s a small chip on an otherwise good manicure, you can often carefully paint a thin layer of polish directly over the chip and then reapply your top coat once dry. For larger chips, you might need to repair the nail or remove and reapply polish.
Polish Too Thick or Streaky?
The Fix: This often happens with older polish. Try adding a drop or two of nail polish thinner (not acetone or remover, as that breaks down the polish formula) to revive it. If a polish is just naturally streaky, build up the color with thin coats rather than one thick one. Using a good base coat can also help even out the nail surface for smoother application.
Blobby Dots on a Dotting Tool?
The Fix: You’re likely picking up too much polish. Dip your dotting tool lightly into the polish bottle and wipe off any excess on a piece of paper before you start dotting. For the shamrock shape, aim for consistency in the size of your dots.
Nail Polish Recommendations for Shamrock Designs
Choosing the right polish can make a big difference! Here are a few types of polishes that work wonderfully for shamrock nail designs.
| Polish Type | Description | Best For Shamrock Designs |
| :—————– | :———————————————————————————————————————————————————————————- | :———————————————————— |
| Cream Finish | Opaque, smooth, and solid color. No shimmer or glitter. | Perfect for the base color and creating clean shamrock shapes. |
| Jelly Finish | Slightly translucent, allowing some of your natural nail to show through. Gives a glossy, vibrant look. | Great for a softer, almost stained-glass effect shamrock. |
| Glitter Polish | Contains small or large glitter particles suspended in a clear or colored base. | Use for accent nails or to add sparkle to your shamrocks naturally. |
| Metallic Polish| Shimmering, reflective finish. | Can be used for outlines or even as a base for a very bold shamrock. |
| Matte Polish | Dries to a non-shiny, velvety finish. You can use a matte top coat over any polish to achieve this effect. | Creates a sophisticated, modern look for shamrocks. |
When picking your greens, consider emerald green for a rich look, a brighter lime green for a pop, or even a mint green for something softer. White, gold, or a deep forest green can also be great for details and accents.
Frequently Asked Questions About Shamrock Nail Designs
Q1: How long do shamrock nail designs usually last?
With a good base coat, careful application, and a strong top coat, shamrock nail designs can last anywhere from 5 to 10 days. The longevity also depends on how hard you are on your hands and the quality of the polishes used.
Q2: Can I do shamrock nails with gel polish at home?
Absolutely! Gel polish offers increased durability and shine. The application process is similar to regular polish, but you’ll need a UV or LED lamp to cure each layer. For beginners, regular polish is often easier to work with as it’s more forgiving and doesn’t require special lamps or removal solutions.
Q3: What’s the easiest way to remove nail art mistakes?
A small brush (like a fine-tipped liner brush) dipped in nail polish remover is perfect for cleaning up edges or removing small mistakes. You can also use a cotton swab, but it can be a bit trickier to get sharp lines with a swab.
Q4: Do I need to use real shamrocks for my nail designs?
(Haha, that’s a fun thought!) No, you don’t need real shamrocks! We’re just using them for inspiration to create the shape and color on your nails. All you need are nail polishes and tools.
Q5: Can I combine shamrock designs with other St. Patrick’s Day elements?
Yes, absolutely! You can add gold coin accents, rainbows, or even little leprechaun hats if you’re feeling extra festive. Mixing different St. Patrick’s Day motifs can make your manicure even more unique and celebratory.
Q6: My green polish looks dull. How can I make it look brighter?
A good quality top coat with a high shine will significantly brighten up any nail polish. You can also try using a white polish as your base coat underneath the green; this will make the green color appear more vibrant and true to its shade.
Conclusion: Go Forth and Be Lucky!
There you have it – your beginner’s guide to creating absolutely stunning shamrock nail designs! From the simplest dots to more intricate ideas, you’re now equipped to bring a little bit of festive cheer and good luck to your fingertips. Remember, nail art is all about expressing yourself and having fun. Don’t be afraid to experiment with different green shades, finishes, and embellishments. Practice makes perfect, so keep trying, clean up those little mistakes with the tips we’ve shared, and most importantly, enjoy the process! Your nails will be the talk of the town, and you’ll feel a little extra lucky every time you show them off. So grab your polishes, get creative, and let your luck shine through!

