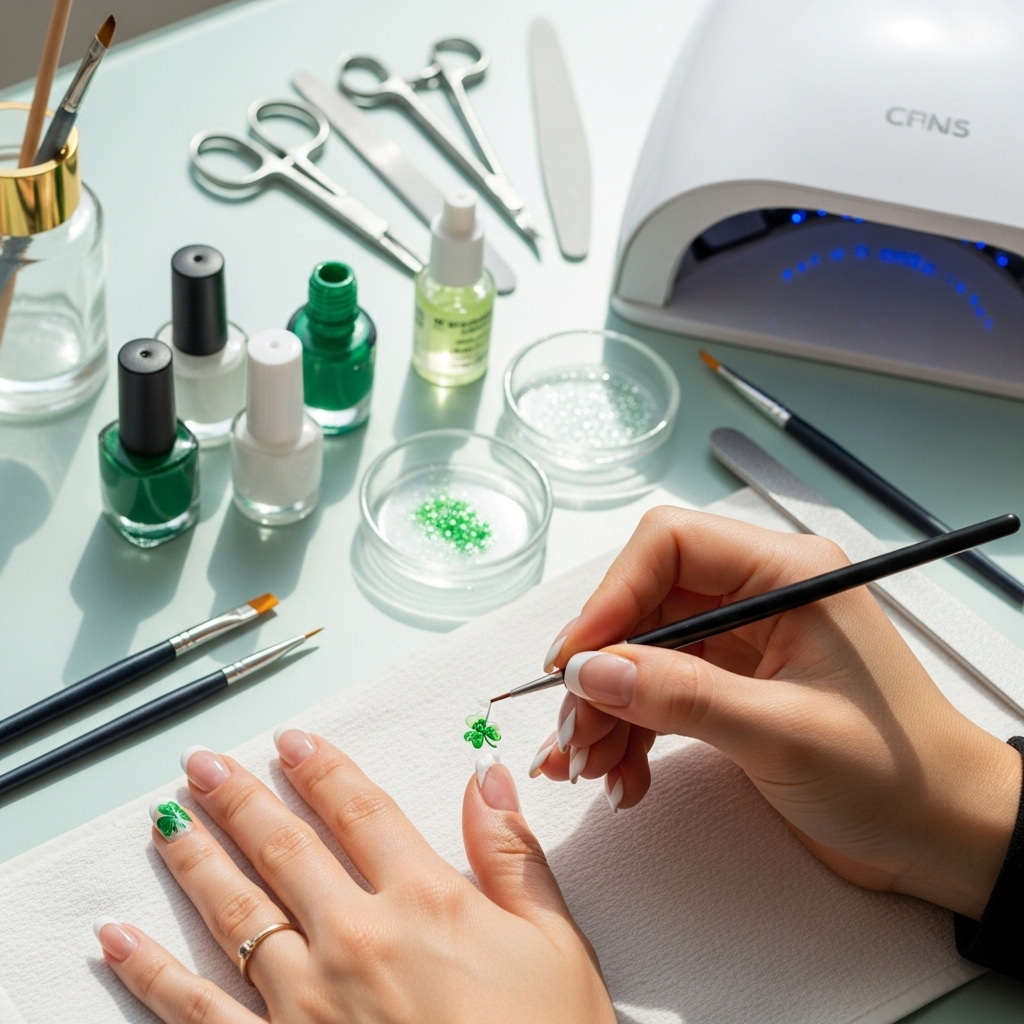
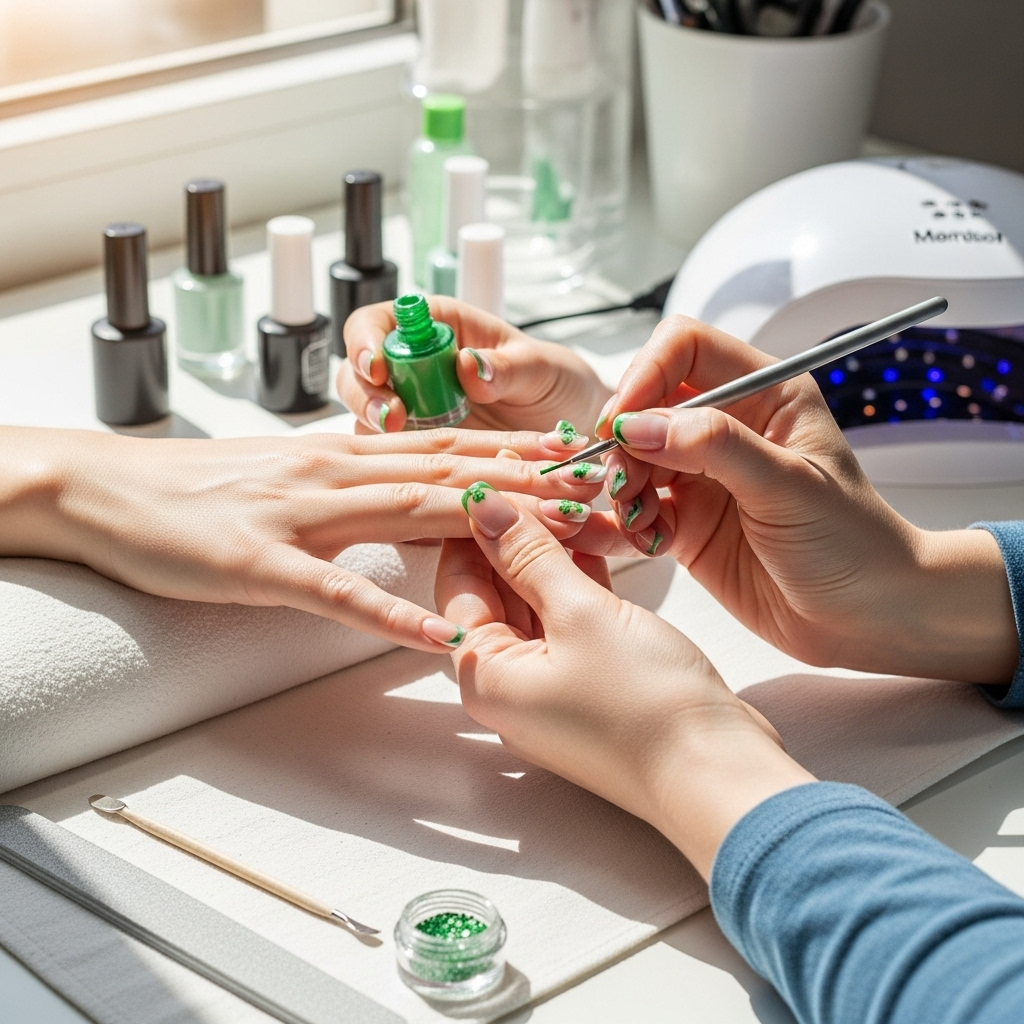
Shamrock French tips are a festive and fun way to add a touch of Irish charm to your manicure, perfect for St. Patrick’s Day or any time you want a playful pop of green. These designs blend the classic elegance of French tips with adorable shamrock accents, making them surprisingly easy to achieve, even for beginners.
Dreaming of a manicure that’s both chic and cheerful? French tips are a timeless favorite, offering a clean and sophisticated look. But what if you could add a playful twist, like a sprinkle of luck and greenery? That’s where shamrock French tips come in! They’re a delightful way to celebrate St. Patrick’s Day or just bring a bit of festive fun to your fingertips. Don’t worry if you’re new to nail art; these designs are simpler than they look. We’ll guide you through everything, from essential tools to creating stunning shamrock accents that will have your nails looking absolutely lucky!
Quick Guide: Essential Tools & Techniques for Shamrock French Tips
Ready to get your shamrock on? Here’s a lightning-fast rundown of what you’ll need and the basic moves to make your shamrock French tips shine:
- Base Coat: To protect your nails.
- Nude or Pale Polish: For the French tip base (think off-white, sheer pink, or even a soft beige).
- White Polish: For the crisp French tip line.
- Green Polish: Your shamrock star!
- Fine-tipped Nail Art Brush or Dotting Tool: For drawing those tiny shamrocks.
- Top Coat: To seal everything and add major shine.
- Patience & Practice: The secret ingredients!
The core idea is to create a classic French tip and then add a shamrock or two. You can dot with green polish and connect the dots, or use your brush for more detailed designs. We’ll dive into specifics next!
Getting Started: Prep Your Nails for Luck
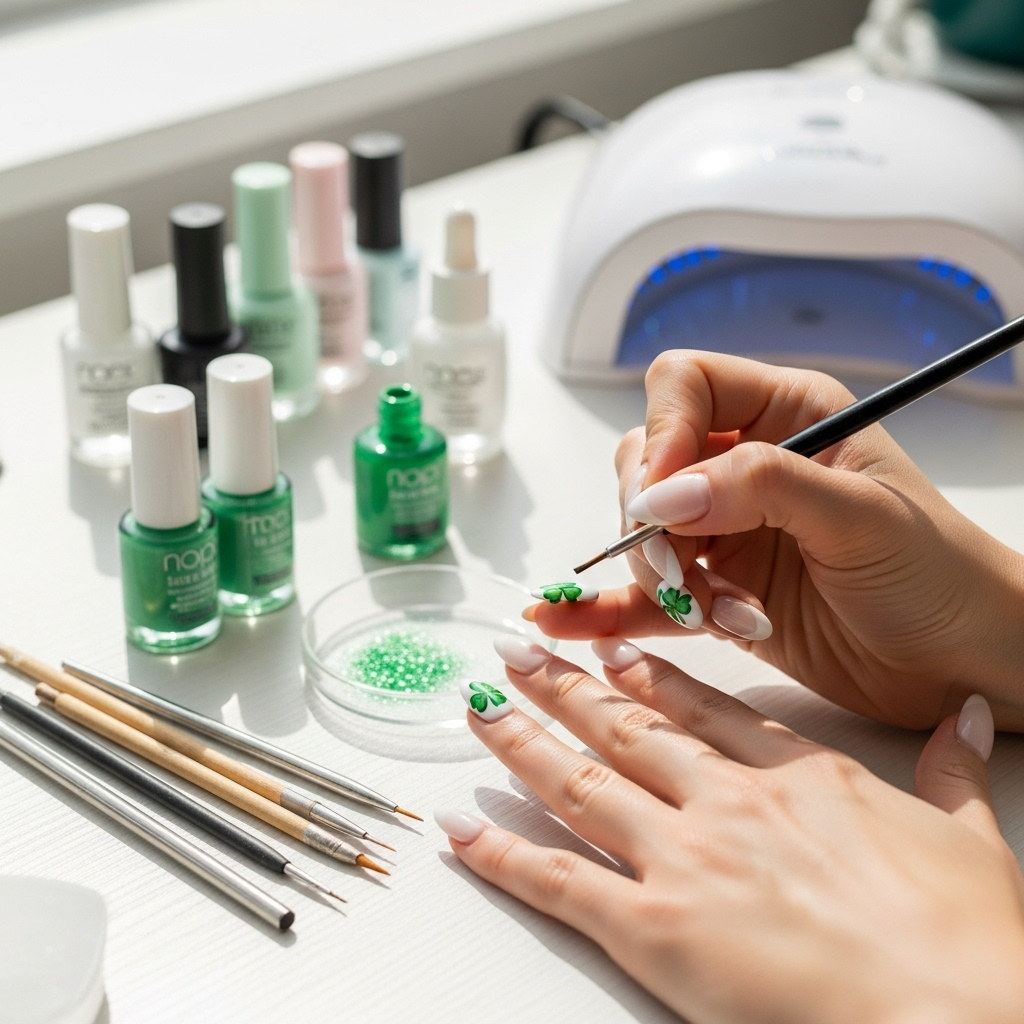
Before we get to the fun part – the shamrocks! – a little prep work goes a long way to ensure your custom manicure lasts and looks its best. Think of this as creating the perfect canvas for your lucky charms.
Step 1: Clean and Shape
Start by removing any old polish. Then, gently push back your cuticles with an orange stick or cuticle pusher. If your cuticles are a bit dry, a drop of cuticle oil can help soften them. Next, file your nails into your desired shape – almond, square, or rounded, whatever makes you feel fabulous! Make sure all your nails are shaped evenly.
Step 2: Buff for Smoothness
Lightly buff the surface of your nails with a fine-grit buffer. This removes any natural oils and creates a smooth surface for the polish to adhere to. Don’t over-buff, though; we just want a light matte finish.
Step 3: Apply Base Coat
A good base coat is crucial! It protects your natural nails from staining (especially important if you’re using darker polishes) and helps your manicure last longer. Apply one thin layer and let it dry completely.
Classic Shamrock French Tip Designs: Beginner-Friendly
Let’s get to the designs! We’re starting with the easiest and most classic ways to incorporate shamrocks into your French tips. These are perfect for dipping your toes into nail art.
Design 1: The Accent Shamrock
This is the simplest way to add a festive touch. You’ll create standard French tips and then add one or two tiny shamrocks on one or two nails.
Tools Needed for Accent Shamrock:
- Your usual French tip supplies (base coat, nude/pale polish, white polish, top coat)
- Green nail polish
- A fine-tipped nail art brush OR a small dotting tool
Step-by-Step Application:
- Paint Your French Tips: Start by applying your nude or pale polish over your entire nail. Let it dry completely.
- Create the White Smile Line: Carefully paint the classic white French tip line on each nail. You can use a nail art brush, a French tip guide sticker, or carefully paint freehand. Let this dry thoroughly.
- Add the Shamrocks: Now for the fun part! On one or two accent nails (like your ring fingers), use your fine-tipped brush or dotting tool and green polish to create a small shamrock.
- Shamrock Technique (Dotting Tool): Dip your dotting tool into green polish. Make three small dots very close together in a triangular shape, then add a fourth dot slightly below and in the center, connecting them all. Add a tiny stem if you like!
- Shamrock Technique (Brush): With your brush, make three small, slightly rounded strokes that meet at a central point to form the three leaves. Add a tiny stem. It doesn’t have to be perfect; the charm is in its playful nature!
- Add Stem (Optional): Use a tiny stroke of green polish to add a short stem below the shamrock.
- Apply Top Coat: Once all the polish is completely dry, seal your design with a generous layer of top coat. This protects your art and gives your nails a beautiful, glossy finish.
Design 2: The Repeating Mini-Shamrocks
Instead of one big shamrock, let’s scatter a few tiny ones. This adds a whimsical, all-over festive feel without being overwhelming.
Tools Needed for Repeating Mini-Shamrocks:
- Same as Design 1, but you’ll use green polish for the shamrocks.
Step-by-Step Application: Repeating
- Prep and Base: Apply your base coat and let it dry.
- Apply Color: Paint your nails with your chosen nude or pale polish. Let it dry completely.
- Create French Tips: Add your white French tip lines as usual. Let them dry fully.
- Dot Your Shamrocks: On each nail, using your fine-tipped brush or dotting tool and green polish, create 2-3 very small shamrocks scattered on the white tip area. Think of them as tiny confetti!
- Shamrock Placement Tip: Don’t overcrowd them. A few well-placed mini shamrocks look more elegant than a jumble. Aim for one near the center and one or two on the sides of the smile line.
- Add Stems: Add tiny green stems to each shamrock if desired.
- Seal with Top Coat: Apply your top coat to lock everything in place and add shine.
Design 3: The Green Shamrock Tip
This design flips the script slightly. Instead of a white tip with green accents, we’ll make the entire tip green and add a subtle shamrock detail.
Tools Needed for Green Shamrock Tip:
- Base coat
- Nude or pale polish
- Green nail polish
- White nail polish (for the shamrock detail)
- Fine-tipped nail art brush or dotting tool
- Top coat
Step-by-Step Application: Green Tip
- Base and Color: Apply base coat, then one or two coats of your nude/pale polish. Let dry.
- Green Tips: Instead of white, carefully paint the tips of your nails with your chosen green polish. Create a crisp smile line. Let this dry completely.
- Add White Shamrock Detail: On one or two accent nails, use your fine brush or dotting tool and WHITE polish to create a small shamrock on top of the green tip. The white will pop against the green.
- Create the Shamrock: Use the same dotting or brush technique as before: three dots connected, or three petal shapes.
- Stem: Add a tiny green stem.
- Seal: Apply your top coat once everything is dry.
Intermediate Designs: Adding More Flair
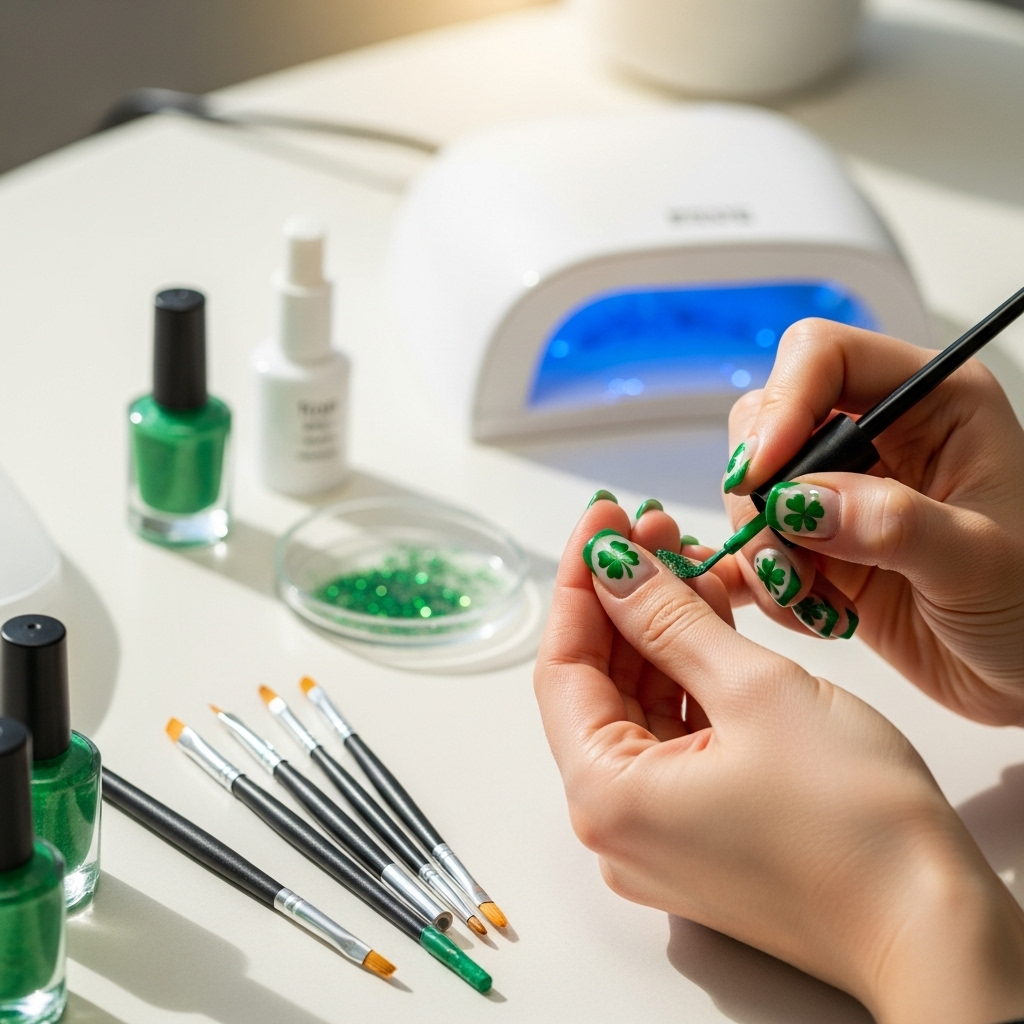
Feeling a bit more confident? Let’s bump up the creativity with designs that involve a little more detail or playful placement. These still keep things achievable for the budding nail artist!
Design 4: The Shamrock Smile Line
This design integrates the shamrock directly into the French tip’s smile line, creating a cohesive and charming look.
Tools Needed for Shamrock Smile Line:
- Base coat
- Nude or pale polish
- White polish (for base smile line)
- Green polish (for shamrock detail)
- Fine-tipped nail art brush
- Top coat
Step-by-Step Application: Shamrock Smile Line
- Prep and Base: Apply your base coat and nude/pale polish. Let dry.
- White Tip Line: Create a standard white French tip smile line on all nails. Let it dry thoroughly.
- Create the Shamrock Curve: On each nail, use your fine-tipped brush and green polish to carefully paint a small shamrock that slightly overlaps or sits just at the edge of the white smile line. Imagine the shamrock nestled into the curve.
- Placement is Key: You can add just one shamrock at the peak of the smile line, or two smaller ones on either side. The goal is to make it look like it belongs there.
- Refine the Line: If the green shamrock slightly smudges your white line, you can carefully touch up the white line with a tiny amount of white polish using your brush.
- Top Coat: Once dry, seal with top coat.
Design 5: The Full Green Tip with White Shamrock Detail
Similar to Design 3, but we’re going for a more prominent shamrock detail on the green tip.
Tools Needed for Full Green Tip with White Shamrock Detail:
- Base coat
- Nude or pale polish
- Green polish
- White polish
- Fine-tipped nail art brush
- Top coat
Step-by-Step Application: Full Green Tip
- Foundation: Apply base coat, then your nude/pale polish base. Let dry.
- Green Tip: Paint the entire tip of each nail a solid green. It doesn’t have to be a sharp French line; it can be a slightly softer curve, or a full glitter green tip! Let dry completely.
- White Shamrock Art: Now, using your fine brush and white polish, create a more defined shamrock design on the green tip. You could do one larger, bolder shamrock in the center, or a pattern of smaller ones.
- Precision: Take your time here. You can paint the outline of the shamrock first with white, then fill it in carefully with green, or vice versa. Or, simply dot the white polish to form the shamrock shape.
- Stem: Add a white or green stem.
- Final Seal: Apply a protective top coat.
Design 6: The Emerald Stripes with Shamrocks
This design adds a bit of texture and visual interest by incorporating stripes alongside the shamrock theme.
Tools Needed for Emerald Stripes with Shamrocks:
- Base coat
- Nude or pale polish
- White polish
- Green polish
- Thin striping tape or a very fine nail art brush
- Small dotting tool or fine brush for shamrocks
- Top coat
Step-by-Step Application: Emerald Stripes
- Base: Apply base coat, followed by your nude/pale polish base on all nails. Let dry.
- White French Tip: Create your white French tip smile line. Let it dry fully.
- Add Stripes:
- With Striping Tape: Carefully place thin strips of green striping tape diagonally across the white tip, or horizontally at the base of the tip. Press down firmly.
- With Brush: Using a fine nail art brush and green polish, carefully paint thin stripes from the edge of the white tip upwards or diagonally. This takes a steady hand!
- Remove Tape (if used): Gently peel off the striping tape while the polish is still slightly wet, revealing crisp lines.
- Shamrock Accents: On an accent nail or two, use your dotting tool or fine brush and green polish to add small shamrocks, either on the striped area or beside it.
- White Contrast: Optionally, add a tiny white dot or outline to the green shamrocks for definition.
- Seal: Apply top coat.
Advanced Techniques for the Nail Art Pro in You
Ready to truly impress? These techniques add a bit more complexity, using layering and different finishes for a salon-worthy look. Don’t be intimidated; practice makes perfect!
Design 7: The Ombré Shamrock Tip
This design creates a smooth transition of color on the tip, with shamrocks added for a festive touch.
Tools Needed for Ombré Shamrock Tip:
- Base coat
- Nude or pale polish
- White polish
- Green polish (lighter and darker shades can be nice for ombré)
- Cosmetic sponge or makeup sponge
- Fine-tipped nail art brush or dotting tool
- Top coat
Step-by-Step Application: Ombré Shamrock Tip
- Base: Apply base coat and nude/pale polish. Let dry.
- Ombré Prep: On a piece of paper or your palette, create stripes of white and green polish next to each other without mixing.
- Blended Tip: Lightly dab a makeup sponge into the stripes so it picks up both colors. Then, gently dab this onto the tips of your nails, blending the colors upwards from the white line. Repeat for desired opacity. This creates the ombré. Let dry completely.
- Shamrock Detail: On an accent nail, use your fine brush and a contrasting green (or even white) polish to paint a shamrock over the ombré tip.
- Technique: For a subtle shamrock, use dots. For a bolder one, paint the outline and fill it in.
- Seal
