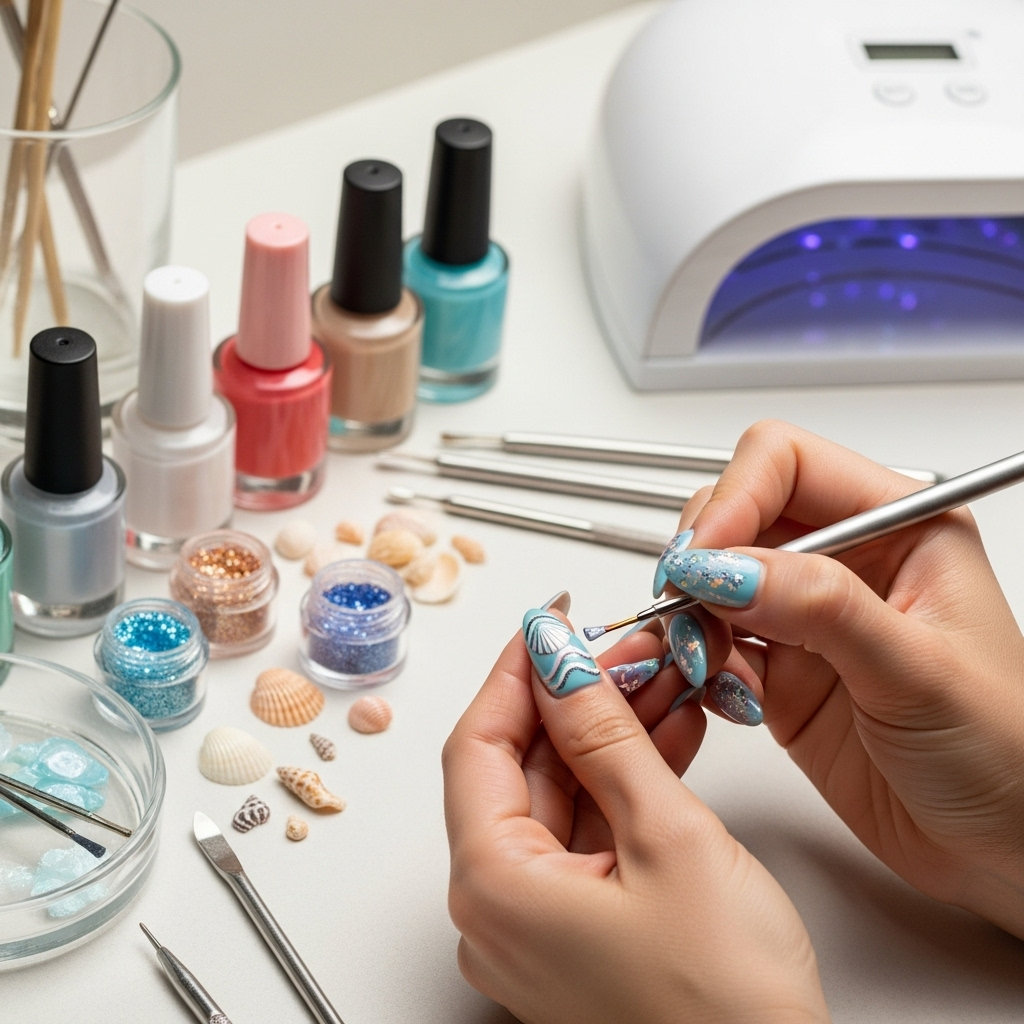
Seashell nail designs capture the essence of summer with chic, beach-inspired looks. Perfect for beginners, these designs transform your nails into miniature works of art using simple techniques and readily available tools, bringing the magic of the ocean to your fingertips.
Dreaming of sun-kissed beaches and ocean breezes? Your nails can be your passport to paradise! Seashell nail designs are the ultimate way to bring a touch of the summer shore right to your fingertips. Whether you’re heading on vacation or just want to infuse your everyday look with a bit of coastal charm, these designs are surprisingly easy to create. Forget complicated art; we’re talking simple shapes, pretty colors, and achievable techniques that even a nail art novice can master. Get ready to dive into a world of sparkly shells, pearly finishes, and ocean-blue hues that will make your manicure the star of the season. Let’s make your nails as beautiful as a day at the beach!
Frequently Asked Questions About Seashell Nail Designs
What are the basic tools needed for seashell nail designs?
For most seashell nail art, you’ll want a good base coat, your desired polish colors (think whites, creams, blues, and sandy tones), a fine detailing brush or dotting tool, and a top coat for sealing your design. Optional but fun additions include glitter, pearl powders, or even small 3D embellishments if you’re feeling adventurous!
Can I create seashell nail designs with no artistic skill?
Absolutely! Many seashell designs rely on simple shapes and color application. Using dotting tools for patterns or even nail stickers can create stunning effects without needing advanced drawing skills. We’ll cover techniques that are perfect for beginners!
How long do seashell nail designs typically last?
With proper application, including a good base and top coat, your seashell nail designs can last anywhere from 7 to 14 days, similar to a regular manicure. The key is to ensure each layer is fully dry before proceeding to the next and to finish with a durable top coat.
What colors are best for a classic seashell look?
Classic seashell colors include various shades of white, cream, beige, sandy brown, soft pink, and pearlescent blues or greens. These colors mimic the natural tones of real seashells and create an elegant, understated vibe. Don’t be afraid to add a touch of shimmer or iridescence!
How do I remove seashell nail art without damaging my natural nails?
Just like removing regular nail polish, use an acetone-based nail polish remover. Soak a cotton ball, press it onto your nail for a minute, and then gently wipe away the polish and design. For glitter or embellishments, you might need a little more soaking time or a specialized remover. Always follow up with a nourishing cuticle oil to keep your nails healthy.
Are there simpler alternatives to painted seashell designs?
Yes! You can use nail stickers or decals that already feature seashell designs. These are incredibly user-friendly – simply peel and stick them onto your nails, then seal with a clear top coat. Another easy option is to use iridescent powders or holographic flakes to mimic the sheen of a shell.
Dive In: Your Beginner’s Guide to Seashell Nail Designs
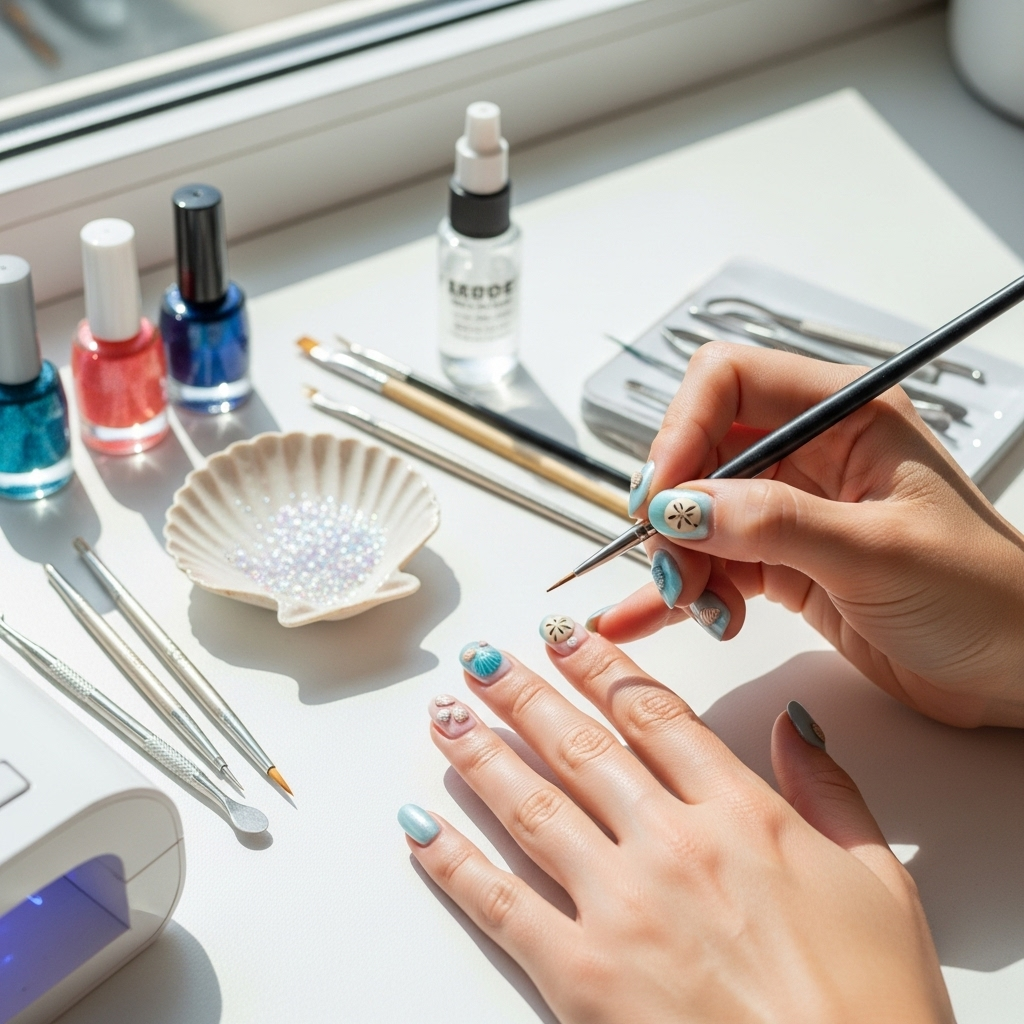
Summer vibes are calling, and your nails are the perfect canvas! Seashell nail designs are a fantastic way to capture the magic of the ocean, from delicate pearly finishes to bold conch-inspired art. Think of it as carrying a piece of the beach with you wherever you go. And the best part? You don’t need to be a seasoned artist to create these stunning looks. We’re going to break down everything you need to know, starting with the essential tools and moving on to easy-to-follow steps for creating your own gorgeous nail art. Get ready to feel the sand between your toes (almost!) with these divine summer essentials.
Essential Tools for Your Seashell Nail Art Kit
Before we get our hands (and nails!) dirty with creativity, let’s gather our supplies. Having the right tools makes all the difference, transforming a potentially tricky process into a fun and easy DIY experience. Think of these as your trusty sidekicks in crafting beachy perfection.
Nail Prep Masters
- Base Coat: This is your foundation! A good base coat protects your natural nails from staining and creates a smooth surface for polish to adhere to. It’s like laying the groundwork for a beautiful painting.
- Top Coat: This is the grand finale! A clear, glossy top coat seals your design, adds shine, and ensures your fabulous seashell art lasts longer. Look for a quick-dry formula to save time.
The Color Palette
- Core Colors: Whites, creams, nudes, and sandy beiges are perfect for the base of many seashell designs, offering an elegant and natural look.
- Accent Colors: Soft blues, aquas, seafoam greens, and pearly pinks can be used for details, gradients, or to mimic the subtle hues found in real shells.
- Metallic/Iridescent Polishes: A touch of gold, silver, or iridescent polish can add that extra pop, like sunlight glinting off the water or the shimmer of a nacre finish.
Application Tools
- Fine-Tip Nail Art Brush: This is your precision instrument. A brush with a very fine tip is ideal for painting details like the ridges on a scallop shell or creating delicate lines.
- Dotting Tools: These come with different sized ball tips. They are perfect for creating small dots, floral elements, or even simple spiral shapes found in some shells.
- Sponge or Makeup Sponge: Excellent for creating easy ombre or gradient effects, mimicking the way colors blend naturally on a shell or in the ocean.
- Tweezers: Useful for picking up and placing small embellishments like glitter or tiny rhinestones if you decide to add extra sparkle.
Finishing Touches (Optional, but Fun!)
- Pearl Pigment Powder: This is a game-changer for achieving that authentic, iridescent seashell glow. Apply over a sticky top coat for a stunning effect.
- Glitter: Fine iridescent or holographic glitter can mimic sea spray or the shimmering interior of certain shells.
- Small Rhinestones or Pearls: For a touch of 3D elegance, tiny pearls or crystals can be strategically placed to enhance your design.
Mastering Basic Seashell Nail Techniques
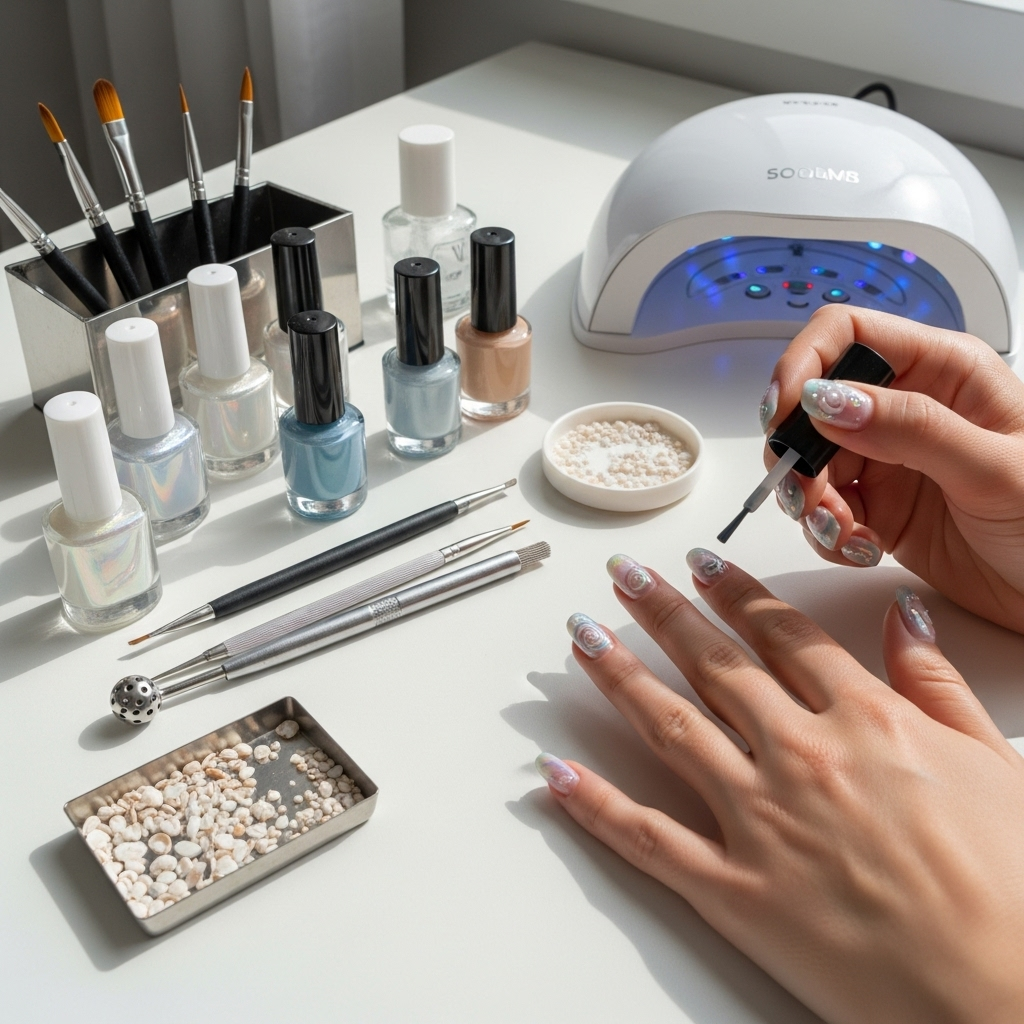
Ready to get creative? Let’s explore a few fundamental techniques that form the backbone of many beautiful seashell nail designs. These are super beginner-friendly and will give you a great starting point.
1. The Easy Ombre/Gradient Effect
This technique mimics the soft color transitions found on many shells and in the ocean itself. It’s easier than it looks!
- Apply Base Coat: Start with a thin layer of base coat and let it dry completely.
- Apply Base Polish: Paint your nails with your chosen base color (e.g., a soft white or cream). Let it dry.
- Create the Gradient: On a clean surface (like aluminum foil or a plastic palette), apply thin stripes of two or three colors side-by-side (e.g., white, soft blue, and a hint of aqua).
- Blend with Sponge: Lightly dab a makeup sponge into the stripes of color. Don’t saturate it; just pick up the shades.
- Stamp onto Nail: Gently press the sponge onto your nail, rocking it slightly to blend the colors. Repeat to build intensity.
- Clean Up Edges: Use a small brush dipped in nail polish remover to clean up any polish that got onto your skin.
- Add Detail (Optional): Once dry, you can add a few delicate white squiggly lines with a fine brush to suggest seafoam or subtle shell patterns.
- Seal with Top Coat: Apply a generous layer of top coat to smooth out the texture and bring out the shine.
2. Simple Seashell Shapes
Creating the silhouette of a shell is all about understanding basic curves and lines. We’ll focus on a classic scallop or conch shape.
- Apply Base Color: Paint your nails with your desired base color and let it dry fully.
- Paint the Shell Outline: Using a fine-tip nail art brush and a contrasting color (like white, cream, or a soft pearly shade), carefully paint the outline of your shell. For a scallop, think of a series of upside-down U-shapes along the edge of your nail. For a conch, try a curved spiral.
- Fill In the Shell: If you want a solid shell, carefully fill in the outline with the same color. For a more realistic look, you can use a lighter shade inside the outline and then add subtle shading or ridges with a slightly darker shade or a fine brush.
- Add Texture/Detail: With your fine brush, add a few thin, curved lines within the shell shape to mimic the natural ridges. A tiny dot of a lighter color or a touch of iridescent powder can add dimension.
- Seal it Up: Once completely dry, finish with your top coat.
3. The Pearly Iridescent Finish
This is how you achieve that coveted, ethereal glow that so many seashells possess.
- Apply Base Coat & Polish: Apply your base coat, then your main polish color (a light neutral works best). Let it dry completely.
- Apply Sticky Top Coat (Crucial Step): Apply a layer of top coat, but do not let it fully cure/dry. You want it to be tacky. Some people use a dedicated “sticky base” or “jelly” polish for this.
- Apply Pearl Powder: Using a silicone tool, a fingertip (wear gloves if you want to keep your fingers clean!), or a small eyeshadow applicator, gently rub the pearl pigment powder over the tacky surface. Work it in until you achieve an even, shimmery finish.
- Wipe Off Excess: Gently brush away any excess loose powder with a soft brush.
- Seal with Regular Top Coat: Apply a regular, non-sticky top coat to seal in the pearl effect and add shine. Make sure to cap the free edge of your nail to prevent lifting.
4. Using Nail Stickers & Decals (The Easiest Way!)
If painting feels daunting, stickers are your best friend for instant seashell chic.
- Prep Your Nails: Apply base coat and your desired polish color. Let them dry completely.
- Select Your Sticker: Choose your favorite seashell-themed nail stickers or decals.
- Apply the Sticker: Carefully peel the sticker from its backing using tweezers or your fingers. Place it onto your nail, smoothing it down firmly to ensure good adhesion and to eliminate any air bubbles.
- Seal the Deal: Apply a generous layer of clear top coat over the sticker and your entire nail. Make sure to cover the edges of the sticker to prevent it from peeling up.
Showcase: Divine Seashell Nail Design Ideas
Now that you know the techniques, let’s get inspired! Here are some popular and achievable seashell nail design ideas to try this summer:
1. The Classic Scallop Edge
Description: This design features elegant scallop shell-like curves along the free edge of the nail, often in a clean white or pearly finish against a neutral or soft blue background.
How-To: Use a fine-tip brush and white or pearlescent polish to paint a series of connecting U-shapes along the tip of your nail. Alternatively, create a subtle gradient and then add these details on top. A sandy beige or soft cream polish makes a perfect base.
2. The Iridescent Mermaid Shell
Description: Inspired by the magical allure of mermaid treasures, this design focuses on a high-shine, pearly, iridescent finish that shifts color in the light.
How-To: Achieved using the pearl pigment powder technique. Apply a light, solid color (white, pale pink, or light blue) and then rub in your chosen pearl powder over a tacky top coat. Finish with a regular top coat.
3. The Drowned Treasure Look
Description: This design incorporates multiple elements – a base gradient, a few painted shells or starfish, delicate glitter accents, and maybe even tiny pearl embellishments.
How-To: Start with a blue-to-white or sandy gradient. Use a fine brush to paint small, simple shells or starfish. Add a sprinkle of fine iridescent glitter over a wet top coat on accent nails. Finish with a top coat, and carefully place tiny pearl beads with a dotting tool on a few nails.
4. The Minimalist Single Shell
Description: For those who prefer subtlety, this design features one or two small, artfully placed seashell outlines or simple shapes on an otherwise plain nail.
How-To: Paint your nails a solid color (nude, white, or pale blue). On one or two accent nails, use a very fine brush and white or gold polish to paint a delicate outline of a shell, perhaps a conch spiral or a small clam shape.
5. The Textured Seashell Art
Description: This uses gel mediums or even textured polishes to create raised, realistic shell textures on the nail surface.
How-To: This often requires specific gel products like builder gel or 3D art gel. Apply a base color, then use a sculpting tool to create ridged patterns or shell shapes with the gel. Cure under a UV/LED lamp. Once the shape is formed and cured, you can paint over it or add pearl pigment. (Note: this is more advanced but offers stunning realism).
6. The Starfish and Sand Combo
Description: Combines the beauty of starfish with a sandy texture effect, bringing a tactile element to your manicure.
How-To: Paint nails with a sandy beige polish. On accent nails, use a detailing brush to paint a simple starfish shape in white or cream. For the sandy texture, while the polish is still wet on a nail, sprinkle fine craft sand or a textured glitter onto it, then gently tap off the excess. Seal thoroughly with top coat.
Seashell Nail Designs vs. Other Summer Trends
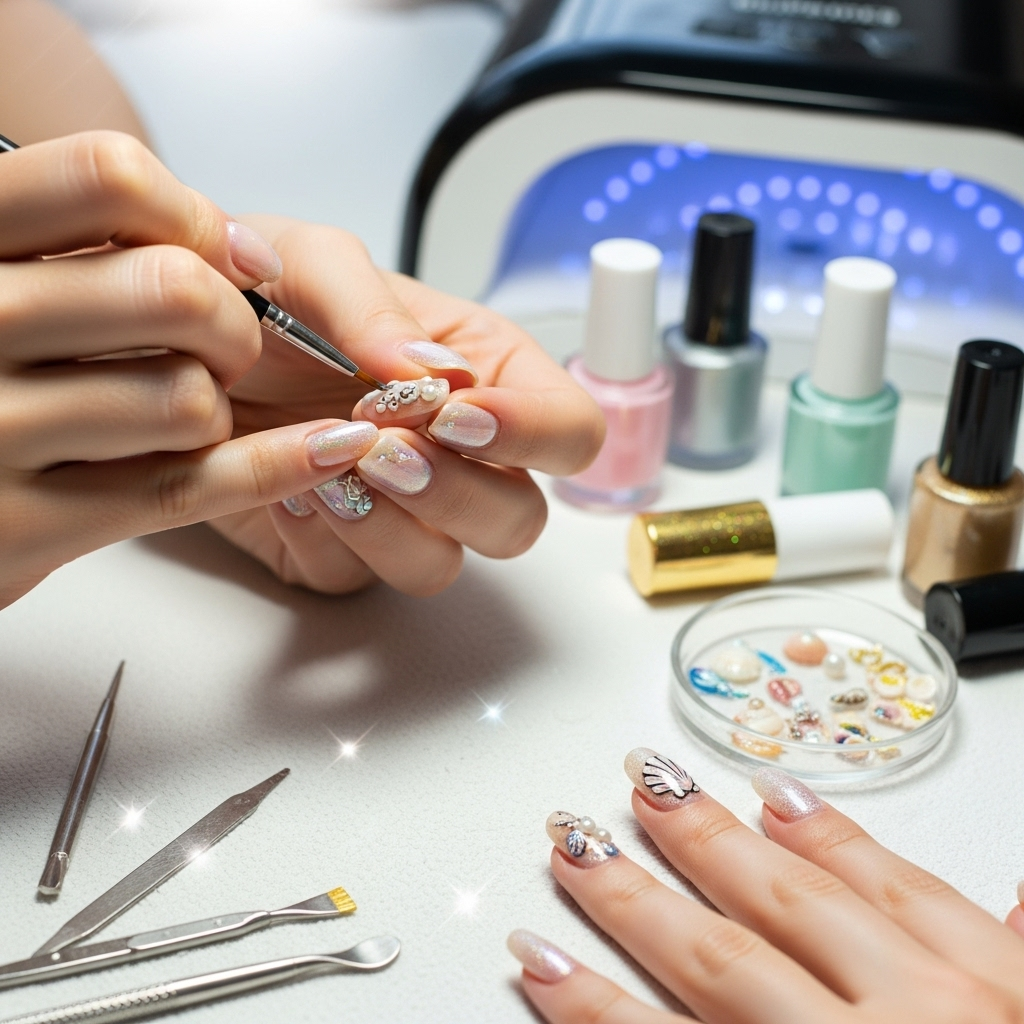
Summer is a vibrant season for nail art, and seashell designs stand out for their unique charm. Let’s see how they compare to other popular summer trends:
| Design Type | Vibe | Ease for Beginners | Unique Quality | Summer Appeal |
|---|---|---|---|---|
| Seashell Designs | Coastal, elegant, natural, serene | High (especially with stickers/simple painting) | Directly evokes the ocean and beach life. | Very High – perfect for beach vacations and nautical themes. |
| Tropical Fruits (Pineapple, Watermelon) | Fun, bold, juicy, playful | Medium (requires precise shapes) | Edible-inspired, vibrant colors. | High – summery and refreshing. |
| Floral Prints | Feminine, cheerful, vibrant | Medium (can be intricate) | Classic seasonal look, versatile. | Very High – a perennial summer favorite. |
| Bright Solid Colors (Neons, Pastels) | Energetic, simple, bold | Very High (just polish application) | Focus on color impact. | Very High – easy to wear and coordinate. |
| Abstract Swirls/Marble | Artistic, modern, sophisticated | Medium (requires practice) | Unique, “one-of-a-kind” look. | High – chic and stylish. |
Seashell nail designs offer a unique niche within summer nail trends. While bright solids and florals are universally popular, seashell art provides a specific, elegant connection to the beach and ocean. Their versatility allows
