Your nail designs will last longer and look smoother when you learn how to seal them perfectly. This essential step protects your art, prevents chipping, and gives your manicure a professional, salon-quality finish. Follow these simple tips to achieve a flawless, durable seal every time.
Hey nail lovers! Lisa Drew here from Nailerguy. Ever spend precious time crafting the most amazing nail art, only to have it start chipping or losing its shine after just a day or two? It’s such a bummer, right? You’ve poured your heart into those tiny details, and then poof, it’s diminished.
The good news is, there’s a secret weapon every nail artist needs: a perfect seal. It’s not just about making your design last; it’s about locking in that vibrant color, adding that glossy finish, and making sure your hard work shines through. Don’t worry if you’re new to this. We’re going to break down exactly how to seal your nail designs so they look flawless and hold up beautifully. Get ready to elevate your mani game!
Why Sealing Your Nail Design is Non-Negotiable
Think of sealing your nail design like putting a protective shield over your masterpiece. Without it, your intricate art is exposed to everyday wear and tear. This means it’s much more likely to snag, chip, fade, or get scuffed. A proper seal doesn’t just protect; it enhances.
It smooths out any textures from nail polish or embellishments, creating a perfectly even surface. Plus, a good top coat can add a dazzling shine that makes your colors pop and your designs look professional. It’s the final touch that transforms a good nail design into a great one that lasts. Let’s dive into what makes a seal truly “perfect.”
The Essential Tools for a Perfect Seal
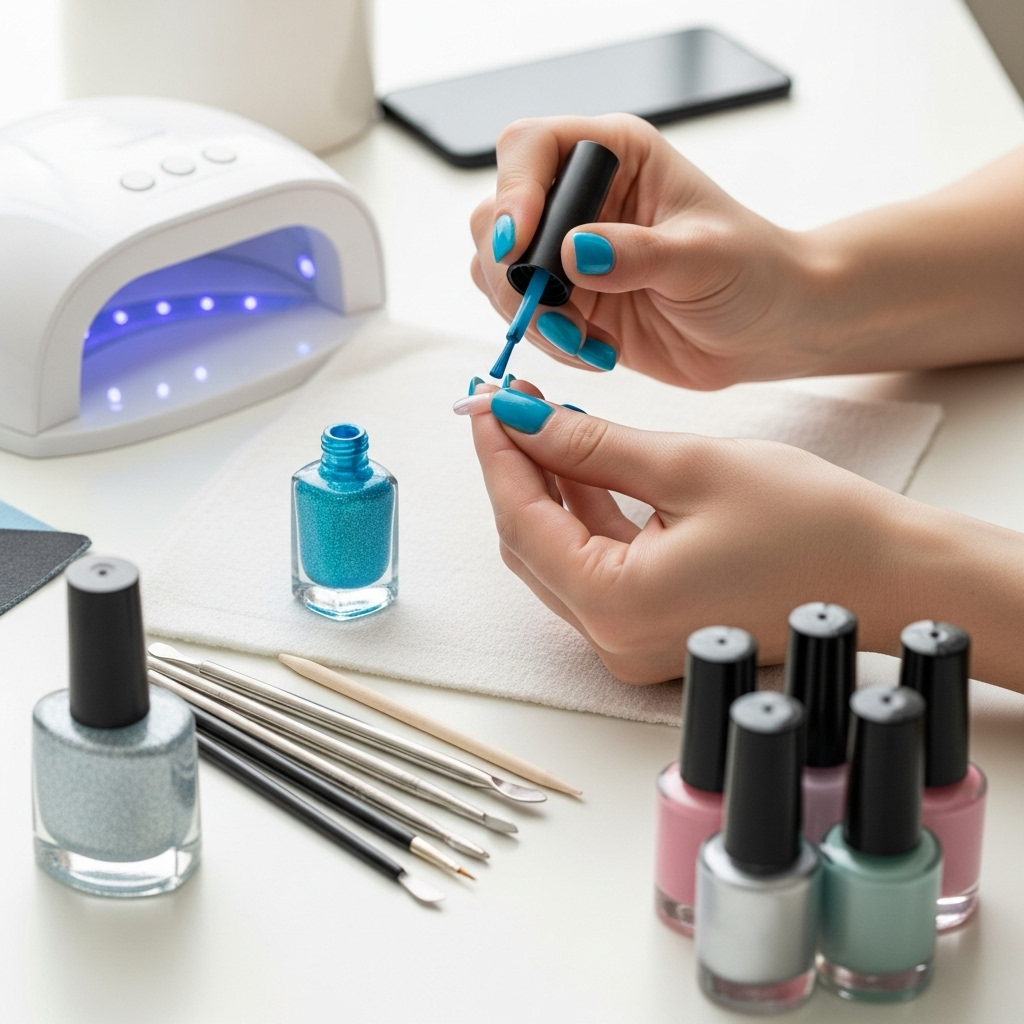
Before we get into the “how,” let’s gather our supplies! Having the right tools can make all the difference in achieving that flawless finish. Don’t worry, you probably already have most of these. If not, they are easy to find at most drugstores or beauty supply stores.
What You’ll Need:
- Your Finished Nail Design: This is your amazing artwork that needs protection!
- High-Quality Top Coat: This is your sealing hero! Look for phrases like “quick-dry,” “gel-like finish,” “long-lasting,” or “non-yellowing.”
- Cuticle Oil (Optional but Recommended): For post-mani pampering and cuticle health.
- Lint-Free Wipes or Cotton Pads: To ensure no fuzzy bits get trapped under your top coat.
- Nail Polish Remover: For any small cleanup mistakes before sealing.
- Orange Stick or Cuticle Pusher: To gently clean up any polish on the skin around your nail.
Choosing Your Champion Top Coat
This is where the magic happens! Not all top coats are created equal. Here’s a quick rundown of what to look for:
| Top Coat Type | Pros | Cons | Best For |
|---|---|---|---|
| Quick-Dry Top Coat | Dries super fast, reducing smudge risk. Great for busy bees. | Can sometimes be a bit thinner, might not offer the highest gloss. Some can shrinkwrap polish. | Everyday wear, busy schedules. |
| Gel-Like Top Coat | Provides a super glossy, thick finish that looks like gel polish. Often offers good durability. | Dries a bit slower than quick-dry. Can sometimes be prone to scratching if bumped before fully cured. | Achieving a high-shine, plump look without a UV/LED lamp. |
| Long-Lasting/Chip-Resistant Top Coat | Formulated to provide maximum durability and protect against chips and wear. Often contains UV inhibitors to prevent fading. | Can be pricier. Some may take a little longer to dry. | Nail designs that need to withstand heavy use or last for an extended period. |
| Matte Top Coat | Transforms any design into a chic, modern matte finish. | Doesn’t offer the same high shine. Can sometimes make glitter less sparkly. Not typically used for sealing detailed art that needs to pop visually. | Creating a velvety, sophisticated look. |
For sealing intricate nail designs, I usually reach for a high-quality gel-like or long-lasting top coat. They tend to offer the best combination of shine, smoothness, and protection. Brands like OPI, Essie, and Sally Hansen offer fantastic options. For a more professional-looking finish, some people even use gel top coats once their regular polish and design are completely dry, though this requires a UV/LED lamp and specific gel products.
The Genius Step-by-Step Guide to Sealing Your Nail Design
Now for the main event! This is the simple, foolproof way to seal your nail art. The key here is patience and precision.
Step 1: Ensure Your Design is Completely Dry
This is the absolute MOST important step. If your polish or design elements are still even slightly wet, your top coat can smudge or drag your art. For regular nail polish, this can take anywhere from 15 minutes to over an hour, depending on the polish and how many layers you’ve applied. Polishes with glitter or special effects might take even longer.
Pro Tip: Place your hands under a cool fan for a few minutes to speed up drying time for the polish itself. If you used acrylic paints, water marbling, or decals, ensure they are fully set and dry before proceeding. For decals, make sure they are adhered smoothly with no air bubbles. A little dab of your chosen top coat carefully applied to the edges of the decal can help meld it to the nail before the full seal.
Step 2: Clean Up Edges and Cuticles
Use your orange stick or cuticle pusher to gently tidy up any polish that might have accidentally brushed onto your skin or cuticles. If you made clean-up errors, dip a fine brush or the corner of a lint-free wipe into nail polish remover and carefully correct any mistakes. A clean nail bed edge makes for a much neater final look.
Why this matters: Polish on your skin can lift and allow moisture to get under your nail, leading to faster chipping. It also just doesn’t look as professional!
Step 3: Apply a Thin, Even Coat of Top Coat
This is where the sealing begins! Open your top coat bottle and wipe off most of the excess product from the brush onto the bottleneck, leaving just enough for a smooth, thin layer.
Starting from the cuticle area, gently brush the top coat down towards the free edge of your nail. Try to do this in a single, smooth stroke. Work your Polish!
Important Technique: “Cap” the Free Edge: This is a genius trick! After you paint the main surface of your nail, take a tiny bit of top coat on your brush and sweep it right across the very tip (the free edge) of your nail. This seals the edge of the polish and design, acting like a protective barrier against chips and snags. It’s crucial for making your manicure last much longer, especially on your dominant hand!
Work Quickly but Carefully: Don’t linger too long on one spot, as this can cause smudging. However, don’t rush so much that you miss spots or create streaks. A smooth, even application is key.
Step 4: Seal Each Nail Systematically
Apply the top coat to one nail at a time. This focused approach helps ensure you don’t smudge a previously sealed nail while working on the next. Some people prefer to seal all nails on one hand first, then the other, while others seal nail by nail from thumb to pinky.
Consider the Design: If your design has texture (like glitter, studs, or thick paint), you might need two slightly thicker, but still even, coats of top coat to fully smooth and protect it. Apply the first coat, let it set for a minute, then apply the second. Always remember to cap the free edge with each coat!
Step 5: Allow Proper Drying Time
Even quick-dry top coats need a few minutes to fully cure. Avoid touching anything for at least 5-10 minutes. For gel-like or long-lasting formulas, give them 15-30 minutes before engaging in strenuous activity with your hands. Remember, your nails might feel dry to the touch but could still be soft underneath.
The Ultimate Test: If you gently tap two fingernails together very lightly, they should make a clear clicking sound, not a dull thud. This indicates they are hardening properly.
Step 6: Hydrate and Protect
Once your nails are thoroughly dry and hard, it’s time for a little pampering. Apply cuticle oil around the base of each nail and gently massage it in. This rehydrates your cuticles, adds a beautiful sheen, and helps keep your nails healthy and less prone to breakage.
Why cuticle oil is your friend: Healthy cuticles mean healthier nails overall, which makes them less likely to chip or split. Plus, it gives your manicure a polished, finished look from cuticle to tip!
Common Nail Design Sealing Mistakes (and How to Avoid Them!)
Even with the best intentions, we can sometimes make mistakes. Knowing these common pitfalls can help you avoid them and achieve that perfect seal every time.
- Applying Top Coat Too Soon: The biggest culprit for smudging! Always wait until your polish and design are completely dry. A little patience saves a lot of frustration.
- Using Too Much or Too Little Top Coat: Too much can lead to a thick, gloopy finish that takes forever to dry and can shrink. Too little won’t offer adequate protection or shine. Aim for a thin, even layer that covers the entire nail surface and edges.
- Skipping the Free Edge (No Capping): This is like leaving the front door unlocked for chips! Always cap the free edge. Repeat after me: Cap the edge!
- Using an Old, Thick Top Coat: If your top coat has become gummy and thick, it’s time to toss it. Old formulas don’t apply smoothly and can lead to an uneven, streaky finish.
- Applying Top Coat Over a Bumpy Texture Irregularly: If you have raised elements like glitter or 3D art, a single thin coat might not be enough to smooth them down. You might need two careful coats to fully encase and level the surface.
- Forgetting to Clean Up Edges: Polish on the skin can lift and cause premature cuticle lifting or peeling. A quick cleanup before sealing makes a world of difference.
Remember, practice makes perfect! Each time you seal a design, you’ll get a better feel for the right amount of product and the best application technique for you.
Sealing Different Types of Nail Art: Special Considerations
The basic sealing technique works for most nail art, but here are a few tips for specific designs:
Glitters and Foils
These can sometimes be rough or have edges that catch.
- Glitter: For loose glitters or very textured glitter polishes, you might need two coats of top coat. The first coat helps to adhere the glitter smoothly, and the second creates a perfectly smooth, glossy surface. Always cap the free edge.
- Foils: Ensure the foil is fully adhered and all edges are smoothed down. Apply your top coat gently over foils; some foil top coats can sometimes react with certain formulas, causing the foil to lift or smudge. Test on a spare nail or in an inconspicuous spot if unsure. A good quality standard top coat is usually safe.
Stickers, Decals, and Water Marbling
These are generally flat, but ensuring they are smooth and sealed is key.
- Stickers/Decals: Make sure no air bubbles are trapped underneath before sealing. Gently press them down with an orangewood stick. A thin top coat is usually enough.
- Water Marbling: Water marbling can create slightly raised patterns. The key is to ensure the pattern is completely dry before sealing. Use a smooth, even top coat and cap the free edge thoroughly to prevent premature lifting of the marbled design.
Hand-Painted Designs and 3D Elements
These are your most detailed works of art!
- Hand-Painted Art: Ensure the painted design is 100% dry before applying top coat. Use gentle, sweeping strokes. For very fine details, sometimes a slightly softer brush on your top coat can help prevent dragging.
- 3D Elements (e.g., Gems, Charms): For elements like gems or small 3D charms, you’ll need to “build” a protective layer of top coat around them rather than just swiping over them. Apply a dot of top coat at the base of the gem, then gently spread it around the sides and over the top of the gem, essentially encasing it. You might need a few careful applications to fully secure and smooth over the embellishment. Be careful not to drown tiny gems, as this can make them look cloudy.
For any detailed work, taking your time and using multiple thin coats of top coat (each fully dried before the next) is better than one thick, rushed application. For maximum durability with 3D elements, some pros use a thick gel builder or a specialized jewelry glue for extra hold before sealing with a top coat. Remember to always check manufacturer instructions if you’re using specialized nail art products.
Maintaining Your Perfectly Sealed Nail Design
You’ve achieved that gorgeous, sealed nail design! Now, let’s keep it looking fabulous for as long as possible. It’s all about being mindful and giving your nails a little TLC.
- Be Gentle: Avoid using your nails as tools! Don’t try to pry things open, scrape labels, or dig with them. Your perfectly sealed design is still susceptible to damage if misused.
- Moisturize Regularly: Keep your cuticles and the skin around your nails hydrated with cuticle oil or a good hand cream. This prevents dryness, cracking, and helps maintain the overall health of your nails, making them less prone to breaking.
- Wear Gloves: When doing household chores, especially those involving water or harshCleaning chemicals, wear rubber gloves. Water and chemicals are prime culprits for weakening nail polish and lifting edges.
- Avoid Prolonged Water Exposure: While you can’t avoid water entirely, try to limit long soaks in hot water (like in baths or long dishwashing sessions), as this can soften the polish and lead to chipping.
- Touch-Ups (If Needed): If you notice a tiny chip or a scratch on one nail, don’t despair! Sometimes, a tiny touch-up with a clear polish or a tiny bit of top coat can blend it in. This is a temporary fix, but it can save your manicure for a few extra days.
- Reapply Top Coat: For very long-lasting manicures, consider reapplying a fresh layer of top coat every 2-3 days. This reinforces the protective layer and can refresh the shine, giving your design a new lease on life.
Healthy, cared-for nails are the best canvas for any nail art. By following these simple maintenance tips, you’ll extend the life and beauty of your stunning nail designs.
Frequently Asked Questions About Sealing Nail Designs
Q1: How long does my nail polish need to be dry before I can apply a top coat?
It’s best to wait until your nail polish or nail art is completely dry to the touch. This can range from 15 minutes to over an hour or more, depending on the polish type and layers. If it still feels tacky, wait longer!
Q2: What is “capping the free edge” and why is it so important?
Capping the free edge means applying a thin layer of top coat across the very tip of your nail. It’s crucial because it seals the edge of your polish and design, preventing chips and snags from starting there and significantly extending your manicure’s life.
Q3: Can I use any top coat to seal my nail design?
While most clear top coats will offer some protection, high-quality quick-dry, gel-like, or long-lasting top coats are recommended. They provide better shine, durability, and a smoother finish. Avoid old, thick, or streaky top coats.
Q4: My top coat looks streaky. What did I do wrong?
Streaky top coat can happen from applying too little product, not applying it evenly, or using an old, thick top coat. Ensure you have enough product on your brush for a smooth stroke and try to apply it in one or two fluid motions from cuticle to tip. Cleaning up your brush on the bottle neck can help control the amount.
Q5: I used nail stickers/decals. Do I need to seal them differently?
Ensure stickers/