Sci-fi nail art is an achievable and fun way to express yourself! Discover essential, effortless designs that use simple techniques and readily available materials to create futuristic looks, perfect for beginners and busy enthusiasts alike.
Ready to blast off into a new dimension of nail art? If you’ve ever looked at intricate, otherworldly designs and thought, “I could never do that,” I’m here to show you how wrong you are! Sci-fi nail art isn’t just for special effects artists; it can be surprisingly simple and totally achievable for anyone. We’re talking about cool, futuristic vibes that don’t require a degree in astronautics or hours of painstaking work. Let’s dive into making your nails look like they’ve traveled light-years ahead, with designs that are as easy to create as they are stunning to behold. Get ready to explore some essential, effortless techniques that will have you feeling like a cosmic queen in no time!
Your Sci-Fi Nail Art Toolkit: The Essentials
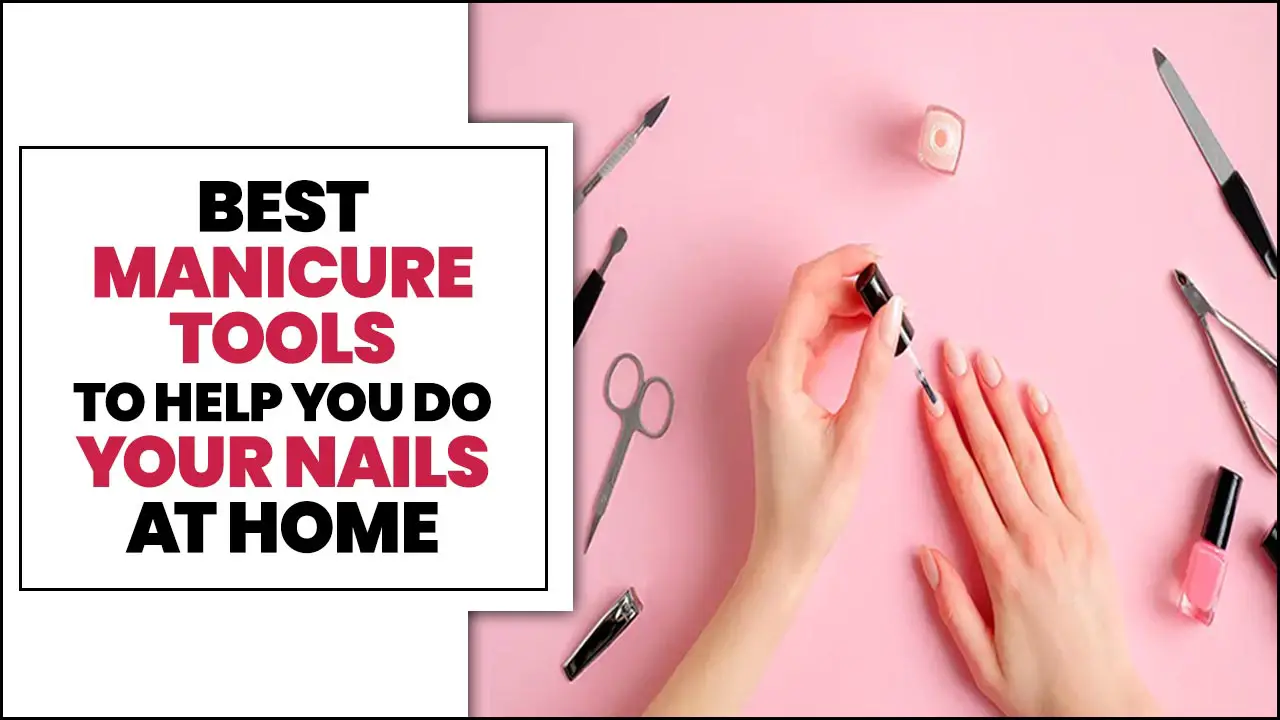
Before we start crafting our cosmic creations, let’s ensure you have the right gear. Don’t worry, you don’t need a spaceship’s worth of tools! Most of what you need is probably already in your nail polish collection or easily accessible. A few key items will make your sci-fi nail art journey smooth and successful.
Base Coat: The Foundation of Your Galaxy
This is non-negotiable for any nail art, and especially for sci-fi designs where vibrant colors and sharp lines are often key. A good base coat protects your natural nails from staining and creates a smooth canvas for your art. It also helps your polish last longer, so your interstellar designs stay put.
Top Coat: Sealing in the Stars
Just like a telescope needs a clear lens, your nail art needs a glossy top coat to make it pop! A high-shine top coat will seal in your designs, prevent chips, and give your nails that professional, out-of-this-world finish. Some top coats even add a bit of extra durability, which is always a win.
Color Palette: Your Cosmic Hues
For sci-fi nail art, think beyond the usual suspects.
- Metallics: Think silver, chrome, gold, and iridescent shades. They instantly give a futuristic, robotic feel.
- Neons and Brights: Electric blues, vibrant purples, hot pinks, and lime greens can mimic alien landscapes or energy fields.
- Deep Space Colors: Black, navy, deep purple, and dark green are perfect for creating starry backgrounds or mysterious nebulae.
- Chromes and Holos: If you want to go further, holographic polishes refract light into a rainbow of colors, perfect for a magical, alien effect.
Applicators: Your Precision Instruments
The right tools make all the difference when creating detailed designs.
- Fine-tipped Nail Art Brushes: Essential for drawing clean lines, creating small dots, and intricate patterns. You can find these at most beauty supply stores or online.
- Dotting Tools: These come with different sized ball tips and are perfect for creating uniform dots, nebulae swirls, or even tiny planetoids.
- Striping Tape or Stencils: For sharp, geometric lines and patterns, striping tape or adhesive nail stencils are your best friends.
- Sponge (Makeup Sponge or Nail Art Sponge): Great for creating gradient effects, ombré looks, or a textured, otherworldly finish.
Cleanup Tools: For a Pristine Finish
Mistakes happen, especially when you’re starting out! Having these on hand will save your manicure (and your sanity).
- Cotton Swabs (Q-tips): Use them to carefully clean up polish smudges around your cuticles.
- Nail Polish Remover: Keep a bottle handy for dipping your cotton swabs.
- Small, Stiff Brush: An old, clean makeup brush or a specialized cleanup brush can help remove excess glitter or dry polish from skin.
Effortless Sci-Fi Nail Art Designs for Beginners
Now for the fun part! These designs are chosen for their simplicity and high impact, perfect for anyone dipping their toes into the sci-fi nail art galaxy.
Design 1: The Galactic Gradient
This design mimics the beautiful blends of colors you see in distant nebulae. It’s incredibly forgiving and looks amazing.
What You’ll Need:
- Dark base polish (black, navy, or deep purple)
- 2-3 vibrant or pastel polishes for your gradient
- Makeup sponge or nail art spong
- Top coat
- Base coat
Step-by-Step Guide:
- Start with a clean nail. Apply your base coat and let it dry completely.
- Paint your nails with your chosen dark base color. This will make your gradient colors pop! Let it dry thoroughly.
- On a small piece of plastic wrap or a palette, apply stripes of your gradient colors next to each other. Don’t worry about them being perfect.
- Gently dab your sponge into the polish stripes, picking up a mix of colors.
- Lightly dab the sponge onto your nail, starting from the cuticle and moving upwards. You can dab multiple times, reloading the sponge as needed, to build up the color and blend. Aim for a seamless transition.
- Let the gradient dry for a minute or two.
- Apply a thick layer of top coat. This is crucial to smooth out the texture from the sponge and make the colors look smooth and blended.
- Allow it to dry completely.
Pro Tip: For an added touch of cosmic sparkle, lightly dab a fine iridescent or holographic glitter polish over the dried gradient before applying the top coat. This adds a starry effect!
Design 2: The Geometric Grid
Sharp lines and geometric shapes scream futuristic technology. This design is surprisingly easy with the right tools.
What You’ll Need:
- Base color polish (e.g., metallic silver, white, or black)
- Contrasting polish for the lines (e.g., black, neon, or metallic)
- Nail art striping tape or adhesive stencils
- Fine-tipped nail art brush (optional, for touch-ups)
- Base coat
- Top coat
Step-by-Step Guide:
- Apply your base coat and let it dry.
- Paint your nails with your chosen base color and let it dry completely until it’s tack-free but not fully hard.
- Carefully apply the striping tape or stencil onto your nail in a grid pattern. Press down firmly, especially at the edges, to prevent polish from seeping underneath. You can create squares, diamonds, or even abstract lines.
- Paint over the tape/stencil with your contrasting polish. Ensure you get an even coat.
- While the polish is still wet, carefully peel off the striping tape or stencil. This is the most crucial step for sharp lines! If you wait for it to dry, you’ll risk peeling off the polish underneath.
- Let the painted lines dry completely.
- Apply your top coat gently. If you find the lines aren’t perfectly sharp, you can use a fine brush dipped in polish remover to carefully clean up any bleeds before the top coat.
- Apply a good layer of top coat to seal everything.

Variation: Instead of a full grid, try just a few diagonal lines or a single metallic stripe down the center of a matte nail for a minimalist sci-fi look.
Design 3: The Chrome Comet Trail
This design uses metallic polish and a simple swoosh technique for a dynamic, fast-moving effect.
What You’ll Need:
- Base color polish (black or deep blue works well)
- Metallic polish (silver, chrome, or holographic are fantastic)
- Fine-tipped nail art brush
- Base coat
- Top coat
Step-by-Step Guide:
- Apply base coat and your chosen dark base color. Let them dry completely.
- Dip your fine-tipped brush into the metallic polish. You only need a small amount – too much will be difficult to control.
- Visualize a comet tail streaking across your nail. Start at one point (perhaps near the cuticle or sidewall) and gently drag the brush in a slightly curved or swooping motion towards the tip or edge of the nail.
- You can layer this a couple of times, slightly adjusting the angle each time, to build up the comet trail and give it depth.
- Let the metallic polish dry.
- Apply your top coat to seal the design and add that essential shine.
Tip: For a more intense chrome effect, you can use nail art chrome powder. Apply it over a tacky (but dry) gel polish or a special chrome base coat for a mirror-like finish, and then use your brush to create the comet trail.
Design 4: The Stardust Speckle
This is arguably the easiest sci-fi nail art design and can look incredibly sophisticated. It’s all about simulating a starry night sky.
What You’ll Need:
- Dark base polish (black, navy, or deep grey)
- White or very light blue polish
- Old toothbrush or a stiff bristled brush
- Base coat
- Top coat
Step-by-Step Guide:
- Apply your base coat and dark base color polish. Let it dry completely.
- Load up your old toothbrush or stiff brush with a tiny amount of the white or light blue polish. You don’t want too much!
- Hold the brush a short distance above your nail and flick the bristles with your finger or another tool. This will splatter tiny specks of polish onto your nail, creating a starry effect.
- Experiment with different distances and amounts of polish to get varied speckle sizes and densities.
- Let the “stars” dry completely.
- Apply a generous layer of top coat. This will smooth out the texture from the speckles and make them look like distant, shimmering lights.

Advanced Touch: After applying the top coat, you can strategically place a few larger “stars” or tiny holographic glitter pieces using a dotting tool or tweezers for a more defined celestial look.
Taking Your Sci-Fi Nails to the Next Level
Once you’ve mastered the basics, you might want to explore some slightly more advanced (but still beginner-friendly!) techniques.
Using Stickers and Decals
This is the ultimate shortcut for creating complex sci-fi imagery.
- What they are: These are pre-made designs (like planets, stars, rocket ships, circuit boards, or alien symbols) that you can simply peel and stick onto your nails.
- How to use them: Apply your base polish and let it dry. Apply a dot of clear polish or top coat where you want to place the sticker, then carefully position the sticker. Press down to make sure it adheres well. Seal with another layer of top coat.
- Where to find them: Many drugstores, beauty supply stores, and online retailers carry a variety of nail art stickers and decals.
Holographic and Chrome Powders
These powders are a game-changer for achieving that futuristic, metallic, or otherworldly sheen.
- How they work: These fine powders are rubbed onto a tacky nail surface (often a special base coat or a slightly uncured gel polish) to create a stunning mirror-like or holographic effect.
- Essential Tools: You’ll need the powder, a silicone applicator or fingertip, and a specific base coat if you’re not using gel.
- Look for: Chrome powders for a liquid metal look, and holographic powders for a rainbow shimmer.
- Application Tip: Ensure your base polish is tacky but dry. Use a generous amount of top coat to encapsulate the powder fully and prevent it from rubbing off.
Matte Finish for a Different Dimension
While glossy finishes are popular, a matte top coat can give your sci-fi designs a unique, sophisticated, and sometimes even more “alien” texture.
- How to use: Simply apply a matte top coat over your finished design instead of a glossy one.
- Great for: Geometric designs, deep space backgrounds, or designs aiming for an industrial robot look.
Maintaining Your Sci-Fi Masterpieces
Looking after your nails is key to keeping your sci-fi art looking space-age fresh.
Protect Your Polish
Wear Gloves: When doing chores like washing dishes or cleaning, wear rubber gloves to protect your nails from harsh chemicals and excessive moisture.
Avoid Using Nails as Tools: Don’t use your nails to pry open packages or scrape things. This is a sure way to chip or peel your hard work.
Be Gentle: Treat your nails with care. Avoid banging them against hard surfaces.
Regular Maintenance
Reapply Top Coat: Every 2-3 days, applying an extra layer of top coat can refresh the shine and add an extra layer of protection, extending the life of your nail art.
Moisturize: Keep your hands and cuticles hydrated. Dry, brittle nails are more prone to breakage and can make your nail art look less appealing. Use cuticle oil and hand lotion regularly.
Touch-Ups: If you get a small chip or scratch, you can sometimes carefully touch it up with a matching polish and a dab of top coat.
Understanding Nail Health for the Best Art
Even the most stellar sci-fi nail art looks better on healthy nails. Here’s what you need to know.
The Importance of a Good Base Coat
As mentioned before, a base coat is crucial. It acts as a barrier between your natural nail and the pigmented polish, preventing staining, especially from dark or vibrant colors often used in sci-fi designs. It also creates a slightly rough surface that helps polish adhere better, leading to a longer-lasting manicure. According to the American Academy of Dermatology Association, proper nail care includes protecting them from damage, which a good base coat helps with.
Hydration is Key
Dry, brittle nails are prone to breaking and peeling, which can ruin even the most intricate nail art. Regular moisturizing is essential. This includes:
- Cuticle Oil: Applied daily, cuticle oil keeps the skin around your nail soft and prevents hangnails. Look for oils containing jojoba oil or vitamin E.
- Hand Cream: Use a good quality hand cream throughout the day, especially after washing your hands.
Nail Shape Matters
While any nail shape can rock sci-fi art, some shapes might lend themselves better to certain designs.
- Square or Squoval: Provides a good flat surface for geometric patterns and intricate line work.
- Almond or Stiletto: Can elongate the fingers and offer a sleek, modern canvas for flowing, comet-like designs or sharp, futuristic accents.
Ultimately, choose the shape that you find most comfortable and aesthetically pleasing.
Common Sci-Fi Nail Art FAQs
Here are some questions beginner nail artists often ask about sci-fi designs:
Q1: Do I really need special nail art brushes, or can I use a regular polish brush?
While you can sometimes get away with using the brush included in a polish bottle for very simple looks, specialized fine-tipped brushes and dotting tools offer much more control and precision. They are essential for creating the clean lines, dots, and intricate details common in sci-fi nail art. They are quite affordable and make a huge difference!
Q2: How do I prevent nail polish from staining my nails, especially when using dark colors?
Always use a good quality base coat! This creates a protective barrier. For very dark or vibrant polishes, applying two layers of base coat can provide extra protection. Also, never skip the cleanup; remove any polish that gets on your skin promptly.
Q3: My nail art always chips after a day. What am I doing wrong?
There are a few common culprits: 1. Your base polish wasn’t fully dry before you applied the art. 2. You didn’t seal the art properly with enough top coat. 3. You’re not “capping” the free edge – this means running your top coat brush along the very tip of your nail to seal the edge. Make sure your top coat is fresh, not old and gloopy. Consider using a quick-dry top coat for extra durability.
Q4: Can I achieve metallic or chrome effects without special powders?
Yes! Many metallic polishes offer a beautiful sheen. While they might not give the full mirror effect of chrome powder, they can still create fantastic futuristic


