Quick Summary:
Get stunning, school-appropriate nail designs that are both effortless and chic! Discover simple, stylish ideas perfect for students, blending creativity with classroom rules. Learn easy techniques to elevate your look without any fuss.
Navigating the world of school and nailing fabulous manicures can feel like a balancing act. You want to express your personality and rock some cute nail designs, but you also need to keep things appropriate for the classroom. It’s easy to get stuck thinking school-appropriate means plain and boring. But what if I told you that you can have chic, stylish nails that are totally school-friendly and super easy to achieve? Yep, it’s absolutely possible! Forget elaborate art that clashes with dress codes or breaks easily. We’re diving into a world of simple, elegant, and fun nail designs that will have you feeling confident and polished, all while respecting school guidelines.
Ready to transform your nails from basic to beautiful, the school-approved way? Let’s explore some effortless and chic designs that are perfect for every student.
Frequently Asked Questions About School Appropriate Nail Designs
What makes a nail design “school appropriate”?
School-appropriate nail designs generally focus on subtle colors, simple patterns, and avoiding anything too distracting, flashy, or potentially unsafe. Think natural shades, delicate accents, and polished finishes rather than bold, distracting elements. Schools often have dress codes that extend to personal appearance, so keeping it understated is key.
Can I wear colored nail polish to school?
Most schools allow clear, nude, or pastel-colored nail polish. Some might be okay with muted tones like navy, deep green, or burgundy. It’s always best to check your school’s specific dress code policy, but generally, subtle colors are perfectly fine and can look very chic!
Are glitter nails allowed in school?
This varies widely by school. Some schools are very strict and might consider any glitter too distracting. Others might permit very subtle glitter accents, like a single glitter accent nail or a light dusting. If in doubt, it’s safer to skip the glitter or opt for very fine, tone-on-tone glitter shades.
What are some easy DIY school-friendly nail designs for beginners?
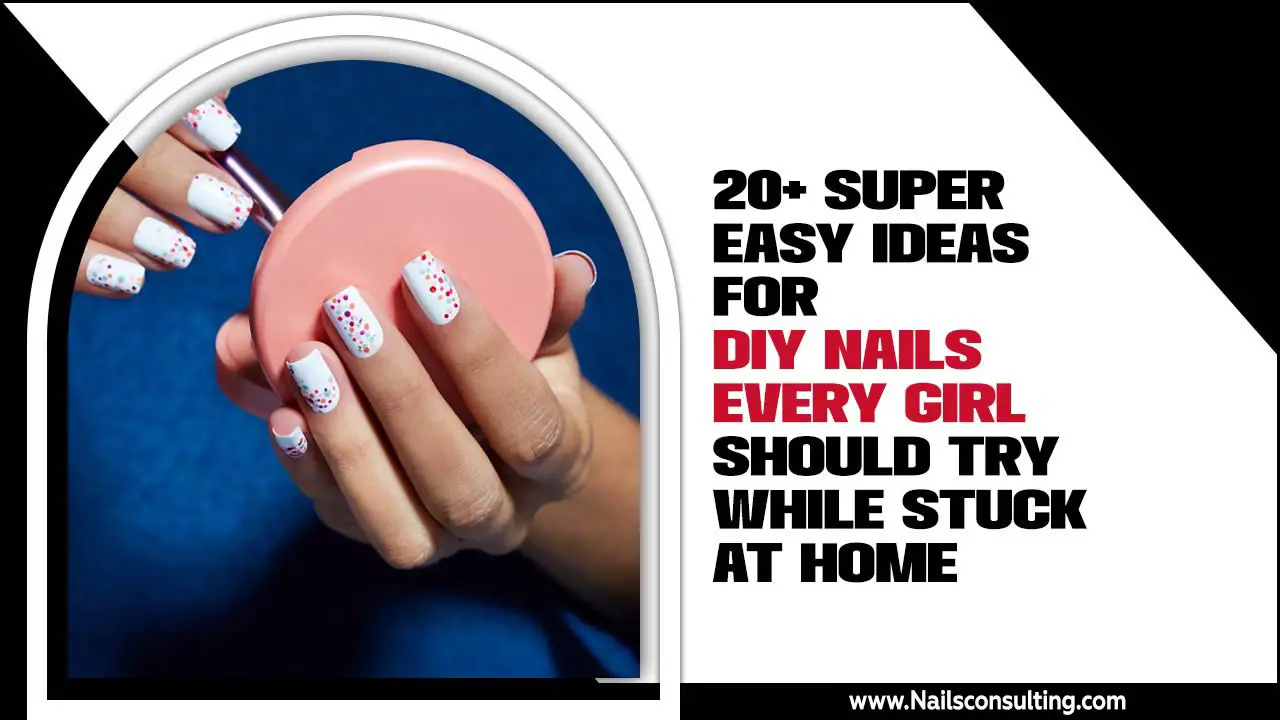
Beginner-friendly options include solid colors in appropriate shades, simple stripes using tape, dotting tools for polka dots, or a delicate French manicure. A single accent nail with a tiny heart or star can also be a fun, subtle touch. The key is simplicity!
How can I make my school-appropriate nails last longer?
For regular polish, always start with a good base coat and finish with a durable topcoat. Apply thin coats of polish and let each layer dry completely. Avoid exposing your nails to harsh chemicals or excessive water. For gel or dip powder, professional application and care will extend their life significantly, but ensure they meet school guidelines.
What nail shapes are best for school?
Rounded or squoval (square with rounded edges) shapes are generally the most practical and school-appropriate. They are less likely to snag on things or break compared to sharper, longer shapes like stilettos or long almond. Shorter to medium lengths are also ideal for functionality.
Can I use nail art stickers or decals?
Subtle nail art stickers or decals, like tiny stars, moons, or minimalist floral patterns, can be a great way to add a touch of personality to a solid color base. Just ensure they are small and not overly bright or distracting, and again, check your school’s policy on nail art.
Effortless Chic: School-Appropriate Nail Designs That Shine
As a beauty enthusiast who loves a good manicure, I know the struggle is real: wanting to express yourself with cute nail art while adhering to school rules. It’s a common frustration, right? You scroll through endless feeds of dazzling designs, but many just aren’t cut out for the classroom. You might worry that “school appropriate” means a boring beige polish and nothing more. But I’m here to tell you that’s simply not true! With a few clever tricks and some inspiration, you can rock sophisticated, stylish, and totally school-friendly nail designs that reflect your unique style without causing a stir.
We’re talking about manicures that are easy to do yourself, look incredibly polished, and stand up to the daily hustle. From subtle accents to creative color pairings, these looks are designed to boost your confidence and add a touch of flair to your school days. Ready to discover how effortless and chic your school nails can be? Let’s get started with some simple, step-by-step ideas!
Your School-Friendly Nail Art Toolkit
Before we dive into the fun designs, let’s make sure you have the basic tools to create them easily. Don’t worry, you don’t need a professional salon’s worth of equipment! A few key items will set you up for success. Having the right tools makes the process smoother, faster, and results in a much more polished finish. Think of these as your secret weapons for achieving those coveted school-appropriate nail looks.
Here are the must-haves:
- Nail File: Essential for shaping your nails. Look for medium-grit files for shaping and fine-grit for smoothing edges.
- Cuticle Pusher/Orange Stick: Gently push back your cuticles for a cleaner nail appearance.
- Base Coat: This protects your natural nail from staining and helps your polish adhere better.
- Top Coat: Seals your design, adds shine, and prevents chipping, making your manicure last longer – a huge plus for busy school weeks!
- Nail Polish Remover & Cotton Pads: For cleaning up mistakes and removing old polish.
- Thin Nail Art Brush or Dotting Tool: Perfect for adding simple lines, dots, or small details. You can find affordable sets online or at drugstores.
- Striping Tape (Optional): For creating crisp geometric lines, a classic choice for chic, simple designs.
The Power of Perfect Polish: Solid Colors
Sometimes, the most stylish statement is the simplest one. A flawless solid color manicure is timeless, chic, and always school-appropriate. The key here is choosing the right shades and applying them perfectly. This is where you can showcase your personal style through color alone!
Choosing the Right Shades
When selecting colors, think sophisticated and subtle. Here are some categories that work wonderfully:
- Nudes & Neutrals: From soft beige and creamy tan to light greys and rosy pinks, these are universally flattering and incredibly elegant.
- Pastels: Think baby blue, mint green, pale lavender, and soft peach. They add a gentle pop of color without being overwhelming.
- Muted Tones: Deeper but still sophisticated colors like navy, forest green, burgundy, or deep plum can add a touch of drama while remaining understated.
- Sheers & Glazes: Ultra-subtle tinted polishes can give your nails a healthy, polished look with minimal color.
Application is Key: Getting a Flawless Finish
A clean, even application makes all the difference.
- Prep Your Nails: Start with clean, dry nails. File them to your desired shape. Gently push back your cuticles. Apply a base coat and let it dry completely.
- Thin Coats are Best: Apply your chosen polish in thin, even coats. Avoid overloading the brush. Three thin coats are often better than one thick, streaky coat.
- Let Each Layer Dry: Patience is crucial! Allow each coat of polish to dry for at least 1-2 minutes before applying the next. This prevents smudging and air bubbles.
- The Final Seal: Once your color coats are dry, apply a generous layer of high-shine top coat. This seals the color, adds gloss, and significantly extends the life of your manicure.
Pro Tip: For an ultra-smooth finish, cap the free edge of your nail with your top coat. This means swiping the brush horizontally across the tip of your nail. It helps prevent chips!
Adding a Touch of Flair: Subtle Accents
Want a little more personality than a solid color? Subtle accents are your best friend for school-appropriate nail art. They add a unique touch without being too bold or distracting. These are techniques that are easy to master and can be adapted to countless color combinations.
1. The Classic French Manicure (Reimagined)
The French manicure is a timeless choice, but you can give it modern twists that are still school-friendly.
How-To:
- Apply your favorite nude or sheer pink polish as the base. Let it dry.
- Use a fine nail art brush or a striping polish in white (or a soft pastel/nude for a trendier look) to paint a crisp line along the tip of your nail.
- For a modern twist, try a colored tip! Instead of white, use a soft pastel like lilac or mint, or even a muted metallic like champagne.
- Optional: For a “baby boom” or “ombre French,” gently blend a bit of white into the sheer base near the tip for a soft, diffused effect.
- Finish with a top coat.
2. Dainty Dots and Lines
Dots and lines are incredibly versatile and can be as minimalist or detailed as you like.
How-To (Dots):
- Paint your nails in a solid base color (nude, pastel, or muted tone). Let dry completely.
- Dip a dotting tool (or the end of a bobby pin/pencil eraser) into a contrasting polish color.
- Create a single dot at the base of the nail, on the side, or strategically place a few small dots.
- Less is more! One or two strategically placed dots can look incredibly chic.
How-To (Lines):
- Paint your nails in a solid base color and let dry.
- Use a thin nail art brush or striping tape to create a fine line. For tape, apply strips of tape to your dry polish, paint over where the tape is, and carefully peel off the tape before the polish fully dries.
- Ideas: A single vertical line down the center, a horizontal line separating the base color from the tip, or diagonal lines.
3. The Minimalist Accent Nail
Dedicate just one nail (often the ring finger) to a simple design. This draws a little attention without being overwhelming.
Ideas:
- A tiny heart or star painted on one nail.
- A single glitter polish on one nail, in a subtle shade that matches your base color.
- A French tip on just one nail.
- A delicate swirl or half-moon design at the base of the nail.
4. Geometric Shapes with Tape
Striping tape is your BFF for creating sharp, clean geometric patterns that look super professional.
How-To:
- Paint your nails in your base color and ensure they are completely dry.
- Apply strips of striping tape to create your desired pattern (e.g., parallel lines, triangles, a “V” shape at the tip).
- Paint over the tape with a contrasting or complementary color.
- While the new polish is still slightly wet, carefully peel off the striping tape using tweezers or a pointed tool. This reveals the clean lines beneath.
- Let dry and seal with a top coat.
Example: A navy blue base with two thin silver stripes near the tip. Or, a nude base with a diagonal line of pale pink using tape.
Trendy, Yet Teacher-Approved: Modern School Nails
Who says school-appropriate nails can’t be modern and on-trend? You can absolutely incorporate current styles in subtle, sophisticated ways. These ideas are about smart color choices and refined execution.
1. The Subtle Gradient (or “Dò-Lò” Manicure)
This is a twist on the ombre effect, focusing on very soft transitions between similar colors or just two complementary shades.
How-To:
- Choose two polishes that are from the same color family but slightly different shades (e.g., light pink and a slightly deeper rose, or light blue and a periwinkle).
- Paint each nail a different shade, progressing from lightest to darkest across your fingers.
- Alternatively, use a makeup sponge to gently blend the two colors on each nail. Just dab the colors side-by-side on a surface, blend them with a toothpick, and then dab lightly onto the nail.
- Smooth it out with a top coat.
2. Negative Space Designs
Negative space means intentionally leaving parts of the nail bare (without polish). This creates a modern, artistic look that is surprisingly subtle.
How-To:
- Apply a base coat.
- Use striping tape or a fine brush to create a design that leaves sections of your natural nail showing through.
- Fill in the other sections with a solid color.
- Designs like geometric shapes, thin outlines, or a simple outline of half the nail are perfect.
- Finish with a top coat, ensuring it covers both the polished and unpolished areas smoothly.
3. Matte Finish Magic
A matte top coat can instantly transform any color into a sophisticated, understated look. It takes away the shine, making even brighter colors appear more muted and grown-up.
How-To:
- Apply your chosen polish color (almost any color works, but pastels, nudes, or deep tones are particularly stunning in matte).
- Once the color is completely dry, apply a matte top coat.
- The result is a velvety, chic finish that’s perfect for any setting.
Matte top coats can be purchased as separate polishes or sometimes come in gel formulas. They offer a completely different aesthetic from a glossy finish.
4. Delicate Nail Art Stamps
Nail stamping is a fantastic way to add intricate details with ease. Look for small, delicate patterns.
How-To:
- Paint your nails in a solid base color (nude, pastel, or a muted jewel tone). Ensure it’s fully dry.
- Apply a contrasting polish to a stamping plate engraved with a delicate pattern (like small florals, leaves, or geometric designs).
- Scrape off the excess polish and then carefully stamp the design onto your nail using a stamper tool.
- Immediately clean up any smudges around your nail.
- Seal with a clear top coat.
Many brands offer “simple” or “minimalist” stamping plates, perfect for school-appropriate art.
Practicality and Care: Making Your Manicure Last
The best school-appropriate nail designs are not only stylish but also practical. They should withstand daily activities without chipping or breaking easily. Here’s how to ensure your beautiful nails stay that way:
1. The All-Important Base and Top Coat
We’ve mentioned them, but they deserve a special shout-out. A good quality base coat prevents staining and provides a smooth canvas. A durable top coat is your manicure’s shield against the world, adding shine and preventing chips. Reapply the top coat every 2-3 days to refresh your manicure and extend its life.
2. Avoid Harsh Chemicals and Water Exposure
Try to wear rubber gloves when doing chores that involve water or harsh cleaning products. Prolonged exposure can weaken polish and the nail itself, leading to chips and peeling. Consider this part of your daily routine – a simple step for long-lasting nails!
3. Keep a Mini Repair Kit
For touch-ups on the go, keep a mini bottle of clear polish or your base/top coat, a nail file, and a small smudge-fixing brush in your backpack. A tiny chip can be carefully filed down or blended with a dab of clear polish.
4. Proper Removal
When it


