Runway-inspired nails are achievable glamour! Get sophisticated, chic manicures with these easy steps, focusing on clean application, trendy shapes, and elegant finishes. Elevate your look without the salon price tag.
Ever scroll through fashion magazines or social media and see those stunning, perfectly polished nails gracing the fingertips of models? It can feel like a secret club, right? That effortless glamour, the flawless finish – it all seems so far away from our everyday routines. You want to rock that trending nail shape or that sophisticated color, but the thought of complicated techniques or expensive salon visits can be a total buzzkill. Don’t worry, friend! Creating runway-ready nails at home is totally within reach. We’re going to break down the essentials, making it simple and fun.
Think less complicated art, more elevated basics. We’re talking about pristine application, chic shapes, and finishes that scream sophistication. You’ll learn how to prep your nails like a pro, choose the right colors, and even master a few simple tricks that make a huge difference. Get ready to unlock that essential glamour and give yourself a confidence boost, one beautiful nail at a time!
Unlock Your Inner Runway Diva: Essential Glamour for Your Nails
Runway shows aren’t just about the clothes; the details matter, and nails are a HUGE part of the overall look. Designers carefully select nail styles that complement their collections, often opting for polished, impactful finishes over intricate art. These trends are surprisingly easy to translate into your own manicures. We’re talking about the power of a perfect shape, the impact of a classic color, and the subtle details that elevate your everyday look to something truly special.
This guide is your backstage pass to understanding what makes runway nails so captivating and how you can recreate that magic yourself. We’ll focus on the foundational elements that give that polished, “I’ve got it all together” vibe. Let’s get started!
The Foundation: Nail Prep Like a Pro
Before any polish hits your nails, the magic really happens in the prep. This is the absolute cornerstone of a long-lasting, beautiful manicure. Skipping these steps is like trying to paint a masterpiece on a dirty canvas – it just won’t look its best and won’t last! We’re aiming for smooth, clean, and perfectly shaped nails.
Step 1: The Gentle Cleanse
Start by removing any old polish. Even if you think your nails are bare, there might be traces left behind. Use a good quality nail polish remover. If you’re prone to dry cuticles, opt for an acetone-free remover. Gently wipe each nail until it’s completely clean.
Nail File Tip: When filing, always file in one direction. Sawing back and forth can weaken your nails and cause them to split.
Step 2: Shaping Your Canvas
The shape of your nails is crucial for that runway feel. While intricate nail art is often reserved for specific editorial shoots, the shape is a constant. Common shapes seen for elegant looks include:
- Square: Straight sides with a straight edge across the top. Great for shorter nails.
- Squoval: A softer version of the square, with rounded corners. Very flattering and practical.
- Round: Follows the natural curve of your fingertip. A classic choice for any length.
- Almond: Tapered sides that gently come to a rounded point. Elongates the fingers beautifully.
- Stiletto/Coffin (if you’re feeling daring!): These are typically longer and more dramatic, often seen on the runway for specific fashion statements. For everyday glamour, almond and squoval are your best friends.
Use a fine-grit nail file (around 240 grit is ideal for natural nails) to gently shape your nails. Remember to file in one direction to prevent snags and splits.
Step 3: Cuticle Care (The Gentle Way!)
Healthy cuticles frame your nails beautifully. Over-treating them can cause damage, so we’re going for a gentle approach. Push back your cuticles gently using an orange wood stick or a cuticle pusher. If you have any dry skin, you can apply a cuticle oil and let it soak in for a few minutes before gently pushing back.
Important Note: For beginners, it’s best to avoid cutting your cuticles. Pushing them back is safer and just as effective for a polished look. If you do have any hangnails, you can carefully snip them with clean cuticle nippers, but proceed with caution.
Step 4: Buffing for Brilliance
A gentle buffing step can smooth out any ridges on your nail surface and create a perfect base for polish. Use a fine-grit buffer. Don’t over-buff, just a few light passes in one direction are enough. This also helps remove any natural oils that could prevent polish from adhering properly.
Step 5: The Final Wash
Wash your hands thoroughly with soap and water to remove any dust from filing and buffing. Make sure your nails are completely dry before moving on to the next step.
The Color Palette: Chic Hues Inspired by the Catwalk
Runway trends often lean towards sophisticated, impactful colors that complement the clothing. Think timeless, elegant shades that make a statement without demanding attention. It’s less about flashy neons and more about rich, deep tones or nuanced neutrals.
Nail Polish Categories for Runway Glamour
When it comes to polish, there are a few finishes that consistently make an appearance:
- Cremes: These are your classic, opaque polishes with no shimmer or glitter. They offer a smooth, rich color payoff and are highly versatile.
- Satin/Matte: A sophisticated alternative to high gloss, matte finishes offer a velvety look. They can add a modern edge to classic colors.
- Sheers/Milky Tones: Think of “my nails but better” shades. These are perfect for an effortlessly chic, understated look.
- Metallic/Glazed Finishes: While not always the primary focus, a subtle metallic or the popular “glazed donut” finish can add that touch of high-fashion shimmer.
Top Runway-Inspired Color Trends You Can Wear Every Day
While specific shades change with seasons, these categories and colors are timeless runway staples:
| Color Family | Runway Appeal | Why It Works | Examples |
|---|---|---|---|
| Classic Red | Timeless confidence | Universally flattering, always sophisticated. | Deep crimson, true red, brick red. |
| Deep Neutrals | Understated elegance | Effortlessly chic, pairs with everything. | Chocolate brown, charcoal grey, deep taupe. |
| Soft Pastels | Ethereal and gentle | Add a touch of fresh color without being loud. | Muted lilac, dusty rose, soft sage green. |
| Sheer/Milky White | Clean and refined | Mimics the “clean girl” aesthetic, looks polished. | Opaque nudes, milky pinks, sheer whites (“ballet slipper” shades). |
| “Glazed” Finishes | Subtle shimmer | Adds a futuristic, high-fashion glow with minimal effort. | Pearl white, opalescent finishes. |
Choosing a polish that complements your skin tone can make a world of difference. As a general rule:
- Fair skin: Lighter, cooler tones like soft pinks, blues, and greys often look stunning.
- Medium skin: Warmer tones such as corals, peaches, and richer reds look great.
- Deep skin: Jewel tones, deep berries, and bold reds are incredibly striking.
Don’t be afraid to experiment! The best color is the one that makes you feel fantastic.
The Application: Achieving that Flawless Finish
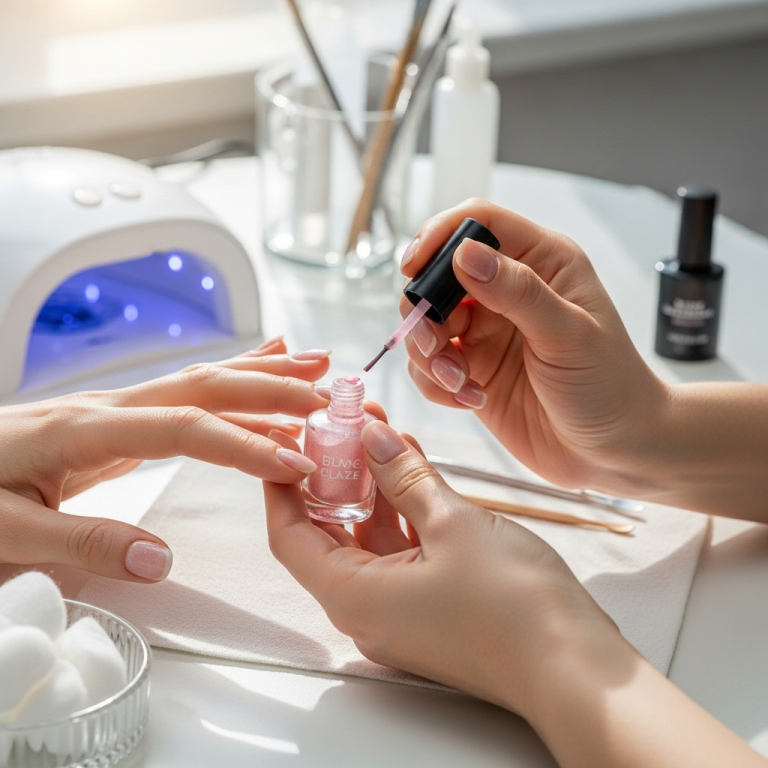
This is where the magic really comes alive! A smooth, streak-free application is key to making your nails look polished and professional. It’s all about building thin layers and patience.
Step 1: Base Coat is Non-Negotiable
Always, always, always start with a good base coat. This isn’t just about protecting your nails from staining; it creates a smooth surface for the color to adhere to and helps your polish last much longer. A good base coat provides grip for the color polish. Nailcarepros.com has a great article explaining the importance of base coat.
Apply one thin, even layer and let it dry completely. You should see a subtle shine, but it shouldn’t be tacky.
Step 2: The Art of Thin Coats
This is perhaps the most crucial tip for a professional finish. Instead of trying to get full opacity in one thick coat, aim for three thin coats. This gives you much better control, prevents bubbling and streaking, and leads to a more durable manicure.
For each coat:
- Dip your brush into the polish, wiping off excess on one side of the bottle neck.
- Start with a bead of polish near the cuticle.
- Gently push the brush towards the cuticle without touching it.
- Then, sweep the brush upwards, painting one side of the nail.
- Repeat for the other side, then sweep down the center.
- Aim to cover the nail in three strokes.
Apply the first thin coat and let it dry for at least 2-3 minutes. Don’t rush this! Then apply the second thin coat. Let that dry. For most colors, the third coat will give you that perfect, opaque, runway-ready finish.
Step 3: The All-Important Cleanup
A tiny bit of polish on your skin can quickly make a manicure look amateur. Here’s how to fix it:
- Option 1 (My Favorite!): Use a small, stiff-bristled brush (like an old concealer brush or a dedicated cleanup brush) dipped in nail polish remover. Clean up any errant polish around your cuticles and along the sidewalls of your nails. This gives you precision.
- Option 2: Use a cotton swab dipped in nail polish remover. This is good for larger mistakes but can sometimes leave cotton fibers behind. Gently roll the swab around the edge of your nail.
Do this cleanup after your final color coat has dried for a minute or two, but before applying the top coat. This way, if you smudge slightly, the top coat will cover it.
Step 4: Shine On with a Top Coat
Never skip your top coat! This is the sealer that locks in your color, prevents chips, and adds that gorgeous shine (or sets your matte finish). A good quality top coat makes a huge difference in how long your manicure lasts.
Apply one generous, but not overly thick, layer of top coat. Cap the free edge of your nail by running the brush along the very tip of your nail. This is a pro trick that helps prevent chipping! Let it dry completely.
Elevate Your Look: Simple Runway-Inspired Touches
Once you’ve mastered the basics of color application, you can add subtle touches that truly channel runway glamour. These aren’t about elaborate designs, but more about sophisticated finishes and details.
1. The “Glazed Donut” or Chrome Effect
This trend took over the beauty world and is surprisingly easy to achieve on your own. It gives nails a pearlescent, almost ethereal glow.
How To:
- Apply your base coat, two thin coats of a white or milky polish (this is your canvas), and a slightly less-than-fully-dry top coat.
- While the top coat is still tacky, lightly dust a chrome powder or pearlescent pigment over the nail using a silicone tool or eyeshadow applicator.
- Gently rub or buff the powder into the nail until you achieve an even, shimmery finish.
- Brush off any excess powder.
- Seal with another layer of top coat.
You can find chrome powder kits easily online or at beauty supply stores. Start with a sheer base for a softer look, or an opaque white for full impact.
2. The Accent Nail
A single accent nail can add a touch of personality without overwhelming the look. This is perfect for beginners!
Ideas:
- One nail in a deep, rich metallic or glitter polish while the others are a complementary creme.
- One nail painted with a subtle matte finish while the rest are glossy.
- One nail with a sheer, milky polish while the others are a bold color.
- One nail with a single delicate dot or stripe near the cuticle.
The key is subtlety. The accent should enhance, not overpower, your main color.
3. The Micro-French or Reverse French
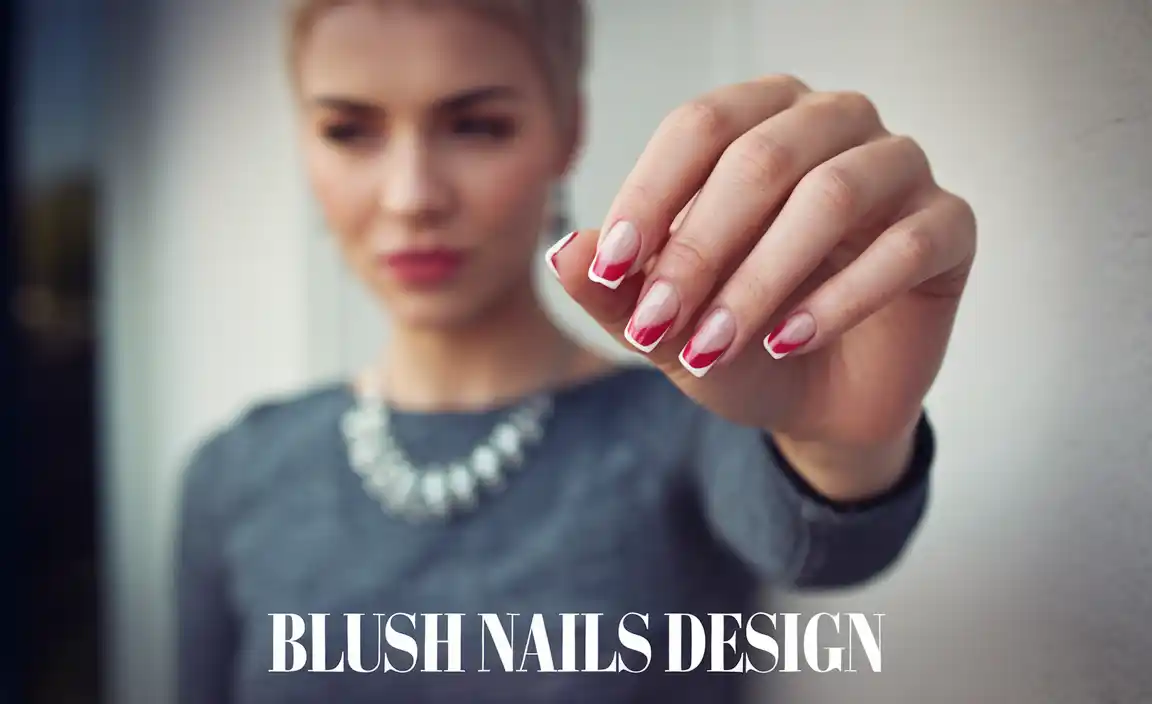
Instead of a thick white tip, a super-fine line of white or contrasting color along the free edge of the nail (a micro-French) looks incredibly chic. Or, try a reverse French, where the color is applied in a thin crescent along the cuticle line.
Tip: Use a very fine-tipped brush or a striping tool for precision, or carefully use the edge of your polish brush.
4. Negative Space
This trend plays with leaving parts of the nail unpainted. Think a stripe of color down the center of a bare nail, or color blocks. It’s modern and incredibly stylish.
How To:
- Apply a clear or sheer base coat.
- Use striping tape or carefully freehand a design, leaving areas bare.
- Apply your color polish in the taped-off sections.
- Carefully remove the tape while the polish is still slightly wet.
- Seal with a top coat once dry.
Essential Tools for Runway-Ready Nails at Home
You don’t need a pro kit to get salon-quality results. A few key tools will make all the difference in achieving that polished, runway-ready look.
- High-Quality Nail Files: Essential for shaping. Look for glass files or fine-grit emery boards (240 grit or higher for natural nails).
- Buffer Block: A 4-sided buffer is great – one side for smoothing ridges, another for shine.
- Orange Wood Sticks or Cuticle Pusher: For gently pushing back cuticles.
- Cuticle Oil: To keep cuticles hydrated and healthy.
- Nail Polish Remover: Acetone or acetone-free, depending on your preference.
- Cotton Pads or Lint-Free Wipes: For effective removal.
- Cleanup Brush/Fine-Tipped Brush: For precise tidying of polish mistakes.
- Base Coat: Crucial for longevity and protection.
- Top Coat: For shine, protection, and sealing.
- Your Chosen Nail Polish Colors: Opt for cremes, sophisticated shimmers, or elegant sheers.
What About Nail Strengtheners?
Nail strengtheners can be very beneficial if your nails are prone to breaking or peeling. They can be used as a base coat or as a standalone treatment. While not strictly part of the “glamour” application, healthy nails are the best canvas for any look! Look for formulas that contain ingredients like biotin or calcium. For a deeper dive into nail health resources, the American Academy of Dermatology Association offers excellent advice.
Nail Shapes vs. Finger Length: Finding Your Perfect Match
The shape of your nails can dramatically affect the overall appearance of your hands. While runway models might sport any shape, choosing a shape that complements your finger length and hand shape can enhance your natural beauty. Here’s a quick guide:
| Nail Shape | Best For | Runway Connection | Beginner Friendly? |
|---|---|---|---|
| Square | Shorter nails, wider nail beds. Can make fingers appear shorter. | Classic, strong look. Often seen as a polished base for color. | Yes – easy to file evenly. |
| Squoval | Most finger lengths and hand shapes.
|

