Ruby Nail Designs: Stunning & Essential for a Touch of Luxury
Want to elevate your manicure with a rich, sophisticated color? Ruby nail designs are a brilliant choice for adding a touch of luxury and warmth to your look. This versatile shade works for any season and occasion, easily transforming your nails into stunning statements. Let’s explore how to create gorgeous ruby nail designs at home!
Hey gorgeous! Lisa here from Nailerguy, and I’m so excited to chat about a color that just screams elegance and confidence: ruby red! If you’ve ever scrolled through Pinterest or Instagram and admired those deep, stunning red manicures, you’re in the right place. Sometimes, finding the perfect nail design can feel a bit overwhelming, especially when you’re just starting out. But don’t worry! We’re going to break down everything you need to know about ruby nail designs, making it super simple and fun. Get ready to fall in love with this timeless and beautiful shade!
Why Ruby Red Nails?
Ruby red isn’t just a color; it’s a feeling! It’s bold, passionate, and undeniably chic. Unlike brighter reds, ruby has a depth and richness that makes it incredibly versatile. It’s the perfect shade to wear when you want to feel powerful, confident, or just add a little glamour to your everyday life. Plus, it looks amazing on almost all skin tones, making it a universally flattering choice for any manicure.
Getting Started: Your Ruby Nail Design Toolkit
Before we dive into the fun designs, let’s make sure you have the right tools. Having these handy will make your DIY nail art journey so much smoother and more enjoyable!
Essential Nail Products
- Base Coat: Protects your natural nails from staining and helps polish adhere better.
- Ruby Red Nail Polish: The star of the show! Choose a good quality formula for smooth application and great coverage.
- Top Coat: Seals your design, adds a glossy finish, and extends the life of your manicure.
- Nail Polish Remover: For quick clean-ups and correcting mistakes.
- Cotton Pads/Balls: Essential for remover application.
Optional Nail Art Tools
- Dotting Tools: Perfect for creating small dots, swirls, and other delicate patterns.
- Thin Nail Art Brushes: Great for drawing fine lines, French tips, or intricate details.
- Nail Art Stickers/Decals: A super easy way to add instant flair without complex freehand painting.
- Glitter Polish: For adding sparkle and dimension.
- Rhinestones or Gems: For that extra touch of bling!
Simple Ruby Nail Designs for Beginners
Ready to get creative? Let’s start with some easy-to-achieve ruby nail designs that will make your nails pop!
1. The Classic Ruby Manicure
Sometimes, simplicity is key. A flawless application of ruby red polish is a statement in itself.
- Start with a clean, dry nail.
- Apply one coat of your chosen base coat and let it dry completely.
- Apply one thin coat of your ruby red polish, making sure to cap the free edge (paint a tiny bit on the tip of your nail).
- Let the first coat dry for a minute or two.
- Apply a second thin coat of ruby red polish for full opacity.
- Once the second coat is almost dry, apply a generous coat of your favorite shiny top coat. This helps seal the color and prevent chipping.
2. Ruby French Tips
A modern twist on a classic. Instead of white, we’re using ruby red for those chic tips!
- Apply base coat and let it dry.
- Apply one or two coats of a sheer nude or milky white polish as your base color. Let it dry thoroughly.
- Using a fine nail art brush or a steady hand, paint a ruby red line across the tip of each nail. You can go for a classic curved tip or try a straight, modern line.
- Clean up any mistakes with a small brush dipped in nail polish remover.
- Seal with a top coat.
3. Ruby Accent Nail with Glitter
A little sparkle never hurt anyone! This design is easy to do and adds instant wow-factor.
- Apply base coat to all nails.
- Paint all nails in your chosen ruby red polish, except for one accent nail (usually the ring finger).
- For the accent nail, you can either apply a coat of ruby red polish or use a glitter polish that complements the red. Some great options include gold, silver, or even a complementary dark jewel tone glitter.
- If using glitter polish, apply one or two coats. For a more intense glitter look, you can apply a layer of glitter polish over a still-wet ruby red polish.
- Apply top coat to all nails, being careful to smooth out any textured glitter for a sleek finish.
4. Ruby Red Polka Dots
Fun, flirty, and super easy with a dotting tool!
- Apply base coat and let it dry.
- Paint all your nails with a coat of ruby red polish. Let it dry completely.
- Dip a dotting tool (or the tip of a toothpick) into a contrasting polish color – white, black, gold, or even a nude pink works beautifully!
- Create dots on your nails. You can make them uniform in size and spacing for a clean look, or go for a more random, playful pattern.
- Once dry, apply a clear top coat to seal the dots.
5. Negative Space Ruby Design
This trendy design plays with leaving parts of the nail bare, creating a chic, modern look.
- Apply base coat and let it dry.
- Use striping tape or a fine brush to create geometric shapes or lines on your nail. You can create half-moons at the base, create stripes, or form abstract shapes.
- Fill in the designated areas with your ruby red polish.
- While the polish is still wet, carefully peel off the striping tape.
- Let the polish dry completely, then apply a top coat.
Elevating Your Ruby Nail Designs: Intermediate Techniques
Once you’ve mastered the basics, you might be ready to try some designs with a little more flair. These are still achievable with a bit of practice!
1. Ombre Ruby Nails
The gradient effect is beautiful and surprisingly doable.
- Apply base coat to all nails.
- Paint your nails with a lighter shade that will be the base for your ombre (e.g., a nude, a soft pink, or even a deep berry). Let it dry.
- For the ombre effect:
- Sponge Method: Lightly dab a makeup sponge with your ruby red polish. Gently dab this onto the tips of your nails, blending downwards. You may need a couple of passes to achieve the desired blend.
- Brush Method: Use a stiff, flat brush slightly dampened with nail polish remover. Lightly brush the line where your base color meets the ruby red polish to create a soft gradient.
- Once the color has set slightly, apply a top coat. A thicker, glossy top coat can help smooth out the gradient transition.
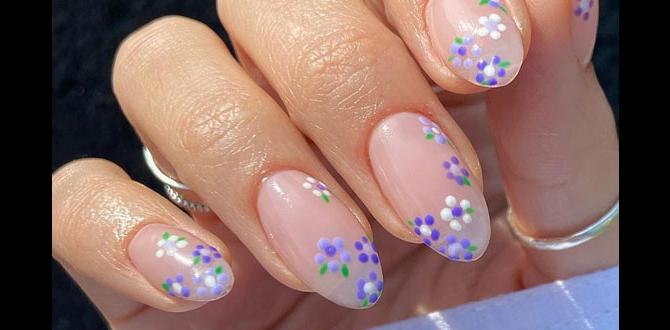
2. Floral Ruby Accents
Add delicate floral touches to your ruby base.
- Start with a full ruby red manicure as described in the “Classic Ruby Manicure” section.
- Once the ruby polish is completely dry (wait at least 15-20 minutes, or use a quick-dry spray), use a fine nail art brush and a contrasting color (like white, cream, or even a pale gold) to paint small floral designs.
- Simple flowers like daisies or tiny roses are great for beginners. You can also use a dotting tool to create flower centers.
- Alternatively, use floral nail stickers for an even easier approach.
- Seal with a top coat.
3. Ruby Red Marble Nails
Create a sophisticated marble effect with just a few colors.
- Apply base coat and let it dry.
- Paint your nails with a sheer white, nude, or light grey polish. Let it dry completely.
- On a piece of foil or a clean palette, put a drop of ruby red polish and a drop of black or dark grey polish next to each other.
- Dip the tip of a toothpick or a fine brush into both colors and swirl them gently to create a marbled pattern.
- Carefully touch the swirled polish onto your nail, creating random vein-like patterns. You can also use a clean brush to gently blend the edges slightly.
- Repeat this process on each nail, aiming for unique patterns.
- Once dry, apply a top coat.
4. Geometric Ruby Designs
Clean lines and shapes offer a modern, minimalist vibe.
- Paint your nails with a base color like nude, black, or even a clear coat. Let it dry thoroughly.
- Use nail striping tape to create geometric patterns – think chevrons, triangles, or simple intersecting lines.
- Carefully paint over the tape with your ruby red polish.
- While the ruby polish is still wet, gently but quickly peel off the striping tape.
- Allow the polish to dry completely before applying a top coat.
Ruby Nail Designs with Embellishments
Ready to add some sparkle and dimension? Embellishments can take your ruby nails from beautiful to breathtaking!
1. Ruby and Gold Accents
Gold and deep red are a classic, luxurious pairing.
- Option A: Gold Foil: After applying your ruby red polish and letting it dry until tacky (not fully wet or completely dry), gently press a piece of gold foil onto the nail. You can apply it all over for a foiled effect, or just on sections for an accent. Seal with a top coat.
- Option B: Gold Glitter Ombre: Apply a gradient of gold glitter polish over your ruby red base, focusing more glitter at the tips or the cuticle.
- Option C: Gold Decals/Stickers: Use gold geometric shapes, lines, or even little charms to accent your ruby nails.
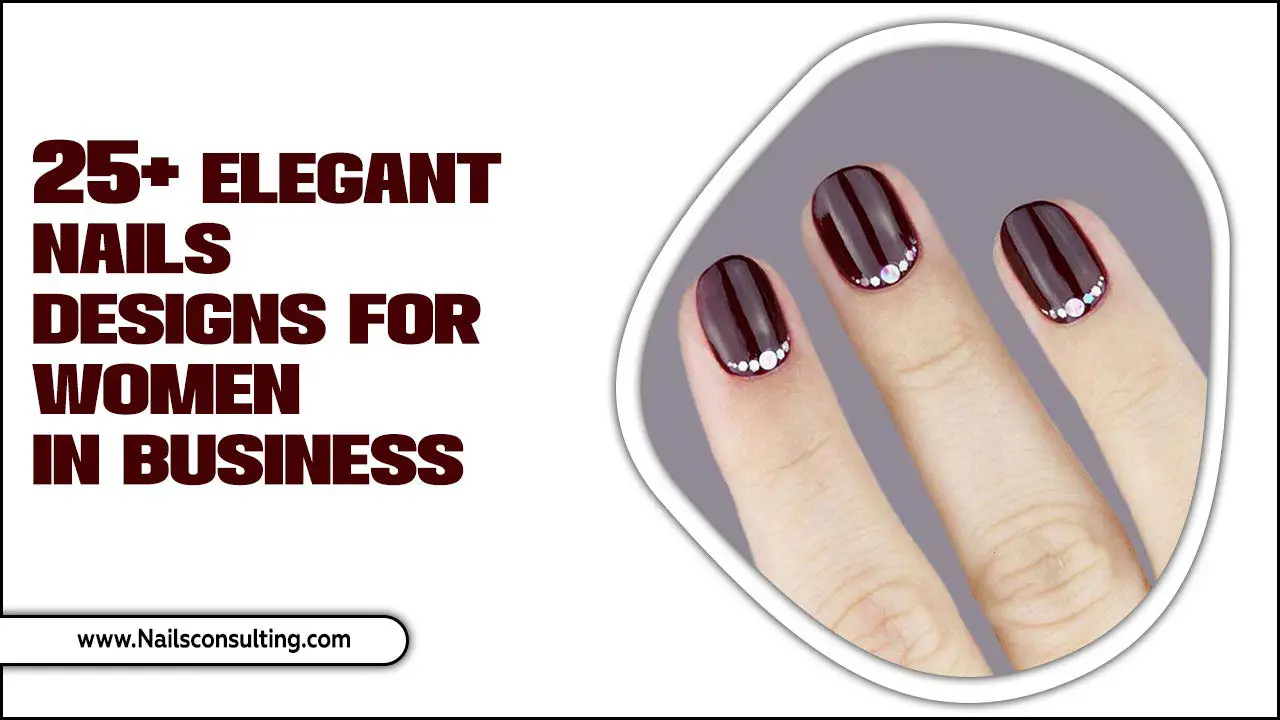
2. Ruby Nails with Rhinestones
For that extra pop of glamour, strategically placed rhinestones are perfect.
- Apply your base ruby red manicure.
- Once fully dry, apply a small dot of nail glue or a thick top coat to the spot where you want to place a rhinestone on an accent nail.
- Using tweezers or a wax pencil, carefully place the rhinestone onto the glue/top coat.
- Gently press it down to secure.
- For added security, you can carefully apply a small amount of top coat around the base of the rhinestone, avoiding covering the top of the stone itself.
3. Deep Ruby with Black Accents
A sophisticated and edgy combination that’s always a winner.
- Apply your ruby red polish.
- Once dry, use a fine black nail art brush to add black details. This could be thin black lines, a black French tip, small black dots, or even delicate black lace patterns if you’re feeling adventurous.
- Black stickers or stencils can also achieve this look with ease.
- Seal with a top coat.
Nail Shape and Ruby Designs
The shape of your nails can beautifully complement your chosen ruby design.
Best Nail Shapes for Ruby Designs
- Almond: Elongates the fingers and provides a smooth canvas for any design, especially florals and intricate patterns.
- Square/Squoval: Offers clean lines that are perfect for geometric designs, French tips, and bold solid colors.
- Stiletto/Coffin: Dramatic shapes that make a statement. Ruby red looks particularly stunning on longer, tapered nails, especially when paired with glitter or sophisticated embellishments.
- Round: A classic and practical shape that works well with simple ruby applications and polka dots.
Maintaining Your Ruby Manicure
A beautiful ruby design deserves to last! Here are some tips to keep your manicure looking fresh.
- Wear Gloves: Protect your nails when doing chores, especially washing dishes or using cleaning products.
- Moisturize: Keep your cuticles and hands hydrated with cuticle oil and hand cream. Healthy skin makes for a polished look.
- Avoid Harsh Chemicals: Try to limit your nails’ exposure to acetone-based removers unless you’re removing polish.
- Touch-Ups: If you notice a tiny chip, you can sometimes repair it with a tiny bit of color and then a bit more top coat.
- Reapply Top Coat: Adding an extra layer of top coat every 2-3 days can help maintain shine and prevent chips.
Ruby vs. Other Reds: A Quick Guide
While ‘ruby’ conjures a specific deep, rich red, the nail polish world can have variations. Here’s a little comparison:
| Shade Name | Description | Best For |
|---|---|---|
| Ruby Red | A deep, slightly brownish-red with hints of warmth. Think of a fine gemstone. | Sophisticated looks, evening wear, all skin tones. |
| Cherry Red | A brighter, more vibrant red with cool undertones. | Classic, bold manicures, summer looks. |
| Crimson | A vibrant, deep red with blue undertones; can lean slightly purple. | Dramatic, passionate statements, cool skin tones. |
| Burgundy/Wine | A darker, more muted red, often with purple or brown undertones. | Autumn/Winter, elegant and understated looks. |
Expert Tips for Perfect Application
Applying nail polish like a pro is all about technique. Here are my top tips at Nailerguy:
- Thin Coats are Key: Apply polish in thin, even coats. It’s better to do two or three thin coats than one thick, streaky one. Thin coats dry faster and look smoother.
- Clean Up Before Drying: If you get polish on your skin, clean it up immediately with a small brush dipped in nail polish remover before it dries. This makes for a super clean edge.
- Cap the Free Edge: Always run your brush along the very tip (the free edge) of your nail with each coat, including the base and top coat. This creates a seal that helps prevent chips.
- Shake, Don’t Stir: Gently roll the bottle between your hands to mix the polish. Shaking can introduce air bubbles, leading to a bumpy finish.
- Patience with Drying: Allow each coat to dry adequately before applying the next. This is crucial for a smooth, long-lasting manicure.
Ruby Nail Designs: The Psychology of Color
Did you know that colors can influence how we feel? Ruby red is often associated with passion, confidence, love, and energy. Wearing ruby nails can actually give you a little psychological boost, making you feel more empowered and ready to take on the day! It’s a color that demands attention in the best way possible.
According to color psychology experts, red can increase confidence and even stimulate energy levels. For more insights on how color affects our mood and perception, you can explore resources from institutions like Color Psychology, which delve into the deeper meanings and impacts of various hues.
Frequently Asked Questions (FAQs)
Q1: Are ruby nails suitable for all skin tones?
Yes! Ruby red is a wonderfully versatile shade. While deeper, warmer ruby tones might be especially flattering on warmer skin tones, and cooler, brighter ruby tones on cooler skin tones, most variations of ruby red look stunning across the board. It’s truly a universally flattering color.
Q2: How do I prevent my ruby red polish from staining my nails?
The best way to prevent staining is to always use a good quality base coat. A base coat acts as a barrier between the pigmented polish and your natural nail. Apply one or two coats and let it dry completely before applying your ruby red polish. Ensure you use a good top coat as well to seal everything in.
Q3: Can I do ruby nail designs on short nails?
Absolutely! Ruby red looks gorgeous on short nails. For shorter nails, consider simpler designs like a solid ruby color, subtle glitter accents, or


