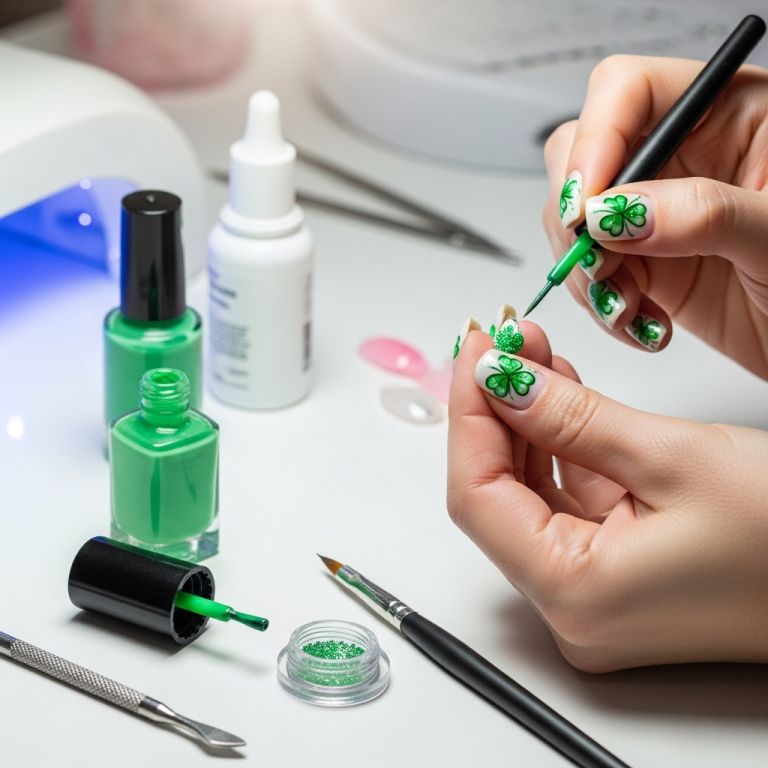
Round nail designs offer a universally flattering and timeless shape that’s perfect for beginners and pros alike. Embrace chic simplicity with elegant solids, playful patterns, and subtle accents that enhance the natural curve of your nails, boosting confidence and style with minimal fuss.
Ever feel like your nails just aren’t cooperating with the latest trends? Sometimes, the simplest shape is the most show-stopping! Round nails are a favorite for a reason. They’re super easy to maintain, less prone to snagging, and look amazing on almost everyone. But ‘simple’ doesn’t have to mean boring. We’re about to dive into a world of super cute and totally doable round nail designs that will make your fingertips the star of the show.
Get ready to discover your next favorite manicure, whether you’re just starting your nail art journey or looking for fresh inspiration. We’ll break down easy styles, share essential tips, and help you create looks you’ll absolutely love. Let’s get those nails looking their absolute best!
Why Round Nails Reign Supreme for Everyone
The round nail shape is the undisputed champion of easy-care and effortless elegance. Think of it as the little black dress of nail shapes – always in style, always flattering. This shape mimics the natural curve of your fingertip, creating a soft, organic look. It’s also incredibly practical, as the rounded edges significantly reduce the chance of snags and breaks. For anyone who’s ever slammed a nail into something or found their manicure ruined by a sharp corner, the round shape is a dream come true.
It’s a fantastic starting point for nail art because the smooth curve provides a beautiful canvas. From minimalist chic to playful patterns, round nails can handle it all without looking cluttered or overdone. Plus, they’re super forgiving, making them ideal for those still honing their DIY manicure skills. Let’s explore why this shape is so beloved and the genius designs that make it even better.
Essential Round Nail Design Styles for Beginners
Diving into nail art can seem daunting, but with round nails as your base, you’re already ahead of the game! These styles are designed to be achievable, stylish, and perfect for building your confidence. Think of them as your beginner’s guide to gorgeous, creative nails.
1. The Classic, Chic Solid Color
Let’s start with the absolute foundation: a flawless solid color. This is where every nail journey begins, and it’s endlessly versatile. The beauty of a single, well-applied color on a round nail is its inherent elegance.
- Why it works: A smooth, opaque color makes the round shape pop and looks polished. It elongates the fingers and is suitable for any occasion.
- Beginner Tips:
- Use a good base coat to protect your nails and help polish adhere.
- Apply thin, even coats of polish. Two to three thin coats are better than one thick, gloopy one.
- Always cap the free edge of your nail (paint a tiny bit on the tip) to prevent chipping.
- Clean up any polish mistakes with a small brush dipped in nail polish remover for super sharp edges.
- Color Palette Ideas:
- Neutrals: Beige, cream, taupe, and soft grays are sophisticated and always in style.
- Jewel Tones: Emerald green, sapphire blue, ruby red, and amethyst purple offer a rich, luxurious feel.
- Pastels: Baby pink, mint green, sky blue, and lavender are soft, dreamy, and perfect for spring.
- Bold & Bright: Think vibrant reds, sunny yellows, or electric blues for a fun, statement look.
2. The Effortless French Manicure (Round Edition)
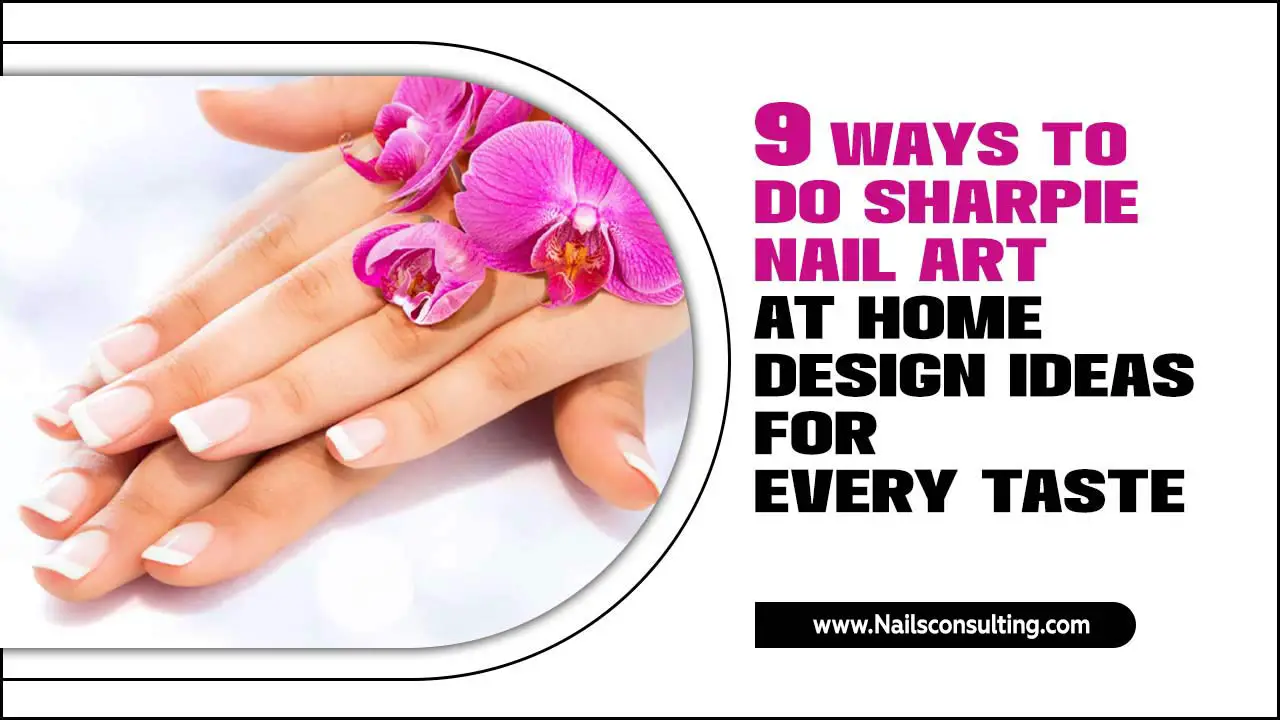
The French manicure is a timeless classic, and it looks especially sweet and delicate on round nails. We’re talking about a modern, easy take on this iconic style.
- Why it works: The white or colored tip artfully follows the nail’s natural curve, creating a clean, defined look that’s both sophisticated and subtly playful.
- Beginner’s Approach:
- Start with your favorite nude or sheer pink polish as the base.
- For the tip, try using a French tip sticker or guide ($) for a perfectly clean line. Place the sticker where you want the white tip to begin and carefully paint within the lines.
- Alternatively, use a fine-tipped brush to freehand the smile line. Don’t stress about perfection initially; practice makes perfect!
- For a twist, swap the traditional white for a pastel, metallic, or even a deep color like navy or burgundy.
- Tip: A sheer pink or nude base hides any nail imperfections and makes the colored tip stand out beautifully.
3. Delicate Dotting Designs
Dots are your new best friend for simple, impactful nail art. They’re incredibly easy to create and can be as minimalist or as bold as you like.
- Why it works: Dots add a touch of whimsy and visual interest without requiring complex artistic skills. They fit perfectly within the natural curve of a round nail.
- Tools You’ll Need:
- Dotting Tools: These come in various sizes and are essential for perfect circles. ($) You can also improvise with the tip of a bobby pin, a toothpick (less durable), or the end of a ballpoint pen.
- How-To:
- Apply your base color and let it dry completely.
- Dip your dotting tool into a contrasting polish color.
- Gently press the tool onto your nail to create a dot.
- Repeat, spacing dots as desired. You can create a single line of dots, a cluster, or a full-nail pattern.
- Design Ideas:
- A single row of dots along the cuticle line.
- A scattering of tiny dots all over the nail for a starry effect.
- A simple pattern like a flower with a few dots for the center and petals.
- Use different sizes of dots for a more dynamic look.
4. The Subtle Gradient (Ombré)
Ombré, or gradient, nails create a beautiful transition of colors. On a round nail, this effect looks incredibly sophisticated and smooth.
- Why it works: The color blend flows seamlessly with the nail’s curve, creating a soft, dreamy effect that’s eye-catching yet refined.
- Beginner-Friendly Method:
- Sponge Technique: This is the easiest way to achieve a smooth blend.
- Paint your nail with the lightest color and let it dry.
- Apply your two chosen colors side-by-side onto a makeup sponge.
- Gently dab the sponge onto your nail, starting from the cuticle and moving upwards. Reapply polish to the sponge and repeat until you achieve the desired blend.
- Clean up any messy edges with remover.
- Sponge Technique: This is the easiest way to achieve a smooth blend.
- Color Combinations:
- Light pink to white (classic wedding/bridal vibe).
- Nude to beige for a work-appropriate elegance.
- Blue to purple for a mystical transition.
- Yellow to orange for a vibrant sunset feel.
5. Minimalist Accents: A Touch of Sparkle or Detail
Sometimes, all your round nails need is a little something extra. Minimalist accents add personality without being overwhelming.
- Why it works: A small, strategically placed design element can elevate a simple solid color. It adds a focal point and a hint of glamour.
- Easy Accent Ideas:
- A Single Glitter Stripe: Apply a strip of glitter polish vertically or horizontally near the cuticle or across the center of the nail.
- Tiny Studs or Gems: Place a small pearl or rhinestone near the cuticle or at the tip. Use nail glue for gems ($, also available at craft stores) and a precision tool to pick them up.
- A Simple Line Art Detail: Use a fine-liner nail polish pen or a striping tape to draw a thin line along the natural curve of the nail or across a portion of it.
- Half-Moon at the Base: Paint a small, rounded shape at the base of the nail, near the cuticle, in a contrasting color. This is like a reverse French manicure!
- Tip: Less is more with minimalist accents. Choose one nail to highlight or keep the design very subtle across all nails.
Taking Your Round Nail Designs to the Next Level
Once you’ve mastered the basics, it’s time to experiment with designs that are still beginner-friendly but offer a bit more flair. These styles build on the foundational techniques and add subtle complexity.
1. Playful Negative Space Designs
Negative space is a very trendy way to do nail art. It means leaving parts of your natural nail visible, creating a modern, airy look. On round nails, this can be particularly striking.
- Why it works: The transparency of negative space makes designs feel light and chic. It also adds visual depth without being too busy, fitting the round shape perfectly.
- Achieving Negative Space:
- Water Decals/Stickers: Apply these over a clear or nude base. They’re easy to reposition and create intricate patterns. ($) Find them online or at beauty supply stores.
- Striping Tape: Apply polished base colors, let them dry, then carefully place striping tape to create geometric shapes. Paint over the tape with a contrasting color or leave it bare. Peel off the tape while the polish is still wet for clean lines. For more on using striping tape, check out guides on nail art supplies.
- Stencils: Use nail stencils to create defined shapes or patterns with different colors or leave sections unpainted.
- Design Ideas:
- Geometric shapes (triangles, squares) with parts of the nail left bare.
- A delicate vine or floral pattern where the background is the natural nail.
- Abstract swatches of color with clear spaces in between.
2. Simple Animal Prints
Animal prints are fun, bold, and surprisingly easy to recreate on round nails! You don’t need a steady hand of a surgeon – these designs are forgiving.
- Why it works: The spots and splotches naturally follow the curve of the nail, giving them an organic, wild look that’s incredibly stylish.
- Easy Print Guide:
- Leopard Print:
- Apply a solid base color (e.g., yellow, beige, or pink).
- Using a fine-tipped brush or dotting tool, create irregular dark brown or black “C” shapes or commas, leaving small gaps between them.
- In some of the gaps, add a very small black or dark brown dot.
- Cow Print (Oreo/Holstein):
- Apply a white or cream base color.
- Using a fine-tipped brush or dotting tool, create irregular black or dark brown splotches across the nail, similar to how the spots look on a cow.
- Snake Print (Abstract):
- Apply a base color.
- Use a fine brush to create incomplete, wavy lines or interconnected “U” shapes in a contrasting color.
- Leopard Print:
- Tip: Don’t strive for perfect symmetry! Animal prints are naturally irregular, which is what makes them look authentic and stylish.
3. Two-Tone Color Blocking
Color blocking is a bold, graphic trend that’s perfect for making a statement. On round nails, it creates a chic, modern aesthetic.
- Why it works: The sharp lines of color blocking can define and accent the smooth contour of a round nail, creating a contemporary and striking look.
- Creating Clean Lines:
- Use Striping Tape: Apply your first color, let it dry completely. Place striping tape to create a clean dividing line, then paint over it with your second color. Remove the tape carefully.
- Painter’s Tape: For larger blocks, regular painter’s tape can work. Ensure it adheres well to a dry nail surface and press down firmly to prevent color bleed.
- Freehand with a Fine Brush: For simpler color blocks, a steady hand and a fine brush can create clean edges.
- Design Ideas:
- Split the nail in half vertically or diagonally with two contrasting colors.
- Create a color block at the tip or the base of the nail.
- Use a small amount of negative space as part of the color block design.
4. Seasonal Accents & Themes
Round nails are the perfect canvas for celebrating the seasons or holidays with simple, themed designs.
- Why it works: The smooth shape allows seasonal motifs to look sweet and charming rather than overwhelming.
- Examples:
- Spring: Delicate floral decals, pastel colors, or tiny painted buds.
- Summer: Small, painted fruits (like tiny strawberries or watermelon slices), bright solid colors, or a simple wave design.
- Autumn: Mini pumpkins, leaf outlines, or warm-toned polka dots.
- Winter: Tiny snowflakes, simple glitter accents, or a classic red and white candy cane stripe.
- Holidays: Small, iconic symbols like hearts for Valentine’s Day, tiny ghosts for Halloween, or stars for general festive vibes.
- Beginner Tip: Stickers and decals are your secret weapon here! They’re pre-made and easy to apply for instant seasonal flair.
Round Nail Designs: Visual Inspiration & Styling Tips
Sometimes, seeing is believing! Let’s talk about how different finishes and styling choices can totally transform a round nail design.
Different Finishes for Your Round Nails
Glossy Finish
The classic shine! A glossy topcoat is the easiest way to make any design look polished and professional. It reflects light beautifully, making your nails look healthy and vibrant. This is usually achieved with a standard topcoat. For extra durability and shine, consider a gel topcoat if you’re using gel polish, or explore quick-dry topcoats to minimize waiting time.
Matte Finish
For a modern, sophisticated edge, a matte topcoat is perfect. It absorbs light, giving your nails a velvety, soft appearance. It’s especially effective with darker colors, animal prints, or geometric designs. A matte topcoat can be applied just like a glossy one; simply swap out your regular topcoat for a matte version.
Glitter & Shimmer Finishes
Adding glitter or shimmer is a fantastic way to create focal points or dial up the glamour. You can use a glitter polish over a base color, apply a glitter topcoat, or even embed larger glitter particles for a textured effect. It works wonders for accent nails or for creating a full-on sparkly look.
Styling Your Round Nail Designs
- Jewelry & Accessories: Keep your jewelry simple and classic if your nails are already a statement. Delicate rings or bracelets complement most round nail designs. If your nails are minimalist, you can go bolder with your accessories.
- Outfit Coordination: You don’t need to perfectly match your nails to your outfit! Instead, aim to complement the colors or the overall vibe. A neutral nail design goes with everything, while a pop of color can tie together an outfit.
- Occasion Appropriateness:
- Work: Opt for subtle colors, minimalist accents, or a classic French.
- Casual Day Out: Play with dots, simple prints, or fun color combinations.
- Evening/Events: Go for glitter, deeper colors, or more intricate (but still achievable!) designs.
Essential Tools for Round Nail Design Success
You don’t need a professional salon setup to create amazing round nail designs! A few key tools will make all the difference for beginners.
| Tool | What it Does | Why it’s Great for Round Nails | Approximate Cost |
|---|---|---|---|
| Nail File | To shape and smooth nails. | Helps achieve and maintain the perfect rounded tip. Different grits are good for different tasks. Finer grids (around 240 grit) are best for shaping natural nails
|

