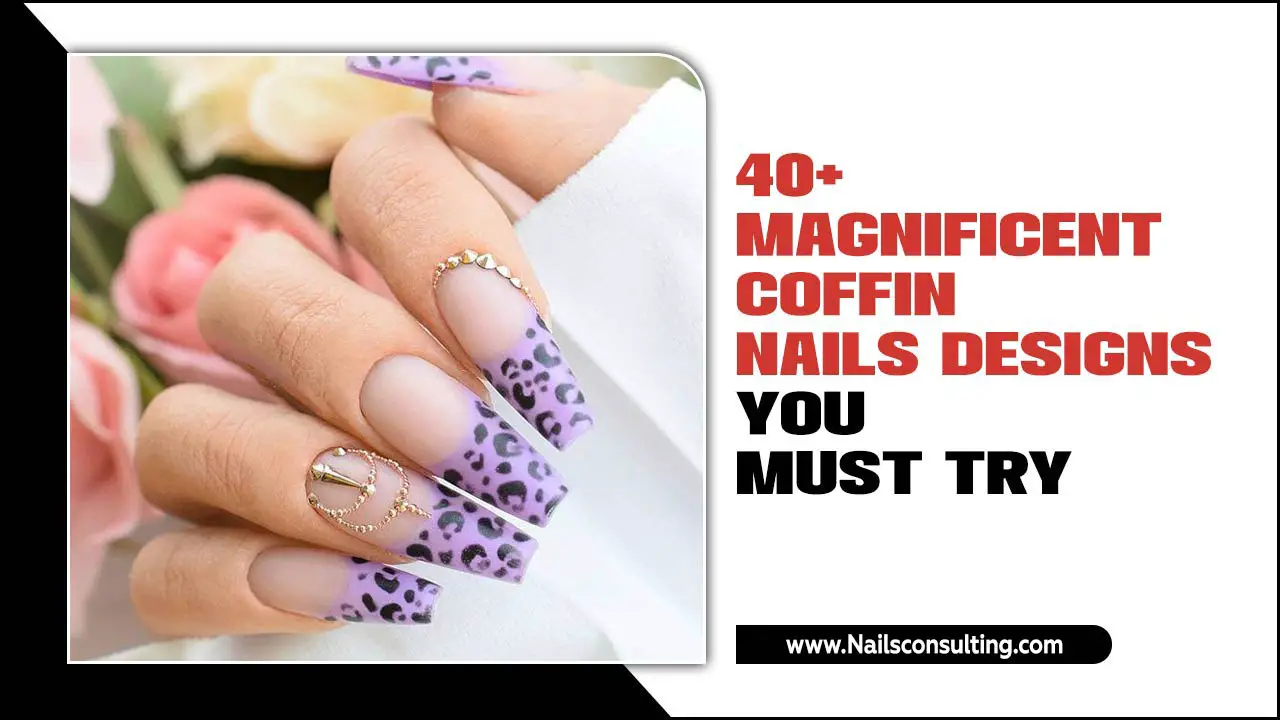
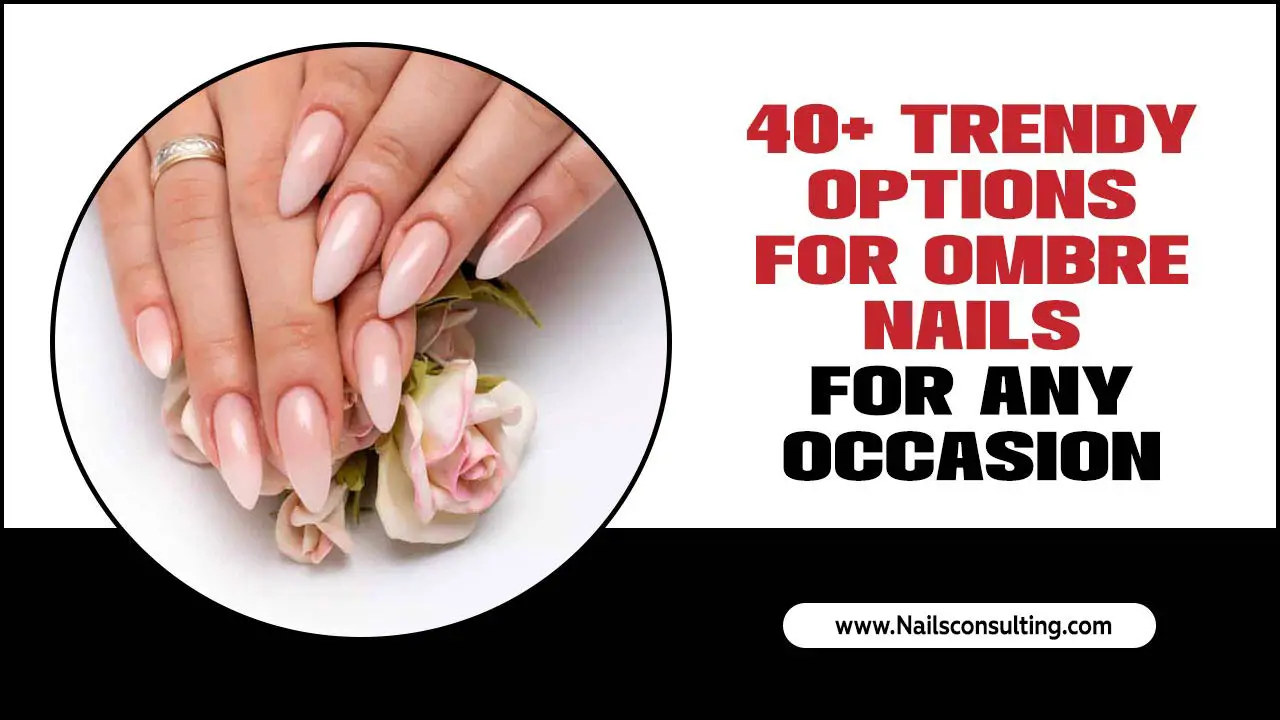
Learn how to create stunning rhinestone nail designs with easy-to-follow steps and essential tips for beginners. Elevate your manicure game with dazzling sparkle and create eye-catching looks that express your unique style.
Ready to add some serious sparkle to your nails? Rhinestone nail designs are a fantastic way to make your manicure pop! Whether you’re heading to a party or just want to brighten your day, adding a touch of glitter and glam is super fun. It might seem tricky at first, but with a few simple tricks, you can create gorgeous looks right at home. Let’s dive into the dazzling world of rhinestones!
This guide is your ultimate beginner’s toolkit. We’ll walk you through everything you need to know, from picking the right rhinestones to applying them flawlessly. Get ready to transform your nails into tiny works of art!
Why Rhinestones Are a Nail Art Game-Changer
Rhinestones bring an instant touch of elegance and excitement to any nail design. They catch the light beautifully, adding dimension and sparkle that paint alone can’t achieve. Think of them as the perfect accessory for your fingertips, capable of transforming a simple polish into a statement look. Whether you prefer a subtle shimmer or a full-on dazzling display, rhinestones offer endless possibilities for self-expression.
They are incredibly versatile. You can use them to create delicate patterns, highlight the base color, outline a French tip, or even cover your entire nail for maximum impact. Plus, they’re surprisingly easy to work with once you know the basics. Imagine stepping up your nail game for a special occasion or just adding a bit of everyday glam – rhinestones make it happen!
Essential Tools for Rhinestone Nail Designs
To create beautiful rhinestone nail designs, having the right tools makes all the difference. It’s like having the right brushes for painting; they help you achieve precision and ease. Don’t worry if you don’t have everything right away, you can start with the basics and build up your collection.
Here’s what you’ll want to have on hand:
- Nail Polish or Gel Polish: Your base color is key! Choose a shade that complements your rhinestones.
- Top Coat: This seals everything in place and adds shine.
- Tweezers: Fine-tipped, pointed tweezers are a must for picking up and perfectly placing tiny rhinestones.
- Rhinestone Glue or Strong Top Coat: You need something to make those gems stick! Special rhinestone glue is best for longevity, but a thick top coat can work for simpler designs.
- Applicator Tool (Optional but helpful): A wax pencil or a dotting tool can help pick up and place rhinestones, especially if you’re new to it.
- Rhinestones: Of course! They come in various sizes, shapes, and colors. A mix is great for creativity. Look for flat-backed rhinestones for easy application.
- Nail File and Buffer: To ensure smooth, clean nails before you start designing.
- Cuticle Pusher: For neatening up around the nail bed.
Choosing Your Rhinestones: A Sparkle Guide
The world of rhinestones can be a little overwhelming, but it’s also incredibly fun! The type of rhinestone you choose can significantly impact the final look of your nail design. For beginners, focusing on a few key types will make the process much more manageable.
Types of Rhinestones for Nails
- Acrylic Rhinestones: These are lightweight, affordable, and come in a huge variety of colors and finishes. They are perfect for beginners because they are easy to work with and don’t add much bulk.
- Glass Rhinestones: These offer superior sparkle and clarity, resembling genuine crystals. They can be slightly heavier and more expensive but provide a luxurious look. For DIY, smaller glass rhinestones are easier to handle.
- Swarovski Crystals: The premium choice! Known for their exceptional brilliance and cut, Swarovski crystals are the ultimate in luxury. While they are an investment, a few strategically placed ones can make a nail design truly spectacular.
Shapes and Sizes
Rhinestones aren’t just round! You can find them in popular shapes like teardrops, squares, marquises, and even tiny flowers. Mixing shapes can add visual interest.
Sizes are usually measured in ‘ss’ (stone size), with smaller numbers indicating smaller stones. A good starting point is a mix of SS3 (tiny), SS5, and SS10 (small to medium) for versatility. You can find excellent starter kits online that offer a variety of sizes and shapes.
Beginner-Friendly Rhinestone Nail Design Ideas
Starting with simple designs is the best way to build confidence. You don’t need to create an elaborate masterpiece right away. Even a few well-placed rhinestones can make a big impact!
1. The Accent Nail Sparkle
This is the easiest way to start. Choose one nail (usually your ring finger) and apply rhinestones to it. It’s a subtle yet glamorous touch that pairs well with any base color.
- Paint all your nails with your chosen polish color and let it dry completely.
- On your accent nail, apply a dot of rhinestone glue or a thick layer of top coat where you want your stones.
- Using your tweezers, pick up a rhinestone and place it onto the glue/top coat.
- Repeat to create a small cluster, a line, or a simple pattern.
- Let it dry completely.
- Apply a thin layer of top coat around the rhinestones, being careful not to get it over the top of them, to help secure them.
2. The Single Gem Statement
Sometimes, less is more! A single, larger rhinestone placed strategically can be incredibly chic.
- Paint your nails as usual.
- Once dry, add a small dot of glue or top coat to the nail where you want the focal point – perhaps at the base of the nail, near the cuticle, or at the tip.
- Place a single larger rhinestone (like a 3D gem or a statement crystal) onto the dot.
- Let it dry and then carefully apply top coat around it.
3. The Subtle Outline
This design adds a sophisticated sparkle. You can outline the tip of your nail for a dazzling French manicure or trace the cuticle line.
- Apply your base polish and let it dry.
- Apply a thin line of rhinestone glue or a careful stroke of top coat along the edge you want to outline (nail tip or cuticle).
- Using your tweezers, meticulously place small rhinestones along the line.
- Work in small sections so the glue or top coat doesn’t dry before you place the stones.
- Once complete, let it dry thoroughly.
- Apply a clear top coat around the stones for extra security.
4. The Gradient Sparkle
Create a beautiful fade effect with rhinestones, going from dense at the base to sparse at the tip, or vice versa.
- Paint your nails and let them dry.
- Apply rhinestone glue or top coat in a dense area near the cuticle or tip.
- Place rhinestones closely together in this area.
- Gradually apply less glue/top coat as you move away from the dense area, placing fewer rhinestones further apart.
- Continue this gradient effect across the nail.
- Allow to dry completely and secure with a thin layer of top coat around the stones.
Pro Tip: For a more defined gradient, you can use different sizes of rhinestones, starting with larger ones at the base and getting smaller towards the tip.
Step-by-Step Application: Mastering the Placement
Perfect rhinestone placement is key to a polished and professional-looking design. It’s all about patience and a good grip!
Step 1: Prepare Your Nails
Start with clean, dry nails. File them to your desired shape and gently push back or trim your cuticles. Buff the surface lightly if you’re applying gel polish or want extra adhesion for regular polish. Ensure there’s no oily residue.
Step 2: Apply Your Base Polish
Apply your chosen nail polish or gel polish color. For best results, apply two thin coats, allowing each to dry completely (or cure under a UV/LED lamp for gel polish). A smooth, even base is crucial for rhinestone application.
Step 3: Choose Your Adhesive
Decide whether you’re using a specialized rhinestone glue or a thick top coat. Rhinestone glue provides the strongest hold, making it ideal for designs that need to last. A good quality, slightly thicker top coat works well for simpler designs or for a temporary sparkle boost.
Step 4: Pick Up the Rhinestone
This is where your fine-tipped tweezers or wax pencil comes in handy. Gently pick up the rhinestone from its side. If using tweezers, a light touch is best to avoid damaging the stone or dropping it.
Step 5: Place the Rhinestone
Carefully position the rhinestone onto the desired spot on your nail. If using glue, apply a tiny bead of glue first, then place the stone. If using top coat, apply a small amount of the top coat where the stone will go, then place it. Press down gently to ensure it adheres well.
Step 6: Repeat and Design
Continue picking up and placing rhinestones to create your chosen design. Work in small sections, especially if using top coat, to prevent it from drying too quickly. For complex designs, it might be helpful to map out your pattern lightly with a pencil or by placing a few stones first.
Step 7: Secure and Seal
Once your design is complete and all rhinestones are in place, let the glue or top coat dry/cure completely. Then, apply a thin, even layer of top coat over your entire nail. Be careful to paint around the rhinestones, not over them, to maintain their sparkle. For a more secure hold, try to get the top coat to flow slightly around the base of each stone. This creates a protective barrier.
Best Rhinestone Glues and Top Coats
The longevity of your rhinestone nail design heavily depends on the adhesive you use. Investing in a good quality product can save you from rhinestones popping off prematurely!
| Product Type | Pros | Cons | Best For |
|---|---|---|---|
| Specialized Rhinestone Glue (e.g., Modelones Rhinestone Glue Gel, KDS Nail Glue) | Strongest hold, designed specifically for rhinestones, provides a secure bond that lasts. Some are brush-on gels for easy application. | Can be slightly more expensive. Requires careful application to avoid excess. | Long-lasting designs, intricate patterns, 3D embellishments, all nail types (regular and gel). |
| Thick Top Coat (e.g., Seche Vite, Gellen Top Coat) | Convenient if you already have it, provides a good finish. Works well for simple designs or for securing the edges. | May not provide as strong a hold as dedicated glue, especially for larger or heavier stones. Can sometimes dull the sparkle of certain rhinestones if applied directly over them. | Temporary sparkle, simple designs with small rhinestones, reinforcing edges of a design. |
| Nail Art Gel (e.g., Builder Gel, Nail Art Glue Gel) | Excellent adhesion, offers a strong bond similar to rhinestone glue. Can be used to “embed” stones for extra durability. | Requires UV/LED lamp for curing. Application can be a bit trickier for beginners. | Embedding rhinestones, intricate designs, 3D nail art, gel manicures. |
Application Tips for Adhesives:
- Less is More: Apply just enough glue to hold the stone. Too much can flood the design and look messy.
- Work in Sections: If using regular top coat or a fast-drying glue, work on one or two nails at a time.
- Curing Time: Always allow adequate drying or curing time before touching or applying top coat.
Maintaining Your Sparkle: Tips for Longevity
You’ve put in the effort to create a stunning rhinestone design, so you want it to last! With a little care, your sparkle can endure.
- Be Gentle: Avoid picking at your nails or directly touching the rhinestones.
- Protective Top Coat: As mentioned, a thin layer of top coat applied around the stones is your best friend. It acts as a sealant.
- Limit Harsh Chemicals: Try to wear gloves when doing chores involving water, cleaning products, or harsh solvents. These can break down adhesives.
- Avoid Excess Water: Prolonged soaking in water (like long baths) can weaken the bond.
- Top Up if Needed: If you notice a stone is lifting slightly, you can try adding a tiny bit of glue underneath it carefully with a fine brush and pressing it down.
Proper care helps preserve the shine and integrity of your rhinestone nail designs, keeping them looking fabulous for as long as possible.
Troubleshooting Common Rhinestone Nail Design Issues
Even the most experienced nail artists encounter little hiccups. Here are some common problems and how to fix them:
- Problem: Rhinestones won’t stick.
Solution: Ensure your nail surface is clean and free of oils. Use a strong adhesive like specialized rhinestone glue or a good quality, thick top coat. Make sure the glue/top coat is fresh and hasn’t dried out.
- Problem: Glue/Top Coat looks messy or floods the design.
Solution: Use a fine-tipped applicator tool or a very thin brush to apply glue precisely. Work with small amounts. If you accidentally get too much, try to gently wipe away excess with an orangewood stick before it dries.
- Problem: The sparkle of the rhinestones is dulled.
Solution: This often happens if top coat gets directly on the faceted surface. Apply top coat carefully around the base of the stones. If it’s a persistent issue, consider using a gel top coat which often has a stronger, more resistant finish. For regular polish, you might opt for a quick-dry top coat that seals quickly.
- Problem: My rhinestones fall off quickly.
Solution: The most common culprit is insufficient or weak adhesive. Switch to a strong rhinestone glue or a high-quality nail art gel. Ensure the rhinestones are fully set and dry before normal activity. Also, review the “Maintaining Your Sparkle” section for best practices.
- Problem: Tweezers are too clumsy for small stones.
Solution: Try a wax pencil designed for picking up gems, or a fine-tipped dotting tool. You can also slightly dampen the tip of a toothpick with water or top coat to pick up tiny rhinestones.
Beyond the Basics: Elevating Your Rhinestone Game
Once you’re comfortable with the fundamentals, you can start exploring more intricate and creative rhinestone nail designs. The possibilities are truly endless!
Themed Designs
Create designs for holidays, events, or just your mood! Think tiny hearts for Valentine’s Day, snowflakes for winter, or a constellation pattern for a celestial vibe. You can even use colored rhinestones to mimic specific themes.
Mixed Media Manicures
Combine rhinestones with other nail art elements like glitter, chrome powder, hand-painted designs, or even small charms. For example, a minimalist painted flower with a single rhinestone in the center can be stunning.
3D Nail Art
Use stronger mediums like builder gel or acrylic to create raised designs with rhinestones. You can build a small “cup” of gel to embed the rhinestone in for maximum security and a 3D effect. This is more advanced but yields incredible results.
Full Coverage Glam
Cover an entire nail or section of a nail with rhinestones for a show-stopping effect. This takes patience but is incredibly rewarding. Consider using a clear builder gel or a strong adhesive as your base.
Remember, nail art is a journey. Experiment with different techniques, colors, and placements. The most important thing is to have fun and let your creativity shine through!
Frequently Asked Questions About Rhinestone Nail Designs
Q1: Can I apply rhinestones to natural nails without polish?
A: Yes, you can! However, applying them directly over a bare nail might make them less secure and can be tricky to paint around. For best results and longevity, it’s recommended to apply them over a base coat and of course, a top coat to seal them in. A base color also makes the rhinestones stand out more.
Q2: How long do rhinestone nail designs typically last?
A: With the right adhesive and care, rhinestone nail designs can last anywhere from a few days to two weeks. Using specialized rhinestone glue


