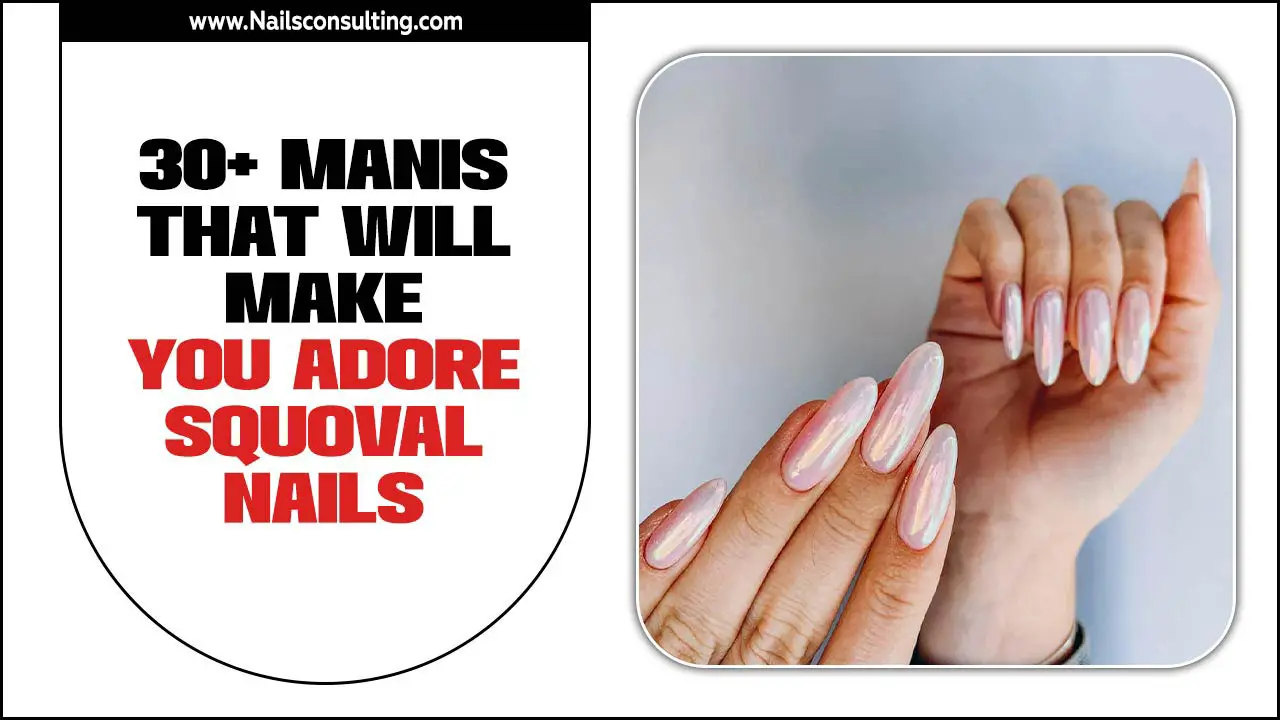
Rhinestone French tips are a dazzling way to elevate your classic French manicure with sparkling accents. This guide shows you how to easily create these glamorous nails at home, turning a simple look into a showstopper.
Dreaming of nails that sparkle and shine, but feel a little intimidated by complex nail art? You’re not alone! French tips are a timeless classic, but sometimes we crave that extra touch of glam. Adding rhinestones might seem like a pro-level skill, but I’m here to tell you it’s totally achievable right at your own vanity. We’ll break down exactly how to get those stunning rhinestone French tips without any fuss. Get ready to make your nails the talk of the town!
Your Essential Guide to Rhinestone French Tips
Rhinestone French tips are the perfect blend of classic elegance and modern sparkle. They take the familiar white-tipped French manicure and give it a fabulous makeover with tiny, glittering gems. Whether you’re heading to a special event or just want to feel a little extra fabulous every day, these nails are a fantastic choice. They’re surprisingly versatile, adding a touch of luxury to any outfit.
At Nailerguy, we believe every nail lover, no matter their experience level, should be able to rock the latest trends. That’s why we’ve put together this comprehensive guide. We’ll walk you through everything you need to know, from gathering your supplies to the final placement of those precious rhinestones. No more guessing games – just clear, simple steps to achieve salon-worthy results.
Why Rhinestone French Tips Are a Must-Try
French tips are beloved for their clean, sophisticated look that elongates the appearance of the fingers. Adding rhinestones takes this elegance and infuses it with a playful yet luxurious sparkle. It’s a way to express your personal style and add a customized flair to a universally flattering nail design. The contrast between the clean white tip and the shimmering stones is always a hit.
They’re perfect for:
- Special occasions like weddings, parties, or holidays.
- Adding a touch of everyday glamour to your work attire.
- Experimenting with nail art in a way that’s manageable even for beginners.
- Boosting your confidence with nails that truly stand out.
Gathering Your Rhinestone French Tip Essentials
Before we dive into the ‘how-to,’ let’s make sure you have everything you need. Having the right tools and materials makes the whole process smoother and the results much better. Don’t worry; most of these items are readily available!
Must-Have Tools & Materials
- Base Coat: To protect your natural nails and help polish adhere.
- Nude or Pink Nail Polish: Your chosen color for the nail bed.
- White Nail Polish: For the classic French tip.
- Fine-Tipped Brush or French Tip Guide Stickers: For a clean white line.
- Top Coat: To seal your design and add shine.
- Assorted Rhinestones: Small, sparkly gems. Look for nail art specific ones.
- Nail Glue or Strong Top Coat: To adhere the rhinestones.
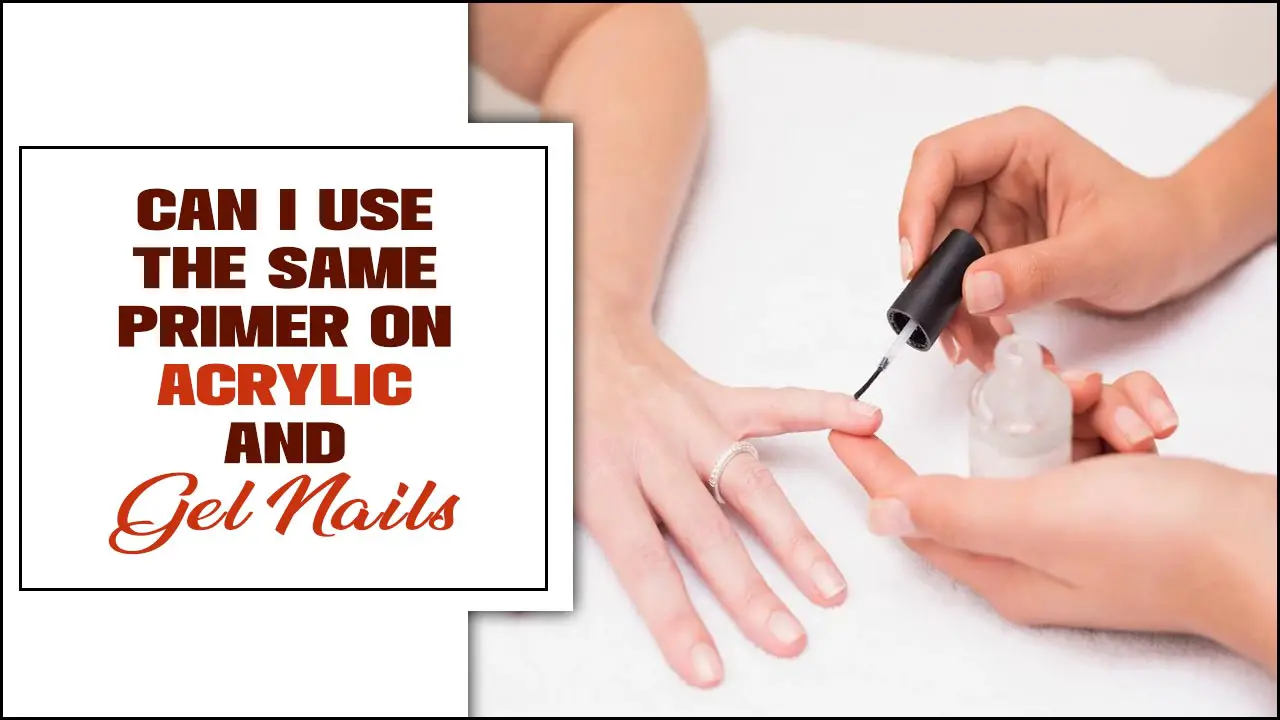
- Wax Pencil or Rhinestone Picker Tool: For precise placement of small stones.
- Tweezers: For picking up and positioning larger stones.
- Rubbing Alcohol or Nail Polish Remover: For cleaning nails.
- Cuticle Pusher and Nail File: For nail prep.
Choosing Your Rhinestones
The world of nail art rhinestones is vast! For French tips, aim for small sizes, typically SS4 (1.5mm) to SS10 (2.8mm). You can find them in:
- Clear/Crystal: For maximum sparkle that matches any color.
- Colored: To add a pop of personality.
- AB (Aurora Borealis) Coated: These have a iridescent finish that catches light beautifully.
- Different shapes: While round is classic, you can experiment with tiny stars or pearls too!
A good place to start for beginners is a multi-size pack of clear or AB coated rhinestones. This gives you variety without overwhelming you.
Step-by-Step: Creating Your Rhinestone French Tips
Let’s get to the fun part! Follow these steps for gorgeous rhinestone French tips. We’re aiming for a clean, polished look that highlights the sparkle.
Step 1: Nail Preparation is Key
A good manicure starts with well-prepped nails. This ensures your polish lasts and your design looks flawless.
- Clean Your Nails: Remove any old polish with nail polish remover. Wash your hands thoroughly.
- Shape Your Nails: File your nails to your desired shape (square, squoval, almond – all work well!).
- Push Back Cuticles: Gently push back your cuticles with a cuticle pusher.
- Buff (Optional): Lightly buff the surface of your nails to create a smooth canvas.
- Dehydrate: Swipe each nail with rubbing alcohol or a nail dehydrator to remove oils. This helps polish adhere better.
Step 2: Apply Your Base Coat and Nail Bed Color
This is the foundation of your manicure.
- Base Coat: Apply one thin layer of your clear base coat. Let it dry completely.
- Nail Bed Color: Paint 1-2 thin coats of your chosen nude or pink polish. Ensure even coverage and allow each coat to dry. For French tips, a sheerer polish often looks more natural.
Step 3: Creating the Perfect French Tip
This is where the classic French look comes to life. You have a few options here:
Option A: Using a Fine-Tipped Brush
- Load Your Brush: Dip a fine-tipped nail art brush into your white nail polish. Wipe off excess polish on the edge of the bottle so you have a controlled amount.
- Draw the Smile Line: Starting from one side of your nail, paint a curved line across the tip, aiming for a “smile” shape. Then, connect it by painting a curved line down the other side.
- Fill In: Carefully fill in the tip area above the smile line.
- Clean Up: Use a small brush dipped in nail polish remover to clean up any wobbly lines or mistakes.
- Let Dry: Allow the white tips to dry completely.
Option B: Using French Tip Guide Stickers
- Apply Stickers: Carefully place a French tip guide sticker just below where you want your white tip to start. Press down firmly to ensure a good seal so polish doesn’t bleed underneath.
- Paint the Tip: Paint your white polish over the exposed tip of the nail.
- Remove Stickers: While the white polish is still slightly wet (but not runny), carefully peel off the sticker. This will leave a clean line.
- Let Dry: Allow the white tips to dry completely.
Step 4: Adding the Rhinestones
This is the moment you’ve been waiting for! Precision is key here.
There are a few popular ways to place rhinestones on French tips:
Method 1: Along the Smile Line
This is the most classic and elegant placement.
- Apply Adhesive: Place a tiny dot of nail glue or a small bead of clear top coat polish along the white smile line where you want to place your first rhinestone. Work in small sections so the adhesive doesn’t dry out.
- Pick Up a Rhinestone: Use your wax pencil tool or tweezers to pick up a single rhinestone.
- Place the Stone: Gently place the rhinestone onto the adhesive.
- Repeat: Continue placing rhinestones along the smile line, leaving small gaps or placing them close together depending on your desired look.
- Larger Stones: For larger stones, use tweezers for better control.
Method 2: At the Base of the Tip
This creates a subtle accent right where the white meets the natural nail.
- Apply Adhesive: Place a tiny dot of nail glue or top coat at the very base of the white tip, where it meets the nude/pink polish.
- Place Stones: Use your wax pencil or tweezers to place rhinestones in a small cluster or a single line here.
Method 3: As an Accent Nail
Go bold by covering the entire tip or creating a pattern with rhinestones.
- Apply Adhesive: Apply a thin layer of nail glue or top coat over the entire white tip, or in the section you want to cover with rhinestones.
- Cover with Stones: Carefully place rhinestones, either densely packed or with a pattern, onto the adhesive. Your wax pencil or tweezers will be essential here.
Pro Tip: If using top coat as your adhesive, apply it to a small area at a time. If using nail glue, a tiny dot is all you need per stone. Too much can look messy!
Step 5: Securing and Finishing
Don’t let your hard work come undone!
- Let it Dry: Allow the glue or top coat holding the rhinestones to dry completely. This might take a few minutes if using nail glue.
- Apply Top Coat: Once everything is dry, apply a thin layer of clear top coat over your entire nail, including the French tip and rhinestones. Be careful not to flood the stones, which can make them look cloudy. If you’re using a thicker top coat, you can also carefully use a small brush dipped in the top coat to encapsulate the stones without covering them completely.
- Reapplication: For extra durability, you can do a second thin layer of top coat, again being mindful of the stones.
- Final Curing: Let the top coat dry completely. If you’re using gel products, cure under a UV/LED lamp as per the product instructions.
Troubleshooting Common Rhinestone Nail Issues
Even seasoned nail artists encounter little hiccups! Here are some common problems and how to fix them:
- Rhinestones Not Sticking: Ensure you’re using a strong adhesive (nail glue or good quality top coat). Make sure the nail surface is clean and free of oils. If using top coat, don’t let it dry too much before placing the stone.
- Top Coat Looks Cloudy Over Stones: You might be using too much top coat, or a top coat that’s too thick. Try a thinner formula or use a dedicated top coat brush to apply a very thin layer specifically around the stones. For UV gel polishes, a specialized top coat designed for gems can prevent clouding.
- Adhesive Showing: Use only a tiny amount of glue or top coat. For glue, a pinpoint amount is sufficient. If it bleeds, try to wipe away excess carefully before it dries with a remover-dipped brush.
- Uneven Lines: For French tips, practice makes perfect! Don’t be afraid to use the clean-up brush method described in Step 3. If you’re struggling with freehanding, French tip guide stickers are your best friend.
- Stones Falling Off: This usually points to an adhesive issue or insufficient top coating. Ensure the stones are fully encapsulated or have a strong adhesive bond. You can always add a tiny bead of nail glue to a loose stone and reapply it.
Maintaining Your Rhinestone French Tips
To keep your dazzling nails looking their best, follow these simple maintenance tips:
- Be Gentle: Avoid using your nails as tools. Don’t pick at things, open cans, or scrape surfaces.
- Wear Gloves: When doing household chores, especially washing dishes or cleaning, wear rubber gloves. Harsh chemicals and prolonged water exposure can weaken the adhesive and polish.
- Moisturize: Keep your hands and cuticles moisturized with cuticle oil or hand cream. Healthy cuticles contribute to overall nail health and can prevent lifting.
- Avoid Harsh Chemicals: Always be mindful of exposure to solvents, alcohol, and strong cleaning agents.
Rhinestone French Tips vs. Other Embellishments
While rhinestones are fantastic, it’s good to know your options! Here’s a quick comparison to help you decide:
| Embellishment Type | Pros | Cons | Best For |
|---|---|---|---|
| Rhinestones | Incredible sparkle, versatile shapes/sizes/colors, relatively easy to apply. | Can snag, may fall off if not applied well, can add thickness. | Adding glam to French tips, statement nails, special events. |
| Glitter Polish | Easy to apply, no additional adhesive needed, smooth finish. | Can be harder to remove, sparkle level varies, less dimensional. | Full nail sparkle, accent nails, subtle shimmer. |
| 3D Charms/Studs | Unique texture and dimension, statement-making. | Can be bulky, harder to wear daily, requires strong adhesive. | Bold nail art, themed manicures. |
| Chrome Powder | High-shine, mirror-like finish, relatively smooth. | Requires specific application steps (no-wipe top coat), can chip. | Sleek, modern, futuristic looks. |
Rhinestones offer a unique dimensional sparkle that glitter polish or chrome powder can’t replicate. They provide that undeniable “bling” factor!
The Benefits of a Professional French Manicure (and why DIY is awesome too!)
While we’re all about DIY here at Nailerguy, it’s helpful to understand what a salon professional brings to the table. This can help you appreciate the process even more, whether you do it yourself or opt for a pro.
Professional French Manicure Experience
A salon provides:
- Expertise: Years of practice ensure precision and speed.
- Tool Variety: Access to a wide range of professional-grade polishes, gels, and embellishments.
- Hygiene: Strict sterilization protocols.
- Time Savings: If you’re short on time, a professional can do it quickly.
- Gel Options: Professionals often use gel polish, which offers superior chip resistance and a high-gloss finish that lasts for weeks. Many also have expertise in applying intricate 3D nail art.
The Joy of DIY Rhinestone French Tips
On the flip side, doing it yourself comes with its own set of rewards:
- Cost-Effective: Significantly cheaper than salon visits, especially for regular manicures.
- Convenience: Do your nails anytime, anywhere, without scheduling appointments.
- Customization: Total control over colors, stone placement, and design complexity. Want a single rhinestone on one nail? You got it! Want every nail covered? Go for it!
- Therapeutic: Many find the process of doing their nails relaxing and rewarding. It’s a great way to de-stress and focus on self-care.
- Learning & Skill Building: Each DIY manicure helps you hone your skills and discover new techniques.
A great resource for understanding nail health and safe practices, even for DIYers, is the American Academy of Dermatology’s information on nail care: American Academy of Dermatology – Nail Care. They offer insights into maintaining healthy nails, which is crucial no matter how you decorate them.
FAQ: Your Rhinestone French Tip Questions Answered
We’ve gathered some common questions from nail lovers just like you! Here are the answers to help you feel confident on your rhinestone French tip journey.
Q1: What size rhinestones are best for French tips?
A1: For classic French tips, smaller sizes like SS4 (1.5mm) to SS10 (2.8mm) are ideal. They fit neatly along the smile line without overwhelming the nail. You can use larger ones for accent nails or bolder designs.
Q2: Can I use regular nail glue for rhinestones?
A2: Yes, you can! Use a strong, clear nail glue specifically designed for nail art. Apply it in tiny dots for each stone to avoid a messy look. A good quality top coat can also work as an adhesive for smaller stones if applied generously.
Q3: How do I prevent my


