Discover genius and affordable refill-friendly nail designs that save you time and money. Simple, stylish ideas perfect for beginners mean gorgeous, low-maintenance manicures are always within reach!
Are you tired of constantly changing your nail designs every few weeks? Do you wish there was a way to keep your nails looking chic without a full redo each time? Many of us love the idea of trendy nails, but the reality of frequent fills and fresh designs can be a drain on both our wallets and our precious time. It’s a common frustration, right? But what if I told you there’s a smarter way to keep your manicure looking fabulous between salon visits or DIY touch-ups? Get ready, because we’re about to unlock the secrets to refill-friendly nail designs that are as genius as they are affordable. Stick around, and you’ll be rocking stunning, long-lasting looks in no time!
What Makes a Nail Design “Refill Friendly”?
Refill-friendly nail designs are all about smart choices that work with your nail growth, not against it. The core idea is to select styles that naturally blend with your new nail growth or can be easily refreshed. This means avoiding designs that are heavily focused right at the cuticle line or intricate patterns that become distorted as your nails lengthen. Think timeless, adaptable, and easy to maintain.
The beauty of refill-friendly designs lies in their longevity and versatility. You get to enjoy a polished look for longer, and when it’s time for a refresh, it’s often a simpler process. This approach not only saves you money on frequent fills or new polish jobs but also keeps your natural nails healthier by minimizing the need for harsh removal and application processes.
The Genius of Refill Friendly Nail Designs: Why They Work
The magic behind refill-friendly nail designs is quite simple: they embrace natural nail growth. Instead of designs that fight or hide your new growth, these styles either complement it or create a seamless transition. This genius approach means your manicure looks good for longer, making it incredibly practical for busy lives and budget-conscious enthusiasts.
Here’s why these designs are a game-changer:
Extended Wearability: Enjoy your beautiful nails for weeks instead of days.
Cost-Effectiveness: Fewer salon visits or DIY sessions mean more money in your pocket.
Reduced Nail Stress: Less frequent polish changes and fills mean less exposure to removers and potential damage.
Effortless Maintenance: Touch-ups are often simple, or the design naturally looks good as it grows.
Versatility: Many refill-friendly designs can be adapted to various nail lengths and shapes.
Let’s dive into some specific designs that embody this smart approach.
Top Refill Friendly Nail Designs to Try
When choosing a refill-friendly design, the key is to think about how the color and pattern will interact with your natural nail growth. We want designs that either grow out gracefully or can be easily updated.
1. The Classic Ombre/Gradient
Ombre, or gradient, nails are perhaps the ultimate refill-friendly design. This technique involves a seamless blend of two or more colors, typically lighter at the cuticle and darker towards the tip, or vice versa.
Why it’s refill-friendly:
As your nails grow, the blend line naturally moves up with your natural nail. The transition between colors is so smooth that the new growth at the cuticle blends in beautifully with the lighter shade, making the design appear to grow out less noticeably.
How to achieve it (DIY at home):
1. Prep: Ensure your nails are clean, filed to shape, and have a base coat applied.
2. Base Color: Apply a light, neutral color (like a pale pink, nude, or sheer white) as your base. Let it dry completely.
3. Gradient Application:
Use a makeup sponge (a clean cosmetic sponge works wonders!).
Paint your desired darker color(s) onto the sponge in stripes or blobs.
Gently dab the sponge onto the nail, starting a little away from the cuticle and working your way to the tip. You might need a few passes to build up the color intensity.
For a multi-color ombre, repeat with additional colors on the sponge, blending them together.
4. Clean Up: Use a small brush dipped in nail polish remover to clean up any polish that got on your skin.
5. Top Coat: Apply a generous top coat to seal the design and add shine.
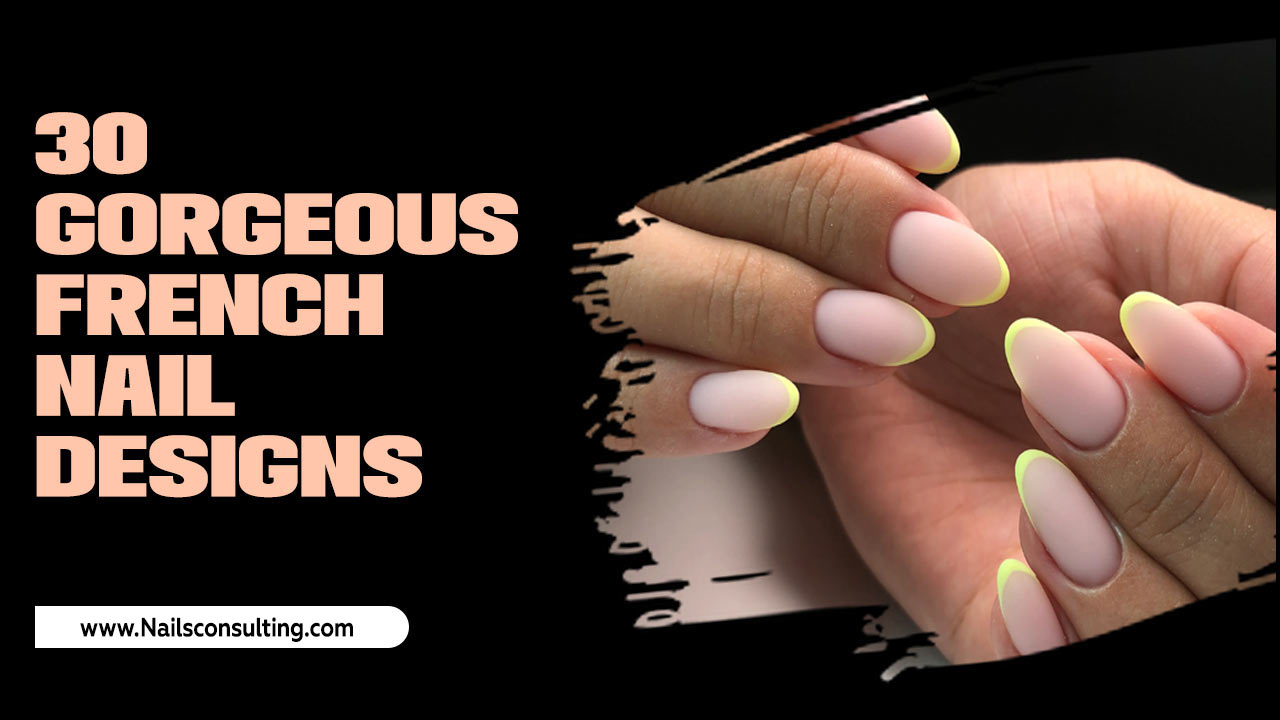
2. The Subtle French Fade (Reverse French)
A classic French manicure has a distinct white tip that can look messy as it grows out. The French fade, also known as a reverse French or baby boomer, offers a softer, more forgiving alternative. It’s an extension of the ombre technique, blending a nude or sheer pink base with a soft white tip.
Why it’s refill-friendly:
Similar to ombre, the soft transition between the nude base and the white tip means new nail growth at the cuticle is less apparent. The blended edge hides the demarcation line that can occur with a sharp French tip.
How to achieve it:
This is done using the same sponging technique as the ombre, but with a sheer pink or nude base and a soft white color for the tip. You’re essentially creating a mini ombre right at the free edge of your nail.
3. Solid Color with a “Grow-Out” Accent
Sometimes, the simplest designs are the most effective. A solid color manicure, especially in a classic shade, is inherently refill-friendly. However, you can add a touch of flair with an accent nail that’s designed to grow out well or be easily updated.
Why it’s refill-friendly:
A solid base means your natural nail growth is less noticeable. If you choose an accent nail design that’s abstract, scattered, or strategically placed, it can look intentional even with growth. Alternatively, an accent nail can be easily repainted or refreshed without disturbing the other nails.
Accent Nail Ideas:
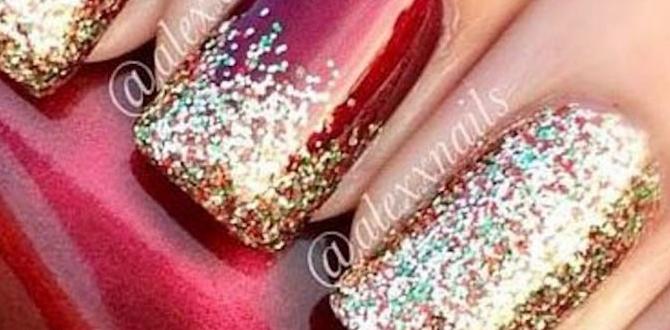
Glitter Gradient: A simple glitter gradient on an accent nail, fading from the cuticle to the tip (or just on the tip), looks festive and hides growth well.
Marble Effect: A subtle marble design on one or two nails can mask imperfections and growth lines.
Strategic Dots or Lines: A few strategically placed dots or thin lines near the tip of an accent nail can distract from cuticle growth.
4. The Cuticle Cap & Accent
This is a clever technique where a thin line or “cap” of a contrasting color (often metallic or glitter) is applied just at the cuticle line, with the rest of the nail being a solid color.
Why it’s refill-friendly:
As your nail grows, the cuticle cap remains at the base of the nail, becoming part of a slightly wider band. It looks intentional and can even highlight the new growth in a stylish way. It requires very minimal touch-up if any.
How to achieve it:
1. Base Color: Paint your nails with your chosen solid color and let it dry completely.
2. Cuticle Cap: Use a fine-tip brush or a striping tool to carefully apply a thin line of glitter or metallic polish right at the base of your nail, hugging the cuticle.
3. Top Coat: Seal everything with a top coat.
5. Abstract Art & Blobs
Abstract nail art, especially designs that are intentionally irregular, scattered, or look like paint splatters, are fantastic for refill-friendly manicures.
Why it’s refill-friendly:
The beauty of abstract art is that it doesn’t follow strict rules. Irregular shapes, splatters, or free-form swirls can easily incorporate new nail growth without looking messy. The “imperfections” are part of the design!
Ideas for Abstract Designs:
Paint Splatter: Use a stiff brush or even a straw to splatter different colors onto a base coat.
Blob Art: Create organic, irregular colored blobs on your nails.
Swirls: Freehand swirls in various colors can be very forgiving.
6. Minimalist Details
Sometimes, less is more. Minimalist nail designs, like a single dot, a thin line, or a small shape placed strategically, require very little polish and are incredibly forgiving.
Why it’s refill-friendly:
These designs are so small that they don’t take up a large portion of the nail. As the nail grows, the tiny detail remains, and the overall look is barely affected. You can place them near the tip, on the side, or even near the cuticle in a way that looks chic as it grows.
7. The “Barely There” Manicure
This isn’t just about being refill-friendly; it’s a style in itself! A “barely there” manicure focuses on healthy-looking nails with a sheer, milky, or nude polish.
Why it’s refill-friendly:
Sheer polishes are incredibly forgiving. New growth at the cuticle blends seamlessly with the sheer shade, making it practically invisible. It gives the illusion of perfectly manicured nails at all times.
Tools & Supplies for Refill-Friendly Nails
To keep your nails looking fabulous with refill-friendly designs, you don’t need a massive collection of fancy tools. A few basics will go a long way, especially for DIY enthusiasts.
Here are some essential tools and supplies:
| Tool/Supply | Description | Why it’s useful for refill-friendly designs |
|---|---|---|
| Base Coat | A protective layer applied before color polish. | Prepares the nail for polish, preventing staining and ensuring better adhesion, which contributes to longevity. |
| Top Coat | A clear protective layer applied over dried polish. | Seals the design, adds shine, and prevents chipping. Crucial for making any design last longer. A good quick-dry top coat is a lifesaver! |
| Nail Polish Remover | Liquid used to remove nail polish. | Essential for cleaning up mistakes and tidying up the skin around the nail during application. |
| Cotton Pads/Balls | For applying nail polish remover. | Works with remover for clean-up. |
| Fine-Tip Brush / Detail Brush | A small, fine brush, often used for art. | Perfect for creating precise lines, cuticle caps, or small accent details on your nails. Look for synthetic brushes that are easy to clean. |
| Makeup Sponges (Cosmetic Sponges) | Small sponges used for applying makeup. | Ideal for creating smooth ombre and gradient effects. You can cut them into small pieces for easier application. |
| Nail Files | Tools for shaping and smoothing nails. | Essential for maintaining nail shape between fills or applications. |
| Cuticle Pusher/Orange Stick | Tool to gently push back cuticles. | Helps create a clean canvas and ensures polish doesn’t lift off the cuticle. |
| Your Favorite Nail Polishes | Base colors, top colors. | Choose shades that blend well for effects like ombre, or classic neutrals that are forgiving. Metallics and glitters are great for accent lines. |
Pro-Tip for Longevity
Always ensure your nails are clean and free of oils before applying any polish. Wash your hands with soap and water, then dry them thoroughly. You can even use a nail dehydrator or a bit of rubbing alcohol on a cotton pad to remove any residual oils for maximum polish adhesion.
Easy Step-by-Step: Creating an Ombre French at Home
Let’s walk through creating one of the most popular refill-friendly designs: the Ombre French, also known as the Baby Boomer. This is a softer, more blended version of the classic French manicure and is incredibly forgiving as your nails grow.
What You’ll Need:
Base Coat
Sheer Pink or Nude Polish
Milky White or Soft White Polish
Makeup Sponge (cut into small pieces)
Clean-up Brush (a small art brush or an old eyeliner brush works)
Nail Polish Remover
Top Coat
Steps:
1. Prep Your Nails:
Start with clean, dry nails. File them into your desired shape.
Gently push back your cuticles using a cuticle pusher or orange stick.
Apply a thin layer of your base coat and let it dry completely. This protects your nails and helps the polish adhere better.
2. Apply the Base Color:
Apply two thin coats of your sheer pink or nude polish to your entire nail. This will be the main color of your manicure.
Ensure each coat is fully dry before applying the next, and let the final coat dry completely before moving on.
3. Prepare the Sponge:
Cut a makeup sponge into convenient small pieces, about 1-2 inches wide. This makes it easier to use on individual nails and control the application.
You can lightly dampen the sponge with water and then squeeze out the excess – this sometimes helps create a smoother blend.
4. Create the Ombre Effect:
On a clean piece of paper or a palette, paint a stripe of your sheer pink/nude polish and right next to it, a stripe of your milky white polish. The order can sometimes matter, but for this blend, it often works well to have the nude closest to the cuticle area of the sponge.
Gently tap the sponge onto the polish to pick up the colors. Don’t saturate it too much at first.
Now, carefully dab the sponge onto the tip of your nail, starting about halfway down the nail and blending upwards towards the free edge. You want the white to be concentrated at the tip and fade into the nude.
You might need to reapply polish to the sponge and dab again to build up the intensity and achieve a smooth gradient. Press lightly and build the color gradually. The key is a seamless blend. Don’t aim for a harsh line; think smooth transition.
5. Clean Up the Edges:
Once you’re happy with the ombre effect, it’s time to clean up. Dip your fine-tip brush into nail polish remover.
Carefully trace around the edges of your nail bed to remove any excess polish that got onto your skin. This step makes a huge difference in making your manicure look professional.
6. Apply Top Coat:
Once the polish is dry to the touch, apply a generous layer of top coat over the entire nail. This seals in the design, adds a beautiful glossy finish, and further helps to meld the ombre colors together for an even smoother look.
If you’re using a quick-dry top coat, this can speed up the process.
Tips for Success:
Patience is Key: Don’t rush the drying times between coats.
Light Layers: Apply thin coats of polish for smoother application and faster drying.
Practice Makes Perfect: Your first attempt might not be flawless, but with practice, you’ll master the sponging technique.
Color Blending: Experiment with how you place the colors on the sponge and how you dab them onto the nail. Some people prefer to dab from tip down, others from cuticle up.
Refill Friendly Nail Designs vs. Traditional Designs: A Comparison
Understanding the difference between refill-friendly styles and traditional designs can help you make the best choice for your lifestyle and budget.
| Feature | Refill Friendly Nail Designs | Traditional Nail Designs (e.g., full-coverage art, sharp tips) |
| :——————– | :———————————————————— | :————————————————————- |
| Growth Gracefulness | New growth blends in or is less noticeable. | New growth is often very obvious and can look messy. |
| Maintenance Needs | Lower; can often go longer between touch-ups or fills. | Higher; requires more frequent attention to look its best. |
| Cost-Effectiveness | Generally more affordable due to less frequent salon visits. | Can be more expensive due to frequent fills/red Os. |
| Time Commitment | Saves time overall due to less frequent upkeep. | Can be time-consuming due to frequent salon appointments. |
| Design Versatility| Embrace gradients, subtle accents, solid colors, abstract art. | Can include intricate patterns, decals, detailed art across the entire nail. |
| Transition | Designs naturally evolve or blend with nail growth. | Designs are often static and can look “grow out” quickly. |
| Example Styles | Ombre, French fade, solid colors, cuticle caps, minimalist dots. | Full glitter nails, detailed character art, sharp geometric patterns covering the whole nail. |
Pros and Cons of Refill Friendly Nail Designs
Like any beauty choice, refill-friendly designs come with their own set of advantages and disadvantages.
Pros:
Budget-Friendly: Significantly cuts down on the cost of frequent salon visits or buying new polish sets.
Time-Saving: Less time spent on nail maintenance means more time for other important things.
Lower Maintenance: Keeps your nails looking polished with minimal effort between appointments or DIY sessions.
Healthier Nails: Reduced exposure to harsh chemicals from frequent removal and application can contribute to healthier natural nails.
Versatile: Many designs can be adapted to different occasions and styles.
Approachable for Beginners: Often involve simpler techniques that are easier to master at home.
Cons:
Less Variety (Potentially): May not suit those who crave drastic, intricate nail art changes every week.
* Can Still Require Touch-Ups: While more

