Red nail designs are a timeless, impactful way to express confidence and style. Whether you choose a classic solid red or a creative design, this guide offers easy, beginner-friendly ideas and tips to achieve stunning results that make a statement.
Red nails are more than just a color; they’re a feeling! They exude confidence, passion, and a touch of glamour that’s hard to beat. But if you’re new to nail art or just looking for fresh inspiration, figuring out the perfect red nail design can feel a little daunting. It’s easy to get lost in endless possibilities or worry about making a mistake. Don’t fret! This guide is here to walk you through everything, from choosing the right red to mastering simple yet show-stopping designs. We’ll break down easy techniques, essential tools, and offer stunning design ideas that anyone can try. Get ready to give your nails the fiery, fabulous makeover they deserve!
Why Red Nails Are Always a Good Idea
Red is a color that commands attention. It’s bold, vibrant, and has been a favorite in manicures for decades for a reason. It’s incredibly versatile, working for every season, occasion, and personal style. Think about it: a classic red manicure can be sophisticated for a business meeting, playful for a night out, and even cozy for a winter holiday. The sheer power of red lies in its ability to instantly elevate your look and boost your mood. Plus, with so many shades of red available, there’s a perfect red for everyone!
The Red Spectrum: Finding Your Perfect Shade
Before diving into designs, let’s talk about the shades of red. Choosing the right hue can make a huge difference in your final look.
- Classic Cherry Red: This is your quintessential bright, true red. It’s universally flattering and always chic.
- Deep Burgundy/Wine Red: For a more sophisticated and moodier vibe, these shades are perfect, especially for fall and winter.
- Coral Red: A warmer, more orangey-red, this shade is fantastic for spring and summer, giving off a playful, vibrant energy.
- Blue-Toned Red: These reds have hints of blue, making them appear cooler and often very striking. They can also make your teeth look whiter!
- Nude Red: A muted, softer red that offers a chic, almost “your nails but better” look.
Essential Tools for Your Red Nail Journey
You don’t need a professional salon to create beautiful red nail designs. Here are some basic tools that will make your DIY manicures a breeze:
- Nail File & Buffer: For shaping your nails and smoothing the surface.
- Cuticle Pusher/Orange Stick: To gently push back your cuticles for a clean canvas.
- Base Coat: Protects your natural nails from staining and helps polish adhere better.
- Top Coat: Seals your design, adds shine, and prevents chipping.
- Nail Polish Remover: For cleaning up mistakes and removing old polish.
- Cotton Balls/Pads: For polish removal.
- Thin Nail Art Brush (Optional): For creating fine lines and details.
- Dotting Tool (Optional): For creating perfect dots.
For an in-depth look at essential nail tools, you might find resources on proper nail preparation and tool usage helpful from institutions like the National Institutes of Health, which offers general guidance on health and personal care products.
Beginner-Friendly Red Nail Designs: Step-by-Step
Ready to get creative? Let’s start with some super simple yet stunning red nail design ideas that anyone can master!
1. The Classic Red Manicure (Elevated)
This is the foundation of red nail artistry. Even a solid red can be made more interesting with a few tweaks.
- Prep: Start with clean, filed nails. Apply a base coat.
- Color: Apply two thin coats of your chosen red polish. Let each coat dry completely.
- Finish: Apply a generous coat of glossy top coat. For an extra touch, try a matte top coat for a sophisticated, velvety finish.
2. Chic Red French Tips
A classic with a twist! This design adds a pop of color to the traditional French manicure.
- Prep: Apply a nude or sheer pink base coat. Let it dry.
- Red Tips: Carefully paint a thin red line along the tip of each nail. You can use a fine nail art brush or the tip of your polish brush. For cleaner lines, use nail guides (stickers) and carefully paint within the lines.
- Finish: Apply a clear top coat to seal everything in.
Tip: Experiment with color combinations! Try a black base with red tips, or a glitter red tip over a nude base.
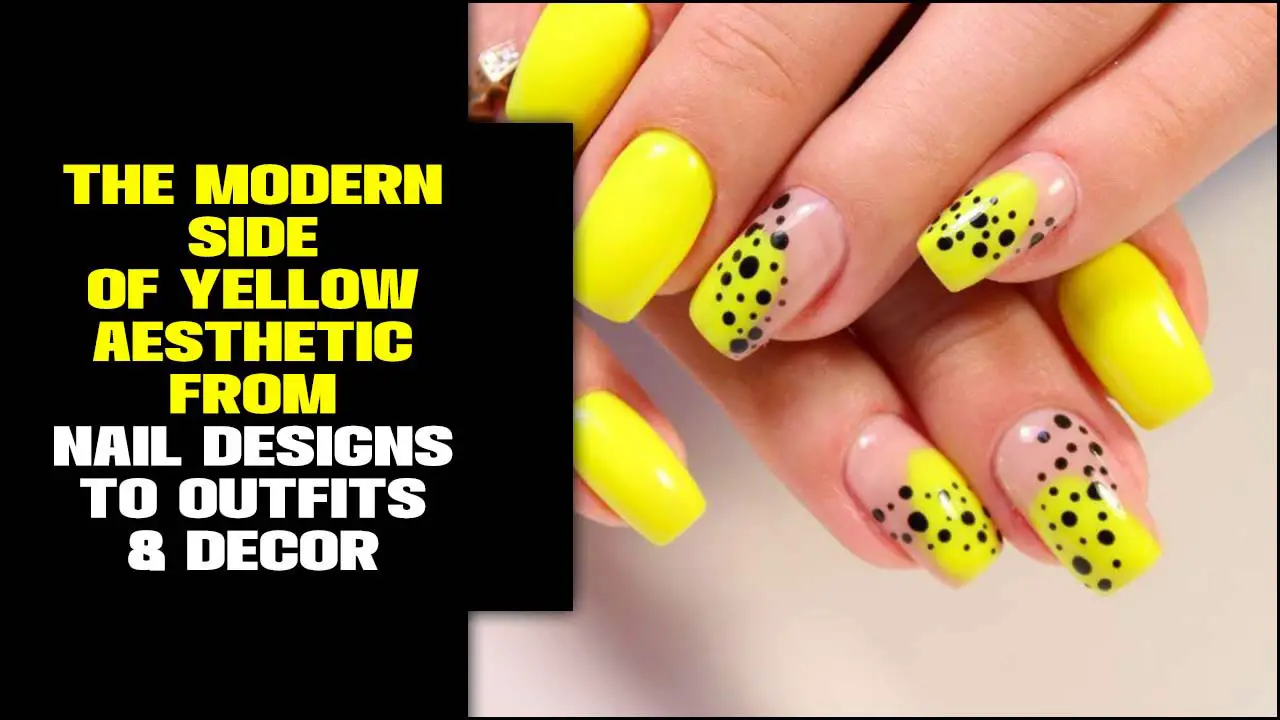
3. Simple Red Dots
Dots are playful, easy to create, and instantly add charm.
- Prep: Apply one or two coats of your favorite red polish. Let it dry completely.
- Dotting: Dip a dotting tool (or the end of a bobby pin, or even a toothpick) into white, black, or a contrasting metallic polish. Gently press it onto your nail to create dots. You can make them uniform or scattered.
- Placement Ideas:
- A single dot at the base of the nail.
- A line of dots along the cuticle.
- Randomly scattered dots all over the nail.
- A “ring” of dots around the cuticle.
- Finish: Apply a clear top coat.
4. The Glitter Ombre Red
This design is stunning, sparkly, and surprisingly simple to do.
- Prep: Apply your base RED polish and let it dry completely.
- Glitter Gradient: Take a red glitter polish. Start applying it only to the tips of your nails.
- Blend: Use a makeup sponge or a clean brush to gently blend the glitter down towards the cuticle. The idea is to have the most glitter at the tip, fading out as it goes down the nail.
- Build Up: Apply a second layer of glitter, focusing on the tips, to build up the intensity of the sparkle.
- Finish: Apply a thick, glossy top coat to smooth out the texture of the glitter. You might need two top coats for a super smooth finish.
5. Accent Nail with Red Details
Give one nail a little extra attention with a simple detail.
- Prep: Paint all nails in a solid color (e.g., nude, black, white, or even a different shade of red).
- Accent Nail: Choose one nail (usually the ring finger) to be your accent.
- Add Detail: On the accent nail, use a thin nail art brush and a contrasting polish (or a metallic red) to draw a simple design. Ideas include:
- A single stripe down the center.
- A small heart shape near the cuticle.
- A delicate vine or swirl.
- A simple geometric pattern.
- Finish: Apply top coat to all nails.
Advanced Red Nail Designs (Still Beginner-Friendly!)
Once you’re comfortable with the basics, try these slightly more involved, but still totally achievable, red nail designs.
1. Red and Gold Marble Effect
This looks intricate but can be simplified for an amazing effect.
- Prep: Start with a white or nude base coat, and let it dry.
- Red Base: Apply one thin coat of your classic red polish. Don’t let it dry completely yet.
- Gold Veins: While the red is still wet, take your gold polish and a thin nail art brush. Draw random, thin, wispy lines over the red polish.
- Marble Effect: Immediately take a clean, slightly damp brush (you can use a makeup sponge too) and gently swirl the lines and polish together to create a marble effect. Work quickly before the polish dries.
- Refine: Add more gold lines or blend more if needed.
- Finish: Once dry, apply a glossy top coat.
2. Red with Black Geometric Shapes
Clean lines and bold shapes create a modern, striking look.
- Prep: Paint your nails with your chosen red polish. Let it dry thoroughly.
- Black Lines: Using a very thin nail art brush and black polish, carefully paint geometric lines. Think simple stripes, triangles, or squares. You can cover the whole nail or just create accents.
- Using Tape (Optional): For super clean lines, paint your red base. Let it dry completely. Apply nail tape to create your desired shapes, then paint over the tape with black polish. Carefully peel off the tape while the black polish is still slightly wet for the cleanest edges.
- Finish: Apply a clear top coat.
3. Half-Moon Red Manicure
A retro-chic design that’s elegant and simple to execute.
- Prep: Apply a thin layer of your base color (e.g., nude, white, or even a contrasting dark shade). Let it dry.
- Create the Curve: Take small, circular stickers or guide stencils. Place them at the base of your nail, just above the cuticle, to create a curved edge.
- Paint the Tip: Using your red polish, carefully paint the top portion of your nail, above the sticker, filling it in.
- Remove Sticker: While the red polish is still wet, carefully peel off the sticker. This reveals the negative space or the base color underneath in a perfect half-moon shape.
- Refine: Clean up any smudges with a brush dipped in nail polish remover.
- Finish: Apply a glossy top coat.
Red Nail Designs: A Quick Reference Table
Here’s a handy table summarizing some popular red nail designs and their complexity for beginners.
| Design Idea | Complexity (Beginner) | Best For | Key Tools |
|---|---|---|---|
| Classic Red | Very Easy | Everyday wear, all occasions | Base coat, Red polish, Top coat |
| Red French Tips | Easy | Sophisticated, chic look | Base coat, Red polish, Fine brush/guides, Top coat |
| Simple Red Dots | Easy | Playful, charming, customizable | Red polish, Dotting tool/tool, Top coat |
| Glitter Ombre Red | Medium | Glamorous, eye-catching | Red polish, Glitter polish, Sponge/brush (optional), Top coat |
| Accent Nail Red Detail | Easy | Subtle interest, personalized | Assorted polishes, Fine brush, Top coat |
| Red and Gold Marble | Medium | Luxurious, artistic | Red polish, Gold polish, Thin brush, Sponge/brush, Top coat |
| Red with Black Geometric | Medium | Modern, edgy | Red polish, Black polish, Fine brush/tape, Top coat |
| Half-Moon Red | Medium | Retro, elegant | Base polish, Red polish, Stickers/guides, Top coat |
Maintaining Your Stunning Red Nails
Once you’ve perfected your red nail design, you’ll want to keep it looking fabulous!
- Regular Top Coat: Apply a fresh layer of top coat every 2-3 days to refresh the shine and help prevent chips.
- Moisturize: Keep your cuticles and hands moisturized with cuticle oil and hand cream. Healthy skin makes for beautiful nails.
- Be Gentle: Avoid using your nails as tools. This can lead to chips and breaks.
- Protect Your Hands: Wear gloves when doing household chores, especially washing dishes or using cleaning chemicals.
Frequently Asked Questions About Red Nail Designs
Q1: How do I prevent red nail polish from staining my natural nails?
Always use a good quality base coat. A good base coat acts as a barrier between the pigment of the red polish and your nail. For extra protection, you could even apply two layers of base coat. Make sure to remove your polish promptly when it starts to chip to avoid prolonged contact.
Q2: My red nail polish keeps chipping. What can I do?
Ensure your nails are clean and free of oils before applying polish. Apply thin coats of color, allowing each to dry. Crucially, use a quality top coat and reapply it every few days. Sealing the free edge (the tip of your nail) with your top coat can also help prevent chipping.
Q3: Can I mix different shades of red in one design?
Absolutely! Mixing shades of red can create depth and visual interest. For example, you could use a deep burgundy for a base and add cherry red accents, or vice versa. Experimentation is key to finding unique combinations you love!
Q4: What are the easiest red nail designs for absolute beginners?
The easiest are a classic solid red manicure, simple dots using a dotting tool or toothpick, and accent nails with one simple line or shape. These require minimal technique and tools.
Q5: How can I make my red nail polish dry faster?
Apply thin coats; thick coats take longer to dry. Use a quick-dry top coat or quick-dry drops. You can also try the “cold water” method: after your top coat is applied, submerge your nails in a bowl of ice-cold water for a few minutes. This helps to harden the polish faster.
Q6: Are red nails appropriate for work?
Yes, red nails can absolutely be appropriate for work, depending on your workplace culture. A classic, solid red or a sophisticated burgundy in a neat, well-maintained manicure is generally considered professional and stylish. Red French tips or subtle red nail art can also be very office-appropriate.
Conclusion
There you have it! Red nail designs are a fantastic way to add a touch of personality, confidence, and flair to your look. From the simple elegance of a perfect solid red to the fun of polka dots or the sophistication of French tips, there’s a red nail design for everyone, no matter your skill level. We’ve explored the spectrum of red shades, gathered essential tools, and demystified some stunning design techniques that you can easily recreate at home. Remember, nail art is all about self-expression and having fun. Don’t be afraid to experiment, play with different shades and designs, and most importantly, enjoy the process! Your nails are a canvas, and red is a color that always makes a statement. So go ahead, embrace the power of red, and let your nails shine!

