Red nail design with glitter tips are a timelessly chic and dazzling way to make a statement. This guide offers easy, beginner-friendly steps to achieve stunning looks, perfect for adding glamour to any occasion. Learn how to create elegant glitter tips on a classic red base for a polished, eye-catching manicure.
Hello nail lovers! Ever feel like your nails are just… plain? Red is a classic, confident color, but sometimes you want to add that extra spark, right? And glitter? Well, glitter just screams fun and fabulous! Combining the two into red nail designs with glitter tips is like a party for your fingertips. It might sound fancy, but trust me, it’s totally achievable for anyone. Whether you’re a complete beginner or looking to elevate your at-home mani game, this guide is here to help. We’re going to break it down step-by-step, so you can get those gorgeous glittery red tips without any fuss. Get ready to unleash your inner nail artist!
Your Glittery Red Nail Design Toolkit
Before we dive into the fun part, let’s gather our supplies. Having the right tools makes all the difference in creating a smooth, professional-looking manicure. Don’t worry, you probably have most of these already!
Essential Tools for Red Nail Design with Glitter Tips:
Base Coat: This protects your natural nails and helps polish adhere better.
Red Nail Polish: A classic and vibrant shade is key! Choose a finish you love, whether it’s creamy, shimmery, or matte.
Glitter Polish or Loose Glitter: For the tips, you can use a glitter polish that already has the glitter suspended in it, or opt for loose craft glitter and a clear top coat to adhere it. Metallics like gold, silver, or even a holographic glitter look stunning with red.
Painter’s Tape or Nail Stencils: This is your secret weapon for achieving a clean, sharp line for your glitter tips.
Top Coat: Crucial for sealing your design, adding shine, and protecting your manicure from chips.
Nail File and Buffer: To shape your nails and create a smooth canvas.
Cuticle Pusher: To gently push back your cuticles for a neat finish.
Cotton Balls/Pads and Nail Polish Remover: For clean-up.
Small Brush (optional): For delicate clean-up around the cuticle area.
Tweezers (if using loose glitter): To pick up and place glitter precisely.
Choosing Your Red & Glitter Combo
The magic of red nail design with glitter tips lies in the endless combinations you can create. Here are a few popular pairings to get your inspiration flowing:
Classic Red with Gold Glitter: Timeless, elegant, and perfect for any formal event or holiday.
True Red with Silver Glitter: A modern, chic look that adds a cool-toned sparkle.
Deep Burgundy with Holographic Glitter: Sophisticated and mesmerizing, the holographic flecks catch the light beautifully.
Bright Cherry Red with Rose Gold Glitter: Playful and romantic, this combination is super trendy.
Matte Red with Chunky Glitter: For a bolder, textured statement.
When selecting your glitter, consider the size of the particles. Fine glitter gives a subtle shimmer, while chunky glitter makes a more impactful statement.
Step-by-Step: Achieving Stunning Red Nail Design with Glitter Tips
Ready to get started? Follow these simple steps to create beautiful red nail designs with glitter tips at home.
Step 1: Prep Your Nails for Perfection
Remove Old Polish: Start by thoroughly removing any existing nail polish.
Shape Your Nails: Use a nail file to shape your nails to your desired length and style. Whether you prefer a square, round, or almond shape, ensure they are neat and even.
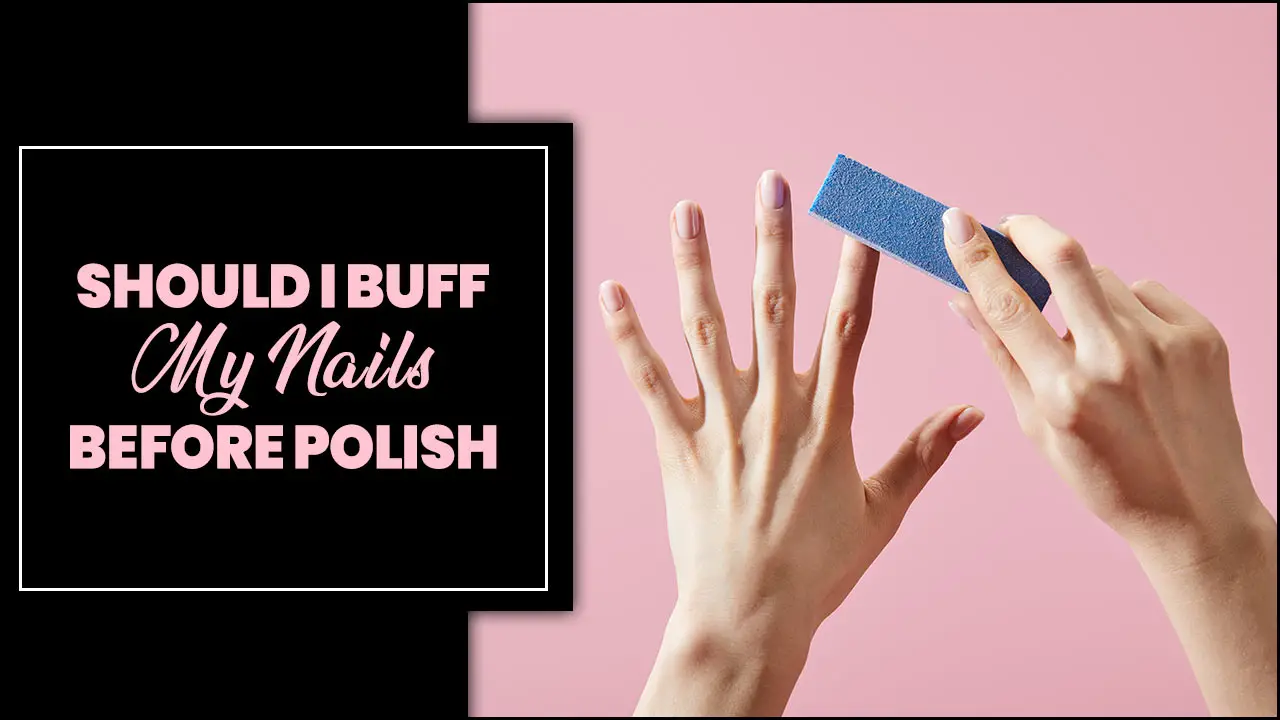
Buff Gently: Lightly buff the surface of your nails to create a smooth, even base. This helps your polish adhere better and prevents bumps.
Push Back Cuticles: Use a cuticle pusher to gently push back your cuticles. This creates a clean canvas and prevents polish from flooding the skin.
Cleanse: Wipe your nails with nail polish remover or rubbing alcohol to remove any oils or residue. Clean nails are happy nails!
Step 2: Apply Your Base Coat
A good base coat is essential. Apply one thin layer of base coat to each nail. Let it dry completely – this usually takes about a minute. This step prevents staining from darker polishes and creates a smooth surface for your color.
Step 3: The Classic Red Base
Now for the star of the show – the red polish!
First Coat: Apply a thin, even coat of your chosen red nail polish to all your nails. Try to avoid getting too much polish on your cuticles. Let this coat dry almost completely.
Second Coat: Apply a second thin coat of red polish. This will give you that rich, opaque color we love. Again, let it dry thoroughly. Patience here is key to avoiding smudges later!
Step 4: Creating the Glitter Tips (Method 1: Painter’s Tape)
This is where the magic happens! Using painter’s tape gives you super sharp, clean lines.
Apply Tape: Once your red polish is completely dry (this is important!), carefully apply a strip of painter’s tape across the tip of your nail. You can place it to create a straight line, a V-shape, or an angled French tip. Press down firmly around the edges to ensure no polish seeps underneath.
Apply Glitter Polish: Now, paint your chosen glitter polish over the tape and onto the tip of your nail. You can do one thick coat or two thin coats for more glitter payoff.
Remove Tape: While the glitter polish is still wet, carefully and slowly peel off the painter’s tape. Peel it away from the nail in one smooth motion. This should leave you with a crisp, glittery tip!
Let it Dry: Allow the glitter tip to dry completely.
Step 5: Creating the Glitter Tips (Method 2: Freehand or Sponge)
If you don’t have painter’s tape or prefer a more organic look, try these methods:
Freehand with Glitter Polish: Dip the brush of your glitter polish into the bottle, wipe off excess, and carefully paint the tip of your nail. This takes a steady hand, so take your time!
Sponge Technique: Apply your red polish and let it dry. Then, dab a makeup sponge or a small cosmetic sponge into your glitter polish or loose glitter (if using loose glitter, dab it onto a separate surface first). Gently dab the glitter onto the tip of your nail. This creates a softer, more blended glitter effect.
Step 6: Clean Up & Refine
Remove Excess: Use a small brush dipped in nail polish remover to clean up any stray glitter or polish around your cuticles and sidewalls. This makes a huge difference in the final look!
Second Glitter Coat (Optional): If one coat of glitter isn’t enough, wait for the first glitter coat to dry completely and then apply a second layer.
Step 7: Seal the Deal with a Top Coat
This is the final, crucial step!
Apply Top Coat: Apply a generous, but not overly thick, layer of top coat over your entire nail, making sure to cap the free edge (painting a bit on the very tip of your nail) to prevent chipping. This seals in your design, adds incredible shine, and protects your beautiful red nail design with glitter tips from everyday wear and tear.
Allow to Dry: Let your top coat dry completely. This can take anywhere from 5-15 minutes, depending on the product.
Mastering the Art: Pro Tips for Flawless Glitter Tips
Even simple nail art benefits from a few insider tricks! Here are some tips to make your red nail design with glitter tips look even more professional.
Getting That Perfect Glitter Line:
Dry Polish is Key: Seriously, waiting for your red polish to be fully dry before applying tape is the biggest secret! Rushing this step leads to smudges and the dreaded polish bleed.
Seal the Tape Edges: Before painting, press down the edges of your painter’s tape firmly onto your nail. You can even use a clear top coat and let it dry on top of the tape before applying your actual polish color – this creates a better seal.
Peel Tape While Wet: Removing the tape while the glitter polish is still wet helps prevent the polish from peeling off with the tape and creates a cleaner line.
Using Loose Glitter Effectively:
If you’re using loose cosmetic glitter (which can offer amazing sparkle!), here’s how:
1. Apply your red polish and let it dry.
2. Apply a thin layer of clear top coat or a specialized glitter adhesive to the tip where you want the glitter.
3. Working one nail at a time, gently pour or brush the loose glitter onto the wet area. Tweezers can help place larger glitter pieces precisely.
4. Lightly tap off the excess glitter.
5. Once dry, brush away any loose particles and seal everything with a thick top coat. Using a gel top coat with a UV lamp can help encapsulate chunky glitters more securely. For regular polish, a thicker top coat applied in multiple thin layers is best.
Maintaining Your Glittery Masterpiece
To keep your red nail design with glitter tips looking fresh:
Reapply Top Coat: Every 2-3 days, add another thin layer of top coat to refresh the shine and add protection.
Be Gentle: Avoid using your nails as tools. Try to protect them when doing chores.
Moisturize: Keep your hands and cuticles moisturized with lotion and cuticle oil to prevent dryness and peeling, which can affect your manicure’s longevity.
Red Nail Design with Glitter Tips: Style Variations
Beyond the classic French tip, red and glitter offer so many creative avenues for stunning nail designs. Let’s explore some popular variations!
The Glitter Fade / Ombre Effect
Instead of a sharp line, create a beautiful gradient of glitter!
How-To: Apply your red polish and let it dry. Using a sponge, gently dab the glitter polish from the tip of your nail downwards, fading the glitter towards the cuticle. You can build up layers for a more intense fade. This creates a stunning ombre effect that’s soft and sophisticated.
Accent Nail Sparkle
Want glitter but not on all your nails? Make one or two nails pop!
How-To: Paint all nails with your red polish. On your accent finger (usually the ring finger), apply two coats of glitter polish instead of red polish. This gives a chic, balanced look with a touch of glamour.
Glitter Cuticles
A modern and edgy take on glitter tips!
How-To: Paint your nails with red polish. Once dry, use painter’s tape or a steady hand to apply glitter polish near the cuticle line, leaving a small gap between the glitter and the cuticle itself. This creates a striking, unique look.
Glitter French Tips
This is the classic we’ve been focusing on, but with an emphasis on the artistry.
How-To: As detailed in our main steps, use tape for crisp lines or a fine brush for a more artistic, curved French tip. The clean contrast between the red base and the gleaming glitter tip is simply irresistible.
Full Glitter Nail with Red Accents
Flip the script! Sometimes, a full glitter nail with a red accent is just what you need.
How-To: Paint all your nails with your chosen glitter polish. Once completely dry, use a fine-tip brush and red nail polish to add a simple stripe, dot, or design onto one or two nails. This makes the red pop against the sparkle!
Glitter “Reverse” French Tips
A playful twist on the classic French manicure.
How-To: Instead of just the tip, add a crescent of glitter at the base of your nail, near the cuticle. You can use tape or freehand it. This highlights the natural curve of your nail bed.
Comparing Glitter Application Methods
Here’s a quick look at the pros and cons of different ways to get that glittery shine on your nails.
| Method | Pros | Cons | Best For |
| :——————— | :—————————————————————– | :——————————————————————— | :——————————————————————– |
| Glitter Nail Polish| Easiest to use, widely available, good control. | Glitter particles can be limited in size/type, can be sheer. | Beginners, quick manis, subtle to medium glitter effect. |
| Loose Cosmetic Glitter| Huge variety of colors, sizes, and finishes; high impact. | Requires more precision, can be messy, needs secure sealing. | Bold statements, unique finishes, advanced DIYers, achieving specific looks. |
| Glitter Top Coat | Adds sparkle over any color, easy to layer for more intensity. | Can sometimes dull the base color, may not be as impactful as dedicated glitter. | Adding a subtle shimmer to any manicure, quick sparkle boost. |
| Painter’s Tape | Creates perfectly sharp, clean lines; ideal for French tips. | Requires dry polish, can be fiddly to place correctly. | Crisp French tips, geometric designs. |
| Sponge Technique | Creates a soft, blended, or ombre effect easily. | Can be less precise, requires practice for even application. | Glitter ombre, diffused sparkle effects. |
Frequently Asked Questions
What kind of glitter is best for nails?
For DIY manicures, glitter nail polish is the easiest to use. If you want more sparkle and variety, loose cosmetic glitter (ensure it’s cosmetic grade!) is fantastic. Avoid craft glitter meant for other surfaces, as it can be too harsh for nails and skin. Always use glitter with a good top coat to seal it in safely.
How do I get glitter to stay on my nails without chipping?
The key is a good top coat applied properly. Make sure your glitter layer is completely dry before applying a generous coat of top coat. Ensure you cap the free edge of your nail (paint a little on the very tip) to seal everything in and prevent lifting or chipping. For chunky glitters, a thicker top coat or multiple thin layers might be needed.
Can I use regular craft glitter on my nails?
It’s generally not recommended. Regular craft glitter can have sharp edges that might scratch your skin or natural nail, and it may not be safe for contact with skin over time. Always opt for cosmetic-grade glitters specifically designed for makeup or nail art. These are manufactured to be smooth and safe.
How long does a red nail design with glitter tips usually last?
With proper application and care, a well-done red nail design with glitter tips can last anywhere from 1 to 2 weeks. This depends on the quality of your polishes, the prep work, and how gently you treat your hands. Regularly reapplying top coat can extend its life.
How do I remove glitter nail polish?
Glitter polish can be stubborn! The easiest way is using the foil method: soak a cotton ball piece with nail polish remover, place it on your nail, and wrap your finger tightly with aluminum foil. Let it soak for 5-10 minutes, then gently slide the polish off. You can find more details on effective nail polish removal at resources like the ‘NHS’s guide to nail care, which includes tips on removal.
What red shades go best with different glitter colors?
That’s the fun part! Lighter reds can pair beautifully with silvers or golds for a bright look. Deeper reds like burgundy or crimson look stunning with holographic, rose gold, or dark blues. Classic true red is incredibly versatile – it goes with almost any glitter color! Experimenting is key to finding your favorite combos.
Is it hard to do glitter tips if I’m a beginner?
Not at all! Using a pre-made glitter nail polish and painter’s tape is a fantastic beginner-friendly method for achieving clean glitter tips. The tape guides your application, and the polish contains the glitter. With a little patience, you’ll be amazed at how professional your results can look!
A Final Flourish for Your Fingertips
There you have it – a comprehensive guide to creating stunning red nail designs with glitter tips! We’ve covered everything from the essential tools to step-by-step application methods, plus tips and variations to spark your creativity. Red polish is undeniably bold and beautiful, and adding that touch of glitter elevates it from classic to spectacular.
Remember, nail art is about self-expression and having fun. Don’t be afraid to experiment with different shades of red, various types of glitter, and unique placement. Whether you opt for the sharp precision of a taped French tip, the soft blend of an ombre fade, or a single dazzling accent nail, your hands will be adorned with a touch of everyday glamour.
So go ahead, gather your supplies, and give these red nail designs with glitter tips a try. You’ve got this! Enjoy the process, wear your beautiful nails with confidence, and get ready for all the compliments. Happy polishing!


