Rainbow reflective nails are a dazzling way to add a pop of color and sparkle to your look, and with a few simple steps and the right materials, you can achieve stunning, eye-catching designs right at home. These nails catch the light beautifully, offering a chameleon-like shimmer that’s both fun and chic. Get ready to shine!
Are you dreaming of nails that sparkle and shimmer with every move you make? Rainbow reflective nails are all the rage, and for a good reason! They bring a magical, light-catching quality that’s simply mesmerizing. But the thought of creating them might seem a bit daunting if you’re new to nail art. Don’t worry, I’m here to help! We’ll break down exactly how to get these gorgeous, high-shine nails without any fuss. Prepare to be amazed by how easy it is to create salon-worthy results in your own space.
In this guide, we’ll cover everything from the essential tools you’ll need to achieve the perfect rainbow reflective finish to simple, step-by-step methods for creating stunning designs. Whether you love a full-coverage shimmer or just a touch of holographic magic, we’ve got tips for you. Let’s get those nails looking absolutely fabulous!
What Are Rainbow Reflective Nails?
Rainbow reflective nails are nail designs that feature a special type of polish or pigment that reflects light in a spectrum of colors, creating a rainbow effect. This isn’t your average glitter. When light hits these nails, especially a strong light source like a phone flash, the pigments inside the polish activate, scattering light and revealing vibrant, iridescent hues. Think of it like tiny disco balls on your fingertips! The effect can range from a subtle, ethereal glow to a bold, dazzling cascade of colors, depending on the specific product used and the application method.
The magic behind rainbow reflective nails lies in tiny, highly reflective particles suspended within a clear or colored base. These particles are often made of materials like mica or coated plastic flakes that are precisely engineered to bounce light back at various angles. When a light source, such as a camera flash or a bright lamp, hits these particles, they scatter the light, causing the colors to appear and shimmer. It’s a dynamic effect that changes with the light and your angle, making every glance at your nails a delightful surprise.
Why You’ll Love Rainbow Reflective Nails
These nails aren’t just pretty; they’re a statement! They offer a unique way to express your personality and add a touch of glamour to any occasion. Here’s why they’re a must-try:
- Eye-Catching Sparkle: They are incredibly eye-catching, adding instant wow-factor to your look.
- Versatile Designs: From subtle hints of color to full-on rainbow explosions, the possibilities are endless.
- Confidence Booster: Who doesn’t feel amazing with dazzling nails?
- Easy Application: With the right techniques, they’re easier to achieve than you might think.
- Trend-Forward: They are a popular trend that always looks fresh and exciting.
Essential Tools & Materials for Rainbow Reflective Nails
Before we dive into the fun part, let’s gather your supplies! Having the right tools makes the process smoother and the results even better. Don’t worry if you don’t have everything; many can be found at your local beauty supply store or online.
1. Base Coat
A good base coat is crucial for protecting your natural nails from staining and helping your polish adhere better. Look for a reputable brand that offers good longevity.
2. Color Polish (Optional, but recommended for versatility)
While many reflective polishes can be applied over a clear base, using a solid color base can dramatically alter the final look. Darker colors, like black or deep navy, often make the rainbow effect pop more intensely.
3. Rainbow Reflective Polish or Pigment Powder
This is the star of the show! You have two main options:
- Reflective Glitter Polish: These are polishes with built-in reflective glitter. They are typically easier to apply than powders.
- Reflective Pigment Powder: These are fine powders that you adhere to a tacky nail surface. They can offer a more intense, seamless shine.
If you’re using powder, you’ll also need a way to apply it. Often, a silicone tool, makeup sponge, or brush works well.
4. Top Coat
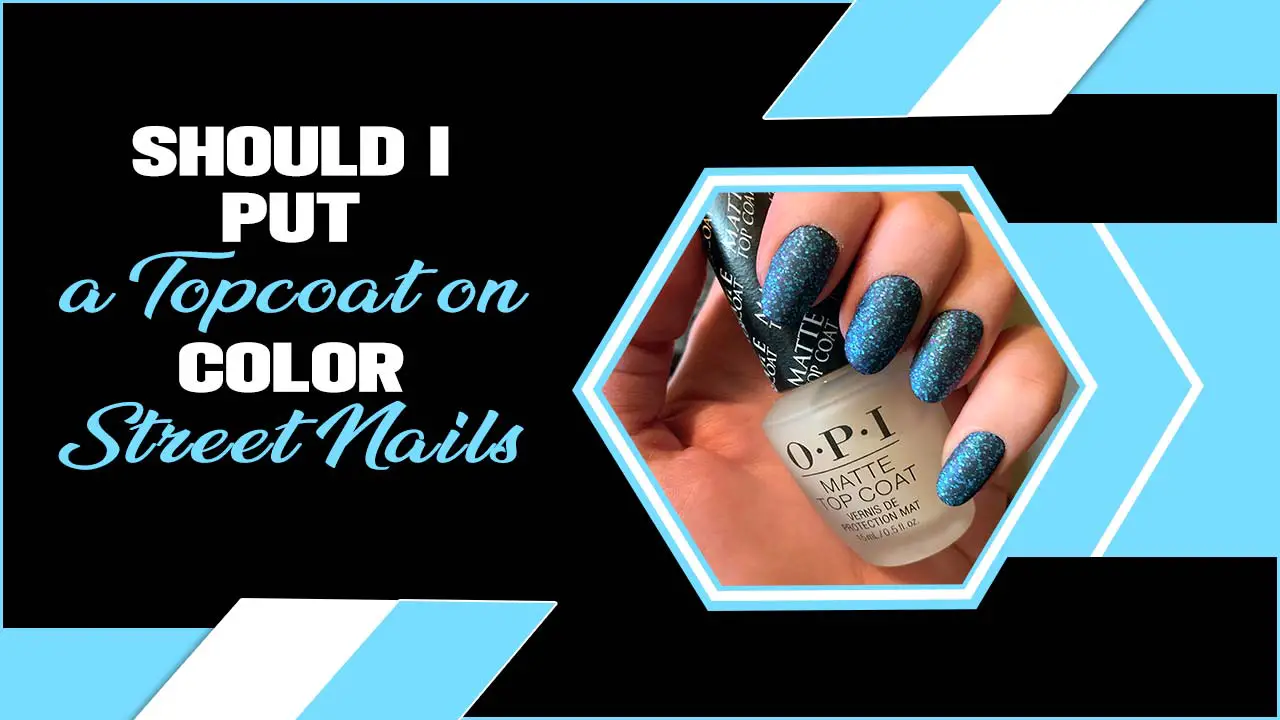
A high-quality top coat locks in your design and gives your nails that glossy, finished look. A gel top coat will provide extra durability and shine if you’re using gel polish.
5. Nail Lamp (if using gel)
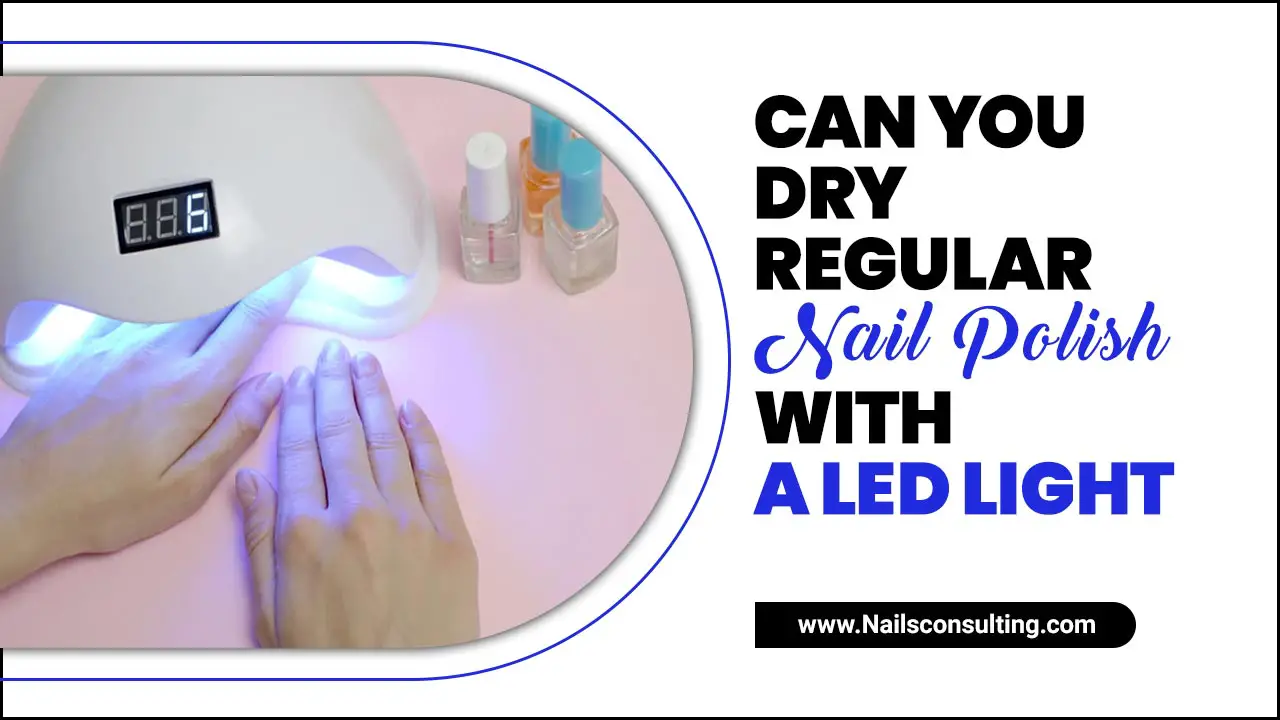
If you opt for gel polish and gel top coats, you’ll need a UV or LED nail lamp to cure (harden) the polish.
6. Files and Buffers
For shaping and smoothing your nails.
7. Cuticle Pusher and Nippers (Optional)
For tidying up the cuticle area.
8. Alcohol Wipes or Cleanser
To clean the nail surface before and after application.
9. Cotton Pads
For cleaning and applying cleansers.
Choosing Your Rainbow Reflective Finish
The type of rainbow reflective product you choose will truly dictate the final look. Understanding the differences can help you pick the perfect effect for your style.
Reflective Glitter Polishes:
These are essentially regular nail polishes infused with reflective glitter particles. They are the easiest to use, especially for beginners, as they apply much like any other nail polish. The level of reflectivity will vary greatly between products.
Aurora Chrome Powders:
These fine powders are applied over a gel polish base coat once it has been wiped of its sticky inhibition layer (or over a specialized “no-wipe” top coat). They create a smooth, high-shine, almost ethereal chrome-like finish that reflects rainbow colors. The effect is often more integrated and less “chunky” than glitter.
Reflective Flakes/Glitter:
These are larger, often iridescent flakes or glitter pieces suspended in a clear or colored gel. They offer a more textured, chunky glitter effect that catches the light from all angles.
Comparison Table: Reflective Nail Products
| Product Type | Ease of Use | Finish | Intensity of Reflectivity | Best For |
|---|---|---|---|---|
| Reflective Glitter Polish | Easiest | Glittery, textured | Moderate to High | Beginners, everyday wear |
| Aurora Chrome Powder | Intermediate (requires specific base/top coat) | Smooth, chrome-like, seamless | Very High | Dramatic, high-shine looks, special events |
| Reflective Flakes/Glitter | Intermediate | Textured, chunky glitter | High | Bold statements, adding dimension |
DIY Rainbow Reflective Nails: Step-by-Step Guide
Let’s get hands-on! This guide will walk you through creating stunning rainbow reflective nails. We’ll cover a general approach that works for both polish and powder, noting key differences as we go.
Step 1: Prep Your Nails
Start with clean, dry nails. Gently push back your cuticles using a cuticle pusher. If needed, trim any hangnails. Shape your nails to your desired length and style using a nail file. Buff the surface of your nails lightly to remove any natural shine; this helps polish adhere better. Finally, wipe each nail with an alcohol wipe or cleanser to remove dust and oils.
Step 2: Apply Base Coat
Apply a thin, even layer of your base coat. If you’re using a regular polish and plan to use reflective glitter polish, this is all you need. If you’re using gel, cure the base coat under your nail lamp according to the manufacturer’s instructions.
Step 3: Apply Color Polish (Optional)
This is where you can customize your look! For a dramatic rainbow effect, apply one or two coats of a dark color polish (black is popular!). Let each coat dry completely or cure it if using gel. If you’re using a reflective polish that’s already colored, you can skip this step or use a clear polish for a more translucent effect.
Step 4: Apply the Reflective Element
Method A: Using Reflective Glitter Polish
- Apply one or two coats of your chosen rainbow reflective glitter polish.
- Allow each coat to dry completely between applications.
- The number of coats will depend on the opacity and intensity you desire.
Method B: Using Aurora Chrome Powder
- Apply a thin layer of a “no-wipe” gel top coat over your colored base polish OR apply a regular gel base coat, cure it, then wipe off the sticky inhibition layer with an alcohol wipe.
- Cure the no-wipe top coat or the base coat without the sticky layer under your nail lamp.
- Using a silicone tool, sponge, or brush, gently pick up a small amount of the aurora chrome powder.
- Rub the powder onto the tacky surface of the nail in a circular or back-and-forth motion until you achieve a smooth, even, chrome-like finish.
- Be sure to cover the entire nail surface.
- Gently brush away any excess powder around the edges of your nail.
Method C: Using Reflective Flakes/Glitter
- If using regular polish, apply the flakes on top of your wet colored polish (or a glitter-grabbing top coat).
- If using gel, apply them over a cured no-wipe top coat or a sticky gel base coat.
- Gently press the flakes onto the nail surface with a tool to ensure they lie flat.
- You may need to apply a clear top coat or gel top coat over them to secure them and smooth the surface.
Step 5: Apply Top Coat
Once your reflective layer is applied and dry/cured (if applicable), apply one or two thin layers of your top coat. This seals in the design, adds shine, and protects your manicure. Ensure you cap the free edge of your nail (the tip) by running the brush along it. Cure under your nail lamp if using a gel top coat according to the lamp’s instructions.
Step 6: Final Touches
After the top coat is cured and cooled, apply cuticle oil to rehydrate the skin around your nails.
Sparkle Variations: Simple Design Ideas
Rainbow reflective nails don’t have to be all-or-nothing. You can incorporate this dazzling effect in many creative ways!
Full Coverage Shimmer
The classic approach! Apply your chosen reflective polish or powder over the entire nail for maximum impact. A black base polish underneath will make the colors pop.
Accent Nail Pop
Choose one or two nails (like your ring finger or accent nail) to feature the rainbow reflective finish. Keep the other nails in a solid, complementary color for a sophisticated yet playful look.
Rainbow French Tips
Apply a solid color to your nails, then use the rainbow reflective polish or powder to create French tip designs. This adds a subtle, chic sparkle.
Half-Moon Magic
Apply a solid color to the base of your nail and then use the reflective material to cover the rest of the nail, or vice-versa. This creates a striking two-toned effect.
Rainbow Ombre
This is a bit more advanced but stunning. Gradient your chosen reflective polish or a fine reflective glitter over the nail, transitioning from one color to another, or from the tip to the base.
Stamping with Reflective Polish
Use a clear or colored reflective polish as your stamping polish over solid nail art designs. The reflective element will only show when light hits it, adding a surprise sparkle to your stamped patterns.
Maintenance & Longevity Tips
To keep your rainbow reflective nails looking their best:
- Avoid Harsh Chemicals: Wear gloves when doing chores or handling cleaning products.
- Moisturize: Apply hand lotion regularly, and use cuticle oil daily to keep your nails and the surrounding skin healthy.
- Gentle Touch: Avoid using your nails as tools to open things or scrape surfaces.
- Gel vs. Regular Polish: Gel manicures typically last longer and are more durable than regular polish manicures. If longevity is your top priority, consider using gel products.
Troubleshooting Common Issues
Even the simplest nail art can have its hiccups. Here’s how to fix common problems:
Problem: Uneven or Chunky Glitter/Flakes
Solution: Ensure you’re applying thin layers. For powders, use a dabbing motion rather than harsh rubbing. For flakes, gently press them down with a tool. A good top coat can help smooth out any rough texture.
Problem: Powder Not Sticking/Reflecting Well
Solution: Make sure your base gel layer is either truly “no-wipe” or that you’ve properly cleaned off the inhibition layer. Ensure you’re rubbing the powder in thoroughly. Some powders require a specific type of gel base or top coat for optimal results.
Problem: Polish Smudging or Dragging
Solution: Allow each layer of regular polish to dry completely before applying the next. For gel, ensure you’re not over-curing or under-curing, and that the lamp is functioning correctly. A good quality top coat can rescue minor smudges.
Problem: Cuticle Area Messy
Solution: Clean up any stray polish or powder from your cuticle line before curing. A fine brush dipped in nail polish remover can help with precision cleanup for regular polish. For gel, a clean-up brush dipped in isopropyl alcohol works wonders.
Are Rainbow Reflective Nails Safe for My Natural Nails?
Yes, when applied and removed correctly, rainbow reflective nails are safe for your natural nails. The key is proper prep and using a good quality base coat to protect your nail plate. If you’re using gel products, the removal process is critical. Harsh filing or peeling off gel can damage your natural nails. It’s always best to soak off gel polish professionally or follow safe at-home removal methods. This guide from the Food and Drug Administration (FDA) talks about cosmetic product safety that applies to nail products: FDA Nail Product Safety.
Where to Buy Rainbow Reflective Nail Products
You can find a wide variety of rainbow reflective nail polishes and powders from:
- Online Retailers: Amazon, Etsy, eBay, and specialized nail supply websites offer a vast selection.
- Beauty Supply Stores: Stores like Sally Beauty often carry a good range of professional and semi-professional nail products.
- Drugstores & Department Stores: Many mainstream brands are now offering reflective glitter polishes in their regular nail polish lines.
When choosing, read reviews! They can help you gauge the quality and intensity of the reflective effect. Look for terms like “holographic,” “iridescent,” “chrome,” or “reflective glitter.”
Quick Q&A: Your Rainbow Reflective Nail Questions Answered
Q1: Can I use rainbow reflective polish over any color?
A1: Yes! While black creates a very intense effect, applying it over white, nudes, or even pastels will give you different, beautiful color shifts. Experiment to see what you love!
Q2: How long do rainbow reflective nails last?
A2: If using regular polish, expect 5-7 days depending on how carefully you treat them. With gel polish and a proper application, they can last 2-3 weeks.
Q3: Do I need a special base coat for reflective powders?
A3: For aurora chrome powders, yes, you typically need a gel polish that is either labeled “no-wipe” or a gel base coat that you cure and then wipe off the sticky layer. This sticky surface is what the powder adheres to.
Q4: Is it difficult to apply reflective powder?
A4: It takes a little practice, but it’s not overly difficult. The key is to use a small amount of powder and rub it in gently and thoroughly to achieve a smooth, even coating.
Q5: Can I wear rainbow reflective nails for everyday?
A5: Absolutely! They are a fun way to brighten up your daily look. You can opt for subtler applications like an accent nail or French tip if a full-on sparkle feels too much for work or daily activities.
Q6: How do I remove rainbow reflective glitter polish?
A6: For regular polish

