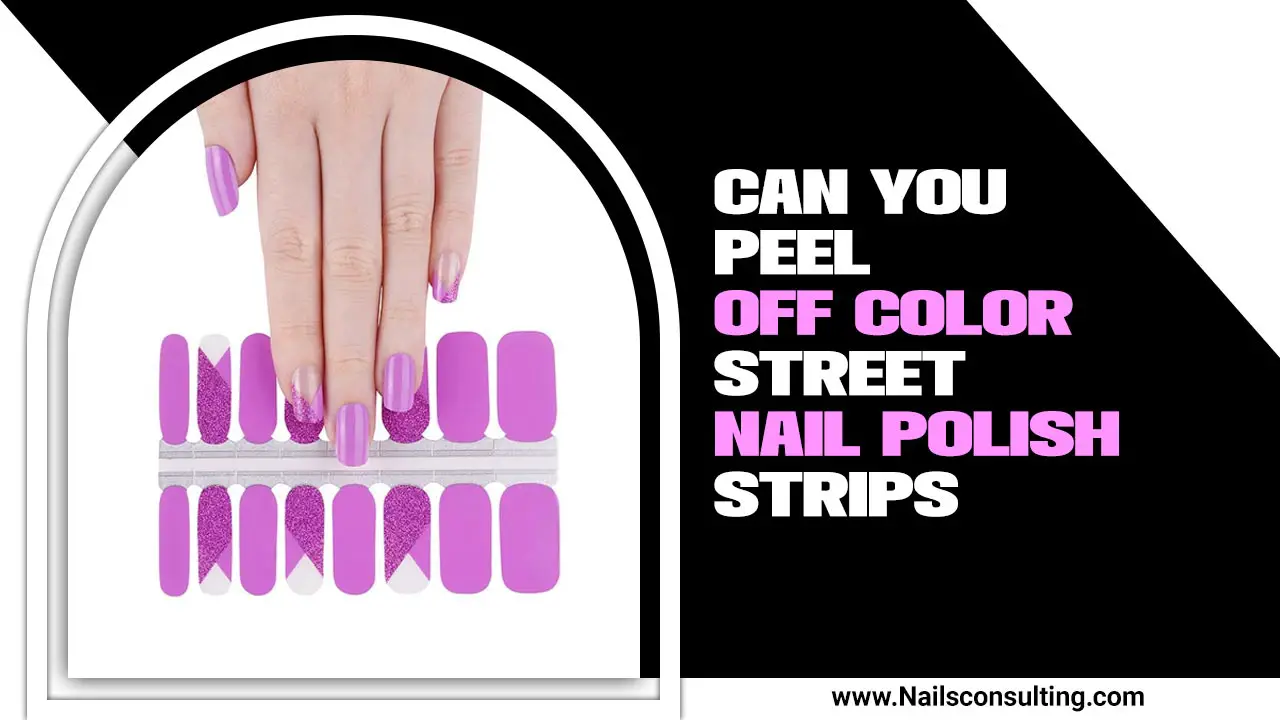
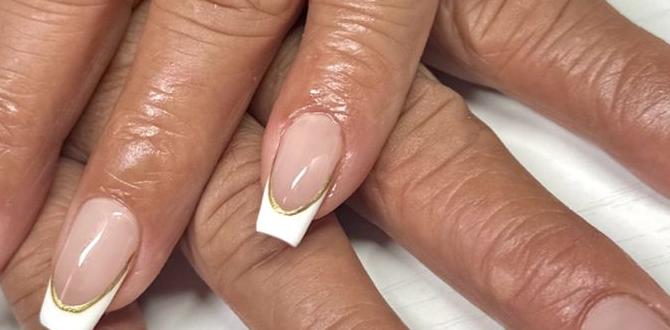
Purple nail designs offer a versatile and stunning way to express your style, from subtle elegance to bold statements. They are essential for anyone looking to add a touch of magic and sophistication to their manicure, with shades ranging from soft lavender to deep amethyst, perfect for any occasion and skin tone. Let’s explore how to create beautiful purple looks!
Hello, lovely people! Lisa Drew here from Nailerguy, your go-to friend for all things nails. Are you ready to add a gorgeous pop of color to your fingertips? Purple is such a magical shade, isn’t it? It can be royal, playful, serene, or edgy – all depending on the shade and the design! Sometimes, finding the perfect purple nail design that feels you can seem a bit tricky. Maybe you’re unsure where to start, or how to make those intricate designs look polished and chic. Well, don’t you worry! Today, we’re diving headfirst into the wonderful world of purple nail designs, making it super easy and fun for everyone, no matter your skill level. Get ready to be inspired and empowered to create stunning purple manicures right at home. We’ll cover everything from picking the perfect shade to simple DIY techniques that will make your nails absolutely shine!
Why Purple Nails Are Always a Good Idea
Purple isn’t just a color; it’s a mood! It’s a hue that sits beautifully between the calming blues and energetic reds, offering a unique balance of creativity, luxury, and mystery. Whether you’re aiming for a chic, sophisticated vibe or a fun, playful look, purple has got your back.
Think about it – a soft, pastel lavender can evoke a sense of calm and serenity, perfect for a spring day or a relaxation session. On the flip side, a deep, rich plum or an electric violet can make a bold statement, exuding confidence and glamour. This incredible versatility makes purple nail designs a staple in any nail lover’s repertoire.
Beyond aesthetics, purple has a rich history and symbolism. It’s often associated with royalty, creativity, ambition, and luxury. Incorporating purple into your nail design can subtly tap into these powerful meanings, making your manicure more than just pretty – it can be a form of personal expression and empowerment.
And the best part? Purple complements a wide range of skin tones. From pale lavenders that brighten fair skin to deep, opulent purples that create a striking contrast on deeper complexions, there’s a shade of purple out there for everyone. Getting those perfect purple nails is more accessible and impactful than you might think!
Choosing Your Perfect Purple Shade
The world of purple is vast and beautiful! From delicate lilacs to dramatic deep violets, each shade tells a different story. Picking the right one for your purple nail design is key to achieving your desired look.
Here’s a little guide to help you navigate the purple spectrum:
- Pastel Purples (Lavender, Lilac): These are soft, dreamy, and incredibly versatile. They’re perfect for a subtle, elegant look and pair beautifully with spring and summer outfits. They tend to look great on most skin tones, adding a gentle pop of color.
- Medium Purples (Amethyst, Orchid): These shades offer a bit more vibrancy without being overly bold. They strike a lovely balance and are fantastic for an all-season look. Lavender and amethyst are often considered lucky colors, adding a touch of personal significance.
- Deep Purples (Plum, Burgundy, Eggplant): These rich, sophisticated shades are perfect for making a statement. They are particularly stunning in fall and winter, and can add an air of mystery and luxury to any outfit. Deep purples are often slimming and elegant on the nails.
- Bright & Electric Purples (Violet, Magenta-Purple): For those who love to stand out! These vivid shades are playful, energetic, and attention-grabbing. They’re fantastic for parties, festivals, or when you just want to feel a little extra fabulous.
When choosing a shade, consider your skin tone. Generally:
- Fair skin can be beautifully complemented by softer lavenders and lilacs, or bright violets for a pop.
- Medium skin tones can rock almost any purple, from amethyst to deep plum.
- Deep skin tones often look stunning with rich, vibrant purples like fuchsia-purple or deep, inky violets.
Don’t be afraid to experiment! Sometimes the most unexpected shade can be the most beautiful on you. Nail polish brands offer a huge array of purple finishes too – glossy, matte, shimmer, glitter, holographic – each adding a different dimension to your design.
Essential Tools for Your Purple Nail Design Journey
Getting creative with purple nail designs doesn’t require a professional salon setup. With a few basic tools, you can create stunning looks right at your fingertips! Having the right tools makes the process smoother and your results more polished – think of them as your trusty sidekicks!
Here are some essentials to have on hand:
| Tool | What It’s For | Why It’s Essential for Purple Designs |
|---|---|---|
| Base Coat | Protects your natural nail and creates a smooth surface for polish. | Prevents staining from darker purple polishes and helps your color last longer. |
| Top Coat | Seals your design, adds shine, and prevents chipping. | Locks in glitter, intricate details, and that beautiful purple hue, ensuring your masterpiece endures. |
| Nail File & Buffer | Shapes your nails and smooths out any ridges. | A clean, smooth nail canvas is crucial for any design to look its best. |
| Dotting Tools (various sizes) | Creating dots, small circles, and simple floral patterns. | Perfect for delicate purple polka dots, simple flower centers, or adding tiny accent details. |
| Thin Nail Art Brushes | Drawing fine lines, swirls, and intricate details. | Ideal for creating delicate purple vines, precise outlines, or tiny abstract art. Look for brushes that are easy to clean. A good tip for fine lines is to use a very fluid polish or even a dedicated nail art liner. For more on brush care, check out Nailpro’s guide on cleaning nail art brushes. |
| Toothpicks or Orangewood Sticks | Detail work, cleaning up polish mistakes, and applying small embellishments. | Great for tiny swirls, pulling polish for marble effects, or precisely placing small gems onto a purple base. |
| Clear Polish or Nail Glue | Adhesive for gems, glitter, or other 3D embellishments. | Essential for securing those dazzling purple rhinestones or glitter accents to your design. |
| Acetone or Nail Polish Remover | Cleaning up smudges and removing old polish. | Keeps your workspace tidy and allows for easy corrections without ruining your art. |
Beginner-Friendly Purple Nail Designs: Step-by-Step
Ready to bring some purple magic to your nails? These designs are perfect for beginners and can be done with minimal tools. Let’s get started!
1. Simple Purple Ombre Nails
Ombre is a fantastic way to blend colors and looks super chic with purple. It’s easier than it sounds!
What you’ll need:
- Base coat
- Two shades of purple polish (e.g., a lighter and a darker shade, or purple and a complementary color like pink or blue)
- A makeup sponge or a cosmetic wedge
- Top coat
- Nail polish remover & cotton swab (for cleanup)
Steps:
- Prep your nails: Start with clean, dry nails. Apply a base coat and let it dry completely.
- Apply the base color: Paint one coat of your lighter purple shade onto your nails. Let it dry slightly, but not completely.
- Create the gradient on the sponge: On a flat surface (like a piece of paper or foil), apply a stripe of your lighter purple and a stripe of your darker purple right next to it. You can also add a third color if you like!
- Dab the sponge: Gently press the makeup sponge onto the stripes of polish. Try to blend the colors slightly where they meet on the sponge.
- Transfer to nail: Carefully press the sponge onto your nail. You might need to dab a few times to build up the color and blend. Don’t worry if it’s not perfect on the first try!
- Repeat for opacity: Let it set for a minute, then reapply polish to the sponge and dab onto your nail again to deepen the color and smooth the transition.
- Clean up: Dip a cotton swab in nail polish remover and carefully clean up any polish that got onto your skin around the nail.
- Seal the deal: Once dry, apply a generous coat of top coat to smooth out the texture of the sponge and add shine. The top coat will also help blend the colors a bit more.
2. Chic Purple Polka Dots
A classic for a reason! Polka dots are fun, playful, and incredibly easy to achieve with just one simple tool.
What you’ll need:
- Base coat
- A purple polish for the base
- A contrasting polish color for the dots (can be a lighter purple, white, black, gold, etc.)
- A dotting tool (or a toothpick/ballpoint pen tip)
- Top coat
Steps:
- Apply base: Paint your nails with your chosen purple base color. Let it dry completely. This is important so the dots don’t smudge into the base.
- Load your tool: Dip the tip of your dotting tool into the contrasting polish. You want a nice, smooth bead of polish, not too much or too little.
- Start dotting: Gently press the dotting tool onto your nail to create a dot. Lift straight up.
- Place your dots: Decide on a pattern: uniform spacing, scattered, or random. For a classic look, try evenly spaced dots in rows. For a more playful vibe, scatter them randomly. You can use different sizes of dotting tools for varied dot sizes.
- Clean and reload: Clean your dotting tool with nail polish remover between dots if needed, and reload with polish as necessary.
- Let it set: Allow the dots to dry for a few minutes before applying the top coat.
- Seal: Apply a generous layer of top coat over your dotted nails. Be careful not to drag the dots with your brush!
3. Elegant Purple French Tips
Put a modern twist on the classic French manicure with a touch of purple! This design is sophisticated and surprisingly simple.
What you’ll need:
- Base coat
- A sheer nude or clear polish for the nail bed
- A vibrant purple polish for the tips
- French tip guide stickers (optional, but helpful for beginners)
- A thin nail art brush or a steady hand
- Top coat
Steps:
- Prep and base: Apply base coat, then apply your sheer nude or clear polish to the entire nail. Let dry completely.
- Using guide stickers: If using stickers, place them along the natural curve of your nail tip, creating a line where you want the purple to start. Press down firmly to ensure no polish seeps underneath.
- Painting the tips: Dip your thin brush into the purple polish. Carefully paint the tip of your nail above the sticker line. Alternatively, if you’re confident, freehand the curve.
- Remove guides: While the purple polish is still slightly wet, carefully peel off the guide stickers. This gives you a clean line. If they’re dry, you might smudge the polish.
- Freehand option: If not using guides, carefully paint a smile line with your thin brush. You can dab a tiny bit of polish remover onto a brush to clean up any wobbly lines.
- Drying time: Let the purple tips dry thoroughly.
- Finish: Apply a clear top coat over the entire nail to seal and add shine.
Taking Your Purple Designs to the Next Level
Once you’re comfortable with the basics, why not try something a little more complex? These designs add extra flair and can be adapted to your skill level.
1. Glitter Gradient Purple Nails
This is a dazzling way to add sparkle and depth. It’s perfect for a celebratory feel or just when you want to shine!
What you’ll need:
- Base coat
- A purple polish (any shade you like)
- A fine-grain purple or silver glitter polish
- A makeup sponge
- Top coat
Steps:
- Base layer: Apply your chosen purple polish to all nails and let it dry completely.
- Sponge application: Put a small amount of glitter polish onto your makeup sponge.
- Dab at the tip: Gently dab the glitter polish onto the tips of your nails, concentrating the glitter where you want it to be most intense. You can gradually dab upwards, lightening the pressure as you go to create a gradient effect.
- Build up the sparkle: Repeat this process, dabbing a few more times and moving slightly higher up the nail until you achieve the desired sparkle level.
- Blend if needed: If there’s a harsh line between the purple and the glitter, you can carefully go over it with a clean part of the sponge or a fluffy brush to blend slightly.
- Seal and protect: Once completely dry, apply a thick layer of top coat. This is especially important for glitter designs to smooth out the textured surface and prevent glitter from catching or shedding.
2. Purple Marble Magic
Marble effects look super impressive but are achievable with a little patience. It creates a unique, one-of-a-kind design every time.
What you’ll need:
- Base coat
- A light purple or lavender polish for the base
- A darker purple polish (or black/white) for the veins
- A clear top coat
- A cup of plain water (room temperature)
- A toothpick or orange wood stick
- Rubbing alcohol or quick-dry drops (optional, for faster drying)
Steps:
- Prep your base: Apply your light purple base polish to all nails and let it dry completely.
- Prepare the water: Fill a small cup with room temperature water.
- Drip the polishes: Gently drip small amounts of the darker purple (or black/white) polish onto the surface of the water. Let them spread out.
- Create the pattern: Use your toothpick or orange wood stick to swirl the colors together. Don’t over-swirl; just a few gentle motions to create a marbled pattern.
- Dip your nail: Hold your fingertip at an angle and gently dip it into the water, right where the marbled polish has spread. Try to dip quickly and pull out smoothly.
- Clean up excess: While the polish is still wet on your nail, use the toothpick to gather and remove any excess polish from around your finger.
- Let it dry: Carefully remove your finger and let the marble design dry completely. This can take a while, especially if you didn’t use quick-dry drops or rubbing alcohol during the process. For faster drying, some people dip their finger in rubbing alcohol after taking it out of the water, but test this first!
- Seal the design: Once fully dry, apply a generous layer of clear top coat to seal and protect your beautiful marble effect.
3. Embellished Purple Accents
Adding gems, rhinestones, or small charms can transform a simple purple nail into a statement piece.
What you’ll need:
- Base coat
- Your favorite purple polish
- Small nail gems, rhinestones, or confetti
- A dotting tool or a fine brush
- Clear nail glue or a thick layer of top coat
- Tweezers (optional, for picking up small embellishments)
Steps:
- Solid purple base: Apply your purple polish as usual and let it dry completely.
- Choose your spot: Decide where

