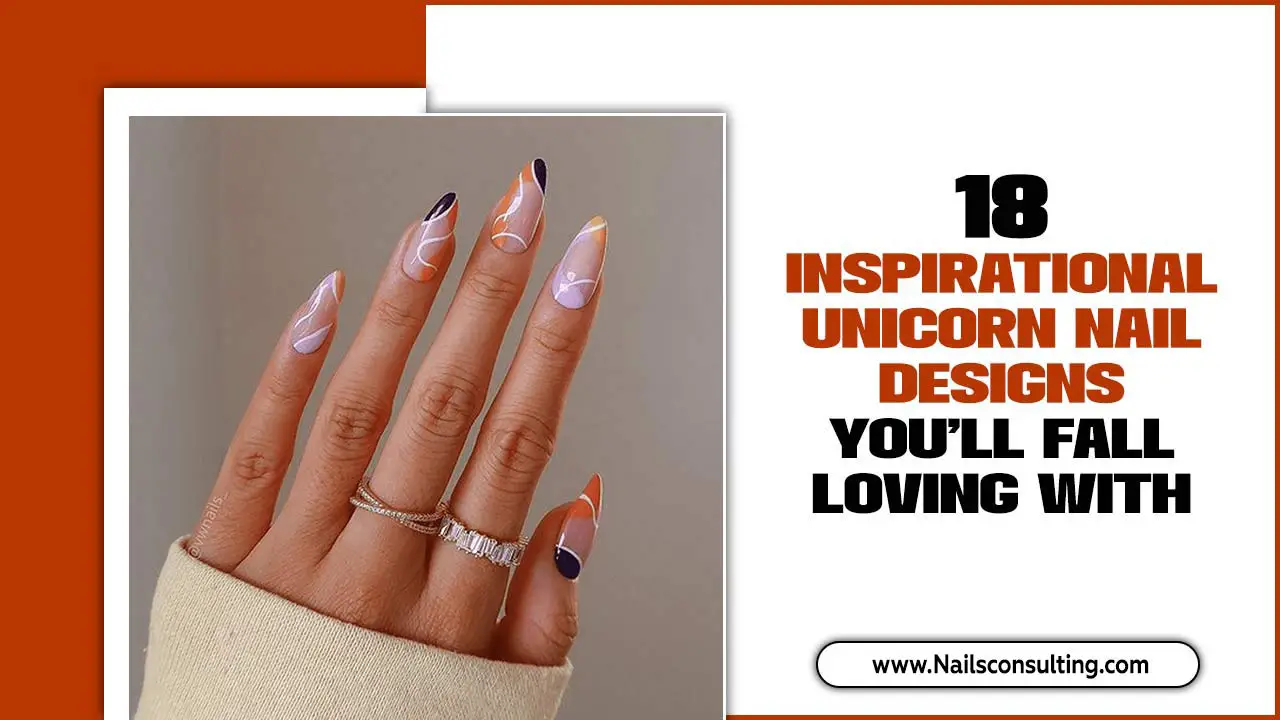
Pumpkin nail designs are a fun and festive way to celebrate autumn, offering a versatile canvas from simple accents to full-on spooky themes. This guide brings you proven ideas perfect for beginners, showing you how to create stylish and seasonal manicures with ease. Get ready to embrace the pumpkin spice season right at your fingertips!
Fall is here, and with it comes a craving for cozy sweaters, warm drinks, and, of course, adorable pumpkin nail designs! If you’re looking to add a touch of autumn cheer to your fingertips but feel a little intimidated by nail art, don’t worry. I’m Lisa Drew from Nailerguy, and I’m here to make pumpkin manicures super easy and totally doable. Forget complicated techniques; we’re diving into simple, festive ideas that anyone can master. From subtle hints of pumpkin to full-blown Halloween-ready designs, you’ll find inspiration to make your nails the star of the season. Let’s get those nails ready for pumpkin patches and cozy evenings!
Why We Love Pumpkin Nail Designs
Pumpkin nail designs aren’t just for Halloween; they’re a fantastic way to embrace the entire autumn season. They bring a burst of warmth and festivity to your everyday look. Whether you’re heading to a pumpkin patch, a fall festival, or just want to feel a little more festive, pumpkin nails are the perfect accessory. They’re versatile, allowing for a wide range of styles, from super cute and playful to chic and sophisticated. Plus, they’re a great conversation starter!
Think about it: a splash of orange, a touch of green, maybe a little sparkle – it’s instant fall vibes. For beginners, they offer a great entry point into nail art. You don’t need a steady hand of a surgeon to create a cute, simple pumpkin. We’ll show you how!
Getting Started: Your Pumpkin Nail Toolkit
Before we jump into the fun designs, let’s make sure you have the basic tools. You don’t need a whole professional salon setup to create amazing pumpkin nails. Here’s a simple list of what will help you get started:
- Base Coat: Essential for protecting your natural nails and making your polish last longer.
- Top Coat: Seals in your design and adds a glossy finish, preventing chips.
- Nail Polish Colors:
- Orange (various shades for pumpkins)
- Black (for details like faces or outlines)
- Green (for stems and leaves)
- White (optional, for highlights or backgrounds)
- Yellow or Gold (optional, for glitter accents)
- Dotting Tool or Toothpick: Perfect for creating small dots, outlines, and details.
- Thin Nail Art Brush: If you’re feeling a bit more adventurous, a fine-tipped brush is great for lines and intricate details.
- Nail Polish Remover and Cotton Swabs: For cleaning up any mistakes (because we all make them!).
- Optional: Glitter Polish or Sequins: To add some sparkle and extra festiveness.
With these basics, you’re ready to create some seriously cute pumpkin nails. Remember, practice makes perfect, and even a simple design can look amazing!
Easy Pumpkin Nail Designs for Beginners
Let’s dive into some proven pumpkin nail design ideas that are perfect for anyone just starting with nail art. These are designed to be simple, effective, and oh-so-festive!
1. The Classic Pumpkin Accent Nail
This is probably the easiest and most popular way to incorporate pumpkins into your manicure. It’s subtle, chic, and very achievable.
- Prep: Start with a clean nail, apply your favorite neutral or autumnal colored nail polish (like a nude, cream, or a muted brown) as your base color, and let it dry completely.
- The Pumpkin: On one or two accent nails (usually your ring finger), use a bright orange polish. You can do this in a few ways:
- Simple Circle: Use a medium-sized dotting tool or the brush from your orange polish to create a rounded shape. Don’t worry about it being perfectly round; real pumpkins aren’t!
- Hand-Painted: Simply paint a rounded pumpkin shape freehand with your orange polish.
- The Stem: Once the orange is dry, use a dark green polish and your thin brush or a toothpick to add a small stem at the top of your pumpkin shape.
- Optional Details: For a bit more definition, you can use black polish and a very fine brush to add subtle lines to give your pumpkin dimension.
- Seal It: Apply a clear top coat to protect your design and give it a beautiful shine.
This design looks fantastic with any base color and is perfect for everyday wear or when you want a hint of fall without going all-out.
2. Pumpkin Patch Gradient
This design gives a nod to the pumpkin patch itself with a beautiful gradient effect.
- Base: Paint all your nails with a nude or light cream polish as a base.
- Gradient Fun: On a makeup sponge (a clean eyeshadow sponge works well!), create stripes of different orange shades. You might use a light orange, a medium orange, and a darker orange next to each other.
- Apply Gradient: Carefully dab the sponge onto your nail, starting from the cuticle and moving upwards. You might need to reapply polish to the sponge and repeat a few times to build up the color.
- Transition: For a smoother transition, you can use a clean brush with a little nail polish remover to blend the edges slightly.
- Add the Stem: Once your gradient is dry, use a dark green polish and a toothpick or dotting tool to add a small stem to each nail.
- Seal: Finish with a shiny top coat.
This creates a soft, blended look that’s reminiscent of pumpkins ripening in the sun. You can find great tutorials on how to create nail gradients online, search for “pumpkin gradient nails tutorial” for visual guides.
3. Cute Pumpkin French Tips
A playful twist on the classic French manicure!
- Base Polish: Apply a sheer nude or a very light peachy polish to your entire nail and let it dry.
- Orange Tips: Using your orange polish, carefully paint a curved tip on each nail, just like you would for a traditional French manicure. For a rounded pumpkin shape, make the curve a bit softer.
- Green Stems: After the orange tips have dried, use a fine brush or toothpick with green polish to add a small stem pointing upwards from the center of the orange tip.
- Optional: Black Outline: For extra definition, use a black polish and a very thin brush to draw a delicate outline around the orange tips.
- Top Coat: Seal everything with a good top coat.
This is a super cute and subtle way to wear pumpkin nails, perfect for any occasion.
4. Polka Dot Pumpkins
Simple dots can create a charming pumpkin effect.
- Base Color: Paint your nails in a solid color. A creamy white, beige, or even a light grey works well.
- Orange Dots: Use your dotting tool or the end of a toothpick dipped in orange polish to create a chain of dots that form a rough pumpkin shape on your accent nail. Start with a few dots at the bottom and build upwards, making it slightly wider at the base.
- Stem: Add a small green stem at the top of your dot-pumpkin.
- Optional: You can fill in the dot-pumpkin shape with solid orange polish if you prefer, or leave it as just dots for a more abstract look.
- Finish: Apply a top coat.
This design is easy to customize and looks adorable and whimsical.
5. Spooky Pumpkin Faces (Jack-o’-Lanterns)
Ready to get a little spooky? This is for the classic Jack-o’-lantern lovers!
- Base: Paint all your nails with your desired base color. Orange is a classic choice, but black, deep purple, or even a dark green can create a striking contrast.
- The Pumpkin: On your accent nail, paint a solid pumpkin shape using orange polish. Let it dry completely.
- The Face: This is the fun part! Using a fine nail art brush and black polish, carefully paint on your Jack-o’-lantern face:
- Eyes: Two triangles or small cut-out shapes.
- Nose: A small triangle.
- Mouth: A jagged, toothy grin or a simple curve.
- Stem: Add a green stem at the top.
- Seal: A good top coat will make your spooky pumpkin shine!
Pro Tip: If freehand painting the face feels too daunting, you can use tiny black rhinestones or even carefully place small pieces of black tape to create the shapes. You can also find nail stamping plates with Jack-o’-lantern faces for an even easier application.
Adding Some Fall Flair: Beyond Just Pumpkins
While pumpkins are the star, you can elevate your autumn nail designs by incorporating other seasonal elements. This adds depth and makes your manicure even more special.
1. The Autumnal Color Palette
Don’t just stick to orange! Think about the whole fall color spectrum: rich reds, deep yellows, burnt oranges, warm browns, and forest greens. You can even mix these colors with your pumpkin designs.
- Layering: Use a deep red or brown as a base color and add orange pumpkin accents.
- Color Blocking: Combine a pumpkin accent nail with nails painted in different fall hues.
- Subtle Touches: Use a tiny bit of brown polish to create shading on your pumpkin for a more realistic look.
2. Leaves and Vines
Autumn leaves are iconic. Adding a small leaf or a delicate vine can complement your pumpkin design beautifully.
- Single Leaf: Paint a simple, stylized leaf shape in red, yellow, or brown on a nail next to your pumpkin accent nail.
- Vine Accent: Use a fine brush and green or brown polish to paint a delicate vine wrapping around a nail. You can add tiny dots for berries or small leaves.
3. Glitter and Sparkle
Who doesn’t love a little sparkle? Glitter can add a festive and magical touch to your pumpkin nails.
- Glitter Stems: Use a gold or bronze glitter polish for the stem.
- Glitter Accent Nail: Paint one nail entirely in a chunky gold, bronze, or orange glitter polish.
- Glitter Outline: Carefully outline your pumpkin shape with a fine glitter polish for a subtle shimmer.
- Glitter Droplets: Add small glitter dots around your pumpkin for a “dewy” or “magical” effect.
4. Fall Textures
You can mimic textures to add a unique dimension.
- Matte Finish: Consider using a matte top coat over your pumpkin designs for a sophisticated, velvety look.
- Velvet Effect: For an advanced technique, you can use flocking powder (often called “nail velvet”) over a sticky top coat to create a fuzzy texture. This works wonderfully for pumpkin stems or even a whole pumpkin accent nail.
Advanced Pumpkin Techniques (For When You’re Ready!)
Once you’ve mastered the basics, you might feel ready to try some slightly more intricate pumpkin nail designs. Here are a couple of ideas to inspire your next level of nail art!
1. Ombre Pumpkins
This involves blending colors to create a smooth transition on the pumpkin itself.
- Base: Paint your accent nail with a base color, like white or cream, for the colors to pop.
- Orange Layers: Using a makeup sponge, dab a lighter orange onto the cuticle area and a deeper orange towards the tip of the nail. Blend the edges carefully with the sponge.
- Pumpkin Shape: Once the ombre effect is achieved, use a fine brush and a darker orange or brown polish to paint the outline of your pumpkin, defining its shape on top of the ombre.
- Details: Add a green stem and any desired facial features with black polish.
- Seal: Finish with a top coat.
2. 3D Pumpkin Embellishments
This isn’t for the faint of heart but can create amazing results!
- Acryclic or Gel: Using acrylic paints or gel polish specifically designed for 3D nail art, you can sculpt small pumpkins directly onto your nails.
- Stickers & Charms: For an easier approach, flat-backed nail art pumpkins or small 3D charms can be adhered to your nails using strong nail glue or builder gel. These are readily available from online beauty suppliers.
Remember to explore resources like Nailpro Magazine for advanced techniques and ingredient information on nail products.
Maintaining Your Pumpkin Nails
To keep your festive pumpkin nails looking their best for as long as possible:
- Apply Top Coat Regularly: A fresh layer of top coat every couple of days can help prevent chipping and maintain shine.
- Wear Gloves: When doing chores like washing dishes or cleaning, wear rubber gloves to protect your nails and polish from harsh chemicals and water.
- Moisturize: Keep your cuticles and hands moisturized with a good cuticle oil and hand cream. Healthy nails hold polish better.
- Be Gentle: Avoid using your nails as tools (like opening cans or scraping things).
Pumpkin Nail Designs: Tool Comparison
When creating your pumpkin nail designs, the right tools can make a big difference. Here’s a quick look at some common tools and their uses:
| Tool | Best For | Beginner Friendliness | Tips |
|---|---|---|---|
| Nail Polish Brush | Painting base colors, large shapes, and filling in areas. | Easy | Can be used for detailed work if cleaned between strokes. |
| Dotting Tool (various sizes) | Creating dots, small circles, and precise details. | Very Easy | Dip the ball end into polish and then place on the nail. Clean with remover between colors. |
| Toothpick | Small dots, lines, and detail work (a budget-friendly alternative to dotting tools). | Easy | Can be a bit flimsy. Use a new toothpick for each color or design element. |
| Fine Nail Art Brush (Liner Brush) | Thin lines, outlines, intricate details, and fine shading. | Intermediate | Requires a steady hand. Practice on paper first. |
| Nail Art Stamper & Plate | Transferring intricate designs from a metal plate onto the nail. | Intermediate to Advanced | Requires a specific stamper and polish formula for best results. Great for consistent patterns. |
Choosing the right tool depends on the complexity of the design you’re aiming for. For beginners, dotting tools and toothpicks are your best friends for creating perfect pumpkin shapes and details!
Frequently Asked Questions About Pumpkin Nail Designs
Q1: Do pumpkin nail designs only work for Halloween?
A1: Absolutely not! While they are popular for Halloween, pumpkin designs are perfect for the entire fall season, from September through November. They add a festive and cozy touch to your look any time during autumn.
Q2: What are the best polish colors to use for pumpkin nails?
A2: The most classic colors are various shades of orange for the pumpkin, green for the stem, and black for facial details. However, you can get creative with deep reds, browns, yellows, and even purples as accents or base colors to match your personal style or outfit. Consider metallic or glitter polishes for extra flair!
Q3: Can I do these designs if I have short nails?
A3: Yes! Pumpkin nail designs are very adaptable to different nail lengths. For shorter nails, focus on smaller pumpkin shapes and simpler designs. An accent nail with a small pumpkin, or even just a few orange dots, can look incredibly cute and chic without needing long nails.
Q4: How do I prevent my nail polish from chipping quickly?
A4: To make your pumpkin


