Proposal nude nails offer a sophisticated, elegant, and timeless choice for your special moment. These beautiful, minimalist looks enhance your natural beauty without being distracting, perfectly complementing your engagement ring and creating stunning photos. Get ready to discover stunning and essential proposal nude nail ideas perfect for beginners!
Planning a proposal is exciting, and sometimes, the small details can feel overwhelming. You want everything to be just right, and that includes your nails! When the moment arrives for that big question, you want your hands to look effortlessly beautiful. That’s where “proposal nude nails” come in. They are the perfect subtle, chic backdrop for your ring, ensuring all eyes are on the sparkling symbol of your love. But what exactly are they, and how can you achieve them without a fuss? We’ve got you covered with simple steps and stunning inspiration. Get ready to feel confident and radiant on your proposal day, from your fingertips to your heart!
What are Proposal Nude Nails?
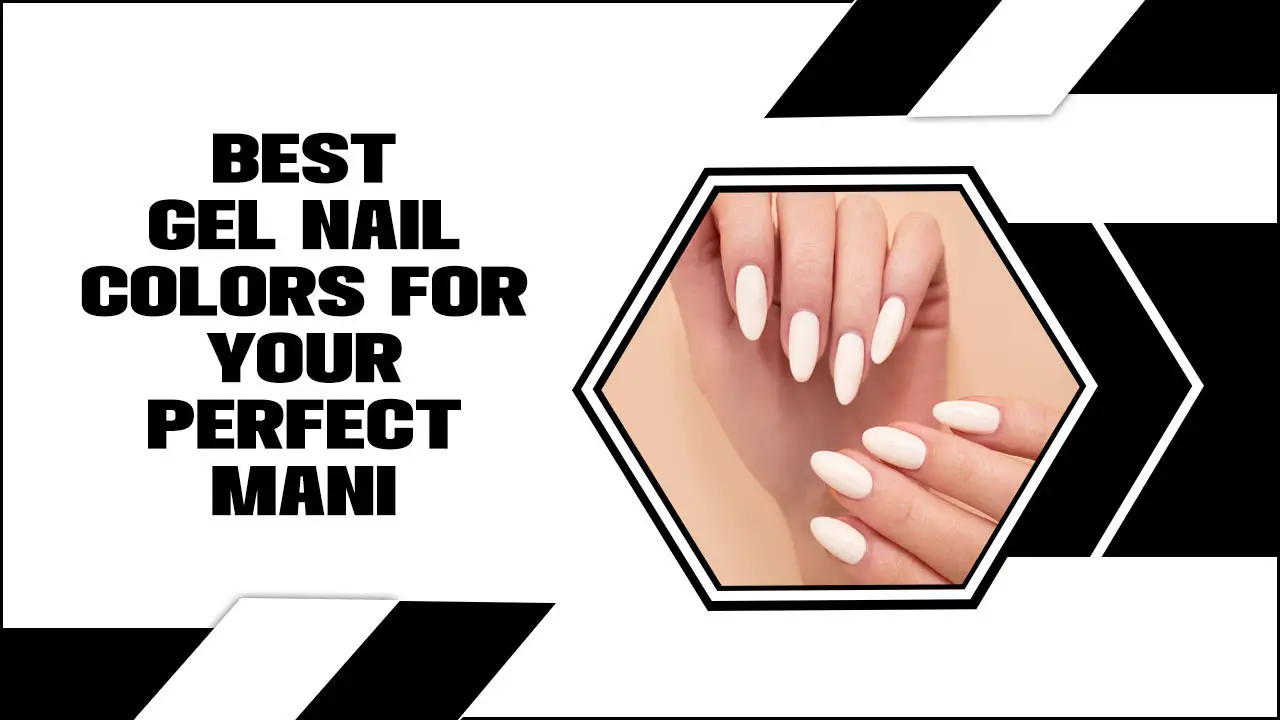
Proposal nude nails are all about understated elegance. Think of soft, neutral shades – milky whites, delicate pinks, warm beiges, and subtle nudes – that enhance your natural nail color and skin tone. They aren’t about bold statements or intricate designs; instead, they focus on a clean, polished, and sophisticated finish. The goal is to create a universally flattering look that is timeless and never goes out of style, ensuring your engagement ring is the true star of the show.
Why Choose Nude Nails for Your Proposal?
Opting for nude nails for your proposal is a fantastic decision for several reasons:
- Timeless Appeal: Nude shades are classic. They won’t clash with your outfit or the proposal setting, and they’ll still look beautiful in photos years from now.
- Ring Spotlight: The neutral tones of nude nails allow your engagement ring to truly shine. They provide a clean canvas, making the sparkle of your diamond the main focus.
- Effortless Chic: Nude nails exude sophistication and polish. They convey a sense of quiet confidence and grace that’s perfect for such a significant moment.
- Universally Flattering: With a wide range of shades available, you can find a nude that perfectly complements your skin tone, making your hands look naturally beautiful and healthy.
- Low Maintenance: Unlike darker or vibrant colors that can chip noticeably, nude nails hide minor imperfections and wear gracefully, making them a stress-free choice.
- Perfect for Beginners: Achieving a perfect nude manicure is generally easier than complex nail art, making it an ideal choice if you’re new to at-home manicures or haven’t had time for a salon visit.
Essential Proposal Nude Nail Looks: A Beginner’s Guide
Let’s dive into some stunning and achievable nude nail looks that are perfect for your proposal. We’ll keep it simple and stylish!
1. The Classic Milky Pink
This is a go-to for a reason! A sheer, milky pink polish offers a subtle flush of color that looks incredibly natural and healthy. It’s like a “your nails but better” kind of shade.
What You’ll Need:
- Nail file
- Cuticle pusher
- Buffer block
- Milky pink sheer nail polish
- Clear top coat
How to Get the Look:
- Prep Your Nails: Start by gently filing your nails into your desired shape. A soft squoval or almond shape works beautifully with this look. Gently push back your cuticles.
- Buff for Smoothness: Use your buffer block to lightly buff the surface of your nails. This creates a smooth base for polish and helps it adhere better.
- Apply Polish: Apply one or two thin coats of the milky pink sheer polish. Let each coat dry slightly before applying the next. The sheerness allows for buildable color.
- Seal with Top Coat: Finish with a good quality clear top coat to add shine and protect your manicure.
2. The Clean Beige Neutral
A soft, warm beige is another incredibly chic option. It’s sophisticated and works with almost any skin tone. This shade adds a touch of warmth without being too yellow or too pink.
What You’ll Need:
- Nail clippers (if needed)
- Cuticle oil
- Beige creme nail polish (opaque or semi-opaque)
- Quick-dry top coat
How to Get the Look:
- Shape and Smooth: Trim nails if necessary and file them to your preferred shape. Apply a drop of cuticle oil and gently push back cuticles.
- Apply Polish: Apply two thin coats of your beige creme polish. Ensure full, even coverage. Many beige shades are opaque enough that two coats are perfect.
- Protect and Shine: Apply a quick-dry top coat to seal in the color and add a glossy finish. This is perfect for busy bees who want a speedy, perfect finish!
3. The Soft Peachy Nude
For those with warmer undertones, a gentle peachy nude can be incredibly flattering. It adds a subtle warmth and rosy hue that looks naturally radiant.
What You’ll Need:
- Nail buffer
- Peach-toned nude nail polish
- Gel-like top coat
How to Get the Look:
- Prep: Ensure nails are clean, filed, and buffed for an even surface.
- Color Application: Apply two coats of the peachy nude polish, ensuring even strokes and coverage.
- Glossy Finish: Use a gel-like top coat for a super-smooth, high-shine finish that looks professionally done.
4. The Barely-There Sheer White
This is for the minimalist who loves a super clean, bright look. A sheer white or an off-white polish can give the illusion of a perfectly clean nail bed with a touch of brightness.
What You’ll Need:
- Nail file
- Clear base coat
- Sheer white or off-white polish
- Regular top coat
How to Get the Look:
- Base Prep: File nails and apply a clear base coat to protect your natural nails.
- Light Layers: Apply one or two very thin coats of sheer white polish. The key here is subtlety – you want a hint of color, not opacity.
- Secure the Manicure: Apply a classic top coat to lock in the look.
Nail Shape Matters!
While color is key, the shape of your nails can also enhance the overall look of your proposal nude manicure. Here are a few beginner-friendly shapes that pair wonderfully with nude polish:
| Nail Shape | Description | Why It Works with Nude Nails |
|---|---|---|
| Squoval | Square with softly rounded corners. A classic and universally flattering shape. | Its clean lines complement the simplicity of nude polish and provide a good surface for the polish to lay smoothly. |
| Soft Almond | Slightly tapered sides that gently round at the tip. Elongates fingers. | The gentle curve and elegant taper are sophisticated and create a graceful appearance, perfect for showing off your ring. |
| Round | Follows the natural curve of the fingertip. Very low maintenance. | Simple, classic, and practical. It’s a no-fuss shape that lets the purity of the nude color shine. |
Achieving Salon-Worthy Nails at Home: Simple Steps
You don’t need to be a pro to get gorgeous nude nails for your proposal! Here’s a breakdown of how to prepare and paint your nails for a flawless finish. Following proper nail care can also help prevent nail damage, as recommended by the American Academy of Dermatology Association.
Step 1: Gather Your Tools
Having the right supplies makes all the difference. You don’t need much to start!
- Nail clippers or scissors
- Nail file (a fine-grit file is best)
- Buffer block
- Cuticle pusher or orange wood stick
- Cuticle oil (optional, but lovely!)
- Nail polish remover and cotton pads
- Base coat
- Your chosen nude nail polish
- Top coat
Step 2: Clean and Prep
This is the most crucial step for a long-lasting, clean look!
- Remove Old Polish: If you have any old polish on, remove it completely with nail polish remover.
- Shape Your Nails: Gently file your nails to your desired shape. Always file in one direction to prevent weakening the nail.
- Soften Cuticles: Apply a drop of cuticle oil to each cuticle and let it sit for a minute or two. Gently push back your cuticles with a cuticle pusher or orange wood stick. Avoid cutting them, as this can lead to infection.
- Buff for Smoothness: Lightly buff the surface of your nail beds with a buffer block. This removes any ridges and creates a smooth canvas. Don’t over-buff!
- Cleanse: Wipe your nails with nail polish remover to remove any oils or dust. This ensures your polish adheres properly.
Step 3: Apply Your Base Coat
A good base coat is essential. It protects your natural nails from staining and helps your polish last longer.
- Apply one thin layer of your chosen base coat.
- Let it dry completely—usually about a minute.
Step 4: Paint Your Nails!
Now for the fun part!
- First Coat: Apply a thin, even coat of your nude polish. Start with a line of polish down the center of your nail, then one stroke on each side.
- Dry Time: Let the first coat dry for at least 2-3 minutes. Patience is key!
- Second Coat: Apply a second thin, even coat. This layer will even out any streaks and deepen the color.
- Drying: Again, let this coat dry thoroughly. Rushing this step is a common mistake that leads to smudges.
Step 5: Seal with a Top Coat
A top coat is your best friend for a shiny, durable finish.
- Apply one generous layer of your top coat, making sure to cap off the free edge of the nail (painting a little bit on the very tip of your nail). This locks in the color and prevents chipping.
- Let your nails dry completely. Using a quick-dry spray or drops can help speed this up!
Choosing the Perfect Nude Shade for You
Finding your perfect nude can feel like a quest, but it’s all about knowing your undertones. Here’s a simple guide:
| Your Skin Tone | Undertones | Recommended Nude Shades | Why They Work |
|---|---|---|---|
| Fair to Light Skin | Cool (Pink, Red, Blue) | Milky pinks, sheer whites, soft pale beiges with pink undertones. | These shades offer a subtle contrast without washing out the skin tone. They look soft and delicate. |
| Light to Medium Skin | Neutral (A mix of pink and yellow) | Soft rosy beiges, neutral nudes, sheer peach tones. | These shades blend beautifully and give a polished, healthy glow. |
| Medium to Olive Skin | Warm (Yellow, Golden, Peach) | Warm beiges, camel, soft peachy-nudes, light caramel. | These colors enhance the natural warmth of the skin and prevent the nails from looking ashy. |
| Deep to Dark Skin | Various (often deep warm or cool undertones) | Rich caramels, chocolate browns, deep mocha, true nudes with brown undertones. | Deep, rich nudes create a stunning, sophisticated contrast and provide a beautiful depth of color. |
Don’t be afraid to try a few shades on! Holding the bottle up to your finger or even trying a coat on one nail can help you see how it truly looks against your skin.
Tips for a Flawless Proposal Nude Manicure
Here are some extra tricks to ensure your nude nails are proposal-perfect:
- Thin Coats Are Key: Always opt for thin, even coats of polish. Thick coats are more prone to bubbling and streaking.
- Don’t Forget the Capping: Painting the free edge of your nail (the tip) with your top coat helps seal the polish and prevent chipping.
- Give It Time to Dry: Seriously, allow ample drying time. Smudged polish on proposal day is not the vibe we want! Consider quick-dry drops or sprays.
- Hydrate Your Hands: Keep your hands and cuticles moisturized in the days leading up to the proposal. Healthy hands make any nail color look better.
- Check Your Polish: Ensure your nail polish is not old or separated. Shaking the bottle vigorously can sometimes revive it, but if it’s too thick or streaky, it might be time for a new one.
- Practice Makes Perfect: If you’re doing your nails yourself, do a practice run a week or two before. This helps you refine your technique and choose your perfect shade.
When to Get Your Nails Done (DIY vs. Salon)
Deciding whether to DIY or visit a salon depends on your comfort level and timeline.
DIY Proposal Nude Nails:
- Pros: Cost-effective, convenient (do it on your own schedule), you control the exact shade and finish.
- Cons: Requires some practice and steady hands, can be time-consuming if you’re a beginner.
- Best Time: 1-2 days before the proposal. This allows for minor drying time but ensures they’re fresh.
Salon Proposal Nude Nails:
- Pros: Professional finish, less stress for you, expert advice on shades and shapes, often more durable (especially with gels or dip powder).
- Cons: Can be more expensive, requires booking an appointment, need to coordinate with salon availability.
- Best Time: 1-2 days before the proposal. If opting for gel or dip, they can last longer, so even 3-4 days is usually fine as they don’t chip easily.
No matter your choice, the goal is a beautiful, subtle manicure that makes you feel amazing!
Frequently Asked Questions About Proposal Nude Nails
Q1: What is the best nail length for proposal nude nails?
There’s no single “best” length. Shorter to medium lengths, like those that don’t extend too far past your fingertips, often look very natural and elegant with nude polish. Medium-length almond or squoval shapes are popular choices.
Q2: Can I wear false nails for my proposal if I want a nude look?
Absolutely! Professionally applied false nails in a nude shade can offer a perfect, long-lasting finish. Opt for subtle, natural-looking styles rather than overly dramatic ones.
Q3: How long do nude nails typically last?
With regular polish and a good top coat, you can expect nude nails to last 3-7 days. Gel or dip powder manicures can last much longer, typically 2-3 weeks.
Q4: I have very pale skin. What nude shades should I avoid?
Avoid nudes that are too close to your natural skin tone, as they might blend in too much and create a “disappearing nail” effect. Also, some very yellow-toned nudes might look ashy on cool, pale skin. Stick to milky pinks or nudes with a slight pink or beige undertone.
Q5: My nails chip easily. What can I do?
Ensure you’re prepping your nails properly (especially by removing oils before polish and capping the edge with top coat), and use a high-quality base and top coat. Consider a gel polish if you want extended durability.
Q6: Can I add very subtle nail art to a proposal nude nail?
While the beauty of proposal nude nails is their simplicity, a very minimalist touch, like a tiny dot near the cuticle or a super-fine line at the tip, can be added if it fits your personal style. However, keep it incredibly understated to maintain the “nude” focus

