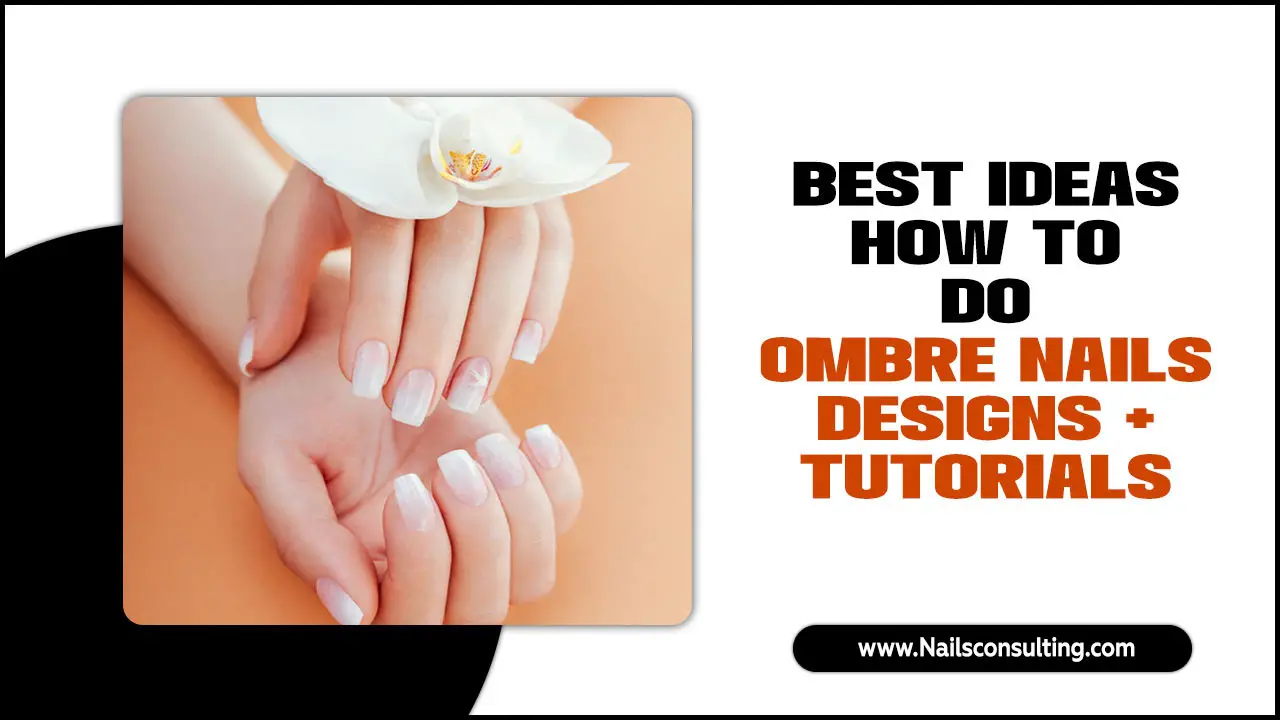
Press-on nail designs offer a quick, affordable, and creative way to achieve stunning manicures at home. Explore essential looks, easy application tips, and stylish ideas to elevate your nail game effortlessly. Perfect for beginners and busy beauty lovers seeking fabulous, DIY-friendly nail art.
Ever scrolled through gorgeous nail art photos and sighed, wishing you had that flawless look without hours at the salon? Beautiful nails can feel out of reach sometimes, especially with a busy schedule or a tight budget. The good news? You don’t need to be a pro to rock stunning nails! With the magic of press-on nail designs, you can transform your fingertips into tiny works of art in minutes. Let’s dive into how easy and fun this can be to create amazing looks that express your unique style.
Your Ultimate Guide to Press-On Nail Designs
Press-on nails have come a long way! Gone are the days of flimsy plastic that looked anything but natural. Today’s press-on nail designs offer incredible variety, amazing durability, and styles ranging from minimalist chic to dazzling avant-garde. Whether you’re a complete beginner or looking to refresh your nail routine, this guide will walk you through everything you need to know to achieve salon-worthy manicures right at your kitchen table. We’ll cover the essentials, from choosing the right set to applying them like a pro, and of course, exploring some absolutely stunning designs!
Why Choose Press-On Nail Designs?
Let’s talk about why press-on nails are a total game-changer for beauty lovers everywhere. They’re perfect for anyone who wants gorgeous nails without the commitment, cost, or time investment of traditional salon manicures.
- Speed & Convenience: Get a full, polished manicure in minutes. Perfect for last-minute events or when you just want a quick pick-me-up.
- Affordability: Compared to regular salon visits, press-on nails are incredibly budget-friendly. You can experiment with multiple styles without breaking the bank.
- Variety is the Spice of Life: From classic French tips to intricate holographic finishes and 3D embellishments, the design options are endless.
- Damage-Free (with proper care): When applied and removed correctly, press-ons can be a gentler option for your natural nails, avoiding harsh chemicals and drilling.
- Experimentation Hub: Try out trendy colors, shapes, and designs you might not commit to with a permanent manicure. It’s nail art without the long-term commitment!
- Reusability: Many high-quality press-on sets can be reused if removed carefully, offering even more value.
Essential Tools for Flawless Application
To get that seamless, long-lasting look with your press-on nail designs, having the right tools makes all the difference. Think of these as your nail art best friends!
Here’s what you’ll want to have handy:
- Your Chosen Press-On Nail Set: Of course! Make sure they are the right size for your nails.
- Nail File: To gently shape your natural nails and the press-ons if needed.
- Nail Buffer: To smooth the surface of your natural nail for better adhesion.
- Cuticle Pusher: To gently push back your cuticles for a cleaner nail bed.
- Alcohol Wipes or Rubbing Alcohol: To clean and dehydrate your natural nails, ensuring a grease-free surface.
- Nail Glue or Adhesive Tabs: The choice depends on your desired longevity and preference. Glue offers a stronger, longer hold, while tabs are easier for beginners and temporary wear.
- Scissors or Nail Clippers (optional): For trimming press-ons if they are too long.
- Tweezers (optional): For precise placement of smaller designs or embellishments.
Step-by-Step: Applying Your Gorgeous Press-On Nail Designs
Ready to get started? Follow these simple steps for a beautiful, lasting press-on manicure. Remember, patience and preparation are key!
Step 1: Prep Your Natural Nails
This is the most crucial step for ensuring your press-ons stay put! Cleanliness and a smooth surface are your best friends here.
- Remove any old nail polish.
- Gently push back your cuticles using a cuticle pusher. Don’t push too hard!
- Lightly buff the surface of your natural nails with a nail buffer. This removes shine and creates a surface for the glue or adhesive to grip onto.
- Wipe each nail thoroughly with an alcohol wipe or rubbing alcohol. This removes any dust, oils, or lotions that could prevent adhesion. Let them air dry completely.
Step 2: Size Up Your Press-Ons
Finding the perfect fit is essential for a natural look and strong hold. Most press-on kits come with a range of sizes.
- Lay out all the press-on nails from your kit.
- Hold each press-on nail against your natural nail to find the best match in width. The press-on should cover your entire natural nail bed from sidewall to sidewall without overlapping onto your skin.
- If you can’t find an exact match, choose one that is slightly wider and carefully trim or file it down to fit.
Step 3: Apply Adhesive
This is where you choose your path to nail perfection: glue or tabs!
Option A: Using Nail Glue
Nail glue provides a strong, long-lasting bond, typically lasting 1-2 weeks.
- Apply a thin, even layer of nail glue to the underside of the press-on nail. Don’t use too much, or it will squeeze out.
- Alternatively, apply a small bead of glue to the center of your natural nail, avoiding the cuticle area.
- Work one nail at a time.
Option B: Using Adhesive Tabs
Adhesive tabs are great for beginners, temporary wear, and for preserving your natural nails. They usually last 2-5 days.
- Peel a suitable-sized adhesive tab from its backing sheet.
- Apply the tab to your natural nail, pressing down firmly to ensure it adheres well, especially at the edges.
- Peel off the second protective film from the tab.
- Work one nail at a time.
Step 4: Adhere the Press-On Nail
Precision is key here for a natural-looking finish.
- Align the press-on nail with your cuticle line.
- Press down firmly, starting from your cuticle and moving towards the free edge of your nail.
- Hold the press-on in place for about 20-30 seconds to allow the glue or adhesive to set.
- Repeat for all nails.
Step 5: Finishing Touches (Optional)
Once all your press-ons are applied, you can refine the look.
- If any nails feel too long, carefully trim them with scissors or nail clippers.
- Use a nail file to gently shape the sides and free edge of the press-on nails to your desired shape (square, round, almond, etc.).
- For a super smooth transition, you can lightly buff the top of the press-on nails where they meet your natural nail, then apply a thin layer of top coat over the entire nail.
Stunning Press-On Nail Designs to Try Now
Now for the fun part – choosing your design! The world of press-on nail art is vast and exciting. Here are some essential and stunning looks that are perfect for beginners and seasoned pros alike.
1. The Timeless French Manicure
A classic for a reason, the French manicure is elegant and versatile. Modern takes include colored tips or a thinner, more delicate white line (micro French).
- Look: Clean, sophisticated, and always in style.
- Occasion: Perfect for work, weddings, or any event where understated chic is desired.
- Why it works: It elongates the fingers and pairs beautifully with any outfit.
2. Minimalist Marvels
These designs focus on subtle details. Think nude or pastel base colors with a single accent – a tiny dot, a thin stripe, a small metallic detail, or a subtle shimmer.
- Look: Understated elegance, modern and chic.
- Occasion: Everyday wear, office-appropriate, great for those who prefer subtlety.
- Why it works: It’s effortless, stylish, and doesn’t overpower your overall look.
3. Bold & Bright Solids
Don’t underestimate the power of a single, striking color. From deep jewel tones to vibrant neons, a solid color can make a powerful statement.
- Look: Confident, playful, and eye-catching.
- Occasion: Festivals, parties, or whenever you want your nails to be the star.
- Great Colors: Fuchsia, emerald green, cobalt blue, classic red.
4. Glitter & Ombre Glow
Glitter adds instant glamour, while ombre (a gradient effect) offers a sophisticated blend of colors. You can also find press-ons that combine both!
- Look: Glamorous, dreamy, and eye-catching.
- Occasion: Holidays, parties, date nights, or whenever you want a touch of sparkle.
- Tips: Ombre can be done in classic nudes and whites or in vibrant color combinations.
5. Abstract Artistry
Embrace creativity with abstract designs! Think brush strokes, splatters, irregular lines, and modern color blocking. These are as unique as you are.
- Look: Edgy, artistic, and individualistic.
- Occasion: Fashion-forward events, creative outings, or showcasing your personal style.
- Where to find: Many custom press-on artists specialize in these unique designs.
6. Natural Nudes & Neutrals
The ultimate “my nails but better” look. Nude and neutral shades enhance your natural beauty and are incredibly flattering.
- Look: Sophisticated, polished, and universally flattering.
- Occasion: Everyday, professional settings, or a clean base for other nail art.
- Shades: Think beige, taupe, dusty rose, and soft creams.
7. The “Mylla” Effect (Marble & Stone Inspired)
Elegant marble or stone-inspired patterns add a touch of luxury and sophistication to your nails. These often feature swirls of white, gray, black, or even soft pastels.
- Look: Luxurious, chic, and subtly intricate.
- Occasion: Can be dressed up or down, suitable for daily wear or special events.
- Inspiration: Think the veins in marble or the subtle patterns in agate.
For even more inspiration on maintaining healthy nails, the Nails Magazine offers excellent resources on nail health and hygiene.
Press-Ons vs. Other Nail Enhancements: A Quick Comparison
It’s helpful to understand where press-ons fit in the world of nail enhancements. Here’s a simple breakdown:
| Feature | Press-On Nails | Gel Polish | Acrylic Nails |
|---|---|---|---|
| Application Time | 20-45 mins | 30-90 mins | 45-120 mins |
| Longevity | 1-2 weeks (glue), 2-5 days (tabs) | 2-3 weeks | 2-3 weeks (fills needed) |
| Cost (Initial) | $5 – $40+ | $30 – $70+ | $50 – $150+ |
| Removal | Soaking (glue), peeling (tabs) | Soaking/filing | Soaking/filing (can be damaging) |
| DIY Friendliness | High | Moderate (requires UV/LED lamp) | Low (requires skill/tools) |
| Potential Natural Nail Damage | Low (if applied/removed properly) | Low (if removed properly) | Moderate to High (if poor application/removal) |
Tips for Making Your Press-Ons Last Longer
Want to extend the life of your gorgeous press-on nail designs? A few simple habits can make a big difference.
- Avoid Excessive Water Exposure: Try to wear gloves when doing dishes or cleaning. Prolonged soaking can loosen the adhesive.
- Be Gentle: Avoid using your nails as tools to open things or scrape surfaces.
- Seal the Edges (Optional): After application, some people like to apply a thin layer of top coat around the edges where the press-on meets the natural nail to create a more secure seal. Be careful not to get too much on the press-on itself, which can dull the finish.
- Carry a Mini Nail Kit: For touch-ups, keep a small nail file and a travel-size glue or adhesive tabs on hand.
- Gentle Removal is Key: When it’s time to take them off, soak diligently rather than forcing them. This preserves both your natural nails and the press-ons for reuse.
Frequently Asked Questions About Press-On Nail Designs
Q1: How do I choose the right size press-on nail?
A: Hold each press-on against your natural nail. The press-on should fit perfectly from sidewall to sidewall, covering your entire nail surface without overlapping onto your skin. If you’re between sizes, it’s often best to size down and carefully file into shape.
Q2: Can press-on nails damage my natural nails?
A: When applied and removed correctly, press-on nails are generally safe and can be less damaging than other nail enhancements. The key is to prep properly, use a gentle adhesive (like tabs for beginners), and soak them off carefully instead of pulling.
Q3: How long do press-on nails typically last?
A: With nail glue, they can last anywhere from one to two weeks. If you use adhesive tabs, expect them to last between two to five days. Factors like your lifestyle and how well you follow application/care instructions play a big role.
Q4: Can I reuse press-on nails?
A: Yes, many press-on nail sets can be reused! For glue-on nails, gently buff off any excess glue from the back of the press-on. For tabbed nails, careful removal is key. Store reusable nails in their original box or a sturdy container.
Q5: What’s the difference between nail glue and adhesive tabs?
A: Nail glue provides a stronger, longer-lasting bond but requires more careful removal. Adhesive tabs are easier to apply and remove, making them great for beginners or temporary wear. They’re less likely to cause damage but offer shorter wear time.
Q6: How do I remove press-on nails safely?
A: For glue-on nails, soak your fingertips in warm, soapy water or acetone-based nail polish remover for about 10-15 minutes until the glue softens. Gently lift the press-on with a cuticle pusher or orangewood stick. For adhesive tabs, a similar soaking process can help. Avoid forceful pulling.
Q7: Can I cut or file press-on nails?
A: Absolutely! Once applied, you can trim and file your press-on nails to your desired length and shape. This is a great way to customize the look and ensure a perfect fit.
Embracing Your Inner Nail Artist
Press-on nail designs are such an accessible and fun way to express yourself and enhance your style. They democratize nail art, making it available to everyone, regardless of skill level or budget. From those quick, everyday fixes to dazzling designs for special occasions, press-on’s offer versatility and creativity at your fingertips. Remember, the most important thing is to have fun experimenting and finding the looks that make you feel confident and amazing. So go ahead, explore these stunning designs, try out some new techniques, and let your nails do the talking!

