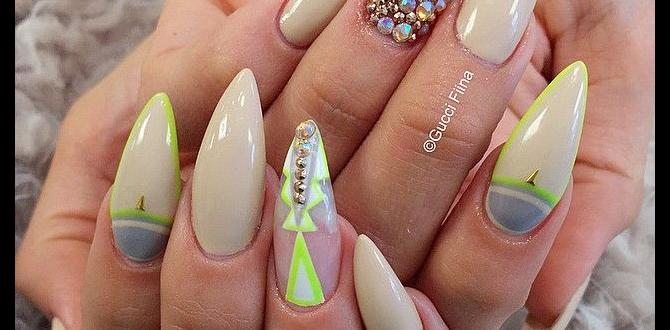
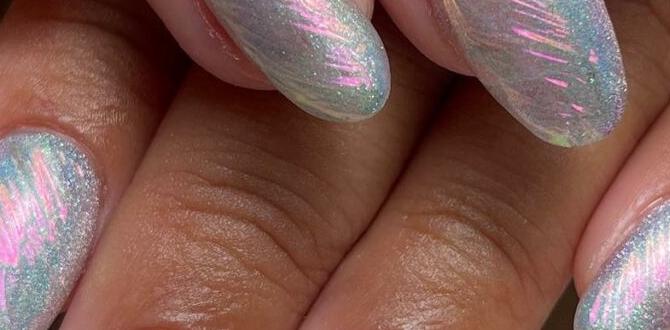
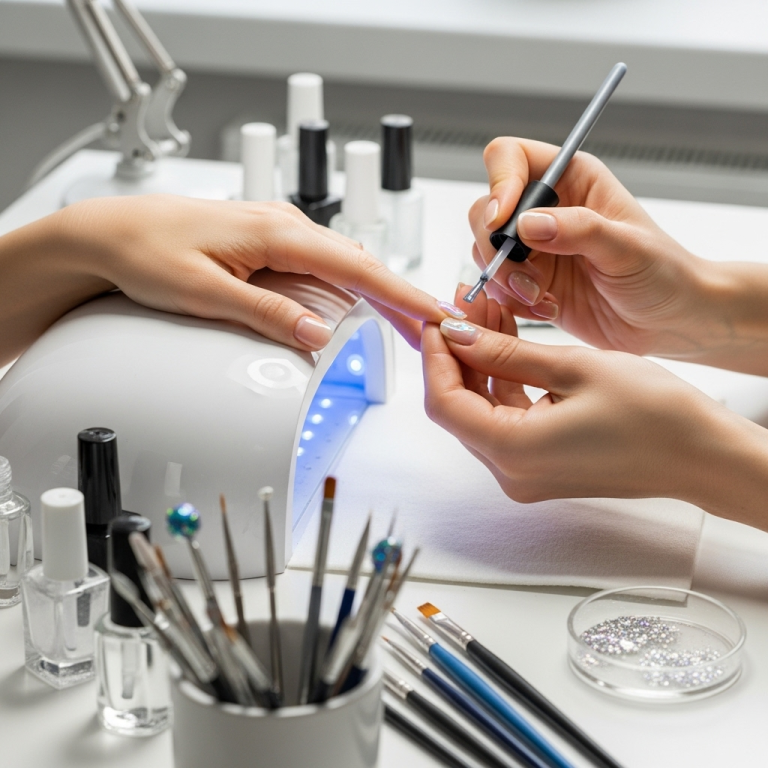
Press-on nail design tips can transform your look with instant, stylish, and budget-friendly manicures. Discover genius styles and simple techniques to rock flawless nails at home, from classic chic to trendy accents.
Dreaming of gorgeous nails but finding salon visits time-consuming or costly? Press-on nails are a total game-changer! They offer a quick and easy way to get a polished, professional-looking manicure right in your own space. But sometimes, just slapping them on doesn’t quite cut it. You want a look that’s you, something special that turns heads.
Don’t worry, getting stunning press-on nail designs is totally achievable, even if you’re a beginner. It’s all about knowing a few simple tricks and embracing your creative side. Forget boring manicures; let’s dive into how you can elevate your press-on game with some genius styles that are surprisingly easy to master. Get ready to unlock a world of nail art possibilities!
Frequently Asked Questions About Press-On Nails
What are the best press-on nails for beginners?
For beginners, medium-length, natural shapes like oval or squoval are excellent. Look for kits with a good range of sizes to ensure a proper fit. Brands that offer pre-glued options or easy-to-use adhesive tabs can also make application simpler.
How do I make press-on nails look natural?
The key is proper sizing and application. Make sure to find the perfect fit for each nail bed, pushing back your cuticle gently before applying. Using nail glue for a stronger bond and filing the edges can also help them blend seamlessly with your natural nail.
Can I cut and shape press-on nails?
Yes! Most acrylic or gel press-on nails can be cut and filed to your desired length and shape. Use good quality nail clippers and a fine-grit file to avoid damaging the nail. Be patient and work slowly to achieve the perfect custom look.
How long do press-on nails usually last?
With proper application and care, press-on nails can last anywhere from a few days to two weeks. Using nail glue generally provides a longer hold than adhesive tabs. Avoiding excessive soaking in water and harsh chemicals can also help extend their wear time.
What’s the difference between press-on nails and dip powder nails?
Press-on nails are pre-designed, artificial nails that adhere to your natural nails using glue or adhesive tabs, offering instant results. Dip powder nails involve layering a colored powder with a bonding agent onto your natural nail, which is then sealed. Dip powder typically lasts longer and is applied professionally or as a more involved DIY process.
Can I reuse press-on nails?
Yes, you can often reuse press-on nails! After removing them, gently buff off any old adhesive. You can then reapply them with new glue or adhesive tabs. Keeping them stored safely in their original box can help maintain their shape and design.
What are some easy press-on nail design ideas?
Inspiration comes in many forms! Start with simple color block designs, add a single accent nail with glitter or a minimalist graphic, try a French tip variation, or opt for ombre effects. Many kits come with pre-designed art that requires no extra effort from you.
The Foundation: Prepping for Perfect Press-Ons
Before we get to the fun designs, let’s talk about setting the stage. A little prep work goes a long way in making your press-on nails look amazing and last longer. Think of it like preparing a canvas before painting – the better the base, the better the final masterpiece!
1. Cleanse Your Natural Nails
Start with clean, dry nails. Gently remove any old polish. Wash your hands thoroughly with soap and water to remove oils and residue. This ensures the adhesive will stick properly.
2. Buff and Shape
Lightly buff the surface of your natural nails with a fine-grit file. This creates a slightly rough texture that helps the glue or adhesive tabs adhere better. Don’t overdo it; you just need to remove the shine.
3. Address Your Cuticles
Gently push back your cuticles using a cuticle pusher or an orange stick. Removing excess cuticle that overlaps your nail bed helps create a smoother surface and prevents the press-on nail from lifting prematurely.
4. Size Up Your Press-Ons
This is super important! Lay out your press-on nails and match each one to the corresponding finger on your natural nail. Choose the press-on that fits from sidewall to sidewall without overlapping your skin. If you’re between sizes, it’s usually better to size down so it doesn’t feel bulky.
5. Cleanse Again (Optional but Recommended)
After buffing, wipe your nails with an alcohol wipe or nail cleanser to remove any dust. This is another step to ensure a clean surface for maximum adhesion.
Application Methods: Glue vs. Tabs
Choosing the right adhesive is crucial for how long your press-on nails will last and how they’ll look. Both glue and adhesive tabs have their pros and cons. Let’s break them down:
Nail Glue
Nail glue is generally the stronger option, offering a more secure hold. It’s ideal if you want your press-ons to last for a week or more. However, it requires a bit more careful application and can be a little trickier to remove without damaging your natural nail.
How to Use Nail Glue:
- Apply a small bead of glue to the back of the press-on nail or to your natural nail. Don’t use too much, as it can flood out and look messy.
- Align the press-on with your cuticle and press down firmly for 15-30 seconds, holding it in place until the glue sets.
- Wipe away any excess glue immediately.
Adhesive Tabs
Adhesive tabs are a gentler, more temporary option. They’re great for short-term wear, like for a special event, or if you like to change your nails frequently. They’re also usually easier to apply and remove, saving your natural nails from potential damage.
How to Use Adhesive Tabs:
- Peel a tab from its backing and apply it to your natural nail, trimming if necessary to fit your nail bed.
- Peel off the other side of the tab.
- Align the press-on nail with your cuticle and press firmly for 10-15 seconds.
Pros and Cons of Nail Glue
| Pros | Cons |
|---|---|
| Long-lasting wear (up to 2 weeks) | Can be harder to remove without damage |
| Very secure hold | Requires careful application to avoid mess |
| Water-resistant | Less forgiving for beginners |
Pros and Cons of Adhesive Tabs
| Pros | Cons |
|---|---|
| Easy to apply and remove | Shorter wear time (typically 1-3 days) |
| Less damaging to natural nails | Less secure hold, prone to lifting |
| Good for temporary wear or switching designs often | Can be affected by water and moisture |
Genius Press-On Nail Design Tips for Every Occasion
Now for the exciting part! It’s time to get creative and explore some genius press-on nail designs that are easy to achieve and will make your manicure pop. We’ll cover everything from subtle upgrades to bolder statements.
1. The Minimalist Marvel
Less is often more! This style is perfect for everyday wear and adds a touch of sophistication without being overwhelming. It’s incredibly easy to achieve with pre-designed nails or a super simple DIY touch.
- What to look for/do: Choose solid colors in neutrals like nude, soft pink, beige, or classic white. A sheer milky finish is also a winner. For a subtle twist, opt for press-ons with a tiny, delicate accent – think a single tiny rhinestone at the base of one nail, a thin metallic stripe, or a small dot.
- How to DIY: If your solid color press-ons feel a little plain, use a fine-tip nail art pen (available online or at beauty stores) to draw a tiny dot in the center or a single thin line near the cuticle on one or two nails. Seal with a clear top coat!
2. The Accent Nail Magic
This is the easiest way to add personality and flair to your manicure. Simply choose one or two nails on each hand to be your “accent” and let them shine!
- What to look for/do: Select a set of press-ons where one or two nails feature a special design, like glitter, a marble effect, leopard print, or even a simple geometric pattern. The rest of the nails in the set will typically be a coordinating solid color.
- How to DIY: Buy a set of solid colored press-ons and a separate sheet of nail art stickers or decals. Apply the solid colors to most of your nails, then carefully apply a sticker (like a metallic foil accent, a small flower, or a starry design) to your ring finger or index finger nail. Remember to press down firmly.
3. The French Tip Twist
The classic French manicure gets a modern makeover! This is a universally flattering look that can be incredibly chic and trendy.
- What to look for/do: Look for press-on sets that offer a French tip, but with a twist. This could be colored tips (like pastel shades, bright neons, or even black) instead of the traditional white, or micro-French tips where the white line is extra-thin and delicate.
- How to DIY: If you want to try this yourself without a specialized press-on set, you can still apply a solid-colored press-on nail and then use a fine-tip nail art brush and white or colored polish to paint a thin French tip line. It takes practice, but it’s doable! For a simpler approach, many brands sell French tip press-ons with varying tip colors.
4. Ombre Elegance
Ombre is a beautiful way to blend colors for a soft, gradient effect. It looks sophisticated and feels very modern.
- What to look for/do: Search for press-on nail sets that advertise an ombre design. These usually blend two complementary colors, like pink to white, peach to nude, or even a subtle transition from a darker shade to a lighter one.
- How to DIY: If you’re feeling adventurous, you can attempt a DIY ombre with a sponge and polish, but for press-ons, it’s best to find a set that already has this feature. The execution at home can be messy and difficult to get salon-perfect.
5. Glitter Glam
Who doesn’t love a little sparkle? Glitter nails are perfect for adding a festive touch or just for days when you want to feel extra dazzling.
- What to look for/do: Many press-on sets come with all-over glitter polish or glitter-infused designs. You can choose full glitter nails or sets that have a glitter accent nail. Look for fine glitters for a more refined look, or chunky glitters for a bolder statement.
- How to DIY: Apply a solid press-on nail, then use a brush to apply a glitter top coat over it. Or, for a more intense glitter look, try applying loose cosmetic glitter to a tacky top coat on the press-on before sealing. However, buying pre-glittered press-ons is usually much easier for a smooth finish.
6. Geometric Graphics
For a modern, edgy vibe, geometric designs are a fantastic choice. They’re eye-catching and can range from simple lines to intricate patterns.
- What to look for/do: Many press-on brands now offer nails with clean lines, triangles, squares, or abstract geometric art. These often come in contrasting colors like black and white, or metallic accents on a matte background.
- How to DIY: This is where nail art tape or stencils can be your best friend! Apply a base color press-on, then use thin strips of nail tape to create geometric sections, paint over them with a contrasting polish, and peel off the tape when dry.
7. Texture Play
Adding different textures can make your press-on design feel unique and luxurious. This could be matte finishes, subtle 3D elements, or even a velvety texture.
- What to look for/do: Some press-ons come with a matte top coat, which instantly changes the feel of the nail. Others might have small, subtle 3D embellishments like tiny pearls, beads, or raised designs.
- How to DIY: After applying a solid press-on, you can apply a matte top coat over it for a different finish. Be cautious with adding your own 3D embellishments, as they can be prone to falling off if not securely glued.
8. Short and Sweet Styles
Don’t think press-ons are just for long nails! Shorter lengths can be incredibly stylish and practical. Shorter press-ons are often easier to apply and work with for daily tasks.
- What to look for/do: Opt for square, squoval, or almond shapes in a shorter length. Simple solid colors, subtle French tips, or minimalist designs look fantastic on shorter nails.
- How to DIY: If you have longer press-on nails, you can easily trim and file them down to a shorter length that suits you. This allows you to customize any design to a shorter format.
Pro Tips for Achieving Genius Looks
Want to take your press-on game to the next level? Here are some insider tips to help you achieve those salon-worthy looks at home:
- Invest in Good Tools: A quality cuticle pusher, a fine-grit nail file, and a good nail glue or strong adhesive tabs are essential.
- Don’t Skip the Prep: Seriously, this is half the battle! Properly cleaning, buffing, and sizing your nails makes all the difference in how your press-ons look and last.
- Custom Fit is Key: Spend time finding the perfect size for each nail. If a press-on feels too big, a tiny trim on the sides with sharp clippers before application can help.
- Angle is Everything: When applying glue or tabs, place the press-on nail at an angle, aligning it with your cuticle. Then, gently press down to the tip. This avoids air bubbles and gives a more natural look.
- Seal the Deal: Once your press-ons are on and secure, consider applying a clear top coat over the entire nail (avoiding the cuticle area). This can smooth out any ridges, add extra shine, and help seal the edges, making them last longer. A product like Seche Vite Dry Fast Top Coat is a cult favorite for its quick drying time and high shine.
- Gentle Removal is Crucial: For removal, soak your nails in warm, soapy water or acetone-based nail polish remover. Gently work a cuticle stick or orange stick under the edges to lift the press-on. Avoid forcing them off, as this can damage your natural nails. The NAILS Magazine YouTube channel often shares helpful removal techniques.
- Store Carefully: Keep your press-on nails in their original box when not in use. This prevents them from getting scratched or damaged and helps you keep track of sizes for reapplication.
Easy Maintenance for Longer Wear
You’ve got your gorgeous press-on nails on – hooray! To keep them looking their best and lasting as long as possible, a little care goes a long way. Here’s how to maintain that fabulous manicure:
- Water Woes: Try to limit prolonged exposure to hot water. When doing dishes or taking long baths, wear rubber gloves. This helps prevent the


