Get stunning press-on nail designs with these genius ideas! Discover easy inspiration for every style, perfect for beginners and busy nail lovers wanting chic, DIY manicures that look professionally done.
Press-on nails are a game-changer for busy bees and DIY beauty lovers! Tired of salon wait times or the cost of professional manicures? Want gorgeous nails that express your unique style without the fuss? You’re in the right place! Many of us dream of perfect nails for special occasions or just to boost our everyday confidence. Sometimes, figuring out what look to go for can be the trickiest part. Don’t worry, we’ve got you covered with a treasure trove of creative and easy-to-achieve press-on nail design inspiration. Get ready to transform your fingertips into tiny works of art!
Why Press-On Nails Are a Manicure Game-Changer
Press-on nails have come a long way! They’re not just for a quick fix anymore. Modern press-ons offer incredible designs, durability, and a salon-quality finish right at your fingertips. For beginners, they’re a fantastic way to experiment with different styles without commitment. Plus, they’re incredibly budget-friendly and can be applied in minutes. Whether you have a big event coming up or just want to treat yourself, press-on nails provide an instant confidence boost and a flawless manicure.
Benefits of Using Press-On Nails
- Speed and Convenience: Apply a full set in under 15 minutes.
- Affordability: Significantly cheaper than professional salon manicures.
- Variety: Endless designs, shapes, and lengths available.
- Damage-Free: When applied and removed correctly, they cause minimal damage to natural nails.
- Temporary: Perfect for trying trends or for specific events without long-term commitment.
- Skill-Free: No artistic talent or special tools required for basic application.
Who Can Benefit from Press-On Nails?
- Beginners: Perfect for those new to nail art and application.
- Busy Individuals: Ideal for people with limited time for salon visits.
- Budget-Conscious Beauty Lovers: A cost-effective way to have beautiful nails.
- Experimenters: Those who love trying new trends and styles frequently.
- Special Occasion Go-ers: Provides instant glamour for events, parties, and weddings.
Getting Started with Press-On Nail Designs
Before diving into the fun designs, let’s cover the basics to ensure your press-on manicure looks its absolute best and lasts as long as you want it to! A good application is key to a great look.
Essential Tools for Press-On Perfection
You don’t need much to get started, but a few key items can make a huge difference in how your press-on nails look and adhere.
- Press-On Nails: Choose your desired shape, length, and design.
- Nail File: For gently shaping your natural nails and the press-ons.
- Nail Buffer: To lightly buff the surface of your natural nails for better adhesion.
- Cuticle Pusher/Orange Stick: To gently push back your cuticles for a cleaner look.
- Alcohol Wipes or Rubbing Alcohol: To clean and dehydrate your natural nails.
- Nail Glue or Adhesive Tabs: The secret to how long your nails will last! Glue generally offers longer wear than tabs. For tips on nail adhesives, check out resources from governmental health guidelines which indirectly touch on personal care and hygiene.
- Scissors or Nail Clippers: For trimming press-ons if needed.
Your Press-On Application Checklist
Follow these simple steps for a beautiful and long-lasting press-on manicure:
- Prep Your Natural Nails: Start by removing any old polish. Gently push back your cuticles with a cuticle pusher. Lightly buff the surface of your natural nails with a nail buffer to remove shine and create a smooth surface for adhesion.
- Cleanse Your Nails: Wipe each nail with an alcohol wipe or rubbing alcohol. This removes any oils or residue, which is crucial for the glue or tabs to stick well. Let them air dry completely.
- Size Your Press-On Nails: Lay out your press-on nails and find the perfect fit for each of your natural nails. The press-on should cover your natural nail from sidewall to sidewall without overlapping onto your skin.
- Apply Adhesive:
- For Nail Glue: Apply a thin, even layer of nail glue to the back of the press-on nail or to your natural nail. Avoid applying too much, as it can flood your cuticles.
- For Adhesive Tabs: Peel a tab and carefully place it onto your natural nail, aligning it with the cuticle.
- Press On: Immediately after applying the glue or tab, align the press-on nail with your cuticle and press down firmly. Hold for about 30 seconds to ensure a strong bond. Work from the cuticle to the free edge.
- Repeat for All Nails: Continue this process for all ten fingers.
- File and Shape (Optional): Once all nails are applied, you can gently file the edges to refine the shape or trim them if they are too long. Be careful not to file too aggressively, especially if using glue.
Press-On Nail Design Inspiration Categories
Now for the fun part! We’ve broken down tons of gorgeous ideas into simple categories to help you find your perfect match. Think of these as jumping-off points for your own creativity!
Minimalist Chic: Subtle Elegance
Minimalist designs are perfect for everyday wear, the office, or when you want a polished look without being over the top. They’re sophisticated, timeless, and incredibly versatile.
- Single Accent Nail: A solid color on most nails with one accent nail featuring a subtle design like a thin metallic stripe, a tiny dot, or a micro French tip.
- Sheer Pastels: Soft, translucent shades like baby pink, light blue, or mint green. These give a “your nails but better” vibe.
- Nude and Neutral Tones: Classic beige, cream, or soft taupe. These shades are universally flattering and endlessly chic.
- “Clean Girl” Nails: Often a sheer pink or nude with a subtle glossy finish. It’s all about looking effortlessly put-together.
- Micro French Manicure: A very thin, delicate line of white or a complementary color at the tip of a nude or sheer base.
Bold and Beautiful: Statement Makers
Ready to turn heads? These designs are for when you want your nails to be the center of attention. They’re fun, vibrant, and full of personality!
- Bright Colors: Think electric blue, neon pink, sunshine yellow, or emerald green. Don’t be afraid of high-impact hues!
- Geometric Patterns: Bold stripes, chevrons, triangles, or abstract shapes in contrasting colors.
- Animal Prints: Classic leopard, chic zebra, or even daring snake print. These always make a statement.
- Color Blocking: Interesting combinations of two or more solid, bold colors across different nails or sections of a nail.
- Holographic or Chrome Finishes: For an otherworldly shine that shifts with the light, these are guaranteed to wow.
Glamorous and Sparkly: For Special Occasions
Elevate your look for parties, weddings, or any event where you want to feel extra special. These designs are all about dazzling details and luxurious finishes.
- Full Glitter: Go all out with a solid glitter nail in silver, gold, rose gold, or even a rich jewel tone.
- Ombre Glitter: A gradient effect that transitions from a solid color to glitter, or from one color glitter to another.
- Rhinestone Embellishments: Small crystals applied strategically, perhaps along the cuticle, on an accent nail, or as a full sparkle-over.
- Metallic Accents: Gold, silver, or rose gold foil details, flakes, or intricate metallic designs.
- Pearl Details: Small faux pearls added to an accent nail or along the smile line of a French manicure for a touch of vintage glamour.
Seasonal and Festive: Celebrate the Time of Year
Embrace the spirit of the season or upcoming holidays with designs that match the mood. These are fun ways to coordinate your nails with your wardrobe or festivities.
- Spring: Floral patterns, pastel colors, delicate butterfly designs, pastel polka dots.
- Summer: Tropical prints, bright fruits (like watermelon slices), ocean-inspired blues and greens, sunset ombres, beachy vibes.
- Autumn: Deep reds, oranges, browns, and golds. Think fall leaves, plaid patterns, burnt orange, and cozy textures.
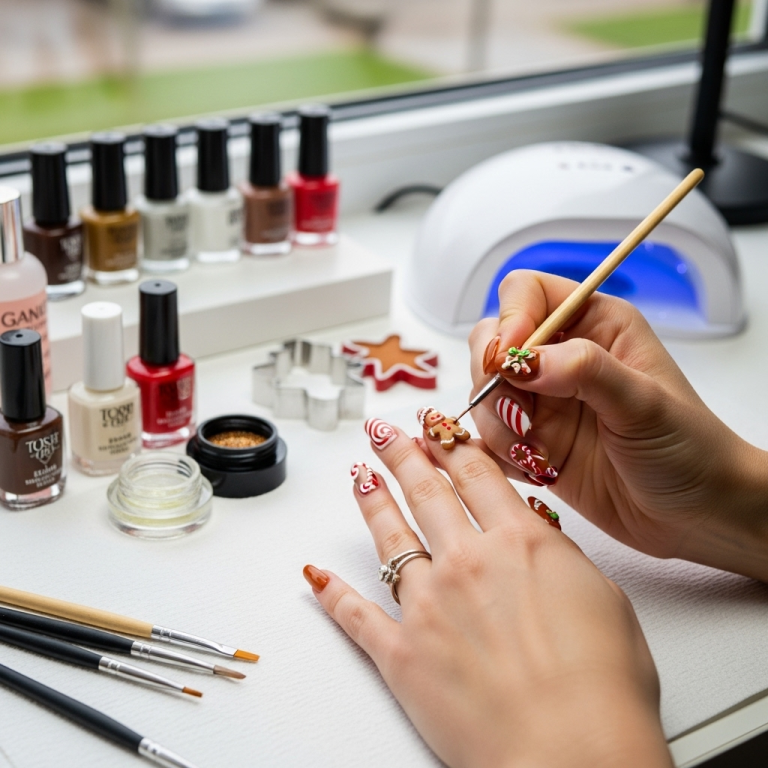
- Winter/Holidays: Snowflakes, glittery reds and greens, icy blues, cozy patterns, metallic silvers, and golds.
- Themed Designs: Think Halloween spooky nails, Valentine’s Day hearts, or patriotic stars and stripes.
Artistic and Unique: Express Your Creativity
These designs are for the adventurous spirit who loves to stand out. They might take a bit more inspiration but are incredibly rewarding!
- Abstract Art: Swirls, splatters, painterly strokes, or marble effects.
- Galaxy/Celestial Nails: Deep blues, purples, and blacks with speckles for stars and nebulae.
- Hand-Painted Elements: Small, delicate hand-painted details like tiny flowers, stars, or symbolic icons could be found on some custom press-on sets.
- Surreal Designs: Anything that sparks imagination – maybe eyes, moons, or quirky characters.
- Matte Finishes with Glossy Accents: A mix of textures can create a surprisingly artistic effect.
Press-On Nail Design Inspiration at a Glance
Here’s a quick look at some popular press-on nail design ideas and their general vibe!
| Design Style | Key Features | Best For | Complexity Level |
|---|---|---|---|
| Minimalist Chic | Nude tones, subtle lines, sheer colors, micro French tips | Everyday wear, office, subtle polish | Easy |
| Bold & Beautiful | Bright colors, geometric shapes, animal prints, chrome | Making a statement, parties, expressing personality | Medium |
| Glamorous & Sparkly | Glitter, rhinestones, pearls, metallic foil | Special occasions, weddings, evenings out | Medium |
| Seasonal & Festive | Themed patterns (floral, fall leaves, snowflakes), holiday colors | Holidays, seasonal events, matching outfits | Easy to Medium |
| Artistic & Unique | Abstract art, galaxy prints, hand-painted details, texture mixing | Expressing creativity, standing out, unique styles | Medium to Difficult (depends on design) |
Advanced Tips for Next-Level Press-Ons
Want to take your press-on game up a notch? Here are a few tips that can help you achieve even more professional-looking results and extend the life of your manicure.
Customizing Your Press-Ons
Don’t feel limited by the designs you buy off the shelf. Many press-ons can be slightly customized:
- Trimming and Shaping: If a nail is a little too long or not quite the right shape, carefully trim and file it down. Always file in one direction to avoid splitting.
- Adding Top Coat: For solid colors or simpler designs, a good quality gel top coat (cured under a UV/LED lamp) can add incredible shine and durability, making them look more like professional gel extensions.
- Adding Simple Embellishments: You can carefully glue on small rhinestones, studs, or even glitter to a plain press-on nail for a custom touch.
Achieving a Seamless Look
The key to press-on nails looking like they grew from your fingers is in the application and prep:
- Proper Sizing: This cannot be stressed enough! Nails that are too wide will look bulky, and those too small will leave gaps. Take your time to find the perfect fit for every nail.
- Cuticle Work: Pushing back your cuticles and lightly trimming any hangnails creates a clean canvas. Applying the press-on nail so it just kisses your cuticle line makes it look natural.
- Buffing Natural Nails: A light buffing helps the adhesive grip better, preventing lifting at the base of the nail.
- Using the Right Adhesive: For longer wear (1-2 weeks), nail glue is typically the way to go. For reusability and shorter wear (1-3 days), adhesive tabs are great.
Maintaining Your Press-On Manicure
Even the best application needs a little care to last:
- Be Gentle: Avoid using your nails as tools. Don’t pick at things, scrape, or pry with them.
- Moisturize: Keep your cuticles and the skin around your nails moisturized with cuticle oil. This helps keep your natural nails and the surrounding skin healthy and looking good.
- Avoid Harsh Chemicals: When doing chores, wear gloves to protect your nails from strong cleaning products or prolonged water exposure, which can weaken the adhesive.
Removing Press-On Nails Safely
Just as important as application is safe removal. Ripping them off can damage your natural nails. For nails applied with glue, soaking is usually best. Acetone-based nail polish remover is your friend here. For adhesive tabs, you can often gently lift the edge and use a little lukewarm, soapy water or cuticle oil to loosen the adhesive.
For Glue Removal:
- Soak fingertips in warm, soapy water for 5-10 minutes.
- Apply a few drops of acetone-based nail polish remover around the edges of the press-on nail.
- Gently use an orange stick or cuticle pusher to lift the edges.
- Continue applying remover and gently lifting until the nail comes off.
- Once removed, clean any glue residue from your natural nails and apply cuticle oil.
For more on nail health, the NHS offers excellent, free advice on maintaining healthy nails.
FAQ About Press-On Nail Designs
How long do press-on nails typically last?
With proper application and care, press-on nails applied with glue can last anywhere from 7 to 14 days. If you use adhesive tabs, they generally last 1 to 3 days. This can vary based on your lifestyle and how gently you treat your hands.
Can I reuse press-on nails?
Yes, press-on nails applied


