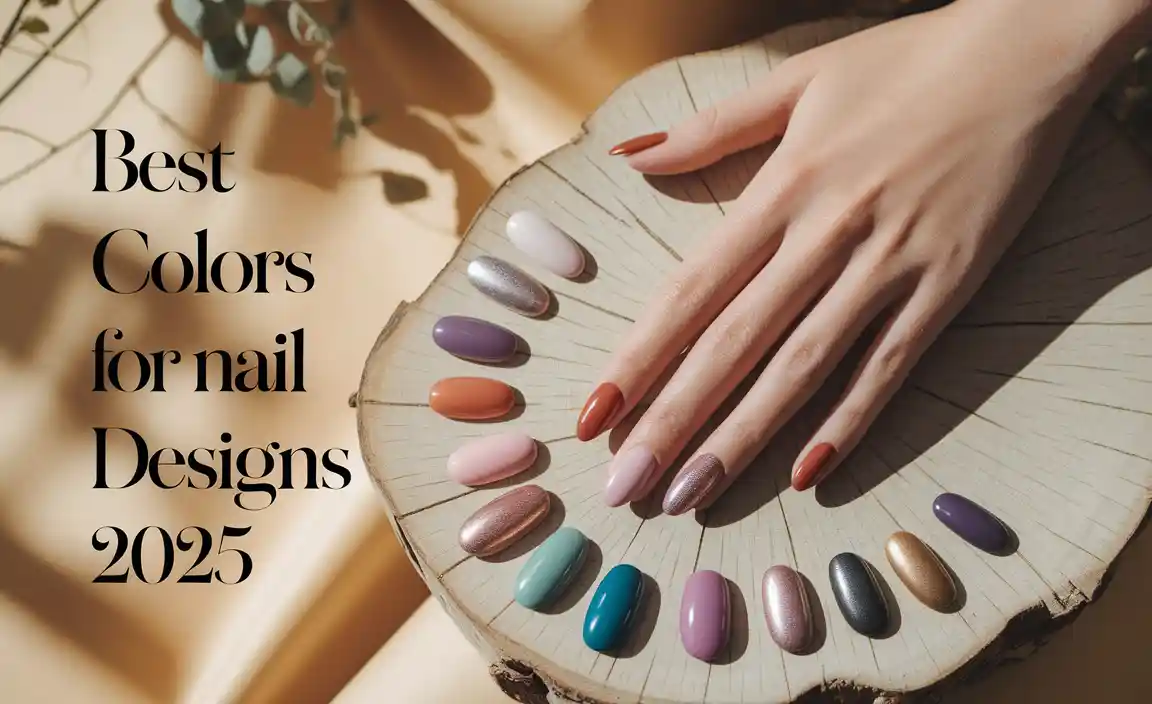
Pink ombre nails offer a dreamy, gradient blend of pink shades, perfect for a soft, feminine look or a bold pop of color. This beginner-friendly guide reveals essential styles and tips to achieve stunning pink ombre manicures at home, ensuring your nails are always on point.
Dreaming of a nail look that’s both romantic and chic? Pink ombre nails are your answer! This popular style features a beautiful fade from one shade of pink to another, creating a soft, alluring effect. Whether you love a subtle blush or a vibrant fuchsia, ombre nails offer endless possibilities. Many find achieving this smooth color transition a bit puzzling at first, leading to uneven blends or harsh lines. But don’t worry! With a few simple tricks and the right tools, you can master pink ombre nails right in your own home. Get ready to transform your nails into wearable art that’s sure to turn heads.
Frequently Asked Questions About Pink Ombre Nails
Why are pink ombre nails so popular?
Pink ombre nails are popular because they’re incredibly versatile! They can be soft and romantic for everyday wear or bold and vibrant for special occasions. The gradient effect is universally flattering and adds a touch of sophistication to any manicure. Plus, pink is a universally loved color that conveys femininity and joy.
What are the best pink shades for ombre nails?
The best pink shades depend on your desired look! For a soft, natural vibe, try a nude pink fading into a lighter blush or milky pink. For a bolder statement, combine a hot pink with a lighter, pastel pink, or even a hint of white. Don’t be afraid to experiment with deeper shades like raspberry or rose too!
Can I do pink ombre nails at home if I’m a beginner?
Absolutely! While it might take a little practice, achieving a beautiful pink ombre at home is totally doable for beginners. We’ll walk you through the process step-by-step, focusing on easy techniques that yield professional-looking results. Patience is key, and you’ll be amazed at what you can create.
How long do pink ombre nails last?
With proper application and care, gel pink ombre nails can last anywhere from 2 to 4 weeks. Regular nail polish ombre might last about 1 week, depending on the polish quality and topcoat. Ensuring your nails are clean and prepped, and using a good quality topcoat, will help extend the life of your manicure.
What is the difference between pink ombre and other ombre styles?
The main difference is the color palette. Traditional ombre often uses shades of white and black or a transition from nude to white. Pink ombre specifically uses various shades of pink, creating a gradient effect within the pink color family. This can range from very subtle blush transitions to vibrant, bold pink fades.
Do I need special tools for pink ombre nails?
You’ll need a few key items, but nothing too complicated! Essential tools include your chosen pink polishes, a base coat, a topcoat, and a tool for blending. A makeup sponge (like a cosmetic wedge) is fantastic for beginners. For a smoother finish, many pros use an airbrush or specialized ombre brushes later on, but a sponge is a great starting point.
Essential Pink Ombre Nail Styles for Every Occasion
Pink ombre nails are incredibly versatile, offering everything from the softest whisper of color to a bold, glamorous statement. The beauty of ombre lies in its seamless gradient, making it a stunning choice for any mood or event. Let’s dive into some must-try styles that are perfect for beginners and seasoned nail art lovers alike. We’ll explore how to achieve these looks, making sure you feel confident every step of the way.
The Classic Blush to Nude Fade
This is the quintessential elegant pink ombre. It’s subtle, sophisticated, and looks stunning on all skin tones. Imagine the softest hint of blush melting into a creamy nude base. It’s the perfect choice for everyday wear, professional settings, or when you want your nails to look polished without being overpowering. This look is your go-to for understated chic.
Why it works: Minimal contrast makes for a natural, elongated nail appearance. It’s incredibly forgiving for beginners as minor imperfections are less noticeable.
The Sweet Pastel Pink Dream
Think cotton candy clouds and dreamy sunsets. This style uses lighter, softer shades of pink, often fading into white or a very pale pink. It evokes a sense of innocence, sweetness, and gentle romance. It’s perfect for springtime manicures, bridal looks, or when you’re feeling particularly romantic and whimsical. This is pure, unadulterated pretty!
Why it works: Light colors reflect light, making nails appear delicate and airy. The softness is inherently pleasing and calming.
The Vibrant Fuchsia Pop Style
Ready to make a statement? This style cranks up the volume with bolder, brighter pinks like fuchsia, magenta, or even hot pink. It fades into a lighter pink, white, or even a contrasting vibrant color like orange or purple for a truly eye-catching effect. This is for the confident, the bold, and anyone who loves to stand out. It’s a fun, energetic look that’s perfect for parties, festivals, or just adding some zest to your day.
Why it works: High contrast and bright colors grab attention. It’s a fantastic way to express personality and confidence.
The Rose Gold Glam Ombre
Adding a touch of metallic glamour transforms any pink ombre into pure luxury. This style involves blending pink shades with rose gold glitter or a metallic rose gold polish. The glitter can be concentrated at the tips or the cuticle and faded throughout. It’s perfect for evening events, holidays, or when you want to feel a little extra special. It’s sophisticated sparkle at its finest.
Why it works: The metallic sheen adds depth and a luxurious feel. Glitter helps camouflage any minor blending imperfections.
The Two-Tone Pink Contrast
Don’t be afraid to play with more dramatic color differences within the pink spectrum. This style might blend a deep raspberry pink with a bright, coral-pink, or a classic bubblegum pink with a soft rose. The key is to choose two shades that have enough distinct character but still feel harmonious. This creates a more dynamic and interesting ombre effect that’s truly unique.
Why it works: Creates a visually striking and memorable look. It allows for more creative expression by pairing distinct pink hues.
How to Achieve Stunning Pink Ombre Nails at Home: A Beginner’s Guide
Creating gorgeous pink ombre nails at home is easier than you might think! We’ll break down the process using a simple sponge technique, which is perfect for beginners. You’ll be amazed at how achievable this trend is with just a few tools and a bit of patience. Let’s get started on your DIY ombre masterpiece!
What You’ll Need for Your Pink Ombre Manicure:
Gathering your supplies before you start makes the process smooth and enjoyable. Here’s a checklist to ensure you have everything ready:
- Base Coat: To protect your natural nails and help polish adhere.
- Two or More Pink Nail Polishes: Choose your desired shades for the gradient. A lighter shade (like white, pale pink, or nude) and a darker, brighter pink work well.
- Top Coat: For shine and longevity.
- Cosmetic Sponge or Makeup Wedge: This is your primary blending tool for a smooth fade.
- Nail Polish Remover: For cleaning up any stray polish.
- Cotton Swabs or Small Brush: For precise cleanup around the cuticle.
- Gloves or Barrier Cream (Optional): To protect your skin from polish.
- A clean, well-lit workspace.
Step-by-Step Guide to Pink Ombre Nails Using a Sponge:
Follow these simple steps for a beautiful pink ombre effect. Remember, practice makes perfect, so don’t get discouraged if your first attempt isn’t flawless!
Step 1: Prep Your Nails
Start with clean, dry nails. Push back your cuticles gently and lightly buff the surface of your nails to remove any shine. This creates a smooth canvas for your polish and helps it adhere better. Apply a thin layer of your base coat and let it dry completely. Doing this step correctly is crucial for a lasting manicure. For more on nail prep, check out these essential nail prep steps.
Step 2: Apply Your Base Pink Shade
Apply one or two thin coats of your lightest pink shade (or white/nude if using those) to all of your nails. This will be the color that shows through most at the nail bed. Let this layer dry thoroughly until it’s not tacky to the touch. A completely dry base coat prevents your ombre blend from becoming muddy.
Step 3: Prepare the Sponge
Cut your makeup sponge or wedge into a manageable size. Some people prefer a larger piece, while others like a smaller one for more control. Lightly dampen the sponge with water and gently squeeze out the excess. This prevents the sponge from absorbing too much polish and helps create a smoother blend. You can also try dabbing the sponge on a paper towel to remove any loose particles.
Step 4: Apply Polish to the Sponge
This is where the magic happens! On a piece of foil or a palette, apply stripes of your chosen pink polishes side-by-side. For a classic fade, place your darker pink shade next to your lighter pink shade. Make sure the stripes are touching each other slightly so they can blend together on the sponge. Work quickly, as nail polish dries fast!
Step 5: Dab and Blend Onto Nails
Gently press or dab the sponge onto your nail. Start at the free edge (the tip of your nail) where the darker color is, and roll or dab downwards towards the cuticle. You might need to reapply polish to the sponge and repeat the dabbing process a few times to build up the color and achieve the desired gradient effect. Don’t press too hard; light, repetitive dabbing is key for a smooth transition.
Pro Tip: If the ombre isn’t blending well, you can go over the transition area with a clean part of the sponge or a brush dipped in a bit of the lighter color or even clear polish. Some experts suggest a light mist of quick-dry spray can also help set the blended layers.
Step 6: Clean Up Edges
This step is crucial for a professional finish. Dip a cotton swab or a small, stiff brush into nail polish remover. Carefully paint around the cuticle area and the sides of your nails to remove any excess polish that got onto your skin. This will make your ombre design really pop and look polished. A steady hand is your best friend here!
Step 7: Apply Topcoat
Once your ombre design is complete and dry, apply a generous layer of your favorite topcoat. This locks in the design, adds a beautiful shine, and protects your manicure from chipping. For gel polish, follow the curing instructions for your gel topcoat.
Alternative Techniques for Pink Ombre Perfection
The sponge method is fantastic for beginners, but as you gain confidence, you might want to explore other ways to achieve stunning pink ombre nails. These methods can offer different finishes and levels of control.
The Fan Brush Technique
This method uses a specialized fan brush, often made of synthetic bristles. It’s great for a softer blend compared to the sponge. You apply your polishes vertically on the nail and then use the fan brush to gently feather the colors together from bottom to top.
- Apply your base color and let it dry.
- Apply your two pink shades in horizontal stripes near the tip of the nail.
- Using a clean, dry fan brush, gently brush upwards from the cuticle toward the tip, blending the colors.
- Repeat as needed to achieve your desired fade.
- Clean up edges and apply topcoat.
The Ombré Brush or Gradient Brush
These brushes are specifically designed for creating smooth gradients. They often have a staggered bristle pattern that helps blend colors effortlessly. Similar to the fan brush, you apply polishes and then use the brush to feather the transition.
The Airbrush Method
For a truly flawless and professional finish, airbrushing is the gold standard. This technique uses an airbrush machine and specialized polishes to spray gradients with incredible smoothness and control. While it requires specialized equipment and practice, the results are breathtaking. This is a professional technique, but it’s good to know it exists!
Gel Polish Ombre Advantages
Using gel polish for your pink ombre nails can offer several benefits:
- Longevity: Gel manicures are known for lasting much longer than traditional polish, often 2-3 weeks without chipping.
- Durability: Gel polish is harder and more resistant to wear and tear.
- Smooth Finish: Gel polish can create a very smooth, high-gloss finish.
- Slower Drying Time: Gel polish stays wet until cured under a UV/LED lamp, giving you more time to blend and perfect your ombre.
The application process for gel ombre is similar to traditional polish, but you’ll need a UV/LED lamp to cure each layer. For more information on gel polish and its application, consider resources like those from reputable beauty supply giants that often have guides on gel nail application.
Tips for Long-Lasting and Beautiful Pink Ombre Nails
Achieving a stunning pink ombre manicure is one thing, but keeping it looking fresh and beautiful for as long as possible is another! Here are some insider tips to help your creations last and shine.
Always Use a Good Base and Top Coat
We’ve mentioned this, but it bears repeating! A quality base coat creates a smooth surface, prevents staining, and ensures your polish adheres well. A durable topcoat seals your design, adds shine, and is your best defense against chips and wear. For extra strength and longevity, consider a gel topcoat or a long-wear formula.
Let Layers Dry Properly
Patience is a virtue, especially with nail art! Ensure each layer of polish, especially the base pink and the blended ombre layers, is dry to the touch before applying the next. Rushing this process can lead to smudging, smearing, and a less-than-perfect finish. For traditional polish, a quick-dry spray can be a lifesaver.
Hydrate Your Cuticles
Dry, ragged cuticles can detract from even the most beautiful nail art. Regularly moistur


