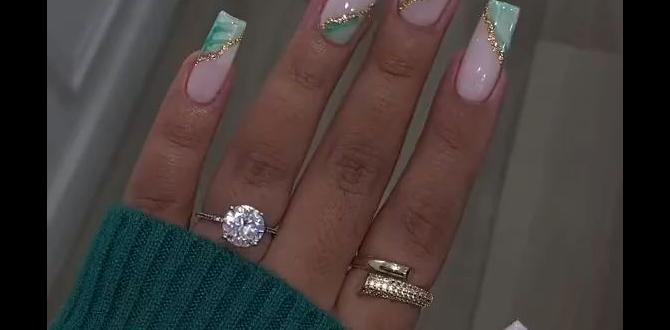
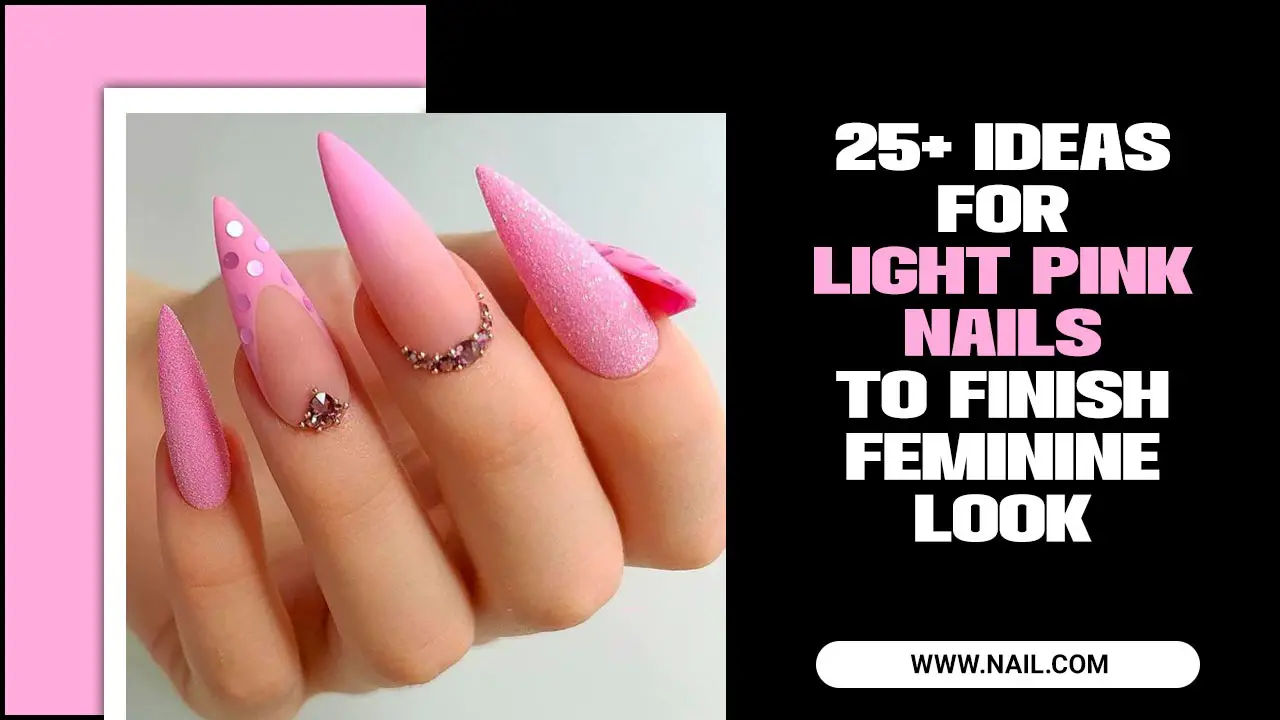
Pink nail designs are a timeless and versatile choice for adding a touch of charm and personality to your look. From soft pastels to vibrant fuchsias, pink nail art offers endless creative possibilities for every style and occasion, making it an essential part of any nail lover’s repertoire.
Hey there, nail enthusiasts! Lisa Drew here from Nailerguy. Are you ready to explore the wonderful world of pink nail designs? Pink is such a fantastic color – it can be sweet, bold, romantic, and playful, all at the same time! Whether you’re a complete beginner or you’ve been painting your nails for years, there’s a pink nail design out there that’s perfect for you. Sometimes, just picking the right shade can feel like a daunting task, let alone creating a whole design. But don’t you worry! We’re going to break down everything you need to know to create stunning pink manicures that will make your hands pop. Get ready to be inspired and empowered to bring your own fabulous pink nail dreams to life!
Why Pink Nail Designs Are Always a Great Idea
Pink is more than just a color; it’s a feeling! It’s associated with sweetness, femininity, joy, and even confidence. This is why pink nail designs have stood the test of time and continue to be a favorite for so many. They can instantly brighten your mood and your outfit. Plus, the versatility of pink is truly amazing. You can go for a subtle, sophisticated look with a soft blush or make a bold statement with a hot pink or fuchsia. It’s a color that adapts to your mood and the occasion, making it an absolutely essential shade in your nail art collection.
Think about it: a soft pink mani for a wedding, a vibrant pink for a fun night out, or a glittery pink for a festive party. The possibilities are endless! Pink nail designs are also incredibly forgiving for beginners. Many simple techniques look super chic in different shades of pink. We’ll dive into some easy ways to achieve salon-worthy results right at home.
Essential Tools for Your Pink Nail Design Adventure
Before we get our hands dirty with some fabulous pink nail designs, let’s make sure you have the right tools. Having the basics makes the whole process smoother and much more enjoyable. You don’t need a professional salon setup to create amazing nails!
- Nail Polish Remover: For cleaning up mistakes and preparing your nails. Acetone-free removers are generally gentler on your nails and cuticles.
- Cotton Pads or Balls: To apply the nail polish remover.
- Nail File and Buffer: To shape your nails and smooth the surface. A fine-grit buffer is great for giving your nails a lovely shine.
- Cuticle Pusher or Orange Stick: To gently push back your cuticles after softening them.
- Base Coat: This is super important! It protects your natural nail from staining and helps your polish adhere better, making your manicure last longer.
- Top Coat: Seals your design and adds a glossy shine. A good top coat is key to preventing chips and extending the life of your manicure.
- Nail Polish in Your Chosen Pink Shades: Of course! Have a few different pinks on hand: a light pastel, a medium rose, and maybe a bright fuchsia or coral-pink.
- Dotting Tools (Optional but Fun!): These come in various sizes and are perfect for creating dots, small flowers, or other simple patterns. You can find them affordably online or at beauty stores.
- Thin Nail Art Brush (Optional): For drawing finer lines or intricate details.
- Clear Top Coat: For sealing and adding shine.
You can find most of these items at your local drugstore or online beauty retailers. Check out Ulta Beauty’s selection of beauty tools for a wide variety of options.
Getting Started: Prep Work for Perfect Pink Nails
Great nail designs start with great preparation. Taking a few extra minutes for this step makes all the difference in how your polish looks and how long it lasts. Think of it as setting the stage for your masterpiece!
- Clean Your Nails: Start with clean, dry nails. Remove any old polish with your nail polish remover and cotton pads. Wash your hands with soap and water afterward to remove any oily residue.
- Shape Your Nails: Use your nail file to shape your nails. File in one direction to avoid weakening them. Whether you prefer square, round, or almond shapes, make them all even.
- Smooth the Surface: Gently buff the surface of your nails with a nail buffer. This helps to create a smooth canvas for your polish and removes any ridges. Be gentle – you don’t want to over-buff!
- Push Back Cuticles: If you have a cuticle pusher or orange stick, gently push back your cuticles. You can soften them with a little cuticle oil or warm water first. Avoid cutting your cuticles unless you are very experienced, as this can lead to infection. For the best advice on cuticle care, consult resources like the American Academy of Dermatology’s guidance on skin health, though focus on healthy cuticle maintenance.
- Apply Base Coat: Apply a thin, even layer of your base coat. Let it dry completely, which usually takes about a minute. This is crucial for preventing stains and ensuring a smooth finish.
Easy Pink Nail Designs for Beginners
Ready for the fun part? These designs are super simple, requiring minimal skill but delivering maximum impact. Let’s get creative with pink!
1. The Classic Pink Mani
Sometimes, the simplest is the most effective. A perfectly applied solid pink nail is elegant and chic.
- Choose Your Pink: Select a pink shade that speaks to you. Pastels for a soft look, brights for a pop, or deep roses for elegance.
- Apply Two Coats: Apply one thin coat of your chosen pink polish, let it dry for a minute, then apply a second coat. This ensures even color and opacity.
- Clean Up Edges: Use a small brush dipped in nail polish remover to clean up any polish that got on your skin.
- Seal with Top Coat: Apply a generous layer of your top coat to seal the color and add shine.
2. Pink French Tips
A fresh take on the classic French manicure. Instead of white, we’re using pink!
- Base Color: Apply one or two coats of a sheer milky pink or nude polish as your base. Let it dry completely.
- Create the Tip: There are a few ways to do this:
- Freehand: Carefully paint a curved line of a brighter pink polish across the tip of each nail.
- Stencils: Use French tip stickers or guide strips. Place the sticker where you want the pink tip to start, paint the tip, and carefully remove the sticker while the polish is still slightly wet.
- Clean and Top Coat: Clean up any stray marks and apply a top coat.
3. Pink Polka Dots
Dots are fun, easy, and always adorable!
- Base Color: Paint your nails with a solid base color. A white, nude, or even a contrasting color like black can look great with pink dots. Let it dry thoroughly.
- Dotting Time: Dip your dotting tool (or the end of a bobby pin/pen) into a contrasting pink polish.
- Create Your Pattern: Gently press the dotting tool onto your nail to create dots. You can place them randomly, in neat rows, or in a heart shape. Vary the size of the dots by using different ends of your dotting tools or bobby pins.
- Seal It: Once dry, apply a top coat.
4. Ombre Pink Nails
This gradient effect looks super sophisticated and is easier than you think!
- Base Color: Apply a sheer nude or light pink as your base.
- Get Ready to Ombre: You’ll need at least two shades of pink. You can use a makeup sponge. Apply a strip of your darker pink polish and a strip of your lighter pink polish next to each other on a clean surface (like a paper plate or wax paper).
- Sponge It On: Lightly dab the sponge across the polish to blend the colors slightly. Then, gently dab the sponge onto your nail, starting from the tip and working your way down. Reapply polish to the sponge and dab more if needed to build the color.
- Repeat & Refine: Repeat on all nails. Clean up any messy edges with a brush and remover.
- Finish: Apply a top coat once dry.
Pro Tip for Ombre: For a cleaner application, cover the skin around your nail with liquid latex or tape before you start sponging. This makes cleanup a breeze!
5. Glitter Pink Accents
Add some sparkle with glitter!
- Base Polish: Paint your nails with your favorite pink polish. Let it dry completely.
- Glitter Placement:
- Accent Nail: Paint one nail with a coat of glitter pink polish.
- Glitter Fade: Apply a clear top coat to one or all nails. Then, lightly brush or sponge a glitter polish onto the tips or the base of the nail, fading it upwards.
- Glitter Stripe: Use a thin brush or a nail art pen to add a stripe of glitter polish across a solid pink nail.
- Seal: Apply a top coat. You might need two coats of top coat over glitter to make sure it’s smooth.
Intermediate Pink Nail Design Ideas
Feeling a bit more confident? Let’s try some designs that add a little more detail. These are still totally achievable at home!
1. Pink Floral Accents
Flowers add a touch of delicate beauty to any manicure.
- Base: Apply a solid pink base color or a nude polish.
- Flower Power:
- Simple Flowers: Use a dotting tool. Make a small circle of dots to form a flower, or use the tip of your thin art brush to create petal shapes. A tiny dot of a contrasting color (like white or yellow) in the center can complete the look.
- Drawn Flowers: With a thin nail art brush and white or a lighter pink polish, draw simple petal shapes radiating from a central point.
- Leaves: Add tiny green leaves with your art brush if you like!
- Seal: Add a top coat.
2. Pink Marble Effect
This sophisticated look mimics natural marble and is easier than it looks.
- Base: Apply a light pink or white base coat and let it dry completely.
- Create the Veins: On a piece of foil or wax paper, mix a small amount of white polish with a tiny drop of black or dark grey polish. With a thin nail art brush, draw thin, wispy lines over your nails. Don’t make them too uniform; marble veins are organic.
- Blend: While the lines are still wet, use a clean, dry brush or a slightly damp sponge to gently swirl and blend the lines. The goal is to soften them and create a natural marble look.
- Add Pink Hues: Drip a few tiny dots of a slightly darker pink or blush tone around the white veins and gently swirl them in with your brush.
- Refine: Clean up any harsh lines with a brush and remover.
- Top Coat: Apply a top coat generously to seal the design.
For inspiration on marble patterns, a quick search for “natural marble textures” can give you ideas for vein shapes.
3. Pink and Gold/Silver Accents
Adding metallic touches elevates any pink nail design.
- Base: Apply your chosen pink polish.
- Accent Options:
- Gold/Silver Foil: Apply a thin layer of nail glue or top coat where you want the foil to stick. Place the foil shiny-side down onto the sticky area and press gently. Peel off the backing to reveal the metallic transfer.
- Glitter Polish: Use a gold or silver glitter polish on an accent nail or as a French tip.
- Metallic Stripe: With a tiny brush or nail art pen, draw a thin stripe of metallic polish across your pink nail.
- Studs/Gems: Apply a dab of strong top coat or nail glue and place small gold or silver studs or rhinestones.
- Seal: Apply a top coat. Be careful with studs and gems; you might need to build up top coat around them to secure them properly.
Advanced Pink Nail Designs to Inspire You
If you’re ready to take your nail art to the next level, these designs are for you. They might require a bit more patience and practice, but the results are stunning!
1. Intricate Pink Floral Designs
Think more detailed petals, leaves, and even delicate vines.
- Base: A pale pink, nude, or sheer white base works best.
- Detailed Drawing: Using fine-tipped nail art brushes and various shades of pink, white, and green polish, sketch out your floral designs. Layer colors to create depth and dimension. Start with basic shapes and gradually add finer details.
- Practice: Don’t be afraid to practice on paper or plastic sheets first to get a feel for the brush strokes.
- Seal: Carefully apply a top coat, avoiding disturbing the delicate details.
2. Pink Chrome or Holographic Nails
These finishes give a futuristic and eye-catching look.
- Base: Apply a solid pink base color and let it dry.
- Chrome/Holographic Powder: You’ll need a specific chrome or holographic powder and a special no-wipe top coat. Apply the no-wipe top coat and cure it under a UV/LED lamp.
- Apply Powder: While the top coat is still slightly tacky (or according to powder instructions), rub the powder onto the nail using a silicone tool or a fingertip. You’ll see the chrome effect appear.
- Buff: Buff the powder until the surface is smooth and reflective.
- Top Coat: Apply another layer of no-wipe top coat and cure it again.
These powders can be found at specialty nail supply stores. Check out resources like Harbor Freight Tools for potential supplies like UV lamps (though check dedicated nail sites for powders).
3. Pink Stiletto or Coffin Shape with Intricate Art
The shape of your nail can be part of the design!
- Shape: If you’re using artificial nails or have gel extensions, shape them into a stiletto (sharp point) or coffin (tapered flat tip).
- Design: Apply intricate designs like detailed marble, florals, or geometric patterns over the shaped nails. The sharp lines of stiletto and coffin shapes can beautifully complement complex art.
- Consider Length: Longer nails naturally provide more canvas for detailed artwork.
Creating a Pink Nail Design Color Palette
Pink isn’t just one color! Mixing and matching different shades can create dimension and interest.
Popular Pink Shade Combinations
Here’s a quick guide to some popular pink pairings:
| Primary Pink Shade | Complementary Colors | Vibe/Occasion |
|---|---|---|
| Soft Blush Pink | Cream, White, Rose Gold, Light Grey | Romantic, Elegant, Bridal, Everyday Chic |
| Bubblegum Pink (Bright Pastel) | White, Silver, Light Blue, Mint Green | Playful,girly, Fun, Spring/Summer Vibes |
| Hot Pink/Fuchsia | Black, White, Gold, Neon Yellow, Electric Blue | Bold, Glamorous, Party Ready, Statement Making |
| Dusty Rose | Navy Blue, Olive Green, Beige, Burgudy | Sophisticated
|

