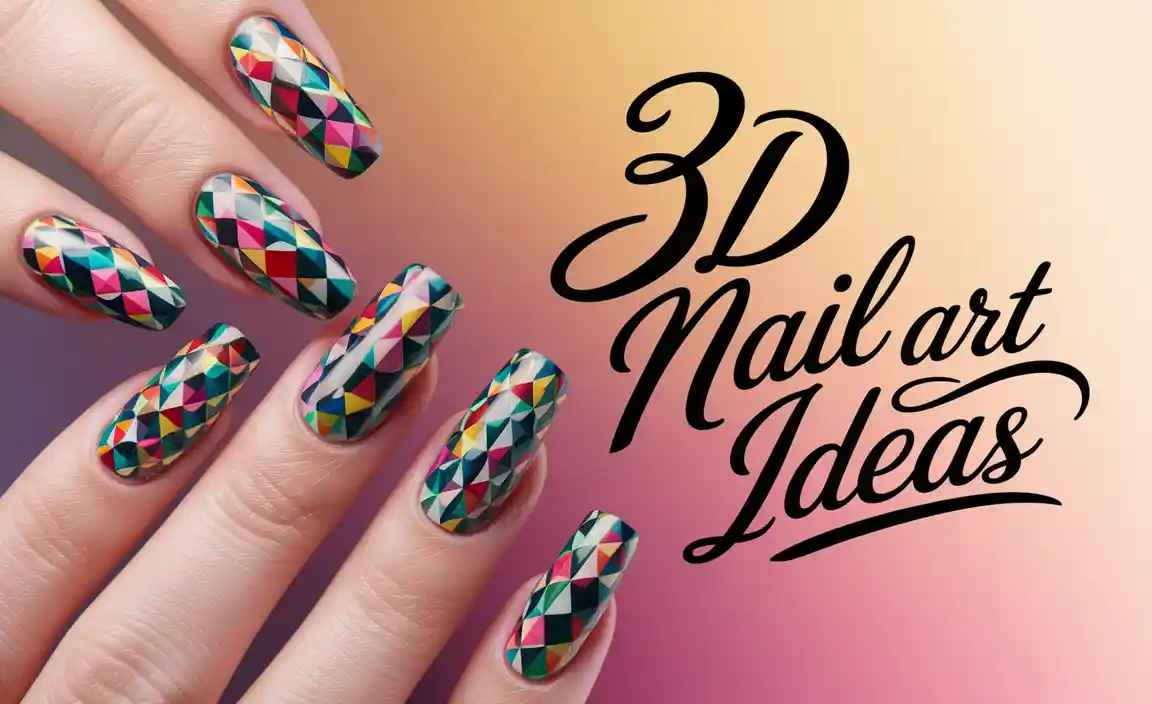
Pigment nail designs are a super fun and surprisingly easy way to add vibrant, eye-catching color to your nails. With just a few simple tools and techniques, you can create stunning, professional-looking manicures right at home, making them an essential skill for any nail art lover.
Hey nail enthusiasts, Lisa Drew here from Nailerguy! Ever felt like your nails are a blank canvas just waiting for a pop of dazzling color? Pigment nail designs are your answer! They’re all about using loose or pressed powders to create unique, shimmery, and intense color effects that regular polish just can’t match. Don’t worry if you’re new to this; it’s simpler than you think.
We’ll dive into everything you need to know, from the essential tools to step-by-step guides for creating breathtaking looks. Get ready to transform your nails into tiny works of art!
Why Pigment Nail Designs Are a Game-Changer for Your Manicure
Are you searching for that wow factor in your nail art? Pigment nail designs deliver just that. They offer a level of vibrancy, shimmer, and depth that’s hard to achieve with traditional polishes alone. Think of them as the sparkly, colorful jewels in your nail art crown!
Unlocking Versatility and Uniqueness
The beauty of pigment powders is their incredible versatility. You can achieve so many different looks, from subtle pastel shimmers to bold, metallic finishes.
Intense Color Payoff: Pigments pack a serious punch of color. A little goes a long way!
Shimmer & Shine: Many pigments offer an iridescent or holographic effect that catches the light beautifully.
Endless Mixing Potential: You can blend different pigments to create custom shades that are uniquely yours.
Layering Effects: Pigments can be layered over each other or over different base colors for complex, multidimensional looks.
Long-Lasting: When applied correctly, pigment designs can be very durable, especially when sealed with a good top coat.
Essential Tools for Your Pigment Nail Art Kit
Getting started with pigment nail designs doesn’t require a massive investment. Here are the basic tools you’ll want to have on hand.
Having the right equipment makes all the difference. It ensures your pigment application is smooth, even, and long-lasting. Let’s break down the must-haves:
The Absolute Essentials
- Pigment Powders: This is the star of the show! They come in various finishes like chrome, holographic, pearlescent, and matte. You can buy them in small pots or convenient palettes.
- Silicone Tools or Sponges: These are perfect for picking up and applying the pigment powder smoothly onto the nail surface. Silicone tools offer precision, while small eyeshadow-style sponges are great for full coverage.
- Base Coat and Top Coat: Essential for any nail design! A good base coat protects your natural nail and helps the color adhere, while a no-wipe top coat is crucial for sealing the pigment without smudging.
- LED/UV Lamp: If you’re using gel polish as your base or top coat, you’ll need a lamp to cure (harden) the gel.
- Clean-up Brushes: Small, stiff-bristled brushes (like makeup brushes or specialized nail art brushes) are perfect for dusting away excess powder and cleaning up any mess around the cuticle area.
- Alcohol Wipes or Gel Cleanser: For cleaning the nail surface and removing the sticky layer of gel polish before top coat application.
Optional but Handy Additions
- Nail Files and Buffers: For shaping your nails and creating a smooth surface for application.
- Cuticle Pusher & Oil: For neatening the nail area before you start.
- Gloves: Pigments can be messy, so gloves can keep your hands clean.
- Small Palette or Mixing Surface: If you plan to mix colors.
Step-by-Step Guide: Creating a Dazzling Pigment Nail Design
Ready to get your hands (and nails!) on some pigment magic? Follow these simple steps to create gorgeous, professional-looking designs. We’ll start with a classic chrome effect, which is a fantastic entry point into pigment powders.
Step 1: Prep Your Nails
Just like any manicure, proper preparation is key to a flawless finish. Start by cleaning your nails thoroughly to remove any oils or old polish. Shape them to your desired length and file any rough edges. Gently push back your cuticles. Buff the surface of your nails lightly to create a smooth canvas. For gel manicures, apply a thin layer of your base coat and cure it under your LED/UV lamp according to the manufacturer’s instructions.
Step 2: Apply Your Base Color (Optional, but Recommended!)
While you can apply some pigments directly to a cured base coat, using a colored polish underneath can add depth and dimension to your final look. For a classic chrome, a black gel polish is often used as it provides a dark base that makes metallic pigments pop. Apply your chosen color thinly and evenly, then cure it under your lamp. You might need two coats for full opacity, curing each layer separately.
Step 3: Apply the No-Wipe Top Coat (Crucial!)
This is a vital step, especially for chrome and mirror-like finishes. Apply a thin, even layer of a no-wipe gel top coat over your cured base color. It’s important that this top coat doesn’t have a sticky inhibition layer after curing, as it needs to be completely dry to apply the pigment. Cure this no-wipe top coat under your LED/UV lamp – make sure it’s fully cured!
Step 4: Apply the Pigment Powder
Now for the fun part! Take your silicone tool or makeup sponge and gently pick up a small amount of your chosen pigment powder. Begin to gently rub or pat the powder onto the surface of the uncured (but fully prepped!) no-wipe top coat. Work the pigment evenly across the entire nail surface until you achieve the desired color payoff and finish. For chrome or mirror effects, you’ll want to rub until the nail looks uniformly metallic and shiny. Be patient and build up the color gradually if needed.
Pro Tip: Avoid applying too much pressure, which can cause the pigment to clump or lift the top coat. Gentle buffing or patting motion is best.
Step 5: Seal and Finish
Once you’re happy with the pigment application, it’s time to seal it in. Use your clean-up brush to gently sweep away any excess powder from the surrounding skin and cuticle area. Then, apply another layer of your no-wipe gel top coat over the entire nail, ensuring you cap the free edge (the tip of your nail). This layer is crucial for locking in the pigment and protecting your design. Cure this final top coat layer under your LED/UV lamp.
Step 6: Final Touches
After curing the top coat, your pigment nail design is complete! If you used a no-wipe top coat, there’s no need to cleanse any sticky residue. If, for some reason, your top coat left a slight tackiness (rare with good quality no-wipe top coats), you can very gently wipe it with an alcohol wipe or gel cleanser. Apply cuticle oil to rehydrate the skin around your nails. Admire your stunning new manicure!
Exploring Different Pigment Nail Design Techniques
The basic pigment application is just the beginning! These powders open up a world of creative possibilities.
Chrome and Mirror Nails
This is one of the most popular pigment nail designs. It creates a sleek, high-shine, reflective surface. The key is using a dark gel polish base and a good quality no-wipe top coat. You can achieve a true mirror-like finish with metallic pigments like silver, gold, or rose gold.
Holographic Effects
Holo pigments split white light into a rainbow spectrum of colors. They can be applied as a full cover or as accents. Applying them over a black base often enhances the holographic effect, making the rainbow colors pop even more dramatically. Even a subtle application can add a magical twinkle to your nails.
Mermaid and Iridescent Nails
These pigments give off a shifting, pearlescent sheen, much like a mermaid’s tail or a seashell. They often have a pastel base color that changes depending on the angle of light. They look stunning over white or pastel bases for a dreamy, ethereal look.
Matte Pigment Finishes
While pigments are often associated with shine, you can achieve stunning matte finishes too! Apply your pigment as usual, and then finish with a matte gel top coat instead of a glossy one. This creates a velvety, sophisticated look that’s perfect for more understated elegance.
Ombre Pigment Nails
Create a seamless blend of colors by applying two or more different pigments using your sponge or silicone tool. Start with one color at the cuticle and gradually blend into another towards the tip. The smooth transition achieved with pigments is truly beautiful.
Stamping with Pigments
For intricate designs, try using pigments with stamping plates. Apply a regular gel polish to your stamping plate, scrape off the excess, and then use a pickup tool or stamper to pick up the polish. While the polish is still wet on the stamper, gently press pigment powder onto it. Then, stamp the design onto your nail. Seal with a no-wipe top coat and cure.
Troubleshooting Common Pigment Nail Design Issues
Even with the best intentions, you might run into a snag. Here’s how to fix common problems:
Patchy or Uneven Application
Cause: Not enough pigment on your tool, or the top coat wasn’t fully cured.
Solution: Ensure your no-wipe top coat is fully cured. Use a bit more pigment on your applicator and gently build up coverage. Make sure you’re rubbing the pigment all the way to the edges and cuticle.
Pigment Smudging or Losing Shine
Cause: Using a regular gel top coat that leaves a sticky layer, or not applying a top coat seal.
Solution: Always use a no-wipe gel top coat before applying pigment and as your final sealing layer. Ensure the final top coat is fully cured.
Excess Powder on Skin/Cuticles
Cause: Accidental dusting during application.
Solution: Use a firm, clean-up brush to gently sweep away excess powder before applying the final top coat. You can also use a small amount of alcohol on the brush to clean up any stubborn bits around the edges if needed, but be careful not to disturb the pigment on the nail itself.
Maintaining Your Pigment Nail Designs
To keep your stunning pigment nail designs looking their best, a little care goes a long way.
- Avoid Harsh Chemicals: Prolonged exposure to harsh cleaning agents or solvents can dull the shine or even weaken the polish and pigment. Wear gloves when doing chores.
- Be Gentle: While pigments are sealed, avoid aggressively scratching or picking at your nails, as this can lift the polish and damage the design.
- Regular Moisturizing: Keep your nails and cuticles hydrated with cuticle oil and hand cream. Healthy nails mean a better base for any polish or design.
- Reapplication of Top Coat: While not always necessary, some find that reapplying a thin layer of no-wipe top coat every 1-2 weeks can help maintain the shine and durability of their pigment designs.
Are Pigment Nail Designs Worth It for Beginners?
Absolutely! Pigment nail designs are surprisingly beginner-friendly. The learning curve is gentle, and the results are often stunning, giving you a big confidence boost. The key is starting with the right tools and a clear understanding of the steps. Many beginner kits include a variety of popular pigment shades, making it easy to experiment without a huge initial investment. Plus, the visual payoff is so rewarding!
A Table of Pigment Powder Types and Their Ideal Uses
Understanding the different types of pigments can help you choose the perfect effect for your desired look.
| Pigment Type | Effect Description | Best Used For | Tips for Application |
|---|---|---|---|
| Chrome Powders | Highly reflective, mirror-like finish. | Sleek, modern, metallic nails. Works well over black or white. | Apply with firm rubbing motion for maximum shine. Best sealed with a no-wipe top coat. |
| Holographic Powders | Splits light into a rainbow spectrum. | Magical, iridescent, party-ready nails. Great over darker colors. | Apply as a full nail effect or as accents. Rub gently for a shimmering glow. |
| Iridescent/Pearlescent Powders | Dreamy, shifting colors, often pastel-based. | Ethereal, mermaid, fairy-tale looks. Beautiful over light bases (white, pastels). | Pat gently for a soft, shifting glow. Can be layered for more intensity. |
| Glitter Powders (Fine & Chunky) | Adds sparkle and texture with various glitter sizes. | Glamorous, festive, or subtle sparkle highlights. | Can be mixed into gel or top coat. Fine glitters can be rubbed in like other pigments. |
| Matte Powders | Creates a velvety, non-reflective finish over a glossy base. | Sophisticated, modern, textured looks. | Apply as usual, then seal with a matte top coat. |
Frequently Asked Questions About Pigment Nail Designs
Nail pigments are fine powders that create a smooth, often reflective or colored finish on the nail surface, like chrome or mermaid effects. Glitter, on the other hand, consists of small, reflective particles that add sparkle and texture. You can achieve a glittery effect with some pigments, but true pigments are more about smooth color and shine.
It’s trickier with regular polish. Pigment powders are designed to adhere best to the sticky inhibition layer of cured gel polish (specifically a no-wipe top coat for chrome/mirror effects) or are rubbed into a fully cured gel top coat. While some pigments might adhere slightly to air-dry polish, the finish won’t be as smooth, vibrant, or long-lasting. For best results, gel polish is highly recommended.
Removal is typically the same as removing gel polish. If your pigment design is over gel polish, soak your nails in acetone or use foil wraps with acetone-soaked cotton pads. Gently push off the softened gel with an orange wood stick or cuticle pusher after soaking. If you applied them over a standard polish, standard nail polish remover will work, though the pigment might stain slightly.
Absolutely! This is where the real creativity comes in. You can mix different pigment powders on a palette or directly on your nail (before the final top coat) to create custom shades and unique color effects. Experimentation is encouraged!
You need an LED or UV lamp if you are working with gel polish for your base color, no-wipe top coat, or final top coat. This is essential for curing the gel and allowing the pigment to adhere properly. If you were to attempt pigments with regular polish (not recommended for best results), a lamp wouldn’t be needed, but the outcome would be different.
It’s always best to avoid inhaling fine powders. Wearing a mask, especially during application, can help prevent inhalation. Working in a well-ventilated area is also recommended. Many nail technicians use specialized masks designed for dust protection. While the pigments themselves are generally safe for nail application, inhaling them is not advisable. For more on nail safety, the U.S. Food & Drug Administration (FDA) provides resources on cosmetic safety.
Achieving a smooth chrome finish relies on a few key factors: Ensure your gel polish base and no-wipe top coat are applied thinly and without streaks. Cure the no-wipe top coat fully*. Use a soft applicator (like a silicone tool

