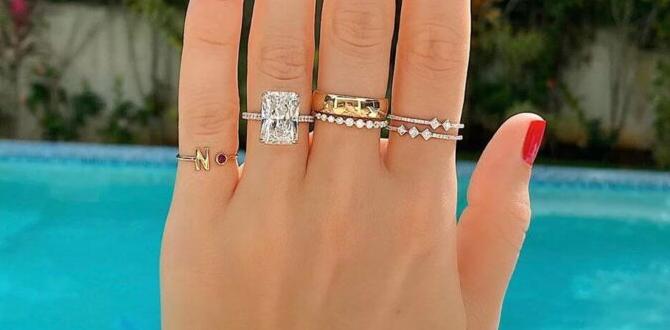
Pearls and lace bridal nail art offers a timeless, elegant look that’s perfect for any bride, combining delicate details with classic sophistication for a stunning finishing touch on your wedding day.
Planning your dream wedding involves countless details, and your nails are a beautiful canvas to express your personal style! Bridal nail art is such a fun way to complete your look. But among all the trends, the timeless charm of pearls and lace stands out. These gentle, sophisticated designs feel incredibly special and are perfect for your big day. Don’t worry if you’re new to nail art; we’ll guide you through creating these beautiful, delicate looks step-by-step. Get ready to fall in love with pearls and lace bridal nail art!
Why Pearls & Lace Bridal Nail Art is a Must-Have
Pearls and lace bridal nail art isn’t just a trend; it’s a classic choice that has graced countless brides for years. Why does this combo work so beautifully? It’s all about the delicate balance of textures and styles. Pearls bring a luminous, elegant sheen, reminiscent of traditional jewelry, while lace offers intricate, feminine patterns that evoke romance and tradition. Together, they create a nail design that’s both subtle and striking, perfectly complementing a bridal gown without overpowering it.
This style is incredibly versatile, too. Whether your wedding theme is modern chic, vintage glamour, or rustic charm, pearls and lace can be adapted to fit. You can go for a full lace-inspired design with subtle pearl accents, or a clean bridal white or blush nail with just a few strategically placed pearls. The key is their ability to add that extra touch of refined beauty that feels undeniably bridal.
For brides who want their nails to be a statement of classic elegance, pearls and lace are the ultimate pairing. They offer a sophisticated polish that photographs beautifully and brings a touch of luxury to your hands. It’s about creating a look that feels personal, timeless, and utterly beautiful.
Essential Tools for Your Pearls & Lace Bridal Manicure
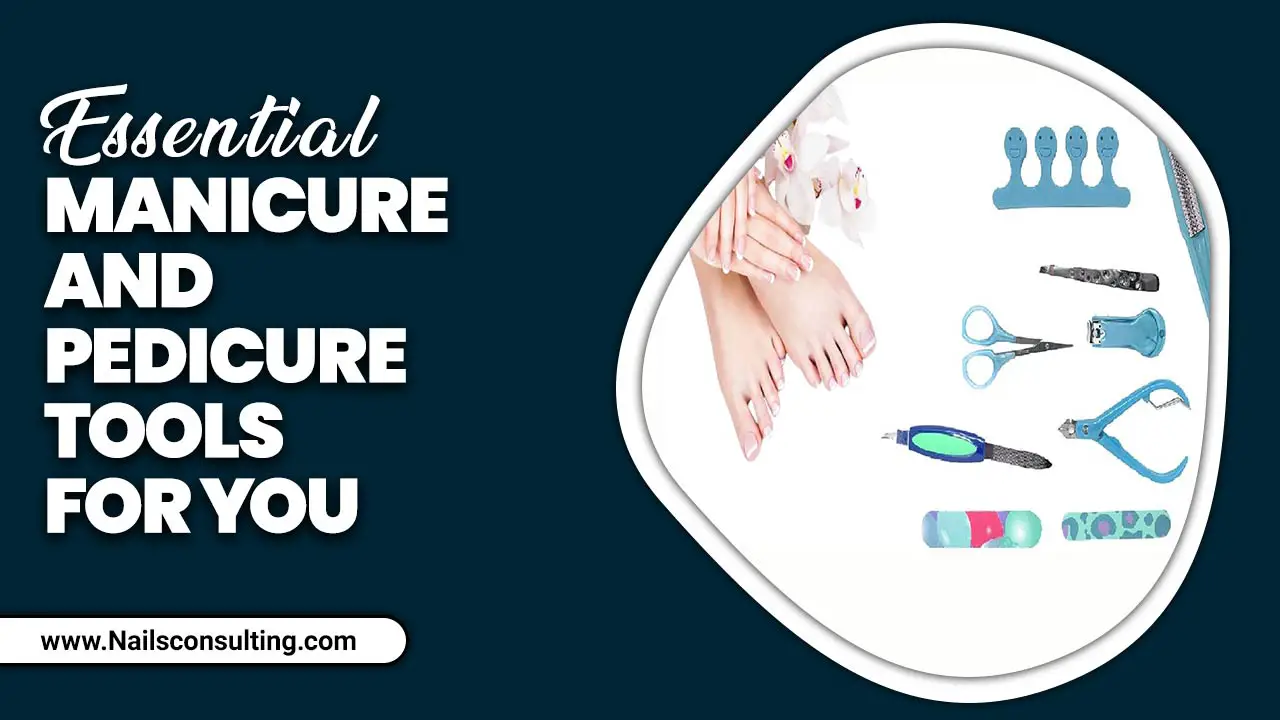
Creating beautiful pearls and lace bridal nail art at home is totally achievable with the right tools! You don’t need a whole professional salon setup. Here’s a breakdown of what you’ll want to have on hand. Having these basics will make the process much smoother and the results much more polished. Think of them as your nail art toolkit for creating something truly special!
The Must-Have Nail Art Supplies:
- Base Coat: Protects your natural nails and helps polish adhere better.
- Top Coat: Seals your design and adds a lasting shine.
- Bridal Polish Colors: Think soft whites, creams, nudes, pale pinks, or even a sheer nude.
- Fine-Tip Nail Art Brush: For painting delicate lines and patterns.
- Dotting Tools: Perfect for placing small pearls or creating dotted lace patterns.
- Tweezers: Essential for precisely placing small pearls and embellishments.
- Nail Glue or Strong Top Coat: To securely attach larger embellishments like pearls.
- Small Pearls & Embellishments: Nail art pearls, tiny rhinestones, or even small lace-like charms.
- Cuticle Pusher & Nail File: For prep work to ensure a smooth canvas.
- Rubbing Alcohol or Nail Polish Remover: To clean the nail surface before starting.
Having these items ready means you’re almost there! The magic of pearls and lace is in their delicate application, and these tools are designed to help you do just that. We’ll go through how to use them for each design!
Achieving the Perfect Nail Prep
Before we dive into the fun designs, let’s talk about getting your nails ready. A flawless bridal manicure starts with a strong, healthy base. Proper nail prep ensures your polish and art will last throughout your wedding day and look absolutely stunning. It’s like setting the perfect canvas before you start painting!
Think of this as the foundation that makes your pearl and lace art truly shine. When your nails are clean, smooth, and well-shaped, even the simplest design looks more elegant and professional. Plus, good prep helps prevent chipping and lifting, so your beautiful nails stay perfect for longer. Let’s get those nails wedding-ready!
The Ultimate Nail Prep Steps:
- Cleanse Your Nails: Start by removing any old polish with a gentle, acetone-free remover. Then, gently wash your hands and nails to remove any oils or debris.
- Shape Your Nails: Use a fine-grit nail file to gently shape your nails to your desired length and shape. Always file in one direction to prevent splitting. Almond, oval, and soft square shapes are very popular for bridal looks.
- Push Back Cuticles: Carefully use a cuticle pusher to gently push back your cuticles. Healthy cuticles frame your nails beautifully and provide a larger surface area for your nail art. Avoid cutting cuticles if possible, as this can lead to infection.
- Buff (Optional): If your nails have ridges or you want extra smoothness, gently buff the surface of your nails. Don’t over-buff, as this can weaken your nails.
- Sanitize: Wipe each nail with rubbing alcohol or a nail cleanser. This removes any lingering oils that could prevent the polish from sticking.
- Apply Base Coat: Paint on a thin, even layer of your favorite base coat. Let it dry completely. This step is crucial for preventing staining and helping your polish adhere.
Once your nails are prepped and your base coat is dry, you’re ready for the creative part! Perfectly prepped nails make all the difference for long-lasting, beautiful bridal nail art.
Easy DIY Pearls Bridal Nail Art Designs
Pearls bring a touch of classic elegance and a subtle shimmer that’s perfect for any bride. These designs are beginner-friendly and look incredibly sophisticated. We’ll walk you through a few easy ways to incorporate pearls into your bridal nails.
Design 1: The Classic Pearl Accent
This is a beautiful, simple design that lets the elegance of the pearl speak for itself. It’s a favorite for a reason – it’s chic and timeless.
Steps:
- Polish Your Nails: Apply two coats of your chosen bridal polish color (like a soft white, cream, or nude) and let them dry completely. Make sure each coat is fully dry before moving on.
- Apply a Dot of Glue: On the nail where you want to place the pearl(s), apply a tiny dot of nail glue or a thicker application of your top coat near the cuticle or on the side of the nail.
- Place the Pearl: Using your tweezers, carefully pick up a small nail art pearl. Gently press it into the dot of glue or top coat. Hold for a few seconds until it’s secure.
- Accessorize: You can place one pearl near the cuticle, create a small cluster, or even line up a few pearls along the tip or side of the nail.
- Seal It In: Once secured, carefully apply a thin layer of top coat around the pearl, being careful not to flood the pearl itself. This helps everything stay put and adds shine.
This design looks stunning on an accent nail or as a subtle touch on every nail. It’s understated elegance at its finest!
Design 2: The Pearl Bridal French Manicure
A twist on the classic French tip, adding pearls elevates this timeless look into something truly special for your wedding day. It’s refined and oh-so-bridal.
Steps:
- Apply Base and Color: Apply your bridal base coat and then your chosen sheer nude or pale pink polish to your entire nail. Let it dry.
- Create the French Tip: Use a fine-tip nail art brush and white polish to carefully paint a French tip. You can freehand this or use nail guides for a crisp line. Let it dry completely.
- Add the Pearls: Using your tweezers and a tiny dot of nail glue or top coat, strategically place small pearls along the curve of the white French tip. You can space them out evenly, cluster them at the corners, or create a delicate line.
- Secure with Top Coat: Once the pearls are in place and secure, very carefully apply a thin layer of top coat over the entire nail, sealing in the design and the pearls.
This look is sophisticated, celebrates tradition, and adds just enough sparkle to make your hands look wedding-ready. For more inspiration on French tips, check out this guide on traditional French manicures and variations on Healthline.
Design 3: The Pearl Cluster Accent
For a slightly more glamorous, yet still delicate, effect, try a cluster of pearls. This works beautifully on an accent nail, like your ring finger.
Steps:
- Base Coat and Polish: Apply your base coat, then two coats of your bridal polish color. Let it dry thoroughly.
- Apply Adhesive: Place a slightly larger dot of nail glue or top coat where you want your pearl cluster to be. This will hold multiple pearls.
- Arrange the Pearls: Using tweezers, carefully place several small pearls into the adhesive. You can arrange them in a small bunch, a teardrop shape, or even a delicate line. Don’t be afraid to mix pearl sizes for added depth!
- Secure and Seal: Gently press down on the pearls to ensure they are firmly attached. Once happy with the arrangement, carefully apply a thin layer of top coat around the cluster, avoiding flooding the pearls themselves.
This design adds a lovely focal point to your manicure and looks like a little piece of jewelry for your nails!
Sophisticated DIY Lace Bridal Nail Art
Lace patterns on nails are incredibly romantic and offer a touch of vintage charm. Recreating delicate lace can seem tricky, but with the right tools and a little patience, you can achieve stunning results. These designs add intricate detail that’s perfect for a bridal look.
Design 1: The Lace Decal Overlay
This is one of the easiest ways to achieve a complex lace look without intricate freehand painting. Nail decals are your best friend here!
Steps:
- Prep and Polish: Apply your base coat, followed by one or two coats of your desired bridal polish color (a nude, cream, or sheer pink works beautifully). Ensure the polish is completely dry.
- Choose Your Decals: Select lace-patterned nail decals that fit your nail size. You can find these online or at beauty supply stores.
- Apply the Decal: Carefully peel the lace decal from its backing. Position it onto your nail. If it’s a water-transfer decal, follow the product’s instructions (usually involving soaking in water). For adhesive decals, simply press them gently onto the nail.
- Smooth and Secure: Gently smooth out the decal to avoid air bubbles. You can use a silicone tool or the edge of your tweezers.
- Seal with Top Coat: Apply a thin, smooth layer of top coat over the entire nail. Make sure to cap the free edge (the tip of your nail) to prevent the decal from peeling.
These decals come in so many beautiful patterns, from delicate floral lace to bolder geometric designs. It’s a quick way to get a professional-looking, intricate nail art design!
Design 2: The Painted Lace French Tip
This design combines the classic French tip with delicate, painted lace details for a super chic and romantic look. It’s a bit more involved, but the result is stunning.
Steps:
- Base Coat and Color: Apply your base coat, then your chosen bridal polish color to your entire nail. Let it dry completely.
- Create the White Tip: Using a fine-tip nail art brush and white polish, carefully paint a French tip, just like you would for a standard French manicure. Let this dry until it’s no longer tacky.
- Paint the Lace Pattern: With an even finer tip brush and white or a subtle accent color (like silver or a pale gold), delicately paint tiny dots, swirls, or floral patterns along the edge of the white French tip, mimicking lace. Think small, repeating motifs.
- Add Details (Optional): You can add a few tiny pearls to the lace pattern for extra sparkle and dimension.
- Apply Top Coat: Once your painted lace design is completely dry, carefully apply a thin, even layer of top coat over the entire nail to seal in your beautiful work.
For intricate painting, patience is key! If you’re new to polish painting, practicing on a piece of paper or a nail tip first can be very helpful.
Design 3: The Lace Stamped Nail
Nail stamping is a fantastic technique for achieving intricate patterns quickly and easily. With the right plate, you can create beautiful lace designs.
Steps:
- Prep and Polish: Apply your base coat and then your chosen bridal polish color. Let it dry completely.
- Apply Stamping Polish: Apply a contrasting polish (white, cream, or a metallic shade) over the lace pattern on your stamping plate.
- Scrape and Pick Up: Use a stamper and scraper tool. Quickly scrape off the excess polish from the plate, then immediately press the stamper onto the plate to pick up the lace design.
- Stamp Onto Nail: Align the stamper over your nail and press down firmly but quickly to transfer the lace pattern.
- Clean Up and Seal: Clean up any stray polish around your nails with a brush dipped in nail polish remover. Once the stamping is dry, apply a thin layer of top coat to seal the design.
It’s recommended to use a specific stamping polish, as these are highly pigmented. For more on the art of nail stamping, you can explore resources from stamping brands like Born Pretty Store, a popular retailer for nail art supplies.
Combining Pearls & Lace: The Ultimate Bridal Nail Art
Why choose between pearls and lace when you can have both? Combining these two elements creates nail art that is the epitome of bridal elegance. It’s a symphony of delicate textures and classic beauty. Here’s how to mix and match these enchanting details for a truly unforgettable look.
Design: The Pearl-Adorned Lace Nail
This design focuses on a primary element (either lace or pearls) and adds the other as a beautiful accent, creating depth and sophistication.
Steps:
- Choose Your Dominant Element: Decide if you want lace to be the main feature or pearls. For this example, let’s make the lace the star.
- Apply Base and Lace: Prepare your nails with a base coat and your chosen bridal polish color. Then, apply your chosen lace element. This could be a lace decal on an accent nail, a stamped lace pattern, or freehanded lace details. Ensure the lace element is completely dry and adhered.
- Add Pearl Accents: Now, using your tweezers and a tiny dot of nail glue or top coat, strategically place small pearls onto or around the lace design. You might:
- Place a single pearl at the intersection of lace swirls.
- Scatter a few tiny pearls over a lace-stamped nail for added sparkle.
- Cluster a few pearls near the cuticle or along the tip of a lace-edged nail.
- Consider Placement: Think about balance. If your lace is very intricate, a few well-placed pearls will be enough. If your lace is simpler, you might add a few more pearls.
- Seal Everything: Once all elements are in place and secure, carefully apply a thin, smooth layer of top coat over the entire nail. Be meticulous around the pearls to ensure they are fully sealed but avoid flooding them.
This combination is truly magical. The intricate beauty of the lace is enhanced by the luminous glow of the pearls, creating a look that feels custom-made for your wedding day. It’s a sophisticated blend that’s both romantic and utterly chic.
A Table of Design Ideas & Their Effort Levels
Choosing the right nail art for your wedding day is personal. To help you decide, here’s a quick guide to popular pearls and lace designs and how challenging they are to create. This can help you pick a style that fits your skill level and the time you have!
| Design Idea | Primary Elements | Estimated Effort Level | Best For |
|---|---|---|---|
| Classic Pearl Accent | Pearls | Beginner | Subtle elegance, accent nail |
| Pearl French Tip | French Tip & Pearls | Beginner-Intermediate | Classic bridal look with a twist |
| Pearl Cluster Accent |

