Quick Summary: Pearls and bows nails are a darling, retro-chic manicure trend that adds a touch of elegance and playful charm to any look. This guide makes creating these stunning nails easy, perfect for beginners wanting to elevate their nail art game with essential tools and simple techniques for a polished, sophisticated finish.
Dreaming of nails that wow with a sweet, sophisticated flair? Pearls and bows nails are making a major comeback, and for good reason! They’re the perfect blend of classic elegance and dainty charm, instantly elevating your manicure from simple to stunning. But if you’re new to nail art, diving into embellishments and intricate designs can feel a little daunting. Don’t worry, I’ve got your back! We’ll break down exactly how to achieve these gorgeous looks, making it super simple and totally achievable, even if you’re just starting out. Get ready to fall in love with your nails all over again!
Why Pearls & Bows Nails are Essential & Stunning
Pearls and bows aren’t just trendy; they’re timeless. They tap into a sense of classic femininity and a sophisticated sensibility that never goes out of style. Think Audrey Hepburn or Grace Kelly – a touch of pearl, a delicate bow, and instantly you exude grace and poise. This manicure trend is incredibly versatile. It can be as subtle or as statement-making as you like, making it perfect for anything from a casual brunch to a formal wedding. Plus, the combination is inherently “put-together,” giving an effortless air of polished style to your overall appearance.
The “essential and stunning” nature of this trend lies in its simplicity and impact. A few strategically placed pearls can transform a plain polish, while a miniature bow can offer a playful yet chic accent. It’s a way to express a softer, more romantic side without being over the top. It’s about adding those special details that make your nails truly unique and eye-catching.
Getting Started: Essential Tools for Your Pearls & Bows Manicure
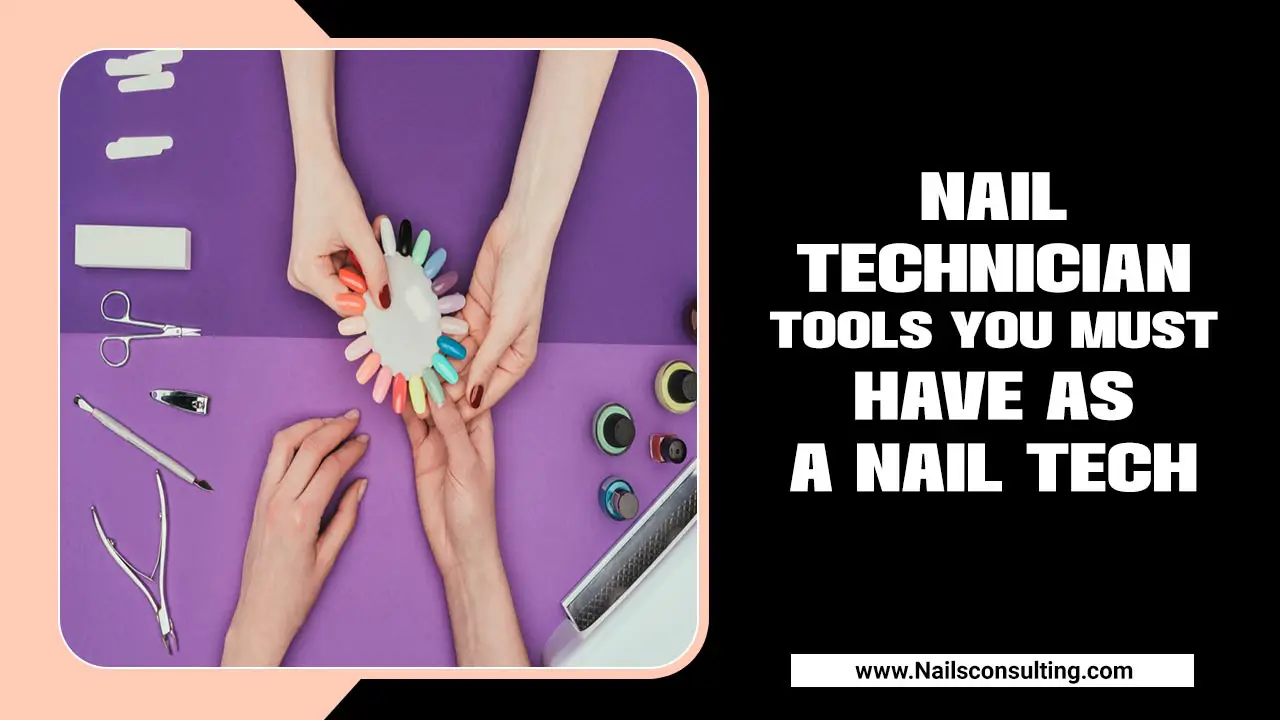
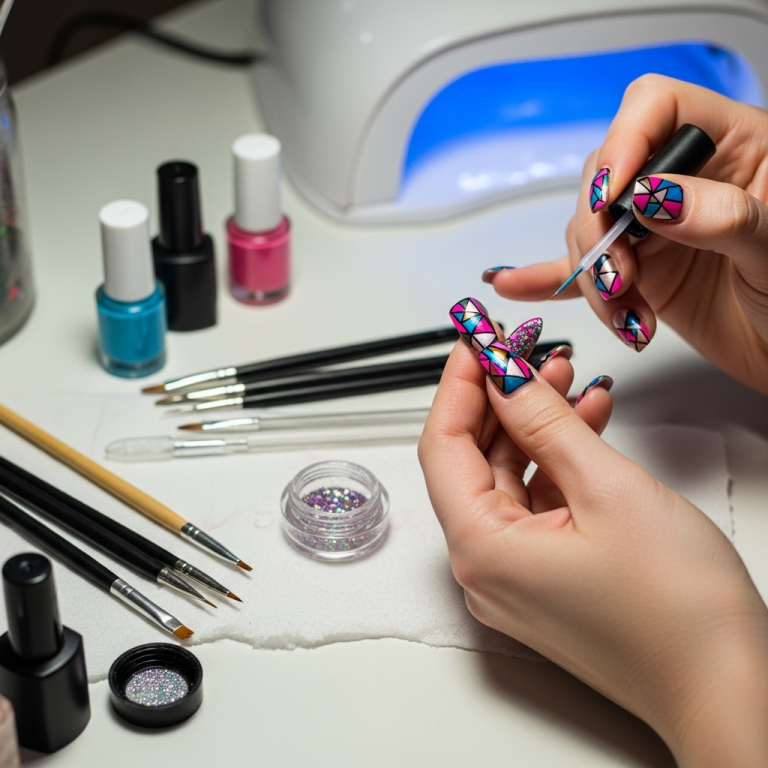
Before we dive into the fun part, let’s make sure you have the right gear. You don’t need a whole nail salon at home! A few key tools will set you up for success. Think of these as your secret weapons for a flawless finish.
Here’s a list of essential tools that will make creating pearls and bows nails a breeze:
- Nail Glue or Strong Nail Adhesive: This is crucial for securing your embellishments. Look for a good quality, quick-drying formula.
- Precision Tweezers: These are a lifesaver for picking up tiny pearls and bows and placing them exactly where you want them. Fine-tipped, angled tweezers are often the easiest to work with.
- Dotting Tool or Toothpick: For applying a tiny dot of glue precisely where needed for your embellishments.
- Clear Top Coat: To seal everything in place and give your nails a beautiful, glossy finish.
- Your Favorite Nail Polish: The base color that will make your pearls and bows pop!
- Pearls and Bow Embellishments: You can find these in various sizes and colors online or at beauty supply stores.
Having these on hand will make the process much smoother and give you professional-looking results. It’s all about having the right tools for the job!
Choosing Your Base: Colors & Finishes That Complement Pearls & Bows
The foundation of your pearls and bows manicure is your base polish. The color and finish you choose can dramatically change the overall vibe. For beginners, starting with classic choices is a great way to master the technique before experimenting too much.
Classic & Elegant Bases
- Nude or Beige: These are universally flattering and create a sophisticated backdrop. They let the pearls and bows be the star of the show.
- Soft Pinks: From blush to rose, soft pinks enhance the feminine charm of pearls and bows.
- Creamy Whites or Off-Whites: These offer a clean, bridal, or chic minimalist look.
- Sheer Pastels: Think baby blue, lavender, or mint green for a subtle, dreamy effect.
Modern & Bold Bases
- Black or Deep Navy: For a dramatic, high-contrast look that feels very chic and modern.
- Metallics (Gold, Silver, Rose Gold): These can amp up the glam factor, especially when paired with matching embellishments.
- Matte Finishes: A matte top coat can give a contemporary edge to the classic pearls-and-bows combination.
When it comes to finishes, a classic glossy finish is always a winner. However, don’t shy away from matte or even a subtle shimmer base if it aligns with your personal style. The most important thing is to pick a color you love!
The Art of Application: Step-by-Step Guide to Pearls & Bows Nails
Now for the exciting part – let’s create some magic! This step-by-step guide will help you achieve stunning pearls and bows nails with ease. Remember, patience is key, especially when you’re just starting out. It’s okay if your first attempt isn’t perfect; practice makes perfect!
Step 1: Prepare Your Nails
Start with clean, dry nails. Remove any old polish. Gently push back your cuticles using an orange wood stick or cuticle pusher. If you like, lightly buff your nails to create a smooth surface for polish application. Wash your hands thoroughly to remove any dust or oils.
Step 2: Apply Your Base Coat
Apply one or two thin coats of your chosen nail polish. Let each coat dry completely before applying the next. A good base color is essential for the embellishments to stand out beautifully. For tips on achieving a smooth, streak-free application, check out these basic nail polishing techniques.
Step 3: Plan Your Design
Before you start gluing, decide where you want your pearls and bows to go. A common and popular placement is along the cuticle line, on the accent nail (like your ring finger), or as a cute accent on each nail. You can also try a delicate line of pearls down the center of the nail.
Step 4: Apply Your Embellishments
For Pearls:
- Using your dotting tool or toothpick, pick up a tiny dot of nail glue or a small dab of clear top coat (if using very small, lightweight pearls and you want them to be more temporary).
- Carefully place the dot of glue onto your nail where you want the pearl to sit.
- Using your precision tweezers, pick up a pearl.
- Gently press the pearl onto the dab of glue. Hold for a few seconds to ensure it adheres.
- Continue placing pearls in your desired pattern.
Pro Tip: For a uniform line of pearls, apply a thin, continuous line of top coat or glue and then carefully place the pearls along the line.
For Bows:
- Using your precision tweezers, pick up a nail art bow.
- Apply a small dot of nail glue to the back of the bow or to the spot on your nail where you want to place it.
- Carefully position the bow onto the glue on your nail.
- Press gently and hold for a few seconds until secured.
Remember to work on one section at a time, or even one nail at a time, especially if you’re new to this. This prevents the glue from drying too quickly.
You can mix and match pearls and bows on the same nail or even across different nails for a dynamic look. Try a single 3D bow on one nail and a delicate pearl stripe on another.
Step 5: Seal the Deal with a Top Coat
Once all your embellishments are perfectly in place and the glue is dry, apply a generous layer of clear top coat all over your nails. Be sure to carefully paint around your embellishments. The top coat not only adds a beautiful shine but also helps to secure the pearls and bows, making your manicure last longer. You might need to apply two thin coats of top coat, letting each dry fully, depending on the size and texture of your embellishments. This extra step ensures everything stays put!
Pros and Cons of Pearls & Bows Nails
Like any nail art trend, pearls and bows nails have their advantages and disadvantages. Understanding these can help you decide if they’re the right choice for you and manage your expectations.
| Pros | Cons |
|---|---|
| Elegant & Chic: Instantly elevates your look with a touch of sophistication. | Can Be Prone to Catching: Embellishments, especially 3D bows, can snag on clothing or hair. |
| Versatile: Works with a wide range of base colors and styles, from subtle to bold. | Requires Extra Care: You need to be more mindful when doing daily activities to avoid dislodging pieces. |
| Expressive: A beautiful way to showcase a softer, more romantic aesthetic. | Potential for Longevity Issues: If not applied with strong adhesive and sealed properly, embellishments might fall off. |
| Achievable at Home: With the right tools and a little practice, it’s a DIY-friendly trend. | Time-Consuming: Applying multiple embellishments can take longer than a standard polish job. |
| Unique & Eye-Catching: Makes your manicure stand out and become a conversation starter. | Can Feel Bulky: Some larger or raised embellishments might feel unnatural on the nail. |
Weighing these points can help you decide if this glamorous trend is for you! For tips on nail health, which is crucial for any type of nail art, you can check out guidelines from the American Academy of Dermatology.
Creative Variations & Styling Tips
Once you’ve mastered the basic pearl and bow placement, you can start playing with different creative variations. Don’t be afraid to express your unique style!
Mix and Match
Combine pearls and bows on the same nail! A small bow at the cuticle with a trail of pearls down the nail can be stunning. Or, place a cluster of pearls next to a single bow accent.
Placement Play
- French Tip Accent: Place a tiny bow or a few pearls right at the apex of your French tip.
- Full Nail Coverage: For a bold look, cover an accent nail entirely with small pearls.
- Gradient Effect: Start with more pearls at the cuticle and gradually use fewer as you move towards the tip.
- Outline Designs: Use tiny pearls to outline a shape, like a heart or a star, on your nail.
Color Combinations
Don’t limit yourself to white pearls! Try them in different colors like rose gold, silver, or even black for a modern twist. Similarly, bows come in a variety of colors and finishes, from matte to glitter.
Seasonal Styles
- Bridal: White or pearlescent nails with delicate pearl accents are perfect for weddings.
- Holiday Glam: Red or green bases with gold bows and pearl accents for a festive touch.
- Spring Romance: Pastel bases with dainty pink or ivory bows and pearls.
The key is to have fun and experiment! Your nails are a canvas for self-expression.
Maintaining Your Pearls & Bows Manicure
To keep your gorgeous pearls and bows nails looking their best for as long as possible, a little extra care goes a long way. Think of it like maintaining any special piece of jewelry!
- Be Gentle: When washing dishes, typing, or dressing, be mindful of your nails to avoid snagging the embellishments. Consider wearing gloves for strenuous tasks.
- Avoid Harsh Chemicals: Prolonged exposure to harsh cleaning products or solvents can weaken the adhesive and dull the shine of the pearls.
- Reapply Top Coat: If you notice the top coat wearing thin around the embellishments after a few days, carefully apply another thin layer to reinforce the bond.
- Touch-Ups: If a pearl or a bow happens to fall off, don’t despair! Simply follow the application steps again to reattach it. You might need to gently scrape off any old glue residue first.
With a little attention, your unique manicure can last beautifully for a good amount of time, allowing you to enjoy its charm!
Frequently Asked Questions About Pearls & Bows Nails
Here are some common questions beginner nail art enthusiasts have about pearls and bows nails:
Q1: How do I make sure the pearls and bows actually stick?
A: Use a good quality nail glue specifically designed for nail art or strong nail adhesive. Apply a tiny dot of glue to the nail where you want the embellishment, then carefully place the item onto the glue using tweezers. A final layer of top coat over the entire nail (being careful around the embellishments) will also help secure them.
Q2: Can I put pearls and bows over gel polish or acrylics?
A: Absolutely! Pearls and bows look fantastic on gel polish and acrylic nails. You can apply them once your gel polish is cured or on finished acrylics. The adhesive should work just as well, and you’ll typically seal them with a gel top coat and cure it under a UV/LED lamp for maximum durability.
Q3: How long do pearls and bows nails typically last?
A: With proper application and care, your pearls and bows nails can last anywhere from a week to two weeks. Longevity depends on the adhesive used, the quality of the embellishments, how well you seal them with top coat, and how careful you are with your hands during daily activities.
Q4: What kind of pearls and bows can I buy?
A: You can find a huge variety! Pearls come in different sizes (from tiny seed beads to larger cabochons), colors (white, cream, iridescent, metallic), and materials (plastic, acrylic, even glass). Bows come in 3D shapes, flat designs, and materials like resin, metal, or fabric-like plastics, in many colors and sizes.
Q5: Is it difficult to get the pearls perfectly straight?
A: Placing a perfectly straight line of pearls can be tricky at first. A good tip is to draw a very faint guideline on your nail with a pencil before applying glue. Alternatively, apply a thin, continuous line of clear top coat or nail glue and carefully lay the pearls along that line. Patience and a steady hand help!
Q6: How do I remove pearls and bows nails safely without damaging my natural nails?
A: For glue-attached embellishments, soak your nails in acetone-based nail polish remover for about 10-15 minutes to soften the glue. You can then gently lift the embellishments with tweezers or an orange wood stick. Be patient; don’t force them off. After removing the embellishments, soak off the remaining polish as usual.
Q7: Can I use pearls and bows on all my nails?
A: You certainly can! Many people opt for an accent nail (like the ring finger) to keep the look more subtle. However, covering all nails with delicate pearls or a single bow can create a very bold and glamorous statement if that’s the look you’re going for!
Conclusion
Pearls and bows nails offer a beautiful bridge between timeless elegance and modern charm. Whether you’re aiming for a subtle, sophisticated accent or a full-blown statement manicure, this trend is wonderfully adaptable. By gathering the right essential tools, like precision tweezers and reliable nail glue, and following simple application steps, you can achieve stunning results right at home. Remember to choose base colors that complement your chosen embellishments, and don’t be afraid to experiment with different placements and creative variations. Maintaining your manicure with gentle care will ensure its lasting beauty.
Embracing pearls and bows nails is a fantastic way to express your personal style and add a touch of refined beauty to your look. So go ahead, grab those tiny treasures, and get ready to adorn your nails with the perfect blend of essential elegance and stunning detail. Happy nail art-ing!

