Quick Summary:
Achieve stunning pearlescent white nails with simple accent designs! This guide offers easy steps for a chic, shimmering manicure, perfect for beginners. Learn how to add elegant touches that elevate your look.
Pearlescent white nails offer a dreamy, subtle shimmer that feels both elegant and modern. They’re that perfect polish that can go from your everyday office look to a special occasion without missing a beat. Sometimes, though, the plain pearlescent white can feel a little… well, plain. That’s where accent nails come in to add that extra pop of personality! If you’ve ever admired that ethereal glow on someone’s fingertips and wondered how to get it, or if you’re ready to dip your toes into nail art with a sophisticated twist, this guide is for you. We’ll walk you through creating beautiful pearlescent white nails with stylish accents, step by step, making it super easy and fun. Get ready to give your nails a luminous makeover!
Why Pearlescent White Nails With Accents Are a Must-Try
Pearlescent white is simply magical. It catches the light in a way that makes your nails look polished and radiant. Think of the soft sheen of a pearl itself – that’s the vibe we’re going for! It’s universally flattering and pairs well with almost any outfit or occasion. But why stop at just a solid color when you can add a creative touch? Accent nails are your secret weapon for taking a classic look and making it uniquely yours. They allow you to experiment with different textures, colors, or patterns without committing to a full nail art design, which is perfect for beginners. Whether it’s a touch of glitter, a delicate line, or a subtle shimmer, accents add that ‘wow’ factor. It’s the perfect balance of chic simplicity and personalized flair.
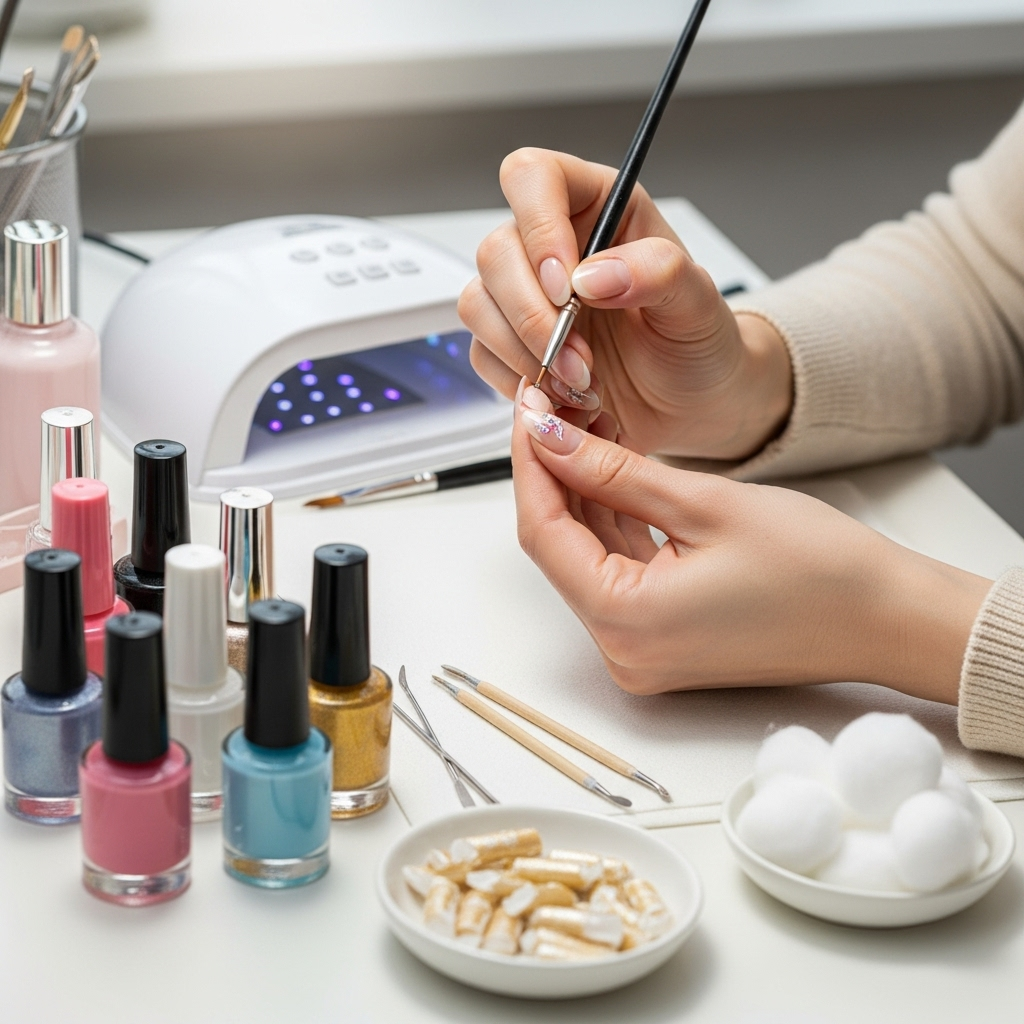
Essential Tools and Supplies for Your Pearlescent Manicure
Before we dive into the fun part, let’s gather what you’ll need. Having the right tools makes the process smoother and the results so much prettier. Don’t worry, most of these are pretty standard for any home manicure!
For The Pearlescent Base:
- Base Coat: This is non-negotiable! It protects your natural nails and helps polish adhere better.
- Pearlescent White Nail Polish: Look for polishes specifically labeled “pearlescent,” “shimmer,” or “opalescent.”
- Top Coat: To seal your design, add shine, and prevent chipping.
- Nail Polish Remover: For inevitable little oopsies.
- Cotton Pads or Balls: To go with your remover.
For The Accent Designs:
- Your chosen accent elements: This could be a contrasting polish color, glitter polish, a fine-tip nail art brush, dotting tools, nail stickers, or even small embellishments like rhinestones or pearls.
- Tweezers: Especially handy if you’re working with small gems or stickers.
- Cuticle Pusher or Orange Stick: To clean up edges.
- Optional: Gel polish and UV/LED lamp: If you prefer a longer-lasting gel manicure.
Step-by-Step Guide: Achieving Pearlescent White Nails With Accents
Ready to create your gorgeous manicure? Follow these simple steps. We’ll focus on techniques that are perfect for beginners, ensuring a beautiful outcome!
Step 1: Prep Your Nails
This is the foundation for any great manicure. Clean nails are happy nails!
- Clean: Remove any old polish. Wash your hands with soap and water, then dry them thoroughly. Avoid using lotion right before polishing, as it can interfere with adhesion.
- Shape: File your nails to your desired shape. A gentle filing motion in one direction helps prevent splitting.
- Cuticle Care: Gently push back your cuticles using a cuticle pusher or an orange stick. Avoid cutting them, as this can lead to infection. For a smoother look, you can apply a cuticle remover and then push them back.
- Buff (Optional): Lightly buff the surface of your nails to create a smooth canvas. This also helps polish adhere better. Just a few gentle strokes will do!
Step 2: Apply the Base Coat
This protective layer prevents staining and helps your polish last longer. Apply one thin layer and let it dry completely.
Step 3: Apply the Pearlescent White Polish
This is where the magic begins!
- First Coat: Apply a thin, even layer of your pearlescent white polish. You might notice it’s a bit sheer at first; that’s okay! Avoid applying it too thickly, as this can lead to streaks and longer drying times.
- Second Coat: Once the first coat is dry to the touch (usually 1-2 minutes), apply a second thin layer. This coat will build up the opacity and enhance that beautiful pearlescent shimmer. Ensure even coverage.
- Third Coat (If Needed): If you desire a more opaque finish, apply a third thin coat. Be patient and let each layer dry properly!
Step 4: Choose Your Accent Nail(s)
Decide which nails will be your accent nails. Typically, the ring finger or index finger are popular choices, but you can mix and match! You might choose one accent nail on each hand, or two on each. It’s all about your personal style!
Step 5: Apply the Accent Design
Here’s where you can get creative! Here are a few beginner-friendly accent ideas:
Idea 1: Glitter Accent
A touch of sparkle is always a good idea!
- Apply a clear top coat or a sheer color polish to your chosen accent nail.
- While the polish is still wet, gently dip an artistry brush into fine glitter or use a glitter polish and dab it onto the nail. You can cover the whole nail or create a gradient effect from the tip or cuticle.
- Alternatively, use a glitter polish as your accent color. Apply one or two coats as you did with the pearlescent base.
Idea 2: Contrasting Color Accent
A pop of a complementary color can be stunning.
- Paint your accent nail(s) with a complementary or contrasting polish color. Think pastels like soft pinks, blues, or even a delicate gold or rose gold.
- Ensure the color is opaque and apply one or two coats as needed.
Idea 3: Simple Line or Dot Design
Minimalist designs are chic and easy.
- Make sure your pearlescent white base is completely dry.
- Using a striper brush with black, gold, or a metallic polish, carefully draw a single thin line across the nail, either horizontally, vertically, or diagonally.
- Alternatively, use a dotting tool to place a few small dots along the cuticle line or distribute them randomly on the nail.
For more on creating clean lines and perfect dots, professional resources like the Nail Career Blog offer great visual tips, even for beginners.
Idea 4: Subtle Chrome Powder Accent
For an extra touch of modern shine.
- Apply your pearlescent white base and a No-Wipe top coat (essential for chrome powders!).
- Once the no-wipe top coat is cured under a UV/LED lamp, use a silicone tool or eyeshadow applicator to gently rub a pearlescent or holographic chrome powder onto the accent nail.
- Brush away any excess powder and apply another layer of no-wipe top coat to seal it in.
Step 6: Apply the Top Coat
This is the final, crucial step for a lasting manicure.
- Once your accent design is completely dry and cured (if using gel), apply a generous layer of top coat over all your nails, including the accent nails.
- Make sure to cap the free edge of your nails by brushing the top coat over the very tip. This helps prevent chipping and makes your manicure last longer.
- Let your top coat dry completely. If you used a regular top coat, this might take a few minutes. If you used a quick-dry top coat, it will be faster. For gel top coats, cure under your UV/LED lamp according to the lamp’s instructions.
Pearlescent White Nail Polish Shades and Finishes
Not all pearlescent whites are created equal! The subtle differences can really change the overall feel of your manicure. Let’s explore some variations:
| Finish/Shade | Description | Best For |
|---|---|---|
| Classic Pearlescent White | A soft, milky white with an iridescent shimmer, reminiscent of a natural pearl. | Everyday wear, bridal manicures, a clean and classic look. |
| Opalescent White | More pronounced shimmer with subtle color shifts (pink, blue, gold) depending on the light. | Adding a touch of magic and depth, turning heads. |
| Satin Finish White | A creamier white with a soft, diffused pearlescent glow, less intense than a full shimmer. | Chic, understated elegance, for those who prefer subtle shine. |
| Iridescent White/Chrome | A more intense, almost metallic sheen, often achieved with chrome powders over white. | Modern, high-fashion looks, statement nails. |
| Milky White with Subtle Shimmer | A slightly sheer, milky base with a very delicate, fine shimmer. | Clean girl aesthetic, natural-looking enhancements, a soft glow. |
When choosing a pearlescent white polish, consider if you want a sheer wash of color or a more opaque finish. Sheer shades can also be great for layering over other colors to add a pearlescent effect!
Accent Nail Design Ideas for Pearlescent White
Beyond the basic accent, let’s brainstorm some more specific design ideas that pair beautifully with pearlescent white. The key is to complement, not compete, with the elegant base.
Subtle Glamour
- Fine Glitter Gradient: Apply a fine holographic or silver glitter polish from the tip of your accent nail downwards, fading into the pearlescent white.
- Tiny Pearl Embellishments: Place 1-3 tiny faux pearls along the cuticle line of your accent nail using a dot of top coat or nail glue.
- Rhinestone Accent: A small cluster of clear or iridescent rhinestones at the base or on one side of the accent nail.
Artistic Flair
- Delicate Floral Outline: Using a fine-tip brush and a soft pastel or metallic polish, paint a simple outline of a flower or a vine on your accent nail.
- Abstract Swirls: Create a few thin, elegant swirls in a metallic color (gold, silver, rose gold) across the accent nail.
- Geometric Lines: A single, clean metallic line running horizontally or vertically across the accent nail can be very striking.
Color Contrast
- Soft Pastel Pop: Paint your accent nail in a complementary pastel shade like baby blue, lilac, or mint green.
- Deep Jewel Tone: For a more dramatic contrast, try a single accent nail in a deep emerald green, sapphire blue, or rich burgundy.
- Metallic Statement: A full accent nail in a chic gold, silver, or rose gold polish can be incredibly luxurious.
No matter what you choose, remember that the beauty of accent nails is their versatility. Don’t be afraid to experiment and see what looks best on you!
Maintaining Your Pearlescent White Nails With Accents
To keep your beautiful manicure looking its best for as long as possible, a little bit of care goes a long way.
- Moisturize: Regularly apply cuticle oil or hand cream. Dry cuticles can look uneven and eventually affect your polish. The National Library of Medicine highlights the importance of skin hydration for overall nail health.
- Protect: Wear gloves when doing household chores, especially those involving water or harsh chemicals. This is the best way to prevent chipping and dulling.
- Avoid Rough Surfaces: Try not to use your nails as tools to open cans, scrape things, or pry objects.
- Touch Ups: If you notice a small chip on an accent or edge, you can sometimes carefully apply a tiny bit of top coat to smooth it over until your next manicure.
- Buffing for Shine (Careful!): If your polish starts to lose its shine but isn’t chipped, you can very gently buff the surface with a fine-grit buffer. Be extremely careful not to buff away the color or damage your nail. Follow with a fresh layer of top coat if needed.
Proper nail care is crucial, not just for aesthetics but for the health of your nails underneath. Keeping them clean, moisturized, and protected will ensure they look great and stay strong.
FAQs About Pearlescent White Nails With Accents
Got questions? We’ve got answers!
Q1: How do I get a good pearlescent finish without streaks?
Answer: Apply thin, even coats. Make sure each coat is dry before applying the next. For some pearlescent polishes, a specific brush-stroking technique (e.g., slightly curved strokes) can help achieve a smoother, streak-free application. Always use a good base and top coat!
Q2: Can I do pearlescent white nails with gel polish?
Answer: Absolutely! Gel polish often offers a more intense pearlescent finish and superior longevity. Follow the same steps, using gel base and top coats, and curing each layer under a UV/LED lamp. This is great for durable, salon-quality results at home.
Q3: What kind of accent nail design is easiest for a beginner?
Answer: The easiest designs are usually solid color accents, glitter accents, or simple dot patterns using a dotting tool. Stickers and decals are also very beginner-friendly – just peel and stick!
Q4: How do I make my accent nail designs last longer?
Answer: Ensure your base polish and accent elements are completely dry (or cured, for gel) before applying a good quality top coat. Capping the free edge of your nail with the top coat is also crucial for durability.
Q5: Can I mix different finishes on my nails? (e.g., pearlescent white with matte accents)
Answer: Yes! Mixing finishes can create a really interesting texture and look. For example, pearlescent white nails with a matte accent nail can be very chic. Just ensure your accent design is fully dry or cured before applying your final top coat to the entire nail, or leave the matte accent as matte by using a matte top coat only on that nail.
Q6: How do I remove nail art stickers without damaging my pearlescent polish?
Answer: Soak a cotton ball in nail polish remover and hold it on the sticker for about 10-15 seconds to soften the adhesive. Gently try to lift and slide the sticker off. If it’s stubborn, re-soak. Avoid peeling forcefully, which can lift the polish underneath.
Achieve Flawless Pearlescent White Nails With Accents Today!
Pearlescent white nails with an accent design are a fantastic way to upgrade your manicure game. They offer that perfect blend of classic elegance and personal flair, making them ideal for any occasion. Whether you’re a seasoned nail art enthusiast or just starting out, this guide has provided you with the tools, techniques, and inspiration to create a stunning look right at home. Remember, the most important part of any nail art journey is to have fun and express yourself. Don’t be afraid to experiment with colors, textures, and designs until you find what makes you feel confident and beautiful. Happy polishing!