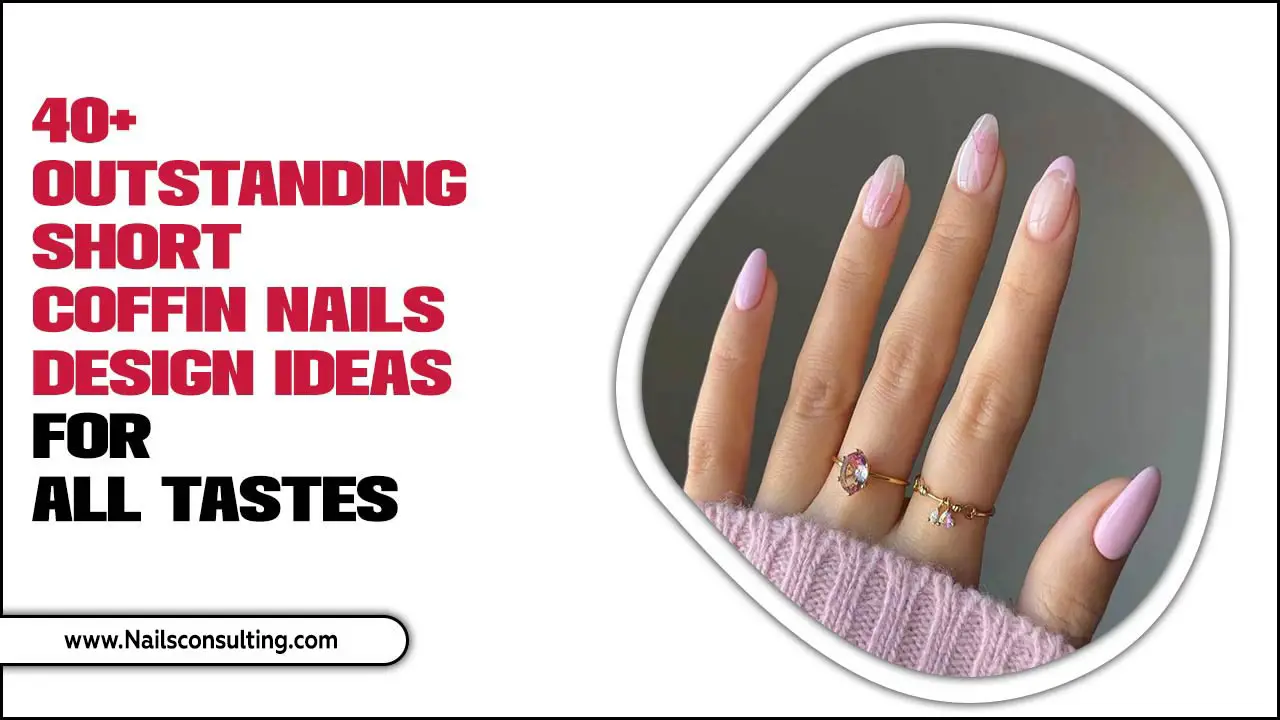
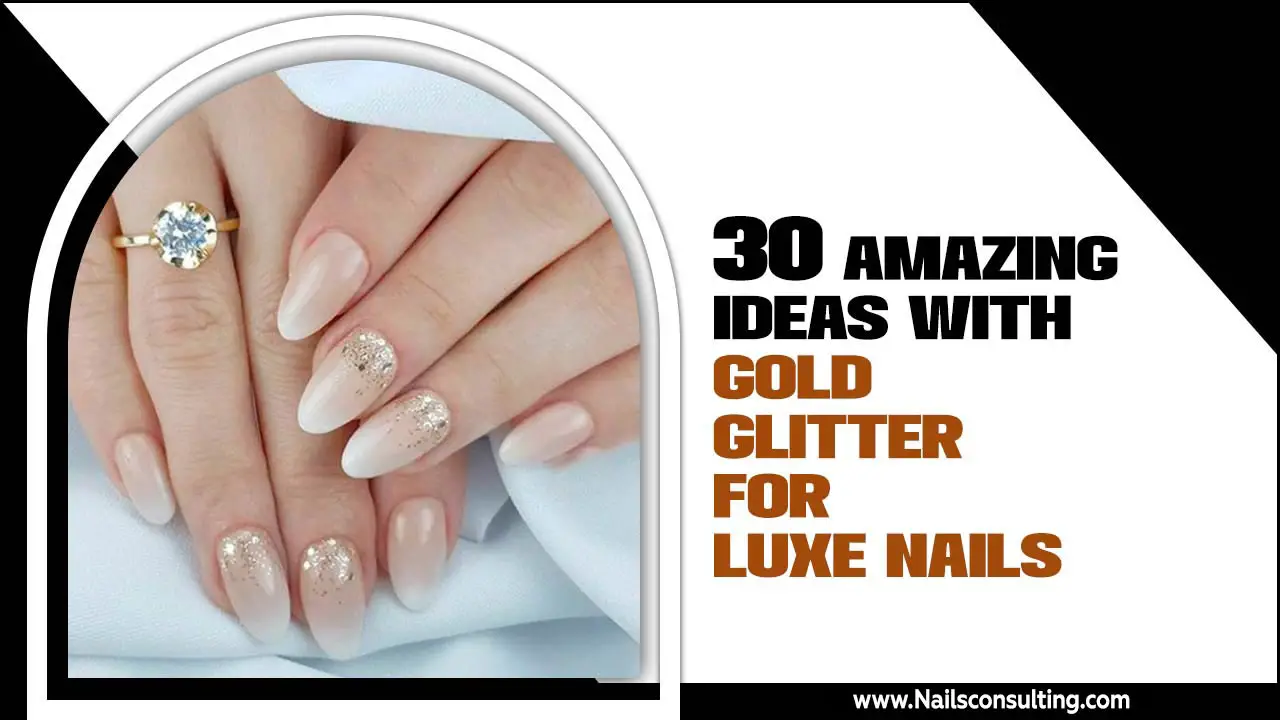
Pearl-studded nail design inspiration is simple yet elegant, adding a touch of sophistication to any manicure. From subtle accents to full pearl coverage, learn how to achieve these stunning looks with easy-to-follow tips and essential tools for a flawless finish that boosts your confidence.
Ready to elevate your nail game with a dash of timeless elegance? Pearls on nails have a magical way of transforming a simple manicure into a chic statement. They add a lovely shimmer and an undeniable touch of class, making your hands the center of attention. But if you think pearl nail designs are complicated, think again! We’re here to show you how easy it is to achieve stunning, sophisticated looks right at home. Get ready to discover a world of pearl-studded nail design inspiration that’s perfect for beginners and seasoned nail lovers alike. Let’s dive in and create some magic!
The Allure of Pearls on Nails
Pearls have long been a symbol of beauty, grace, and luxury. Throughout history, they’ve adorned royalty, inspired artists, and become a staple in fashion. Bringing this classic elegance to your fingertips is a fantastic way to express your personal style. Pearl-studded nails offer a versatile aesthetic that can be as understated or as glamorous as you desire. Think of them as tiny jewels for your nails, adding dimension and a beautiful, subtle shine. They work with virtually any outfit and occasion, from a casual day out to a formal wedding.
Why Choose Pearl Nail Designs?
Timeless Elegance: Pearls never go out of style. They offer a classic beauty that transcends trends.
Versatility: Whether you prefer a minimalist look or a more elaborate design, pearls can be adapted.
Sophistication: They instantly add a touch of luxury and refinement to your manicure.
Easy Application: With the right tools and techniques, applying pearls is surprisingly simple.
Confidence Boost: A beautifully adorned nail can make you feel polished and put-together.
Essential Tools for Pearl Nail Art
Before we dive into the designs, let’s gather the essential tools you’ll need to create your pearl-studded masterpieces. Having the right supplies makes the process so much smoother and ensures a professional-looking finish. Don’t worry; most of these are readily available and won’t break the bank!
Here’s a list of must-have items:
- Nail Glue: A strong, clear nail glue is crucial for securing your pearls. Look for one specifically designed for nail art or embellishments. Some nail glues dry quickly, so consider that when you’re starting out.
- Tweezers: Fine-tipped, pointed tweezers are your best friend for picking up and precisely placing small pearls on your nails. Look for anti-static ones if you find static electricity causing pearls to jump.
- Top Coat or Gel Top Coat: This seals your design and adds a glossy finish. For better adhesion and durability, a UV/LED gel top coat (used with a UV/LED lamp) is often preferred for pearl designs.
- Dotting Tools or Wax Pencil: A dotting tool with a small bead on the end, or a wax pencil (like those used for rhinestones), can help you pick up and place pearls accurately, especially if tweezers feel too fiddly.
- Pearls: There’s a wide variety of nail art pearls available! They come in different sizes (from tiny seed pearls to larger statement pearls), colors (classic ivory, iridescent, pastel hues), and even shapes (round, half-round).
- Base Coat and Nail Polish: Your chosen nail polish color will be the canvas for your pearl design. A good base coat protects your natural nails.
- UV/LED Lamp (Optional): If you’re using gel polish and gel top coat, you’ll need a lamp to cure it.
- Alcohol Wipes or Cotton Pads: For cleaning the nail surface before application and removing any sticky residue after curing gel polish.
Simple Pearl Nail Design Techniques for Beginners
Let’s get creative! These techniques are designed to be easy to master, even if you’ve never done nail art before. We’ll start with the basics and move to slightly more involved, but still beginner-friendly, applications.
1. The Subtle Accent Pearl
This is perhaps the easiest and most elegant way to incorporate pearls. It’s perfect for a minimalist look.
How-To Steps:
- Prep your nails by applying a base coat, followed by one or two coats of your chosen nail polish color. Let it dry completely.
- Using your fine-tipped tweezers, pick up a single pearl.
- Apply a tiny dot of nail glue (or a small dot of your wet top coat/gel top coat) to the nail where you want to place the pearl.
- Gently place the pearl onto the glue or top coat using your tweezers. Hold it in place for a few seconds to ensure it sticks.
- For a classic look, place a pearl on the cuticle line of one or two nails. Another beautiful option is to place one at the tip of each nail.
- Let it dry completely.
- Apply a thin, even layer of top coat over the entire nail, being careful not to cover the pearl completely if you want to maintain its individual sheen. If using gel top coat, cure under your UV/LED lamp. For regular polish, allow it to dry thoroughly.
Nailerguy Tip: If using regular nail polish and top coat, you might want to build up the top coat around the pearl in thin layers over time to secure it better, rather than one thick coat which can smudge.
2. The Pearl Row Accent
This technique adds a bit more flair by creating a line of pearls. Often seen on the smile line of a French manicure or as a decorative line across a nail.
How-To Steps:
- Paint your nails with your desired polish color and let them dry.
- Decide where you want your row of pearls. Common placements include along the tip of the nail (the smile line), diagonally across the nail, or vertically down the center.
- Apply a thin line of nail glue or gel top coat where your pearls will go. Work in small sections as glue and top coat can dry quickly.
- Using your tweezers, carefully pick up one pearl at a time and place it along the glued line, pressing gently to secure.
- Continue placing pearls side-by-side, almost touching each other, until your desired line is complete.
- Once all pearls are placed and the glue/top coat is dry (or gel cured), apply a thin layer of top coat. Again, be delicate around the pearls. If using gel, cure it.
Nailerguy Tip: For a cleaner look, try using a clear polish as your adhesive. Apply a small bead to the nail, place your pearls, let it dry, then add your top coat.
3. The Pearl Cluster Charm
This design features a small group of pearls, creating a lovely focal point. It’s great for accent nails.
How-To Steps:
- Apply your base and color coats as usual.
- Choose a spot on the nail – a corner, the cuticle area, or the center of the nail are popular choices.
- Apply a slightly larger dot of nail glue or gel top coat to serve as your base for the cluster.
- Start placing pearls on the glue. You can use pearls of the same size for a uniform look, or mix slightly different sizes for a more organic feel.
- Build your cluster by placing pearls close together. You might use 3-5 pearls for a small, elegant cluster.
- Once the cluster is complete and secure, carefully apply a thin layer of top coat around the cluster, ensuring it stays put. Cure if using gel.
Nailerguy Tip: Experiment with different pearl sizes within the cluster. A larger pearl in the center with smaller ones surrounding it can create a beautiful 3D effect.
4. The French Tip Pearl Upgrade
Elevate the classic French manicure by adding pearls along the white tip. This is a wedding-perfect look!
How-To Steps:
- Apply your nude or pink base polish and let it dry.
- Carefully paint the white tips of your nails in the classic French manicure style. You can use a fine brush or a special French tip guide. Let the white polish dry completely.
- Apply a thin line of nail glue or gel top coat along the edge of the white French tip, where it meets the base color.
- Using tweezers, place small pearls one by one along this line. You can either outline the entire tip or just add a few along the curve.
- Once all pearls are set, apply a thin layer of top coat, avoiding pooling around the pearls. Cure if using gel.
Nailerguy Tip: For an extra touch, consider using iridescent pearls on a white tip for a subtle rainbow shimmer.
Pearl Nail Design Inspiration: Stunning Styles to Try
Now that you know the techniques, let’s explore some popular and stunning pearl-studded nail design inspirations that you can try out yourself!
Minimalist Chic
The Single Pearl: As described in technique 1, a single pearl placed strategically (e.g., at the cuticle or the center of one accent nail) is the epitome of understated elegance.
The Subtle Edge: Place a few tiny pearls along the free edge of your nail. This is a very delicate detail that catches the light beautifully.
The Dot Trio: Three tiny pearls placed closely together on one nail can create a subtle yet eye-catching accent.
Glamorous Statements
Full Pearl Accent Nail: Cover one entire accent nail with pearls of various sizes. This requires patience but results in a show-stopping, textured manicure. Apply glue liberally to the nail bed, then place pearls using tweezers until the nail is covered. Seal carefully with a gel top coat.
Pearl French Tips: Go beyond the classic white tip. Try a colored French tip (like black, deep red, or even a metallic shade) and outline it with pearls. Or, fill the entire tip area with tiny pearls for a 3D effect.
The Pearl Constellation: Imagine a night sky. Apply small dots of top coat randomly across a dark-colored nail and place tiny pearls onto each dot to create a star-like effect.
Themed & Seasonal Designs
Bridal Bliss: White or iridescent pearls are a bridal staple. Combine them with a sheer nude or milky white polish for a soft, romantic look. You could even arrange them in a delicate floral pattern.
Winter Sparkle: Use pearls along with silver glitter polish or icy blue and white shades for a frosty, winter wonderland effect.
Nautical Vibes: Combine navy blue or white polish with pearl accents for a chic, maritime-inspired manicure.
Pearl Placement Ideas
Cuticle Line Decoration: A row of pearls placed just above the cuticle adds a sophisticated frame.
Smile Line Embellishment: Perfect for French manicures or modern variations, lining the smile line with pearls adds a touch of luxury.
Diagonal Stripe: A single diagonal line of pearls across a contrasting nail color creates a dynamic look.
Full Nail Coverage (Accent): Dedicate one nail to a full pearl mosaic for maximum impact.
The beauty of pearl-studded nail designs is their adaptability. Don’t be afraid to mix and match these ideas or come up with your own! The key is to have fun with it and let your creativity shine.
Pearl Size Matters: Choosing the Right Embellishments
The size of the pearls you choose can dramatically change the look and feel of your manicure. Here’s a quick guide to help you select the perfect pearls for your design inspiration:
| Pearl Size | Description | Best For | Application Tips |
|---|---|---|---|
| Tiny Seed Pearls (1mm-2mm) | Very small, delicate pearls. | Creating delicate lines, subtle accents, filling small spaces, adding texture to a full pearl nail. | Use a dotting tool or the very tip of your tweezers. Apply with a thin line of glue or top coat. |
| Small Pearls (2mm-3mm) | The most common and versatile size. | Single accents, outlining French tips, creating small clusters, lining the cuticle. | Easy to pick up with tweezers and apply precisely. |
| Medium Pearls (4mm-5mm) | Noticeable and can be used as focal points. | Statement accents on one or two nails, larger clusters, adding dimension. | Ensure they are well adhered with ample glue or top coat. |
| Large Pearls (6mm+) | Bold and dramatic. | Single, statement embellishments on very short nails or as a singular feature on an accent nail. | Use sparingly and ensure they are very securely glued as they can catch on things. Often used in 3D nail art. |
When starting, working with small to medium-sized pearls is generally the easiest. As you gain confidence, you can experiment with larger or mixed sizes.
Ensuring Longevity: How to Make Your Pearls Last
There’s nothing more disappointing than having your beautiful pearl design fall apart after a day or two. Here are some tips to ensure your pearl-studded nails stay stunning for as long as possible:
- Proper Nail Prep: Ensure your nails are clean, dry, and free of oils. For gel manicures, buffing the nail slightly helps the base and top coat adhere better.
- Strong Adhesive: Use good quality nail glue specifically designed for nail art, or a reliable gel top coat.
- Secure Placement: Press each pearl gently into the glue or top coat for a few seconds to ensure it bonds well.
- Top Coat Application: This is crucial!
- For Regular Polish: Apply a thin, even layer of high-quality top coat. Try to cap off the free edge of the nail to prevent chipping. For pearls, you may need to apply top coat in thin layers over a few days to build up a secure “frame” around them, rather than a single thick coat that can flood or lift.
- For Gel Polish: Apply a thin layer of gel top coat. Be careful not to flood the pearls, which can cause them to lift or become cloudy. After applying, cure under your UV/LED lamp as directed. A second thin layer of gel top coat can add extra security if needed.
- Avoid Harsh Activities: Be mindful when using your hands for tasks like scrubbing or opening packages. Pearls, especially larger ones, can snag.
- Gentle Cleaning: When washing hands, try to avoid scrubbing directly at the pearl embellishments.
Following these steps will help keep your gorgeous pearl designs intact and looking fabulous!
Common Beginner Questions About Pearl Nails
Let’s address some frequently asked questions to make your pearl nail journey even smoother!
Q1: Do I need special glue for nail pearls?
A: While regular nail glue works, a good quality nail art glue or a strong gel top coat is recommended for better adhesion and a cleaner finish. For gel manicures, the gel top coat is often sufficient.
Q2: How do I prevent pearls from falling off?
A: Ensure you’re using a strong adhesive, pressing each pearl firmly for a few seconds, and applying top coat carefully around each pearl to secure it. Patience and precision are key!
Q3: Can I put top coat directly over the pearls?
A: Yes, you can, but do so gently and thinly. For regular polish, it’s best to build up top coat around the pearl in thin layers. For gel, a thin layer cured properly usually works well. Flooding the pearls with too much top coat can make them look dull or lift.
Q4: What’s the easiest way to pick up small pearls?
A: Fine-tipped tweezers are the best tool! Some nail artists also prefer using a wax pencil designed for rhinestones, as the wax helps pick up and hold the pearl securely.
Q5: Can I use pearls on acrylic or gel nails?
A: Absolutely! Pearls look fantastic on acrylic and gel nails. In fact, the durability of gel and acrylic can make them an excellent base for securing pearl embellishments.
Q6: How do I remove pearls from my nails?
A: For pearls glued on with regular nail glue, you can try soaking your nails in warm, soapy water or acetone-based nail polish remover. Gently try to lift the pearl with tweezers. If they are embedded in gel, you may need to carefully file away the top coat and then soak.
Q7: Where can I buy nail art pearls?
A: You can find nail art pearls at most beauty supply stores, online retailers like Amazon or Etsy, and specialty nail art supply websites. They are widely available in many sizes, colors, and styles.
Beyond the Basics: Advanced Pearl Nail Art Ideas
Once you’ve mastered the beginner techniques, you might feel inspired to try something a little more intricate. Here are a few ideas to spark your creativity:
Pearl Ombre: Gradually transition from a dense pearl application at the cuticle or tip to fewer pearls towards the middle of the nail. This creates a beautiful, flowing effect.


