Unlock effortless beauty with these simple pastel nail art ideas. Perfect for beginners, these designs add a touch of soft, dreamy color to your fingertips, transforming your manicure into a statement of sweet sophistication. Discover easy techniques and inspiring looks to elevate your style today!
Feeling like your nails need a little cheerful transformation? Sometimes, a pop of vibrant color can feel a bit overwhelming, but you still crave something pretty and expressive. That’s where pastel nail art swoops in, offering a delightful middle ground! Soft, dreamy, and endlessly versatile, pastels are the perfect way to add a touch of elegance and fun to your look without being too loud. If you’ve ever thought nail art was too complicated for you, get ready to be amazed. We’re about to reveal how easy and accessible beautiful pastel nail art can be, even if you’re just starting out.
Forget intimidating techniques and expensive tools. We’re diving into a world of simple, achievable designs that will make your fingertips sing with color. From subtle gradients to charming accents, these pastel nail art ideas are designed to boost your confidence and let your creativity shine through. Let’s get painting and discover the effortless beauty that pastels bring!
Why We Love Pastel Nail Art
Pastel colors are like a gentle whisper of spring and summer, bringing a sense of softness and serenity. Think of cotton candy pink, baby blue skies, mint green meadows, and creamy lilacs. These hues are inherently calming and incredibly flattering on almost every skin tone. They offer a sophisticated way to embrace color without the boldness of neons or deep jewel tones, making them perfect for everyday wear, special occasions, or when you simply want to feel a little more put-together.
One of the best things about pastel nail art is its versatility. It can be as minimalist or as intricate as you desire. A single pastel shade can make a chic statement on its own, or you can mix and match a few shades for a playful, ombré effect. It’s a fantastic way to express your personality and elevate your style, proving that beautiful nail art doesn’t have to be complicated or time-consuming. Plus, pastel shades are generally easy to work with, often requiring fewer coats for opaque coverage compared to darker or brighter shades.
Getting Started: Your Pastel Nail Art Toolkit
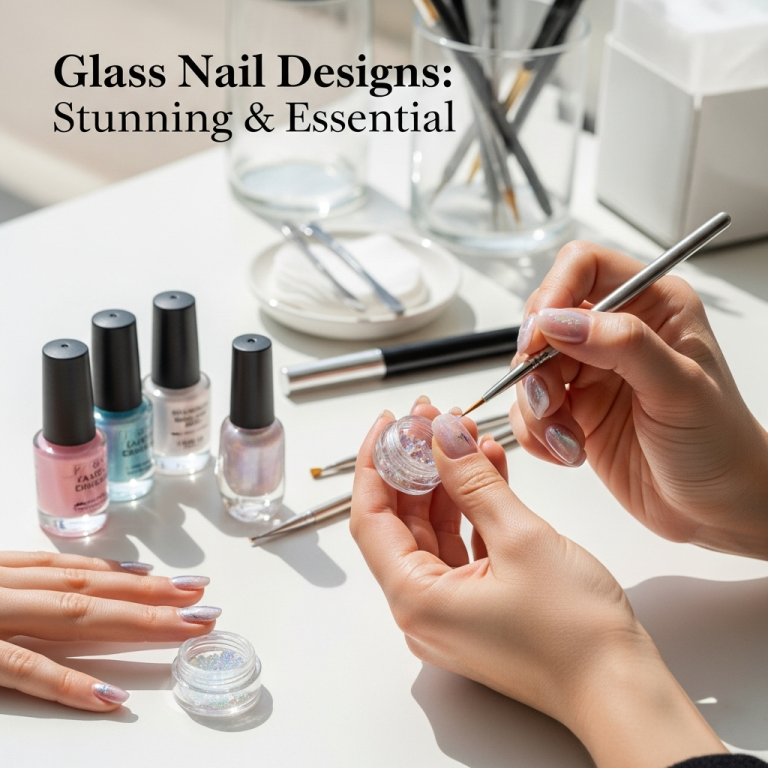
Before we dive into the fun designs, let’s gather the essential tools. Don’t worry, you don’t need a professional salon setup! Most of what you need, you might already have, or they are easy to find and very affordable.
Must-Have Pastel Nail Art Supplies:
- Base Coat: Essential for protecting your natural nails and making your polish last longer. A good quality base coat prevents staining and creates a smooth surface.
- Pastel Nail Polishes: This is your color palette! Stock up on a few of your favorite soft shades like lavender, mint, peach, baby pink, and sky blue.
- Top Coat: Crucial for sealing your design, adding shine, and preventing chips. Look for a quick-drying formula to save time.
- Thin Nail Art Brushes: A few fine-tipped brushes are perfect for drawing lines, dots, and small details.
- Dotting Tools: These come with different sized ball tips and are fantastic for creating perfect dots and small circular patterns.
- Nail Polish Remover & Cotton Pads: For cleaning up any mistakes and prepping your nails.
- Orange Stick or Cuticle Pusher: To gently push back your cuticles before painting for a clean canvas.
- Optional: Nail Art Stickers or Decals: For quick and easy embellishments, especially if you’re short on time or new to freehand designs.
Having these basics ready will make your pastel nail art journey smooth and enjoyable. Remember, practice makes progress, and even simple tools can create stunning results!
Effortless Pastel Nail Art Ideas for Beginners
Ready to bring some soft color to your fingertips? These ideas are perfect for beginners, requiring minimal skill but delivering maximum impact. Let’s explore some of the most achievable and beautiful pastel nail art looks!
1. The Single Chic Shade
Sometimes, the simplest approach is the most elegant. A single, beautiful pastel shade can be incredibly striking. Choose a color you love – a soft peach, a creamy lilac, or a gentle mint – and apply two even coats. The key here is a flawless application.
How To:
- Apply a thin layer of base coat and let it dry completely.
- Apply the first coat of your chosen pastel polish. Let it dry for a minute or two.
- Apply a second coat for full opacity and even color.
- Once the second coat is almost dry, swipe on a glossy top coat.
Why it works: It’s sophisticated, clean, and lets the beautiful shade speak for itself. It’s proof that you don’t need complex designs to have gorgeous nails.
2. The Subtle Gradient (Ombré)
The ombré effect, where colors blend smoothly into one another, looks intricate but is surprisingly easy to achieve with a makeup sponge! You can blend two complementary pastel shades or even a pastel with a neutral like white or nude.
How To:
- Paint your nails with your base pastel color and let it dry.
- On a makeup sponge (a regular cosmetic sponge cut into a few pieces works well), apply horizontal stripes of your desired pastel colors, working from the cuticle up or tip down.
- Gently dab the sponge onto your nail, starting from the cuticle and rolling it slightly towards the tip to blend the colors. You might need to reapply polish to the sponge and dab a few times to get the intensity you want.
- Clean up any excess polish around your cuticles with a brush dipped in nail polish remover.
- Once the ombré is dry, seal it with a thick layer of top coat. This helps to smooth out the texture from the sponge.
Tip: For a smoother blend, you can also use a dedicated ombré sponge or even a clean makeup brush with a tiny bit of polish on it to blend the edges of two colors on your nail.
3. The Delicate French Manicure with a Twist
Elevate the classic French manicure by swapping the crisp white tip for a soft pastel hue. This is a subtle yet chic way to incorporate pastel colors.
How To:
- Apply your base coat and a sheer nude or milky white polish for the main nail color. Let it dry.
- Using a very fine nail art brush, carefully paint a pastel color along the tips of your nails. You can choose a soft pink, a pale blue, or a mint green to complement your base shade.
- Alternatively, use French tip guides for a cleaner line. Apply the guide, paint the pastel tip, and carefully remove the guide.
- Finish with a top coat.
Why it works: It’s a modern take on a timeless look, adding just a hint of color that’s both sophisticated and playful.
4. Polka Dots Galore!
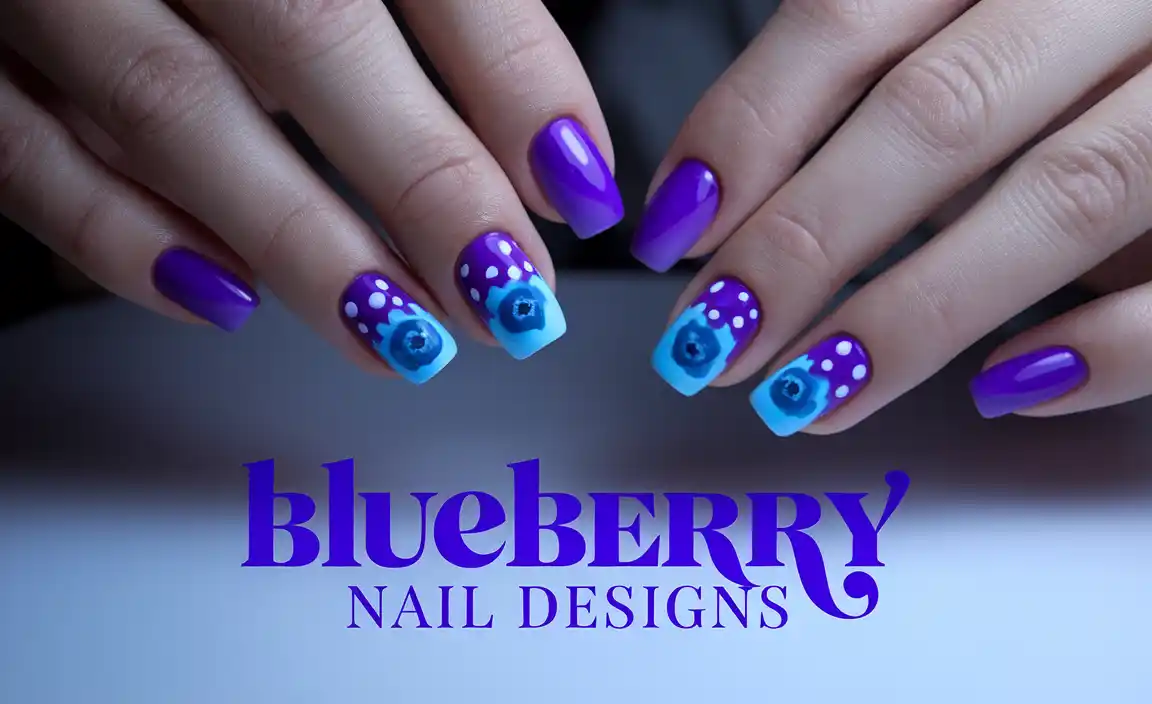
Polka dots are fun, flirty, and incredibly easy to create with dotting tools or even the tip of a toothpick!
How To:
- Start with a solid pastel base coat. Let it dry completely until it’s no longer tacky.
- Using a dotting tool dipped in a contrasting pastel shade (or even white or black for a bolder look), carefully place dots onto your nails. You can create a pattern, scatter them randomly, or make them all over.
- For different sized dots, use dotting tools with various tip sizes.
- Seal your design with a top coat.
Tip: You can achieve a scattered dot effect by gently tapping the polish-loaded dotting tool on your nail. For a more uniform look, clean your dotting tool between each dot.
5. The Accent Nail
Short on time or not confident with full nail art? The accent nail is your best friend! Paint all your nails one solid pastel color, and then give one nail on each hand a little extra flair.
Easy Accent Nail Ideas:
- Sparkle: Apply a glitter polish in a complementary shade over one nail.
- Stripe: Use thin nail art brushes to paint a few simple vertical or horizontal stripes in a different pastel color on your accent nail.
- Small Icon: Paint a tiny heart, star, or flower with a fine brush.
- Floral Outline: Draw a simple outline of a flower or leaf.
- Geometric: Use striping tape to create geometric patterns, painting over it with a contrasting color and then peeling the tape away.
Why it works: It’s a low-commitment way to experiment with nail art. It adds a unique touch without overwhelming your manicure.
6. Minimalist Lines and Shapes
Simple geometric shapes and delicate lines can add a modern, artistic touch to your pastel nails. These designs often look complex but are achieved with minimal effort.
How To: (Simple Geometric Lines)
- Paint your nails a solid pastel color and let them dry.
- Using a fine nail art brush or a striping tape tool, carefully draw thin lines across your nail. You can create a single line, intersecting lines, or a simple grid.
- Use a contrasting pastel shade or even metallic polish for the lines.
- Seal with a top coat.
Tip: For perfectly straight lines, consider using nail striping tape. Apply the tape to your dried polish, paint over it, and carefully remove the tape while the polish is still slightly wet or fully dry depending on the tape’s adhesion.
7. The Reverse French (Half-Moon) Manicure
Flip the French manicure on its head! Instead of the tip, highlight the base of your nail with a contrasting pastel color. This creates a chic “half-moon” effect.
How To:
- Paint your nails a solid pastel color and let them dry. This will be your main nail color.
- Using a fine brush or small dotting tool, carefully paint a small curve along your cuticle line with a contrasting pastel shade. This creates the half-moon.
- Alternatively, you can use small circular stickers or guide strips (often found in French tip kits) to create a clean line. Place the sticker strategically at the base of your nail, paint the desired color above it, and peel off the sticker.
- Let it dry completely and seal with a top coat.
Why it works: It’s a sophisticated and eye-catching design that draws attention to the natural shape of your nail bed.
Choosing Your Perfect Pastel Palette
The beauty of pastels lies in their softness and ability to blend harmoniously. Here’s a quick guide to some popular pastel pairings and what they can evoke:
| Color Palette | Vibe | Pairing Ideas |
|---|---|---|
| Baby Blue & Mint Green | Calm, refreshing, serene | Combine for a watercolor effect, or use mint as an accent to baby blue. |
| Soft Pink & Peach | Sweet, romantic, warm | Create gradients, or use peach dots on a pink base. |
| Lavender & Butter Yellow | Dreamy, whimsical, soft | Alternating colors on nails, or lavender accents on a yellow backdrop. |
| Creamy White & Any Pastel | Chic, modern, clean backdrop | Use white as a base for pastel dots, stripes, or French tips. |
| Assorted Pastels (3-4 shades) | Fun, playful, vibrant yet soft | Great for ombré nails, or each nail a different color. |
When choosing your colors, consider your outfit, the season, or simply your mood. Pastels are incredibly forgiving, so feel free to experiment!
Tips for Long-Lasting Pastel Nails
Achieving beautiful pastel nail art is one thing, but making it last is another! Here are some pro tips to keep your dreamy designs looking fresh:
- Prep is Key: Always start with clean, dry nails. Push back your cuticles gently and wipe your nails with nail polish remover to eliminate any oils. This helps the polish adhere better.
- Use a Base Coat: As mentioned, a good base coat prevents staining (especially from lighter colors) and creates a smoother surface for your polish.
- Thin, Even Coats: Avoid applying thick layers of polish. Apply two or three thin coats instead. This allows each layer to dry properly and reduces the chances of bubbling or smudging.
- Patience with Drying: Allow each layer of polish to dry almost completely before applying the next. This is crucial for preventing dents and smudges, especially with lighter pastel shades which can sometimes take a little longer to set. A quick-dry top coat can help speed this up.
- Cap the Edges: When applying your polish and top coat, swipe a little bit of the color or top coat along the free edge (tip) of your nail. This “seals” the polish and helps prevent chipping.
- Invest in a Good Top Coat: A high-quality, chip-resistant, and preferably quick-drying top coat is worth its weight in gold for extending the life of your manicure.
- Protect Your Nails: Wear gloves when doing household chores, especially those involving water or harsh chemicals. This is one of the biggest culprits for premature nail polish chipping.
- Hydrate Your Cuticles: Keep your cuticles moisturized with cuticle oil. Healthy cuticles make for a more polished-looking manicure overall. You can find great resources on proper nail care techniques, like this guide from the U.S. Food & Drug Administration (FDA) on cosmetic product safety and usage, which indirectly touches upon healthy practices.
Frequently Asked Questions (FAQs) about Pastel Nail Art
Q1: Do pastel nail polishes stain natural nails?
A: Lighter pastel shades are generally less likely to stain than very dark or vibrant colors. However, to be safe, always use a good quality base coat. This creates a barrier between your nail and the polish, significantly reducing the risk of staining.
Q2: I smudge my nails easily when doing nail art. What can I do?
A: Patience is key! Ensure each layer of polish is almost completely dry before adding the next. Using a quick-dry top coat can also be a lifesaver. Painting your nails in a cool environment, away from humidity, can also help them set faster. If smudges happen, a small brush dipped in nail polish remover can help clean them up gently.
Q3: Can I mix pastel nail polish colors to create new shades?
A: Absolutely! You can mix colors on a clean surface like a palette or even a piece of foil. Start with a white or clear polish and add tiny amounts of your pastel colors to create custom shades. Always do a test swatch first.
Q4: How do I get clean lines for French tips or geometric designs?
A: For French tips, consider using nail guides or French tip stencils. For geometric designs, striping tape works wonders. Apply the tape to your dried polish, paint over it, and carefully remove the tape once the new polish is dry or slightly damp depending on the tape. A steady hand and a fine-tipped brush also improve with practice.
Q5: My pastel ombre looks streaky. How can I fix it?
A: Streaky ombré often happens when the colors aren’t blended enough on the sponge or when there isn’t enough polish on the sponge. Try dabbing the sponge more times onto the nail to build up the color and blend. A thicker, glossy top coat applied generously over the dried ombré can also help smooth out the texture and minimize the streaky appearance.
Q6: How long does pastel nail art typically last?
A: With proper application and care (using base and top coats, capping the edges, and avoiding harsh chemicals without gloves), pastel nail art can last anywhere from 5-10 days, similar to any other type of polish manicure. The longevity also depends on your nail type and daily activities.
Conclusion: Your Pastel Nail Art Journey Begins!
There you have it – your guide to creating beautiful, effortless pastel nail art! We’ve explored why pastels are a dream for manicures, gathered your essential tools, and revealed simple yet stunning designs perfect for beginners. From the elegance of a single pastel shade to the playful charm of polka dots and sophisticated gradients, there’s a pastel look for everyone.
Remember, the most important part

