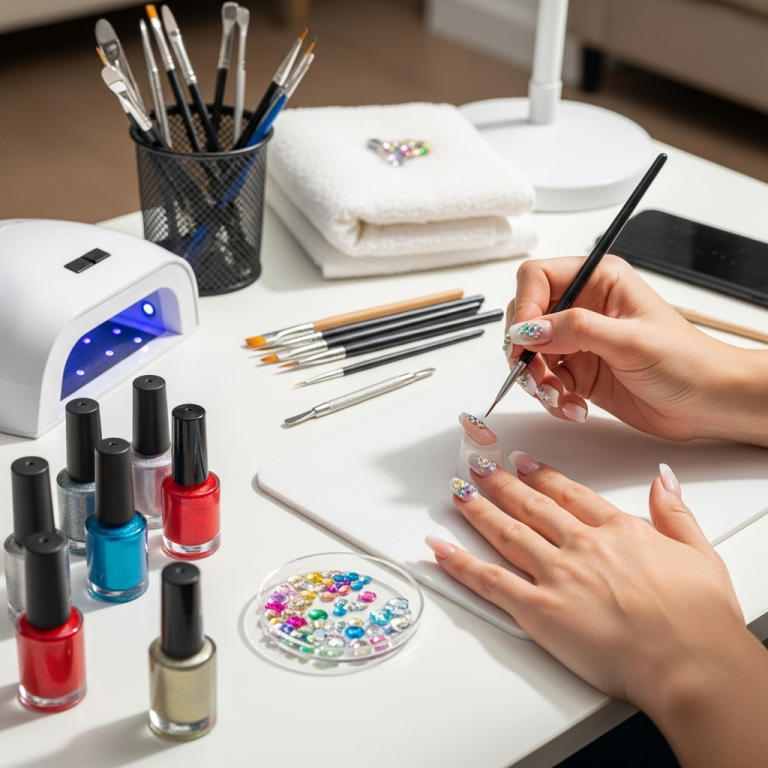
Pastel nail art offers genius, effortless designs perfect for any skill level. Achieve stunning, soft-hued manicures with simple techniques and create a look that’s both trendy and timeless. You’ll find easy steps to elevate your nail game with beautiful pastel shades.
Spring and summer have always been synonymous with pastels, but why limit these lovely, soft colors to just a few months? Pastel nail art is a fantastic way to bring a touch of sweetness and sophistication to your fingertips year-round. Maybe you’ve admired those dreamy ombré looks or delicate floral designs and thought, “That’s way too hard for me!” I get it! Sometimes nail art can seem complicated, requiring a steady hand and a million tiny brushes. But guess what? You don’t need to be a professional to rock gorgeous pastel designs. In this guide, I’m going to show you just how genius and effortless pastel nail art can be, with simple techniques that will make your nails look like they just stepped out of a salon. Get ready to unlock your inner artist and create some truly beautiful looks that are surprisingly easy.
What Exactly is Pastel Nail Art?
Pastel nail art is all about using soft, muted shades of color. Think of a cloudy sunrise or a bouquet of baby flowers – those are your pastel inspiration! Instead of bold, vibrant hues, we’re working with gentle tones like baby blue, mint green, peach, lilac, and pale yellow. These colors are inherently soothing and create a delicate, pretty aesthetic. When we combine these soft colors with simple art techniques, we get “pastel nail art.” It’s a broad category that encompasses anything from a single pastel polish on each nail to more intricate designs like gradients, simple shapes, or delicate florals, all done with that signature soft color palette.
Why Pastels are Perfect for Beginners
There are a few reasons why pastels are your new best friend in the nail art world, especially if you’re just starting out:
- Forgiving Colors: Pastel shades are generally less streaky and easier to work with than highly pigmented or dark polishes. If you make a small mistake or a line isn’t perfectly straight, the soft nature of the color often helps to camouflage it.
- Simple Techniques Shine: Basic nail art techniques look incredibly sophisticated with pastels. A simple gradient, a dot, or a thin stripe in a pastel shade instantly elevates your manicure without requiring advanced skills.
- Chic and Timeless: Pastel colors are always in style. They offer a polished and elegant look that complements almost any outfit and occasion, making them a safe yet stylish bet for everyday wear or special events.
- Easy to Find: You’ll find a vast selection of pastel nail polishes from virtually every brand, making it easy to build a beautiful collection without breaking the bank.
Essential Tools for Effortless Pastel Nail Art
You don’t need a professional kit to create amazing pastel nail art. Here are a few key tools that will help you achieve those genius, effortless designs:
- Base Coat: Crucial for protecting your nails and making your polish last longer. Look for one designed to strengthen or smooth your nails. A good base coat ensures a smooth canvas for your artistry.
- Top Coat: Seals your design and adds a gorgeous shine. A quick-dry top coat is a lifesaver when you’re in a hurry!
- Nail Polish Remover: For any “oops” moments or when you’re ready for a fresh look. Acetone-free removers are generally gentler on your nails and cuticles.
- Thin Nail Art Brush: Or a toothpick! A fine-tipped brush is excellent for drawing lines, dots, or small details. A toothpick can work just as well for dots or tiny accents if you don’t have a brush.
- Dotting Tool: This handy tool has small metal balls at the end, perfect for creating uniform dots of various sizes. It’s incredibly easy to use and adds a professional touch to simple designs.
- Sponge (for Ombré): A makeup sponge or even a regular kitchen sponge (cut into small pieces) is perfect for creating beautiful pastel ombré effects.
- Wipes/Cotton Pads: For cleaning brushes and tidying up edges.
A Note on Polish Quality: While you can start with any nail polish, investing in good quality brands often means better pigmentation and smoother application, which can make a big difference, especially with lighter pastel shades. Many brands offer collections specifically designed for gentle, even coverage.
Genius Pastel Nail Art Designs for Beginners
Ready to get creative? Here are some super simple yet incredibly chic pastel nail art ideas that anyone can do. We’ll focus on techniques that give a high-impact look with minimal effort.
Design 1: The Single Pastel Statement
This is the easiest way to embrace pastel nail art. It’s all about choosing one or two stunning pastel shades and letting them shine. It’s incredibly chic and requires almost no artistic skill.
Difficulty: Super Easy
Time: 10-15 minutes
What You’ll Need:
- Base Coat
- 2-3 Pastel Nail Polishes (e.g., lilac, peach, baby blue)
- Top Coat
Steps:
- Prep your nails: Make sure they are clean, dry, and filed to your desired shape. Apply a thin layer of base coat and let it dry completely.
- Apply your first coat of pastel polish. Let it dry for a minute or two.
- Apply a second coat for full, even coverage.
- If using two different colors, alternate them on your nails. For example, paint your thumb and ring finger with lilac, and your index, middle, and pinky fingers with peach.
- Once the color is completely dry (this is important!), apply a generous layer of top coat to seal the color and add shine.
Pro Tip: For an extra touch, add a tiny dot of a contrasting pastel color (like a pale yellow) on the base of one nail using a toothpick.
Design 2: The Effortless Pastel Gradient (Ombré)
Ombré nails look intricate, but with a sponge, they are surprisingly simple. This technique blends two or more pastel colors seamlessly for a dreamy effect.
Difficulty: Easy
Time: 20-30 minutes
What You’ll Need:
- Base Coat
- 2-3 Pastel Nail Polishes (e.g., mint green and baby blue, or pink and peach)
- Makeup Sponge (a dense one works best) or a cut-up kitchen sponge
- Nail Polish Remover and Cotton Swabs/Pencil Eraser (for cleanup)
- Top Coat
Steps:
- Prep your nails as usual with base coat.
- For this design, it’s helpful to protect your surrounding skin. Apply a thin layer of latex or a sticky balm like Vaseline around your nails. Alternatively, use tape to mask the skin. This cleanup step is crucial for a clean finish. You can find tips on skin protection from nail art on sites like NailPro, a leading industry publication.
- On your sponge, apply stripes of your chosen pastel polishes side-by-side. Don’t be shy with the polish – you want enough to transfer. Work quickly so the polish doesn’t dry on the sponge.
- Gently dab or roll the sponge onto your nail. You might need to dab a few times to get the full color payoff and blend.
- Immediately after sponging, carefully clean up any excess polish around your skin using a cotton swab dipped in nail polish remover. If you used latex, peel it off.
- Let the polish dry for a minute. Apply a second layer of sponging if you want more intense color.
- Once completely dry, apply a generous top coat to smooth out the texture and seal the gradient.
Table: Ombré Color Combinations to Try
| Color 1 | Color 2 | Color 3 (Optional) | Effect |
|---|---|---|---|
| Baby Blue | Mint Green | White | Sky/Ocean Breeze |
| Pale Pink | Peach | Soft Yellow | Sunset Glow |
| Lavender | Periwinkle | Light Grey | Dreamy Haze |
| Creamy Yellow | Pale Orange | White | Sunny Delight |
Design 3: Sweet Pastel Dots
Dots are a classic for a reason! They’re simple to create and can look incredibly polished and cute, especially in pastel shades. Using a dotting tool or even the tip of a toothpick makes this virtually foolproof.
Difficulty: Easy
Time: 15-20 minutes
What You’ll Need:
- Base Coat
- A pastel base color (e.g., pale yellow)
- A contrasting pastel polish for the dots (e.g., lilac)
- Dotting Tool or Toothpick
- Top Coat
Steps:
- Apply base coat and let it dry.
- Paint your nails with your chosen pastel base color. Apply two coats for even coverage and let them dry completely.
- Dip your dotting tool (or toothpick) into the contrasting pastel polish. Don’t overload the tool; a small bead of polish is perfect.
- Gently press the tip of the tool onto your nail to create a dot. Lift straight up to avoid smudging.
- Create a pattern with your dots. You can:
- Place a single dot near the cuticle.
- Create a line of dots along the smile line of your nail.
- Distribute dots randomly across the nail.
- Create a cluster of dots near the tip.
- Clean your dotting tool with polish remover between colors or if it gets clogged.
- Let the dots dry completely. This step is crucial to prevent smudging when applying the top coat.
- Apply a thin layer of top coat carefully, trying not to disturb the dots.
Pro Tip: Instead of one contrasting color, use 2-3 different pastel polishes to create a scattering of multi-colored dots. This looks playful and still remains super easy.
Design 4: Subtle Pastel Stripes
Thin stripes can add a touch of modern elegance. They look precise and chic but are achievable with a steady hand and the right tools.
Difficulty: Medium-Easy
Time: 25-35 minutes
What You’ll Need:
- Base Coat
- A neutral or soft pastel base color (e.g., creamy white, pale peach)
- One or two contrasting pastel polishes for the stripes (e.g., mint green, baby blue)
- A very fine nail art brush OR striping tape
- Top Coat
Steps (Using a Fine Nail Art Brush):
- Apply base coat and let it dry.
- Paint your nails with your base color. Apply two coats and let them dry thoroughly. A completely dry base is essential to avoid lifting the color when you paint the stripes.
- Dip your fine nail art brush into one of the pastel polishes. Wipe off any excess polish on a paper towel so you have just a small amount for a clean line.
- Gently draw a thin line across your nail. You can place it horizontally near the tip, diagonally, or even vertically.
- Let the first stripe dry completely.
- Repeat with another stripe in a different pastel color, or add a second stripe in the same color, perhaps parallel to the first or slightly offset.
- If you make a mistake, use a fine brush dipped in nail polish remover to carefully clean up the line.
- Once all stripes are dry, apply a thin layer of top coat. Be gentle!
Steps (Using Striping Tape):
- Apply base coat and let it dry.
- Paint your nails with your base color. Apply two coats and let them dry until completely hardened. This can take up to an hour or so if you want to be perfectly sure. Rushing this step is the most common cause of failure.
- Once the base color is bone dry, carefully apply a strip of nail art striping tape onto the nail. Press down firmly to ensure it adheres well, especially at the edges, to prevent polish from seeping underneath.
- Paint over the tape with your chosen pastel polish. Apply one or two coats as needed.
- While the paint is still WET, carefully use tweezers to peel off the striping tape. Peeling it off while wet prevents the polish from pulling or chipping.
- Let the striped color dry until it’s no longer tacky.
- Apply a top coat.
Pro Tip for Stripes: For a French tip style, apply a thin stripe of pastel polish just across the very tip of your nail. This is a subtle yet elegant variation.
Design 5: Minimalist Pastel Accents
Sometimes, less is more. Minimalist pastel nail art focuses on tiny, strategic details that add a pop of personality without being overwhelming. This is perfect for those who want a touch of art without a full-on design.
Difficulty: Easy
Time: 10-15 minutes
What You’ll Need:
- Base Coat
- Your favorite neutral or pastel base polish
- A contrasting pastel polish
- A very fine nail art brush, toothpick tip, or the tip of your polish brush
- Top Coat
Steps:
- Apply base coat and let it dry.
- Paint your nails with your base color. Let it dry completely.
- The accent can be as simple as:
- A single dot: Place one tiny dot of contrasting pastel polish near the cuticle of one or two nails.
- A thin outline: Carefully paint a thin outline around the edge of your nail or just the tip with a contrasting pastel.
- A tiny geometric shape: A small V-shape at the cuticle or a minuscule square near the edge.
- A half-moon: Paint a small semi-circle at the base of your nail.
- Use your fine brush or toothpick dipped in the contrasting pastel polish to create your chosen accent.
- Let the accent dry completely.
- Apply a top coat gently.
Tips for Perfecting Your Pastel Nail Art
Even the most genius, effortless designs benefit from a few pro tips. Here’s how to make sure your pastel creations always look their best:
- Cleanliness is Key: Always start with clean, dry, and prepped nails. Push back your cuticles and remove any oils.
- Thin Coats Are Your Friend: It’s much better to apply two or three thin coats of polish than one thick one. Thin coats dry faster and are less prone to bubbling or smudging.
- Patience is a Virtue: Let each layer of polish dry completely before adding the next. This is especially true for ombré and stripe designs. If your polish is still tacky, you risk smudging.
- Invest in a Good Top Coat: A quality top coat is your secret weapon for shine and longevity. A quick-dry top coat can be a lif


