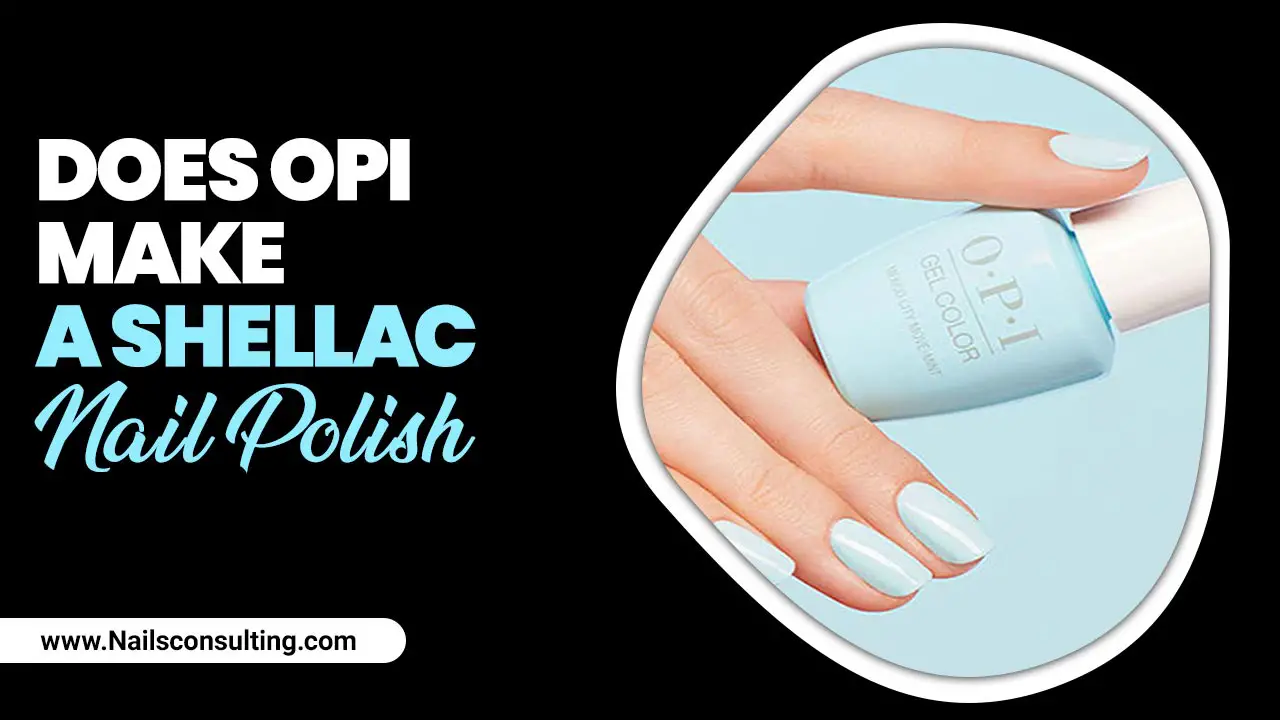
Pastel blue nail designs are a refreshing and chic choice for any season. From serene solid shades to intricate art, these designs offer a delicate yet eye-catching look. Learn how to create stunning pastel blue manicures at home with simple techniques and inspiring ideas suitable for beginners.
Pastel blue nails are like a breath of fresh air for your fingertips! They’re a beautiful way to add a touch of calm and style to your look. Sometimes, picking the perfect shade or finding a design that’s easy to do can feel a bit tricky. But don’t worry, we’ve got you covered! This guide will walk you through everything you need to know to master pastel blue nail designs right at home. Get ready to unlock a world of pretty, easy-to-achieve manicures that will make your nails shine!
Why We Love Pastel Blue Nails
Pastel blue is a wonderfully versatile color that evokes feelings of tranquility, peace, and gentle optimism. It’s softer than vibrant blues, making it incredibly wearable for everyday. Think of a clear spring sky or the calm shimmer of a distant ocean – that’s the vibe pastel blue brings!
This shade works beautifully with a wide range of skin tones and complements many outfits. Whether you’re heading to the office, a casual outing, or a special event, pastel blue nails can add a sophisticated yet understated charm. Plus, they’re a fantastic base for various nail art embellishments, allowing for endless creativity.
Getting Started: Essential Tools & Supplies
Before we dive into the fun designs, let’s make sure you have the right supplies. Having these basic items will make your at-home nail art journey much smoother and more enjoyable!
Here’s what you’ll want to have on hand:
- Base Coat: Protects your natural nails and helps polish adhere better.
- Top Coat: Seals your design and adds a glossy finish, making your manicure last longer.
- Pastel Blue Nail Polish: The star of the show!
- Nail Polish Remover: For correcting mistakes or cleaning up edges.
- Cotton Balls or Pads: To apply remover.
- Cuticle Pusher/Orange Stick: To gently push back your cuticles for a clean canvas.
- Nail File & Buffer: To shape your nails and smooth the surface.
- Optional: Dotting tools, fine-tip brushes, nail art stickers, or glitter polish for added flair.
Simple Pastel Blue Nail Designs for Beginners
Ready to paint? These designs are perfect for anyone just starting with nail art. They’re easy to execute but look incredibly chic!
1. The Serene Solid Shade
Sometimes, the simplest approach is the most elegant. A flawless solid coat of pastel blue polish is timeless and effortlessly stylish.
How-To Steps:
- Prep Your Nails: Start by ensuring your nails are clean, dry, and free of old polish. Gently push back your cuticles with a cuticle pusher or orange stick. Shape your nails with a nail file and buff the surface lightly to create a smooth canvas.
- Apply Base Coat: Apply one thin layer of your favorite base coat. Let it dry completely. This step is crucial for preventing staining and making your polish last longer.
- Apply Pastel Blue Polish: Apply your chosen pastel blue nail polish. For best results, use thin, even coats. Typically, two coats are needed for opaque coverage. Allow each coat to dry for a minute or two before applying the next.
- Add Top Coat: Once the second coat of color is dry, apply a generous layer of top coat. This will seal the color, add shine, and protect against chips. Make sure to cap the free edge (paint a little on the tip of your nail) to prevent lifting.
- Clean Up: Dip a small brush or an orange stick wrapped in cotton into nail polish remover to clean up any polish that got onto your skin.
Pro Tip: Ensure your nails are completely dry before applying the next coat or the top coat to avoid smudges and bubbles.
2. The Delicate French Tip
A twist on the classic French manicure, using pastel blue for the tips adds a modern and playful touch. It’s subtle yet noticeable.
How-To Steps:
- Prep and Base Coat: Follow steps 1-3 from “The Serene Solid Shade” above, but instead of applying the pastel blue all over, apply just one thin coat of a sheer nude or clear polish. Let it dry.
- Create the Tips: You have a few options here:
- Freehand: Carefully paint a thin line of pastel blue polish across the tip of each nail. Try to make the line consistent on all nails.
- Stencils: Use French tip guide stickers available at most beauty stores. Place the sticker just below where you want your blue tip to start, paint the pastel blue over the tip, and carefully peel off the sticker while the polish is still slightly wet.
- Let it Dry: Allow the pastel blue tips to dry completely.
- Apply Top Coat: Finish with a clear top coat over the entire nail to seal the design. Remember to cap the free edge.
3. The Subtle Gradient (Ombre)
An ombre effect with pastel blue can be stunning. You can blend pastel blue with white, a lighter shade of blue, or even a soft pink for a beautiful fade.
How-To Steps:
- Prep and Base Coat: Prepare your nails and apply a base coat. Then, apply one or two coats of your lightest color (e.g., white or a very pale blue) as your base. Let it dry completely.
- Create the Gradient:
- Sponge Method: Cut a makeup sponge into small pieces. Apply stripes of your chosen pastel blue and the lighter base color next to each other onto the sponge. Gently dab the sponge onto the nail, starting from the tip and moving down, to transfer the gradient. Repeat gently to build intensity.
- Brush Method: Apply your base color. Then, using a clean, thin brush slightly dampened with nail polish remover, gently blend the edge where the pastel blue polish meets the base color.
- Clean Up Edges: Immediately after sponging or blending, use a brush dipped in nail polish remover to clean up any polish that got on your skin.
- Apply Top Coat: Once the ombre is dry, apply a generous layer of top coat. This will help smooth out the gradient and add a beautiful shine.
Tip: For a seamless gradient, ensure your colors are slightly wet when blending or sponging. A good quality makeup sponge can make a huge difference!
4. The Playful Polka Dots
Polka dots are a fun and easy way to add a pop of personality. Use a darker blue, white, or even a metallic shade for the dots over your pastel blue base.
How-To Steps:
- Prep and Base Coat: Prepare your nails and apply a base coat. Apply one or two coats of your pastel blue polish and let it dry completely.
- Create the Dots: You can use a dotting tool, the tip of a ballpoint pen (clean!), or even a bobby pin. Dip your tool into your accent polish color (white, navy, etc.) and carefully place dots onto your pastel blue nails. Vary the size or placement for a unique look.
- Let it Dry: Allow the dots to dry thoroughly.
- Apply Top Coat: Seal your polka dot design with a clear top coat.
5. The Chic Accent Nail
If you’re new to nail art, an accent nail is a fantastic concept. Paint all your nails in a solid pastel blue, and then decorate just one nail (usually your ring finger) with a simple design.
Ideas for an Accent Nail:
- A few strategically placed rhinestones.
- A simple stripe or swirl with a contrasting color.
- A delicate lace-inspired pattern using a fine-tip brush.
- A sprinkle of fine glitter.
How-To for a Rhinestone Accent Nail:
- Paint the Base: Apply your solid pastel blue polish on all nails, including the accent nail. Let it dry completely.
- Apply Top Coat: Apply a layer of top coat to the accent nail only.
- Place Rhinestones: While the top coat is still wet, use tweezers or a wax pencil to carefully place small rhinestones or gems onto the accent nail. You can arrange them in a line, a cluster, or a pattern.
- Seal: Once the rhinestones are in place, carefully apply another layer of top coat around the stones, trying not to cover them completely. Let it dry fully.
Intermediate Pastel Blue Nail Design Ideas
Once you’ve mastered the basics, try these slightly more intricate designs that still remain achievable.
6. The Delicate Floral Accent
Add a touch of spring or summer with simple floral designs on an accent nail or as subtle accents on all nails. You can use a fine brush or even dotting tools.
How-To Steps:
- Prep and Base: Prepare your nails and apply your pastel blue polish. Let it dry.
- Create Flowers: Using a fine-tip art brush or a dotting tool, create simple flower shapes. For example, use a dark blue or purple polish to create small dots as petals and a tiny dot in the center for the flower’s middle.
- Add Greenery: With a fine brush and green polish, add tiny leaves.
- Seal: Apply a top coat once everything is dry.
7. The Modern Geometric Art
Lines, triangles, and squares can create a clean, contemporary look. Use tape or stencils for sharp, precise lines.
How-To Steps:
- Prep and Base: Prepare your nails and apply a solid pastel blue base coat. Let it dry thoroughly. You can even use different shades of blue or a contrasting color like black or white.
- Apply Tape: Carefully apply nail art tape or masking tape to create geometric shapes. For example, make a triangle or a series of parallel lines. Press the edges down firmly to prevent polish bleeding.
- Paint Accent Colors: Paint over the taped areas with your chosen accent color(s).
- Remove Tape: While the accent polish is still slightly wet, carefully peel off the tape. This is crucial for getting clean lines.
- Let Dry Fully: Allow the design to dry completely.
- Seal: Apply a clear top coat over the entire nail.
8. The Subtle Shimmer or Glitter Fade
A touch of shimmer or strategically placed glitter can elevate your pastel blue mani. A glitter fade from the cuticle or the tip is elegant.
How-To Steps:
- Prep and Base: Prepare your nails and apply your pastel blue polish. Let it dry.
- Apply Glitter:
- Sponge Method: Dab glitter polish onto a makeup sponge. Gently press and dab the sponge onto the tips of your nails, gradually fading the glitter upwards towards the cuticle.
- Brush Method: Using a fine brush, apply glitter polish directly from the brush or onto the brush itself, concentrating it at the tips and feathering it upwards.
- Build Intensity (Optional): If you want more glitter, repeat the process or use a polish with larger glitter particles.
- Seal: Apply a thick, glossy top coat to smooth out the glitter texture and seal your design.
Advanced Pastel Blue Nail Art Techniques
Feeling adventurous? These techniques can take your pastel blue nails to the next level.
9. Marble Effect
A marble design in pastel blue can look incredibly sophisticated and unique. It’s easier than it looks!
How-To Steps:
- Prep and Base: Prepare your nails and apply a solid pastel blue base coat or a white base coat to make the marbling pop. Let it dry completely.
- Create Marble Swirls: On a flat surface (like foil or a palette), add a few drops of pastel blue polish and a few drops of white or a slightly darker blue. Then, add a drop of clear polish or top coat. Use a toothpick or thin brush to swirl them together gently – don’t overmix!
- Transfer the Marble: Quickly dip your nail into the swirled polish mixture, or use a thin brush to carefully paint the swirls onto your nail.
- Clean Up: Clean up any excess polish around your cuticle with a brush dipped in remover.
- Seal: Once completely dry, apply a generous top coat.
10. Stamped Designs
Nail stamping uses metal plates with etched designs and a special stamping polish. It’s a quick way to get intricate patterns.
Using Nail Stamping
You’ll need a stamping plate, a stamper, and a scraping tool. For a stunning pastel blue look:
- Prep and Base: Apply your pastel blue polish as a base coat and let it dry completely.
- Apply Stamping Polish: Apply a contrasting stamping polish (like white, black, or metallic silver) generously over the design you want to use on your stamping plate.
- Scrape: Hold the stamper at a 45-degree angle and quickly scrape off the excess polish from the plate.
- Stamp: Roll the stamper gently over the scraped design to pick it up.
- Transfer: Immediately roll the stamper onto your nail.
- Seal: Once the stamped design is dry, apply a top coat carefully.
You can find a wide variety of stamping plates with floral, geometric, and abstract designs online. For inspiration on stamp designs, websites like Born Pretty Store often showcase creative uses of stamping plates.
Maintaining Your Pastel Blue Nails
To keep your beautiful pastel blue designs looking fresh and fabulous for as long as possible, follow these simple maintenance tips:
- Wear Gloves: When doing household chores, especially washing dishes or using cleaning chemicals, wear rubber gloves to protect your manicure from damage and staining.
- Moisturize: Keep your hands and cuticles moisturized. Dry cuticles can lead to hangnails, which can ruin a perfect manicure. Use a cuticle oil daily.
- Avoid Harsh Chemicals: Try to minimize contact with harsh chemicals, as they can break down the top coat and lead to chipping.
- Touch-Ups: If you notice any small chips, you can try to touch them up with a bit of your pastel blue polish and then a layer of top coat.
- Regular Filing: If your nails start to lose their shape, gently file them to maintain their appearance.
Pastel Blue Nail Trends & Inspiration
Pastel blue isn’t just a color; it’s a mood! Here are some ongoing trends and inspirations that you can adapt to your liking:
- Sky Nails: Think soft blues with wispy white clouds drawn on.
- Ocean Vibes: Combine pastel blue with shimmering white, and maybe a touch of iridescent glitter for a sea-inspired look.
- Minimalist Lines: A solid pastel blue with one or two fine metallic or black lines on each nail.
- Dew Drop Nails: Pastel blue base with small gel-like “bubbles” or dew drops applied.
- Abstract Swirls: Freeform swirls of pastel blue with white, pink, or lavender.
Looking for more inspiration? Exploring platforms like Pinterest and Instagram using hashtags like #pastelbluenails, #bluenailart, and #springnails can provide an endless stream of ideas and tutorials.
Frequently Asked Questions (FAQ)
Q1: Are pastel blue nails suitable for all skin tones?
Absolutely! Pastel blue is incredibly flattering on a wide range of skin tones. Lighter, cooler-toned pastels can complement fair to medium skin beautifully, while slightly richer or warmer-toned pastels can look stunning on deeper skin tones. The key is finding the specific shade of pastel blue that you feel best in.
Q2: How can I get my nail polish to dry faster?
You can use quick-dry top coats, which are specifically formulated to speed up drying time. Another effective method is to submerge your hands in a bowl of ice water once your polish is mostly dry to the touch; the cold helps to harden the layers of polish.
Q3: My nail polish always chips easily. What can I do?
Ensure you properly prep your nails by cleaning them and applying a good base coat. Apply thin coats of polish, and always cap the free edge (paint the very tip of your nail) with both your color coats and your top coat. A high-quality top coat is also essential, and reapplying it every few days can

