Passionfruit nail designs offer a vibrant and playful way to express your style. These essential looks combine tropical inspirations with trendy nail art, perfect for beginners and seasoned DIY enthusiasts alike. Get ready to create stunning, sun-kissed manicures with these easy-to-follow ideas!
Dreaming of nails that pop with tropical vibes? Passionfruit nail designs are your ticket to a fruity, fun, and utterly fabulous manicure! Sometimes, picturing the perfect nail art can feel like a challenge, especially when you want something unique yet totally achievable. You want those gorgeous, juicy colors and playful patterns without needing a nail art degree. Well, get ready to be inspired! We’re diving into the sweetest, most delightful passionfruit nail designs that are super easy to create at home. From simple pops of color to more detailed fruit slices, we’ve got you covered. Let’s get those nails looking like a tropical paradise!
Why We Love Passionfruit Nail Designs
Passionfruit isn’t just a delicious fruit; it’s a whole mood! Its vibrant colors – think sunny yellows, bright oranges, and deep purples – translate beautifully onto nails. Plus, the unique, slightly abstract patterns of the fruit itself offer so much creative freedom. These designs are:
- Incredibly Versatile: Whether you prefer a minimalist accent nail or a full-on tropical explosion, passionfruit designs can be adapted to any style.
- Joyful and Uplifting: The bright colors are guaranteed to put a smile on your face and add a touch of sunshine to your day.
- Beginner-Friendly: Many passionfruit-inspired looks rely on simple color blocking, dots, and freehand lines, making them perfect for those new to DIY nail art.
- Conversation Starters: Unique and eye-catching, these designs are sure to get you compliments!
Essential Tools for Your Passionfruit Mani
Before we dive into the designs, let’s make sure you have the right tools. These aren’t complicated or expensive, and you might already have some in your nail kit!
For Basic Application:
- Base Coat: Protects your natural nails and helps polish adhere better.
- Top Coat: Seals your design and adds a glossy shine.
- Nail Polish Remover and Cotton Pads: For clean-ups and making corrections.
- Nail Files and Buffers: To shape your nails and prep the surface.
For Creating the Designs:
- Fine-Tipped Nail Art Brushes: Essential for drawing details, lines, and dots. A good starter set is invaluable.
- Dotting Tools: Perfect for creating seeds or polka dot patterns. They come in various sizes.
- Thin Striping Tape: Great for creating clean lines and geometric patterns, mimicking the segments of the fruit.
- Dotting Swirl & Nail Art Pen Kit: These often come with multiple tips for different effects and are fantastic for beginners. You can find comprehensive kits online for under $20.
- Small Palette or Piece of Foil: To mix colors and dab your brush.
Proven Essential Passionfruit Nail Looks
Let’s get to the fun part! Here are some proven passionfruit nail designs that are both stylish and easy to achieve. We’ll break them down from the simplest to slightly more detailed.
1. The “Juicy Hue” Solid Color Dip
This is the absolute easiest way to get that passionfruit vibe. It’s all about the color! Think of the rich insides of a passionfruit.
What You’ll Need:
- Base Coat
- Nail polish in vibrant shades like bright orange, deep yellow, or a rich purple.
- Top Coat
How-To Steps:
- Prep: Start with clean, filed nails. Apply a base coat and let it dry completely.
- Color: Apply one or two coats of your chosen passionfruit-inspired color. Ensure even coverage.
- Dry: Let the polish dry thoroughly for a few minutes.
- Seal: Apply a generous layer of top coat to lock in the color and shine.
Pro Tip: For an extra touch, try a different vibrant shade on your accent finger (usually your ring finger).
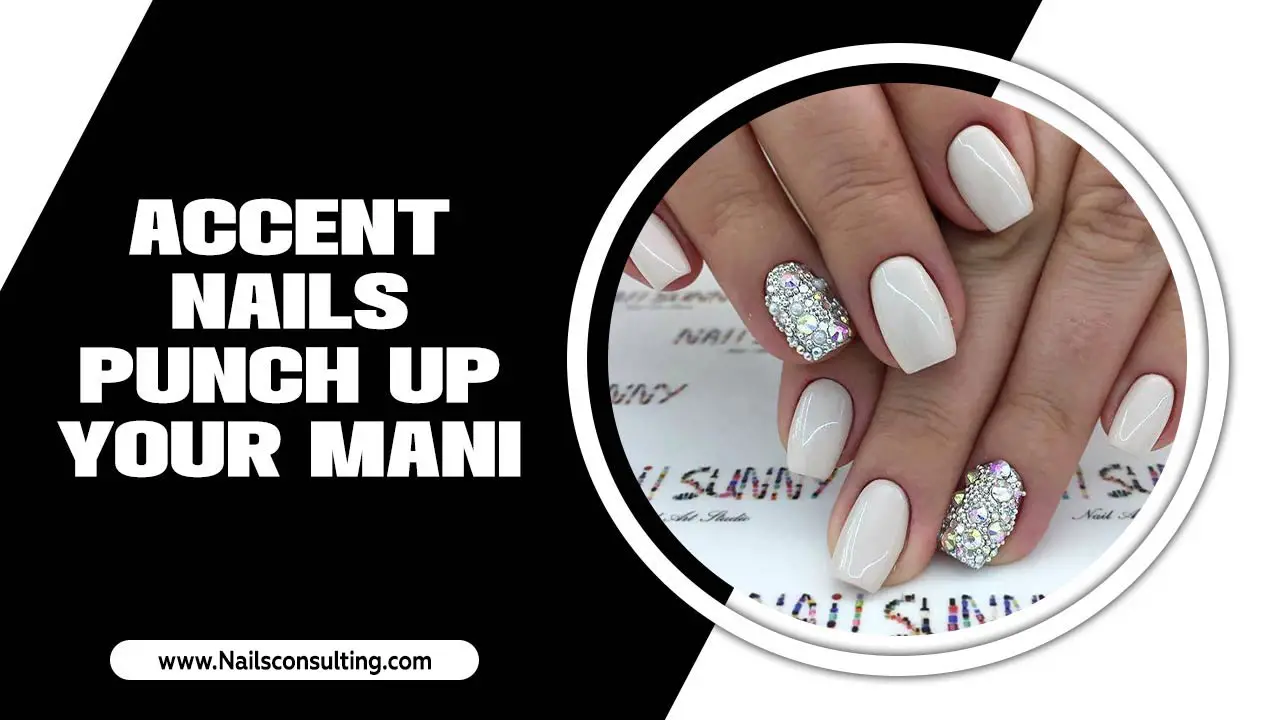
2. The “Seed Sparkle” Accent Nail
This design uses a simple base color and adds a few dots to mimic the passionfruit seeds, creating a subtle yet effective acknowledgment of the fruit.
What You’ll Need:
- Base Coat
- A single, bright nail polish color (e.g., yellow, orange, or even a soft pink)
- Black or dark brown nail polish for seeds
- Dotting tool (a small one)
- Top Coat
How-To Steps:
- Prep: Apply base coat, let dry.
- Base Color: Apply your chosen bright color to all nails. Let dry.
- Accent Nail: On one or two accent nails, apply a second coat of the base color.
- Add Seeds: While the polish is still wet (or use a tiny bit of sticky polish/gel), use your dotting tool dipped in black or dark brown polish to place a few small dots clustered together in the center of the accent nail.
- Dry & Seal: Carefully let the dots dry, then apply top coat to all nails.
Beginner’s Note: Don’t worry about making the dots perfect! Real passionfruit seeds have a natural, slightly irregular look.
3. The “Tropical Swirl” Gradient
Capture the vibrant, blended colors of passionfruit pulp with an easy gradient effect.
What You’ll Need:
- Base Coat
- Nail polishes in 2-3 complementary passionfruit shades (e.g., yellow, orange, a hint of pink or purple)
- Makeup sponge (a clean, dry cosmetic sponge or even a kitchen sponge cut into small pieces)
- Top Coat
- Cuticle protector (optional, liquid latex or tape around the nail edge)
How-To Steps:
- Prep: Apply base coat and let dry. Apply cuticle protector if using.
- Color Stripes: On your makeup sponge, paint thin stripes of your chosen colors next to each other. Work relatively quickly.
- Dab & Blend: Gently dab the sponge onto your nail, pressing and slightly rocking the sponge to blend the colors.
- Repeat: You may need 2-3 applications to get good color saturation. Apply additional stripes of color onto the sponge each time.
- Clean Up: Remove the cuticle protector. Use a brush dipped in nail polish remover to clean up any polish on your skin.
- Dry & Seal: Once dry, apply a generous top coat to smooth out the gradient and add shine.
Why it Works: The sponge creates a soft, diffused blend that looks professionally done, mimicking the natural swirls within a passionfruit.
4. The “Passionfruit Slice” Art
This design is a bit more visual and directly represents a slice of passionfruit. It’s surprisingly achievable!
What You’ll Need:
- Base Coat
- Yellow or orange nail polish as a base
- Black or dark brown nail polish
- White nail polish
- Fine-tipped nail art brush or dotting tool with a very small tip
- Top Coat
How-To Steps:
- Prep: Apply base coat and let dry.
- Base Color: Paint your nails with the yellow or orange base color. Let it dry completely.
- Create the Pulp Shape: On an accent nail (or all nails if you’re feeling adventurous!), use your fine brush and black/dark brown polish to paint a curved or semi-circular shape, like the outer edge of a passionfruit slice. Fill it in.
- Add Seeds: While the dark color is still wet, use your smallest dotting tool or the very tip of your brush to carefully add tiny dots of the same dark color onto the pulp area, mimicking seeds.
- Highlight (Optional): For a bit more realism, use a tiny bit of white polish on your finest brush to create a few wispy, irregular lines or highlights within the pulp area. Keep it subtle!
- Dry & Seal: Let everything dry thoroughly. Apply top coat.
Visual Aid: Look up a picture of a sliced passionfruit for reference. Notice the irregular edges of the pulp and the placement of the seeds.
5. The “Geometric Passion” Design
This modern take uses the colors of passionfruit with clean lines, often achieved with striping tape.
What You’ll Need:
- Base Coat
- Nail polishes in passionfruit colors (e.g., yellow, white, black, orange)
- Thin striping tape
- Fine-tipped scissors or clippers to cut tape
- Top Coat
How-To Steps:
- Prep: Apply base coat and let dry.
- Color Application: Paint your nails with your chosen base colors. You could do alternating colors or a gradient. Let them dry completely.
- Apply Tape: Carefully place thin strips of striping tape onto the dried polish to create geometric shapes or lines. For example, you could make a diagonal line, an “X” shape, or a chevron.
- Paint Over Tape: Apply a contrasting passionfruit color (like black or white) over the taped sections.
- Remove Tape: While the new polish is still slightly wet (this is key for clean lines!), carefully peel off the striping tape using tweezers. If you wait too long, the polish can peel off with the tape.
- Dry & Seal: Let the nails dry completely. Apply top coat.
Tip for Precision: Ensure each layer of polish is completely dry before applying striping tape. This prevents lifting and smudging.
Understanding Nail Polish Durability and Care
No matter how beautiful your passionfruit nail design is, you want it to last! Proper care is essential.
Factors Affecting Durability:
- Polish Quality: Higher quality polishes tend to chip less.
- Nail Prep: Oils on the nail surface prevent polish from adhering well. Thorough cleaning and buffing are crucial.
- Top Coat Application: A good, thick top coat acts as armor. Reapply every 2-3 days for extra longevity.
- Daily Activities: Using your nails as tools (opening cans, scraping) will inevitably lead to chips unless you wear protective gloves.
Tips for Making Your Mani Last:
- Wear Gloves: When cleaning or doing dishes, always wear rubber gloves.
- Avoid Harsh Chemicals: Many cleaning products can eat away at nail polish.
- Moisturize: Keep your cuticles and nails hydrated with cuticle oil or hand cream. Dry nails are more prone to breakage and chipping at the edges.
- Seal the Edges: When applying your top coat, make sure to cap the free edge of your nail (paint a tiny bit along the very tip). This seals the polish and prevents chipping from that vulnerable edge.
Passionfruit Nail Design Color Palettes
The beauty of passionfruit nails lies in their vibrant color combinations. Here are some essential palettes to inspire your creativity:
| Overall Vibe | Primary Colors | Accent Colors/Details |
|---|---|---|
| Classic Juicy | Bright Yellow, Vibrant Orange | Black (for seeds), White (for highlights) |
| Exotic Bloom | Deep Purple, Magenta, Hot Pink | Yellow (for contrast), Gold glitter |
| Sunny Delight | Light Yellow, Peach, Coral | White (for dots/lines), Soft Green (for leaves) |
| Tropical Sunset | Orange, Red-Orange, Deep Pink | Black (for definition), Creamy white |
Experimenting with these color combinations will help you achieve that authentic passionfruit look. Don’t be afraid to mix and match!
Maintaining Healthy Nails for Art
Gorgeous nail art starts with healthy nails. Taking care of your natural nails ensures your designs look even better and prevents breakage.
Simple Nail Health Practices:
- Regular Trimming and Filing: Keep nails at a manageable length to avoid snags and breaks. File in one direction to prevent splitting.
- Cuticle Care: Gently push back cuticles after a shower or when they’re soft. Avoid cutting them, as this can lead to infection. Use a good cuticle oil daily. For more on cuticle care, you can find helpful tips from the American Academy of Dermatology.
- Hydration: Drink plenty of water and moisturize your hands and nails regularly.
- Nail Strengtheners: If your nails are prone to breaking, consider using a nail strengthener.
- Breaks from Polish: Occasionally, give your nails a polish-free break. This allows them to “breathe” and can help prevent yellowing or weakening.
Frequently Asked Questions (FAQ)
Q1: Are passionfruit nail designs hard to do for beginners?
A1: Not at all! Many passionfruit designs are based on simple colors, dots, and lines. The “Juicy Hue” solid color and “Seed Sparkle” designs are perfect for absolute beginners. You can gradually try more detailed looks as you gain confidence.
Q2: What are the best colors to use for passionfruit nail art?
A2: The most classic passionfruit colors are vibrant yellows, oranges, and deep purples. However, you can also incorporate pinks, reds, and even hints of green or white for variation. Think of the juicy pulp and the fruit’s exterior.
Q3: How can I make my DIY passionfruit nail designs last longer?
A3: Start with clean, dry nails. Use a good quality base and top coat. For added durability, wear gloves when doing household chores and reapply your top coat every 2-3 days. Sealing the edges of your nails with the top coat is also crucial.
Q4: Can I achieve passionfruit nail art without special nail art brushes?
A4: Yes! For simple dots, you can use the tip of a toothpick, a bobby pin, or a ballpoint pen. For lines, carefully use the edge of your regular polish brush if it’s thin enough, or even a straightened paperclip. A makeup sponge is fantastic for gradient effects.
Q5: How do I clean up mistakes when doing passionfruit nail art?
A5: Keep a small brush (like a clean makeup brush or a fine-tipped acrylic brush) dipped in nail polish remover handy. You can precisely clean up any smudges or stray lines around your nail and cuticle. For larger messes, use a cotton swab dipped in remover.
Q6: Can I combine different passionfruit nail design elements?
A6: Absolutely! Feel free to mix and match. You could have “Juicy Hue” nails on some fingers, a “Seed Sparkle” accent nail on another, and maybe even a “Passionfruit Slice” on your ring finger. Personal expression is key!
Conclusion
Passionfruit nail designs are a delightful way to bring a burst of tropical energy and playful color to your fingertips. Whether you’re a seasoned nail art artist or just starting your DIY manicure journey, these essential looks offer something special. From the effortless charm of solid, juicy hues to the artistic flair of passionfruit slices and geometric patterns, the possibilities are as vibrant as the fruit itself.
Remember, the most important part of nail art is having fun and expressing your unique style. Don’t be afraid to experiment with colors, techniques, and combinations. With a few essential tools and these proven designs, you can create stunning, confidence-boosting manicures that are sure to turn heads and brighten your day. So go ahead, embrace the tropical trend, and let your nails bloom with the irresistible allure of passionfruit!


