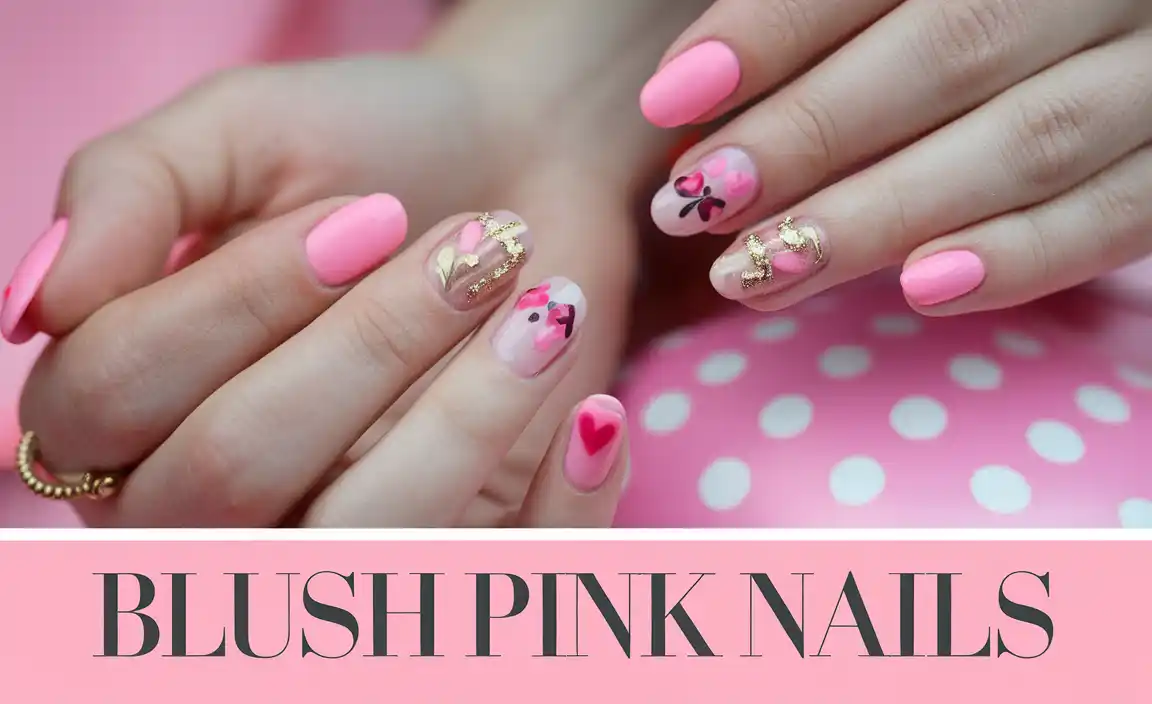
Discover stunning oval nail design ideas that are perfect for beginners and seasoned nail art lovers alike! Learn to create chic, elegant, and trendy looks that enhance the beautiful oval shape of your nails. Get ready to express your style with easy-to-follow tips and inspiration.
Oval nails are a timeless favorite for a reason! They offer a graceful silhouette that elongates the fingers and complements almost any hand shape. But sometimes, choosing the right design to make them truly shine can feel a little tricky. Don’t worry, I’m Lisa Drew from Nailerguy, and I’m here to take the guesswork out of it. This guide is packed with gorgeous oval nail design ideas, from super simple to a bit more elaborate, all explained so you can achieve beautiful results right at home. Get ready to fall in love with your nails all over again!
Why Oval Nails Are a Go-To Shape
The oval nail shape is like the little black dress of manicures – it’s classic, versatile, and always looks good. The gently rounded tip is less prone to snagging or breaking compared to sharper shapes. Plus, the way it tapers naturally creates the illusion of longer, slimmer fingers. It’s a universally flattering shape that serves as the perfect canvas for almost any nail art you can dream up!
Essential Tools for Your Oval Nail Designs
Before we dive into the fun designs, let’s make sure you have the right tools. You don’t need a professional salon setup to create amazing oval nail art. Here are a few essentials that will make your DIY manicure journey much smoother:
- Nail File: A good quality file is crucial for shaping your nails into that perfect oval. Look for a fine- grit file (around 180-240 grit) for at-home use to avoid damaging your nails.
- Base Coat: This protects your natural nail from staining and helps your polish adhere better.
- Top Coat: A shiny top coat seals your design, adds extra durability, and gives that professional finish.
- Cuticle Pusher/Orange Stick: For gently pushing back cuticles before you start painting.
- Nail Polish Colors: Your chosen shades for your designs!
- Dotting Tools or Toothpick: For creating small dots and simple patterns. A toothpick can be a great stand-in for dotting tools if you’re just starting.
- Thin Nail Art Brush: Essential for drawing fine lines and delicate details.
- Tweezers: Handy for placing small embellishments like glitter or rhinestones precisely.
For those who get really into nail art, investing in a comprehensive nail art brush set can be a game-changer. Websites like Cosmopolitan’s guide to nail art tools offers a fantastic overview of what’s available.
Beginner-Friendly Oval Nail Design Ideas
Ready to get creative? These ideas are perfect for beginners and focus on simple techniques that deliver maximum impact on your oval nails.
1. Classic French Fade (Baby Boomer Nails)
This is a softer, more blended version of the classic French tip. It gives a beautiful, diffused look that’s incredibly chic.
- Prep: Start with a nude or sheer pink base coat. Apply one or two thin coats and let it dry completely.
- Create the Blend: Take a milky white or light pink polish. Apply it strategically to the tips of your nails.
- Blend: While the white/pink tip polish is still wet, use a clean makeup sponge or a fine-grit buffer to gently tap and blend the edge where the color meets the base. The goal is a seamless transition, not a harsh line.
- Seal: Once dry, apply a clear top coat to seal the design and add shine.
2. Simple Glitter Accent Nail
Adding a touch of sparkle is an easy way to elevate any manicure. Make one nail on each hand a glitter accent for a subtle yet dazzling effect.
- Base Color: Paint all your nails with your chosen base color. Let it dry thoroughly.
- Glitter Application: On your accent nail, apply a layer of glitter polish. You can go for full coverage or just tap it onto the tips for a gradient effect.
- Second Coat (Optional): For more intense glitter, apply a second coat.
- Top Coat: Apply a generous top coat over all nails to protect the glitter and give a smooth finish.
3. Monochromatic Elegance
This design is all about shades of one color. It’s sophisticated and surprisingly easy to achieve.
- Choose Your Color: Pick a color family, like blues, greens, or even a deep berry.
- Vary the Shades: Paint each nail with a different shade or intensity of your chosen color. For example, a pale blue on the pinky, a medium blue on the ring finger, and a navy on the thumb.
- Consistency is Key: Ensure your base and top coats are applied evenly across all nails for a polished look.
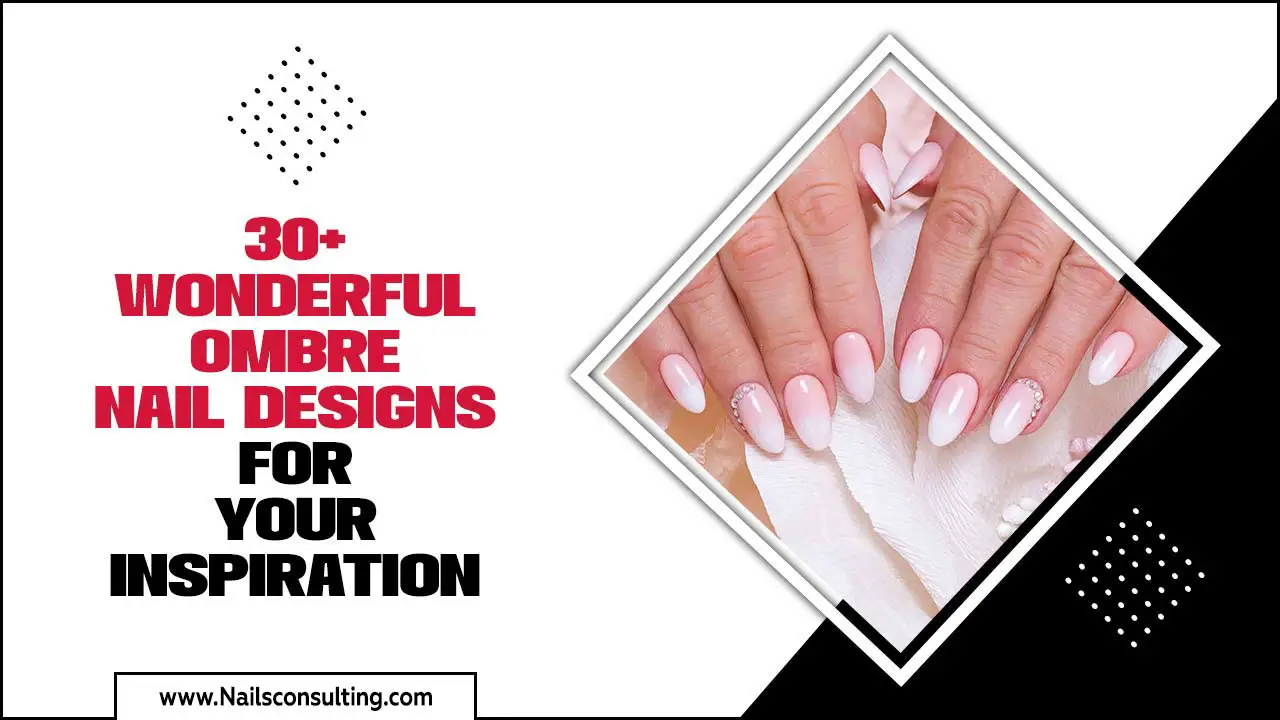
4. Subtle Gradient (Ombre) Nails
A soft color transition can be stunning on oval nails. You can create a beautiful ombre effect with just a makeup sponge!
- Base Coat: Apply a sheer nude or white base coat.
- Sponge Prep: On a makeup sponge or a piece of foil, create two parallel lines of your chosen colors.
- Apply: Gently tap the sponge onto the nail, pressing the colors onto the nail surface. Roll the sponge slightly to help blend the colors together at the tip.
- Refine: Clean up any polish that got on your skin with a cleanup brush dipped in nail polish remover.
- Top Coat: Finish with a clear top coat.
5. Polka Dots Galore
Polka dots are a playful and classic design that’s super easy for beginners. Using a dotting tool or even the end of a toothpick makes this a breeze.
- Base Color: Apply your desired base color and let it dry completely.
- Dotting: Dip your dotting tool (or toothpick) into a contrasting polish color. Gently press the dot onto your nail. Repeat to create your pattern.
- Placement: You can cover the whole nail, create a line of dots along the tip, or just place a few strategically.
- Seal: Once dry, apply your top coat.
Elevating Your Oval Nail Game: Intermediate Designs
Once you’re comfortable with the basics, try these designs that add a little more flair. They still use simple techniques but offer more complex visual appeal.
6. Minimalist Stripes
Thin, clean lines can make a bold statement. This design looks effortlessly chic on oval nails.
- Base Polish: Apply your chosen base color and let it dry completely.
- Line Art: Using a very fine nail art brush dipped in a contrasting color, carefully paint thin stripes. You can go horizontally, vertically, or diagonally.
- Tip: For extra precision, practice your lines on a piece of paper first.
- Top Coat: Seal your masterpiece with a top coat.
7. Marble Effect
Achieve a sophisticated marble look with a few simple steps. It gives a high-end, custom feel to your nails.
- Base Coat: Apply a light neutral base color (like white, cream, or light grey) and let it dry.
- Veining: Take a fine nail art brush and dip it into a darker polish (black, grey, or a deep jewel tone). Create wispy, irregular lines across the nail to mimic marble veins.
- Soften (Optional): While the “veins” are still wet, you can gently smudge them slightly with a clean brush or a makeup sponge for a more blended look.
- Seal: Once dry, finish with a top coat.
8. Floral Accents
Adding small floral details can bring a touch of nature and femininity to your nails.
- Base Color: Choose a light or pastel base color.
- Flower Petals: Use a small dotting tool or the tip of a fine brush to create small dots close together, forming a flower shape. You can also use a thin brush to draw delicate petal shapes.
- Center Dot: Add a tiny contrasting dot in the center of each flower for definition.
- Leaves: Use a fine brush to add small green leaf shapes around or attached to the flowers.
- Top Coat: Seal everything with a clear top coat.
9. Half-Moon Manicure
This design highlights the cuticle area with a distinct shape. It’s a retro-chic style that elongates the nail even further.
- Base Color: Apply your main polish color and let it dry.
- Create the Curve: Use a small round stencil, the tip of a fine brush, or even a small piece of tape to create a clean curve at the base of your nail where the cuticle is.
- Second Color: Carefully paint the exposed half-moon area with a contrasting color or a shimmery polish.
- Remove Stencil: Carefully remove the stencil or tape while the polish is still wet.
- Top Coat: Apply a top coat for a smooth, finished look.
Advanced Elegance: Taking Your Oval Nail Designs to the Next Level
If you’re ready to experiment and have a bit more practice, these designs offer intricate beauty and a truly professional finish.
10. Abstract Art
Embrace your inner artist with abstract designs. These are forgiving because there’s no “right” or “wrong” way to do them!
- Base: Start with a neutral or bold base color.
- Layering: Use various nail art brushes and colors to create shapes, lines, and swirls. Don’t be afraid to overlap colors or experiment with different textures.
- Tools: Consider using tools like a scraper or even the side of a credit card to create unique textures and patterns.
- Seal: A good top coat will tie all the elements together.
11. Gemstone and Rhinestone Embellishments
Adding 3D elements like small rhinestones or larger “gems” can make your nails pop. This can be done on accent nails or sparingly across all nails.
- Base: Apply your polished base color and let it dry.
- Adhesive: Apply a bit of top coat or a specific nail glue where you want to place your embellishment.
- Placement: Use tweezers to carefully pick up your rhinestone or gem and place it onto the wet polish or glue.
- Secure: Press down gently to ensure it adheres well.
- Top Coat: Apply your top coat carefully around the embellishment, avoiding covering it directly if it’s a textured gem that you want to keep its shine.
12. Delicate Water Marbling
This technique requires a bit of practice but results in breathtaking, unique patterns. It involves dropping nail polish into water and carefully swirling it to create a marbled effect, then dipping your nail into it.
- Prep: Apply Vaseline or liquid latex around your cuticles to create a barrier.
- Water Polish: Fill a cup with room-temperature water. Drop different colors of nail polish onto the surface. They will float and spread.
- Swirl: Use a toothpick to gently swirl the colors into a marbled pattern.
- Dip: Carefully dip your nail into the water, at an angle, so the pattern transfers onto your nail.
- Clean Up: Remove the excess polish from your finger using the toothpick and clean up the barrier.
- Top Coat: Once dry, apply a top coat.
Maintaining Your Oval Nails and Designs
Once you’ve achieved your stunning oval nail design, keeping it looking fresh is key. Here are some tips:
- Reapply Top Coat: Every few days, a fresh layer of top coat can help revive the shine and protect your design from chipping.
- Moisturize: Keep your cuticles and hands moisturized with cuticle oil or hand cream. Healthy cuticles mean healthier nails.
- Be Gentle: Avoid using your nails as tools (like opening cans!). This can cause chips or breaks.
- Touch-Ups: For minor chips on solid color nails, a careful touch-up with the polish color can work wonders.
The Impact of Nail Shape on Design
It’s amazing how much the shape of your nail can influence the look of a design. Oval nails are fantastic for many reasons when it comes to art:
| Nail Shape | Design Suitability for Oval Nails | Why it Works |
|---|---|---|
| Oval | French tips, gradients, minimalist lines, floral accents, abstract art | The tapered shape elongates the nail bed, making intricate designs look balanced and graceful. The smooth curves allow for seamless blending of colors and patterns. |
| Square | Bold graphic designs, geometric patterns, solid colors | The straight edges are great for sharp lines and block colors. |
| Almond | Similar to oval, but the sharper point can enhance delicate designs | The slight tapering adds a modern twist. |
| Stiletto/Ballerina | Dramatic art, bold embellishments, strong color contrasts | The extended length and pointed tip offer a larger canvas for dramatic effects. |
As you can see, the oval shape offers a wonderful balance, allowing for both delicate and bold designs to shine. For more information on nail shapes and their characteristics, resources like the Nailpro guide to nail shapes can be very insightful.
Frequently Asked Questions About Oval Nail Designs
Q1: How do I get the perfect oval shape?
Start with a slightly longer nail. File from one side towards the center in long, sweeping strokes, then repeat on the other side. Gently round the tip to create the oval. Always file in one direction to prevent splitting.
Q2: Can I do nail art on short oval nails?
Absolutely! Shorter oval nails are just as beautiful. Focus on simpler designs like a single glitter accent nail, minimalist dots, or a sheer color. Avoid overly busy or very large patterns, which can make short nails look shorter.
Q3: What’s the best base color for intricate nail art on oval nails?
A neutral base like milky white, sheer pink, or a pale nude is usually best for intricate designs. It provides a clean canvas, making your detailed work stand out beautifully and look professional.
Q4: How can I make my nail polish designs last longer?
Always use a good base coat and a high-quality, quick-drying top coat. Reapply your top coat every 2-3 days. Moisturizing your cuticles daily also helps keep your nails strong and less prone to breakage, which can ruin designs.
Q5: Are oval nails good for everyday wear?
Yes! Oval nails are very practical. Their rounded shape means they’re less likely to snag or break compared to sharp shapes, making them ideal for busy lifestyles while still looking elegant.
Q6: How do I clean up my nail art mistakes?
Keep an old, fine-tipped brush handy. Dip it in nail polish remover and carefully trace around your cuticles and nail edges to remove any excess polish or smudges. This cleanup step makes a huge difference in the final look!
Conclusion: Embrace Your Oval Nail Canvas!
There you have it – a treasure trove of oval nail design ideas, from the simplest touches to more artistic endeavors. Oval nails offer such a versatile and elegant foundation, and with these tips and tricks, you’re perfectly equipped to experiment and express your unique style. Remember, nail art is all about creativity and self-expression. Don’t be afraid to play around, mix and match techniques, and most importantly, have fun with it! Your nails are a fantastic way to show off your personality, so embrace your inner artist and let your oval nails do the talking.

