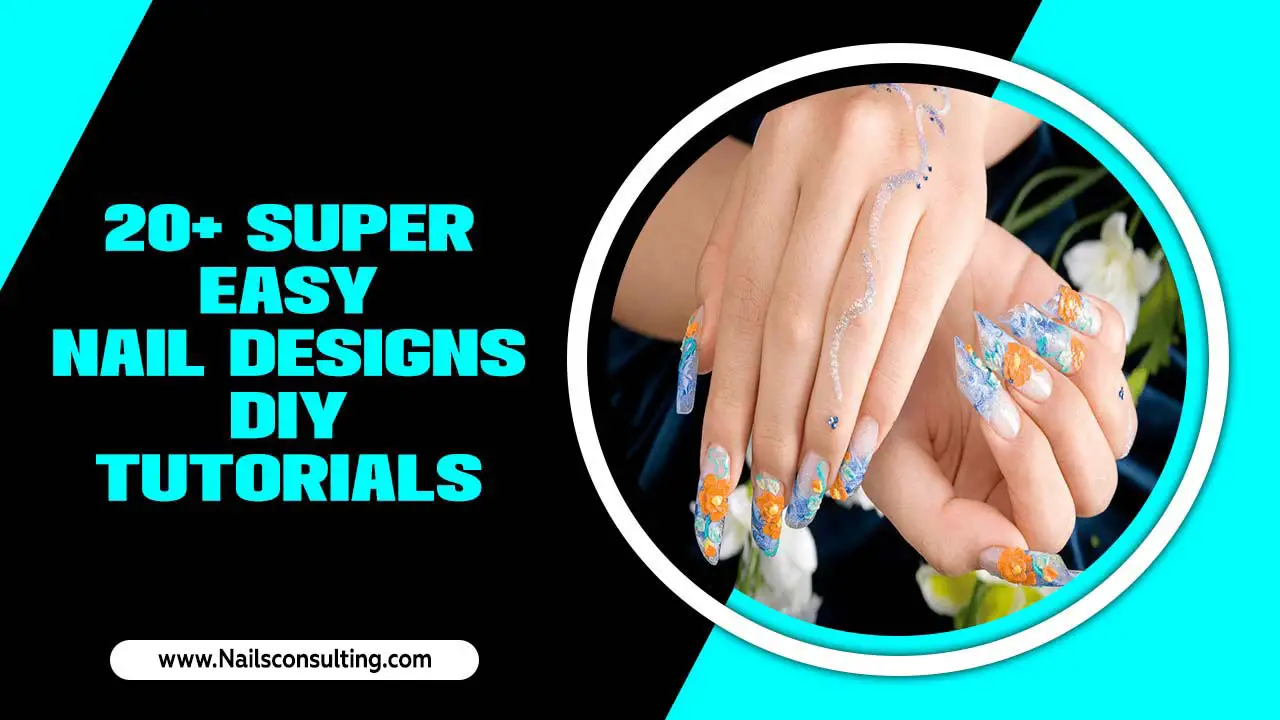
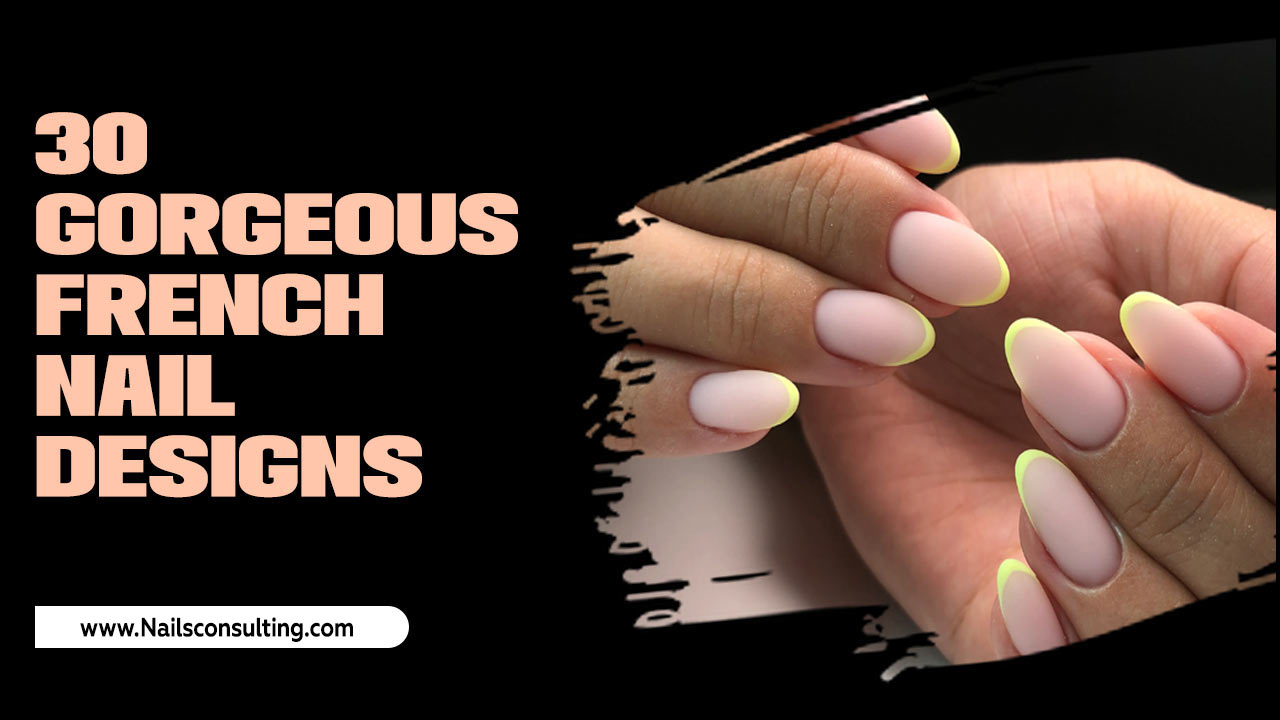
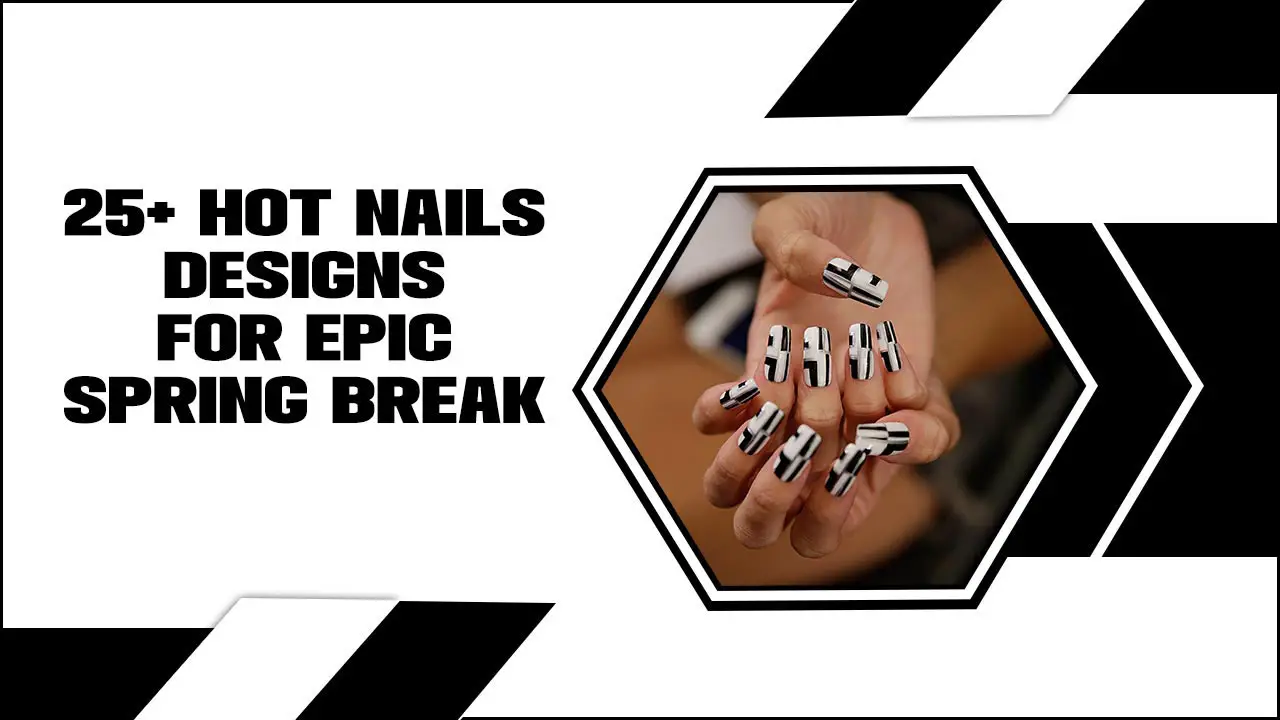
Opal gemstone nail design is a stunning and achievable way to add ethereal beauty and captivating shimmer to your nails. It involves using special polishes, decals, or even tiny gems to mimic the iridescent play-of-color found in genuine opals, giving you a unique, eye-catching manicure that’s perfect for any occasion.
Have you ever seen those gorgeous nails that seem to glow from within, shifting with every flicker of light? They look like tiny, magical gemstones right on your fingertips! It can feel a bit intimidating, making you think it’s a super complicated art form reserved for professionals. But guess what? You can totally recreate that stunning opal effect at home, even if you’re a total beginner. This guide is here to show you just how easy and fun it is to achieve that breathtaking opal gemstone nail design. Get ready to transform your nails into little pieces of art!
What Exactly is Opal Gemstone Nail Design?
Opal gemstone nail design is a trend that captures the mesmerizing beauty of natural opals. Think of the way opals shimmer and shift with rainbow colors when you move them – that’s the magic we’re trying to replicate on our nails! Unlike actual gemstones, which are hard and can be difficult to adhere, these nail designs use special techniques and materials to give a similar dazzling, iridescent effect. It’s about creating depth, shimmer, and a play of color that looks both sophisticated and whimsical. The result is a manicure that’s anything but ordinary, drawing attention with its unique, luminous quality.
Why You’ll Love Opal Gemstone Nails
There are so many reasons why this nail trend has become a must-have! Here’s why you’ll fall in love with opal gemstone nail designs:
- Unique & Eye-Catching: These nails are guaranteed to turn heads. The shifting colors mimic the natural beauty of opals, making each manicure unique.
- Versatile Styles: From subtle hints of shimmer to full-blown iridescent effects, you can tailor opal designs to match your personal style and any outfit.
- Suitable for All Occasions: Whether it’s a casual day out, a formal event, or a special celebration, opal nails add a touch of elegance and magic.
- Beginner-Friendly Options: You don’t need to be a nail art pro! Many techniques are simple and can be easily learned with a few basic tools.
- Boosts Confidence: A beautiful, well-done manicure can make you feel polished and put-together, boosting your overall confidence.
Essential Tools and Materials for Your Opal Nail Journey
Before we dive into the how-to, let’s gather our supplies! Don’t worry, most of these are readily available and easy to use. These are the essentials you’ll need to create stunning opal gemstone nail designs:
| Tool/Material | Description & Purpose | Beginner Tip |
|---|---|---|
| Base Coat | Protects your natural nails and creates a smooth surface for polish. | Always apply before any color for nail health. |
| Nail Polish or Gel Polish (Opal Effect) | Special polishes with iridescent pigments or holographic finishes that create the opal look. | Look for “duochrome,” “chrome,” or “opal” finishes. |
| White or Light Base Color | Often used as a base to make the opal colors pop more vibrantly. | A milky white or pale pink works wonders. |
| Top Coat | Seals your design, adds shine, and protects against chipping. | A good quality top coat is a game-changer! |
| Sponge or Makeup Applicator | For creating gradient effects and diffusing the opal colors. | Eyeshadow applicators work great! |
| Optional: Chrome Powder/Flakes | Finely milled powders or flakes that create a mirror-like or iridescent sheen. | These are key for that intense shimmer. |
| Optional: Nail Art Brush | For detailed work, accents, or applying flakes precisely. | A fine-tip brush is versatile. |
| Optional: Cuticle Oil | To nourish and hydrate cuticles after your manicure. | A lovely finishing touch for healthy-looking nails. |
Having the right tools makes all the difference! Think of them as your trusty sidekicks in creating a masterpiece. For instance, a good base coat not only protects your nails from staining but also ensures your colorful polishes adhere better, leading to a longer-lasting manicure. You can learn more about the importance of nail care basics on sites like the American Academy of Dermatology Association.
Easy Opal Gemstone Nail Design Techniques for Beginners
Ready to get creative? Here are a few popular and beginner-friendly ways to achieve that stunning opal effect. We’ll start with the simplest and move to slightly more involved methods that still keep it totally achievable!
Technique 1: The Iridescent Polish & Sponge Method
This is perhaps the easiest way to get a beautiful opal-like shimmer. It uses special polishes and a simple sponging technique to layer colors and create depth.
What you’ll need:
- Base Coat
- White or light-colored nail polish (optional, but recommended)
- Iridescent or duochrome nail polish (e.g., leaning towards pink, blue, or green shifts)
- A makeup sponge or cosmetic applicator
- Top Coat
Step-by-Step Guide:
- Prep Your Nails: Start with clean, dry nails. Push back your cuticles gently and file them into your desired shape. Apply a thin layer of base coat and let it dry completely.
- Apply Base Color: If you’re using a white or light color, apply one or two thin coats and let it dry thoroughly. This helps the iridescent polish appear more vibrant, like a canvas for your gem!
- Prepare the Sponge: Cut a small piece of your makeup sponge. You want it to be easy to handle.
- Apply Iridescent Polish: Dab a bit of your iridescent polish onto a clean, flat surface like a foil or a palette. Lightly dab your sponge into the polish. Don’t overload it!
- Sponge onto Nails: Gently tap the sponge onto your nail. Use a light dabbing motion, rather than swiping. You’re building the color and shimmer here. Work in thin layers.
- Layer and Blend: For a more complex opal effect, you can dab a second, slightly different iridescent shade alongside or over the first. Blend the edges slightly with the sponge to create a seamless shift. You can also dab more polish onto the sponge and apply it more intensely in certain areas to create depth.
- Build the Intensity: Repeat steps 5 and 6, applying thin layers of iridescent polish with the sponge, until you achieve the desired richness and play of color. Let each layer dry for a minute before adding the next. This layering is key to mimicking the depth of a real opal.
- Clean Up Edges: Use a small brush dipped in nail polish remover to clean up any polish that got onto your skin or cuticles.
- Seal with Top Coat: Once you’re happy with the opacity and color shift, apply a generous layer of top coat to seal everything in, add shine, and protect your beautiful design.
- Dry and Finish: Let your nails dry completely. For extra shine and longevity, apply a second coat of top coat after the first one has dried. Finish with a drop of cuticle oil around the nail.
This method creates a beautiful, diffused glow that truly captures the essence of opal. The sponge helps to blend the colors naturally, making it look less like a painted design and more like an inherent shimmer within the nail.
Technique 2: The Chrome Powder & Gel Polish Method
For a more intense, mirror-like opal effect, chrome powder is your best friend. This technique usually works best with gel polish for maximum adhesion and shine, but you can achieve a similar result with regular polish too, though it might be less durable.
What you’ll need:
- Base Coat
- White or light-colored gel polish
- No-Wipe Top Coat (crucial for chrome powder application)
- Iridescent Chrome Powder (opal effect powders are fantastic for this!)
- Silicone tool, small brush, or fingertip for applying powder
- Gel Curing Lamp (if using gel polish)
- Regular Top Coat (for sealing if using gel)
Step-by-Step Guide:
- Prep and Base: Start with clean nails. Apply base coat (regular or gel) and let it dry.
- Apply White Base Color: Apply one or two thin coats of white or very light-colored gel polish. Cure each coat under the UV/LED lamp. A white base is essential for the opal chrome effect to shimmer correctly.
- Apply No-Wipe Top Coat: This is important! Apply a thin, even layer of a “no-wipe” gel top coat. Cure this layer under the lamp. This creates a sticky-free surface perfect for the chrome powder.
- Apply Chrome Powder: Dip your silicone tool, brush, or fingertip into the iridescent opal chrome powder. Gently rub the powder onto the uncured top coat surface of your nail. Buff it in, covering the entire nail.
- Achieve the Shine: Continue to rub and buff the powder until you achieve a smooth, high-shine, iridescent finish. The more you buff, the more the powder transfers and the more intense the shine becomes.
- Remove Excess Powder: Gently brush away any loose powder from the nail and surrounding skin with a soft brush.
- Seal the Deal: Apply a regular gel top coat over the chrome powder. Be sure to cap the free edge of your nail to prevent chipping. Cure this final top coat layer under your lamp.
- Final Touches: If using regular polish, let it dry thoroughly and then apply a durable, glossy top coat. Apply cuticle oil to moisturize.
The chrome powder technique gives you that stunning, almost futuristic, mirror-like opal sheen. The opal shift powders are specifically designed to give you those beautiful, ethereal color changes. For best results with gel, ensuring your no-wipe top coat is truly “no-wipe” is key. You can find great resources on gel nail application, including curing times and product types, from nail industry professionals.
Technique 3: Opal Decals or Stickers
If you want the look without the intricate application, opal nail stickers or decals are a fantastic shortcut!
What you’ll need:
- Base coat
- Your desired nail polish color
- Opal effect nail stickers or decals
- Top coat
- Tweezers (optional, for precise placement)
Step-by-Step Guide:
- Prep and Polish: Apply your base coat, let it dry, then apply one or two coats of your chosen colored nail polish (or a sheer white/nude). Let it dry completely.
- Select Your Decal: Choose the opal nail sticker or decal that fits your nail size and desired design.
- Apply Decal: Carefully peel the sticker from its backing. If the sticker is a bit stiff, you can gently bend it to match your nail’s curve. Place it onto your nail, starting from the cuticle and smoothing it down towards the free edge. Press firmly to ensure it adheres well and doesn’t have any air bubbles. Tweezers can help with precise placement.
- Smooth and Seal: Gently press down along the edges and surface of the decal to make sure it’s fully attached and smooth.
- Apply Top Coat: Once the decal is in place, apply a good quality top coat over the entire nail, including the decal. This helps to seal it in, give it a glossy finish, and prevent it from peeling up. You might need two thin coats of top coat for a perfectly smooth finish.
- Dry and Enjoy: Let your nails dry completely.
Opal decals offer instant results and are perfect for those times when you want a beautiful design quickly. They come in various patterns and opacities, so you can find exactly what you’re looking for. Just make sure to press them down firmly to avoid lifting!
Tips for Achieving the Best Opal Effect
No matter which technique you choose, a few extra tips can help you achieve that stunning, gem-like finish:
- Start with a Good Base: A smooth, clean nail surface is crucial. Make sure your base coat is dry and your nails are free of oils or debris.
- Layering is Key: For the sponging and polish method, building up thin layers of color is more effective than trying to get it perfect in one go. This creates depth and mimics the natural play of color in an opal.
- White as a Canvas: A white or very pale base color makes iridescent and holographic finishes pop. It’s like giving your nail a neutral background so the colors can shine through beautifully.
- Don’t Rush: Allow each layer of polish or gel to dry (or cure) completely before moving on to the next step. Patience will result in a smoother, more professional-looking finish.
- Clean Edges: Use a small brush dipped in nail polish remover to clean up any polish that lands on your skin. This makes your manicure look neat and tidy.
- Seal it Well: A good top coat is essential for shine and longevity. Make sure to cap the free edge of your nails, especially when using gel polish or chrome powders, to prevent chipping.
- Experiment with Colors: Opal effects aren’t limited to just one color shift. Play with polishes that shift from pink to purple, blue to green, or iridescent glitters for unique looks.
Troubleshooting Common Opal Nail Issues
Even with the best intentions, sometimes things don’t go perfectly. Here are a few common issues and how to fix them:
- Streaky Finish: If your sponged polish looks streaky, it might be that your sponge was too dry, or you weren’t dabbing evenly. Try applying another thin, dabbing layer, or a more even polish application on the sponge. Ensure even pressure when dabbing.
- Dull or Uneven Chrome: For chrome powder, ensure you used a “no


