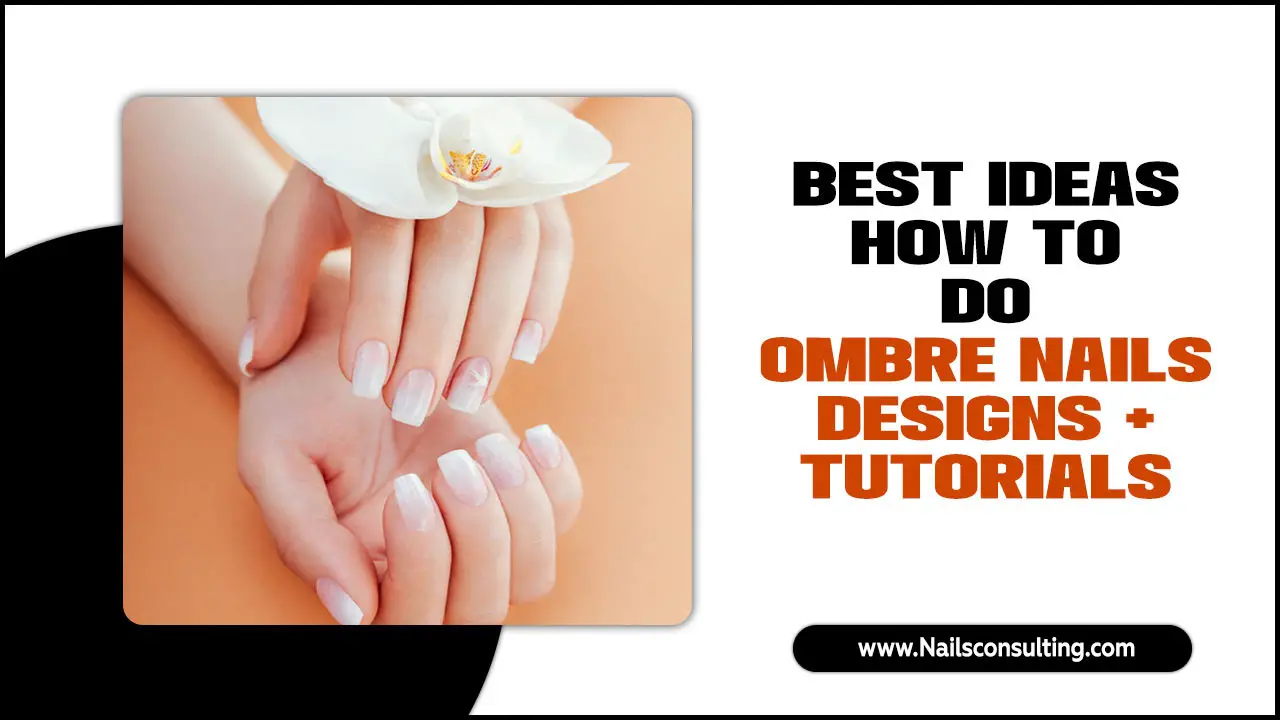
Ombre nails have become a popular trend in the world of beauty and fashion. This unique and eye-catching style involves blending two or more colours on the nails, creating a gradient effect that is both elegant and versatile.
From subtle pastel shades to bold and vibrant hues, the possibilities for ombre nail designs are endless. However, achieving the perfect ombre look can be a daunting task for those who are new to this trend. we will be exploring the best ideas and tutorials on how to achieve flawless ombre nails.
We will cover everything from the different techniques and tools needed to the best colour combinations and designs. Whether you’re a nail art enthusiast looking to up your game or a beginner wanting to try out this trend, this article is your ultimate guide to mastering the art of ombre nails. So get ready to take your nail game to the next level as we dive into the world of ombre nail designs and tutorials.
1.How To Do Ombre Nails Without Sponge
Creating ombre nails without a sponge can be a fun and creative way to achieve a stunning gradient effect. One popular method is using a small brush or makeup applicator to blend the colours directly on the nail. Start by applying a base colour and allowing it to dry completely. Then, apply the first colour of your ombre design to one side of the nail, leaving some space for blending.
Next, apply the second colour to the other side of the nail, slightly overlapping with the first colour. Using the small brush or makeup applicator, gently blend the two colours in the middle until you achieve a smooth transition. Finally, seal your design with a top coat to protect and enhance the ombre effect. With a little practice and patience, you can easily create beautiful ombre nails without using a sponge.
2.Сlassical Ombre Technique
The classical ombre technique is a tried-and-true method for achieving a perfectly blended gradient effect on your nails. Here’s how you can create beautiful ombre nails using a makeup sponge:
- Start by applying a base coat to protect your nails.
- Choose two colours that complement each other for your ombre design. The first colour will be your base, and the second colour will be used for the gradient effect.
- Apply the first colour to your nails and let them dry completely.
- Take a small piece of a makeup sponge and dab the tip into the second colour. Gently press the sponge onto your nails, starting at the tip and working your way up to create the gradient effect.
- Repeat this step until you achieve the desired gradient effect.
- Finish off with a top coat to seal the design and add shine to your ombre nails.
- With a little practice, you can create stunning ombre nails using the classical technique and a makeup sponge.
3.Ombre Nails With Brush
The classical ombre technique is a popular choice for creating stunning ombre nail designs. This technique involves blending two or more colours seamlessly on the nail to create a gradient effect. To achieve this look, start by applying a base coat to protect your nails. Then, choose two or more colours that you want to use for your ombre design.
Start with the lightest colour and apply it to the top of your nail, gradually transitioning to the darker colour (s) towards the tip. You can use a sponge or a brush to blend the colours for a smooth transition. Once you’re satisfied with the gradient effect, finish off with a top coat to seal in your design and add shine. With the classical ombre technique, you can create beautiful and eye-catching nail designs that are sure to impress.
4.Ombre Nails With Airbrush
For a professional and flawless ombre nail design, consider using an airbrush technique. This method is commonly used by nail artists to achieve seamless gradient effects on nails. Here’s how you can create ombre nails with an airbrush:
- Begin by applying a base coat to your nails and letting them dry completely.
- Choose two colours that you want to use for your ombre design. The first colour will be your base colour, while the second colour will create the gradient effect.
- Using an airbrush, start by applying the first colour to your nails, covering the entire nail surface.
- Switch to the second colour and, using the airbrush, gently spray from the nail tip towards the base, creating a gradient effect.
- Repeat this step until you achieve the desired gradient effect.
- Finish off with a clear top coat to protect your ombre nail design and add shine.
5.Glitter Ombre Gel Nails
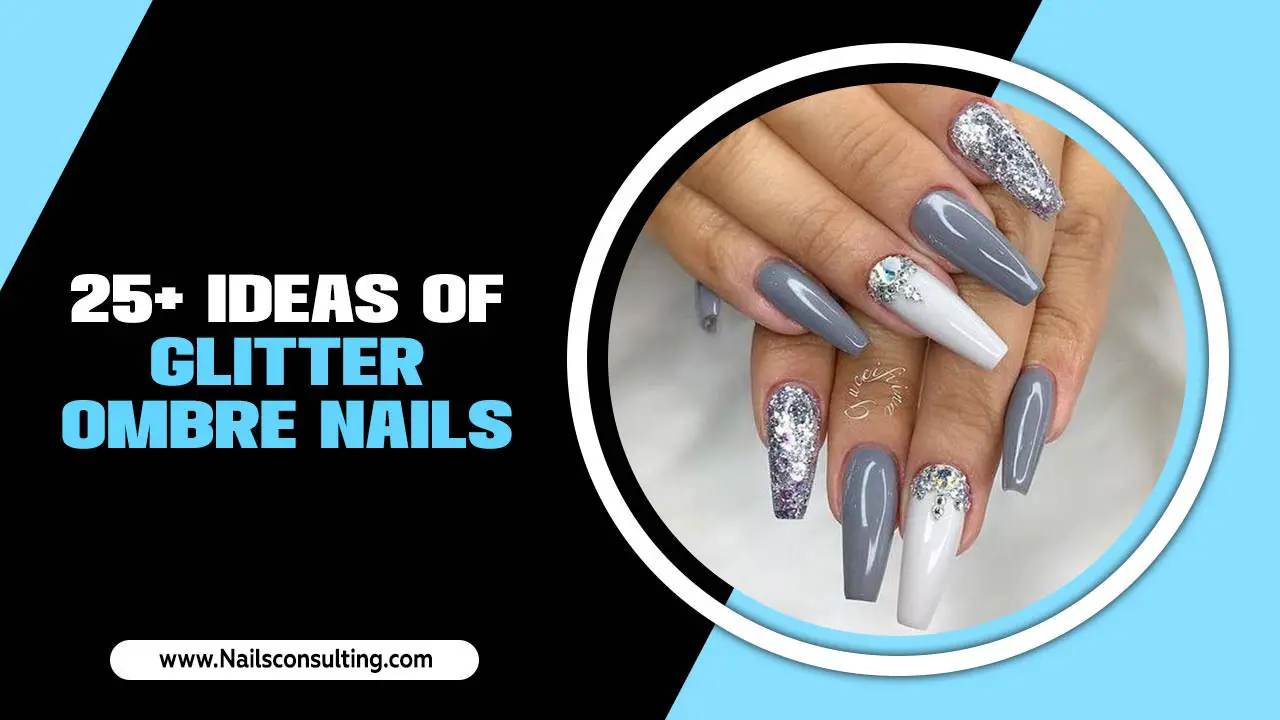
Glitter ombre gel nails are a stunning and glamorous option for those looking to add some sparkle to their manicure. To achieve this look, start by applying a base coat to protect your natural nails. Next, choose two complementary gel nail polishes – one in a solid colour and one with glitter. Apply the solid colour as the base coat and cure it under a UV or LED lamp.
Then, using a sponge applicator or a small eyeshadow brush, gently dab the glitter polish onto the tips of your nails, gradually fading it towards the base. Repeat this step until you achieve the desired ombre effect. Finally, seal in your design with a top coat and cure it under the lamp once again. The result will be dazzling glitter ombre gel nails that are sure to turn heads wherever you go.
6.Holographic Or Chrome Ombre Nails
Holographic or chrome ombre nails are a stunning and eye-catching nail design that adds a touch of glamour to any look. To achieve this trendy look, start by applying a base coat to protect your natural nails. Next, choose your desired holographic or chrome nail polish and apply a thin layer to the entire nail.
Once dry, use a sponge applicator or makeup sponge to gently dab on another layer of polish, starting from the tip of the nail and fading towards the cuticle. Repeat this process as needed to build up the intensity of the ombre effect. Finish off with a glossy top coat for added shine and longevity.
7.Vertical Rainbow Ombre Nails
Creating vertical rainbow ombre nails is a fun and vibrant way to express your creativity. To achieve this look, start by applying a base coat to protect your nails. Then, choose a set of rainbow colours that you want to use for your ombre effect.
Starting with the lightest colour, paint one side of your nail in long strokes from the cuticle to the tip. Repeat this process with each colour, gradually transitioning from one shade to the next. To create a smooth gradient, you can use a sponge or a brush to blend the colours. Once you have achieved the desired effect, finish off with a glossy top coat to seal in your design and add shine.
8.How To Ombre Nails With Floral Art
Creating ombre nails with floral art can add a touch of elegance and femininity to your manicure. To achieve this look, start by applying a base coat to protect your nails. Then, choose two or more nail polish colours that complement each other.
Apply the lighter colour as the base coat and let it dry completely. Next, take a makeup sponge and apply small drops of the darker colour (s) onto the sponge. Gently dab the sponge onto your nails in a horizontal or diagonal motion, gradually building up the intensity of the colour towards the tips of your nails.
Once you are satisfied with the ombre effect, wait for it to dry before proceeding to the next step. Finally, add floral art using a fine-tipped nail brush or a dotting tool. You can create flowers, leaves, or any other floral design that suits your style.
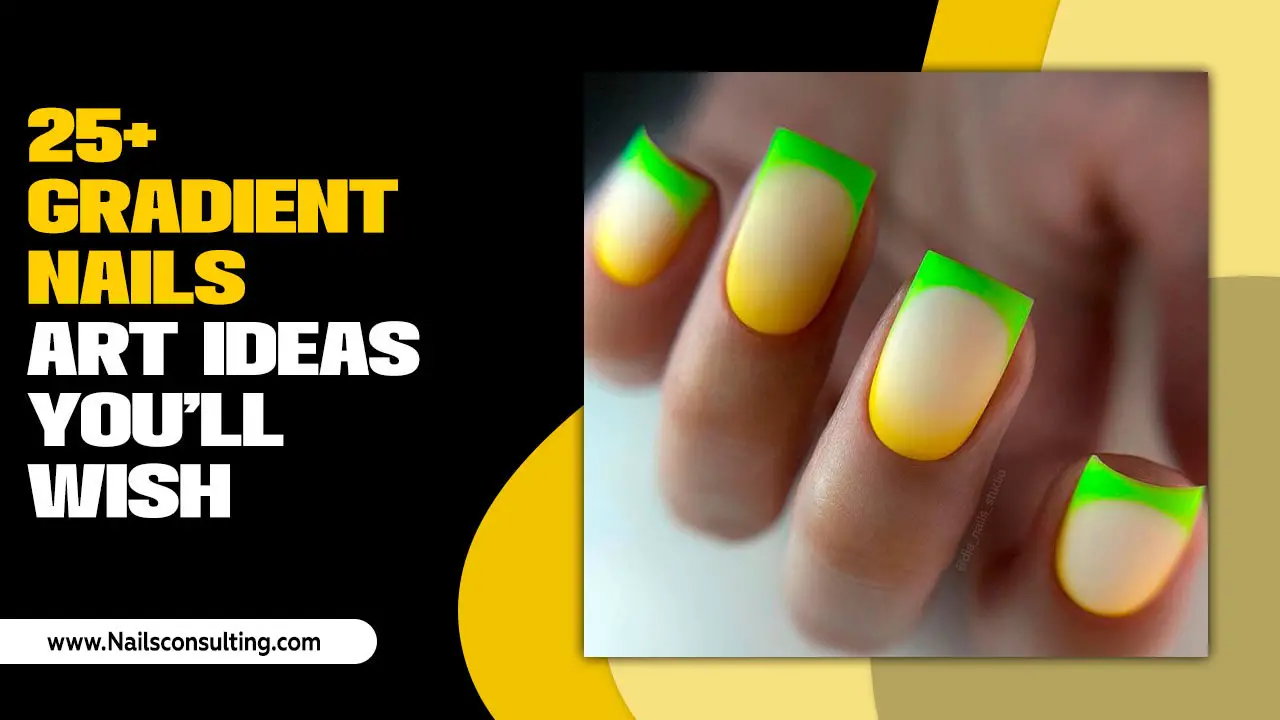
9.Bright Colored Ombre Nail Designs
Bright-coloured ombre nail designs are a fun and vibrant way to add some personality to your manicure. With endless colour combinations to choose from, you can create a unique and eye-catching look that is sure to turn heads. To achieve a bright-coloured ombre effect, start by selecting your desired colours. It’s best to choose shades that are in the same colour family but vary in intensity.
Next, apply a base coat to protect your nails and help the polish adhere better. Once the base coat is dry, apply the lightest colour to the bottom of your nails and gradually blend it into the next shade using a sponge or a brush. Repeat this process with each subsequent colour until you achieve the desired ombre effect.
Finish off with a top coat for added shine and longevity. With some practice and creativity, you can create stunning bright-coloured ombre nail designs that will have everyone asking where you got your nails done.
10.Gentle Ombre With Stones
Creating a gentle ombre with stones is a beautiful way to elevate your nail design. To achieve this look, start by applying a base coat to protect your nails. Next, choose two complementary nail polish colours that you want to use for the ombre effect. Apply the lighter shade as the base colour and let it dry completely.
Then, take a makeup sponge and apply the darker shade to the tip of the sponge. Gently dab the sponge onto your nails, starting from the tips and moving upwards towards the middle of the nail. This will create a gradual transition between the two colours.
Once you’re satisfied with the ombre effect, it’s time to add some sparkle with stones. Apply a clear top coat and while it’s still wet, carefully place small stones along the line where the two colours meet. Press them gently into place using a toothpick or an orange stick.
11.Abstracted Ombre Nail Art
Abstracted ombre nail art is a trendy and artistic way to incorporate the ombre effect into your nail designs. This style allows you to experiment with different colours, patterns, and textures to create a unique and eye-catching look. To achieve abstracted ombre nails, start by selecting a colour palette that complements each other.
Then, using a sponge or brush, blend the colours on your nails in a random and abstract pattern. You can also add additional elements such as glitter, foil, or nail decals to enhance the overall design. The key to achieving abstracted ombre nails is to embrace creativity and let your imagination run wild.
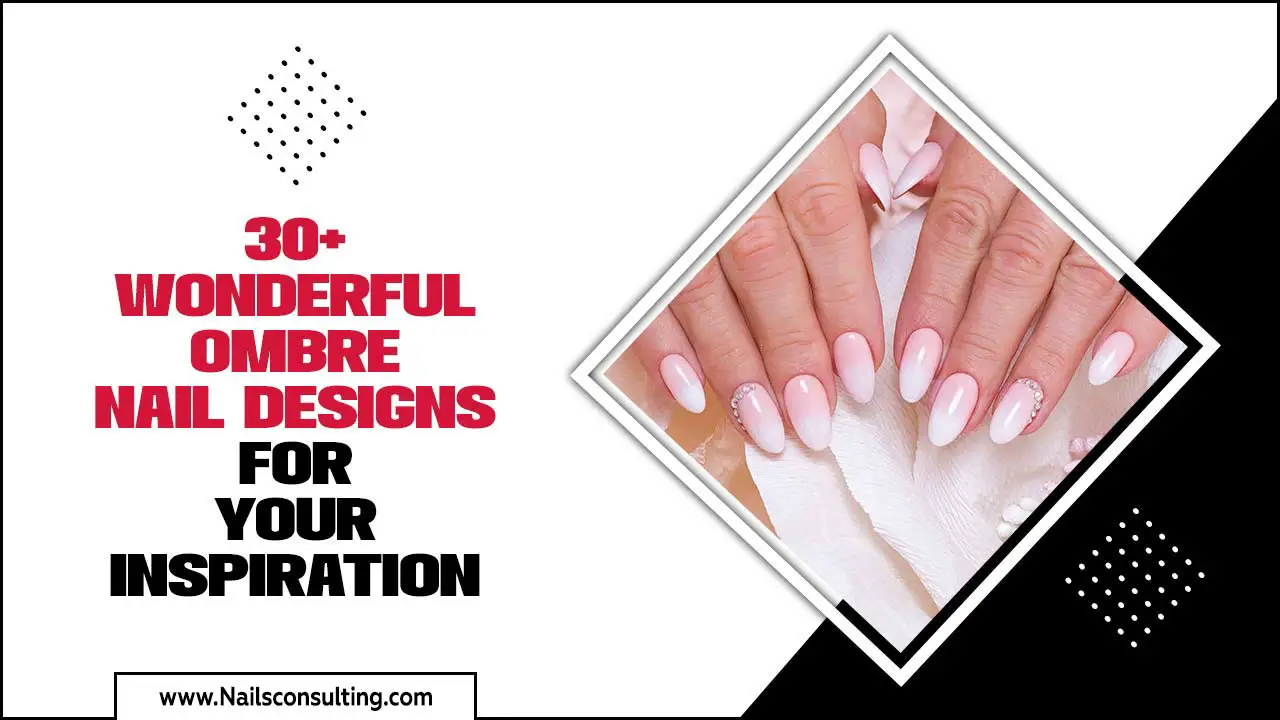
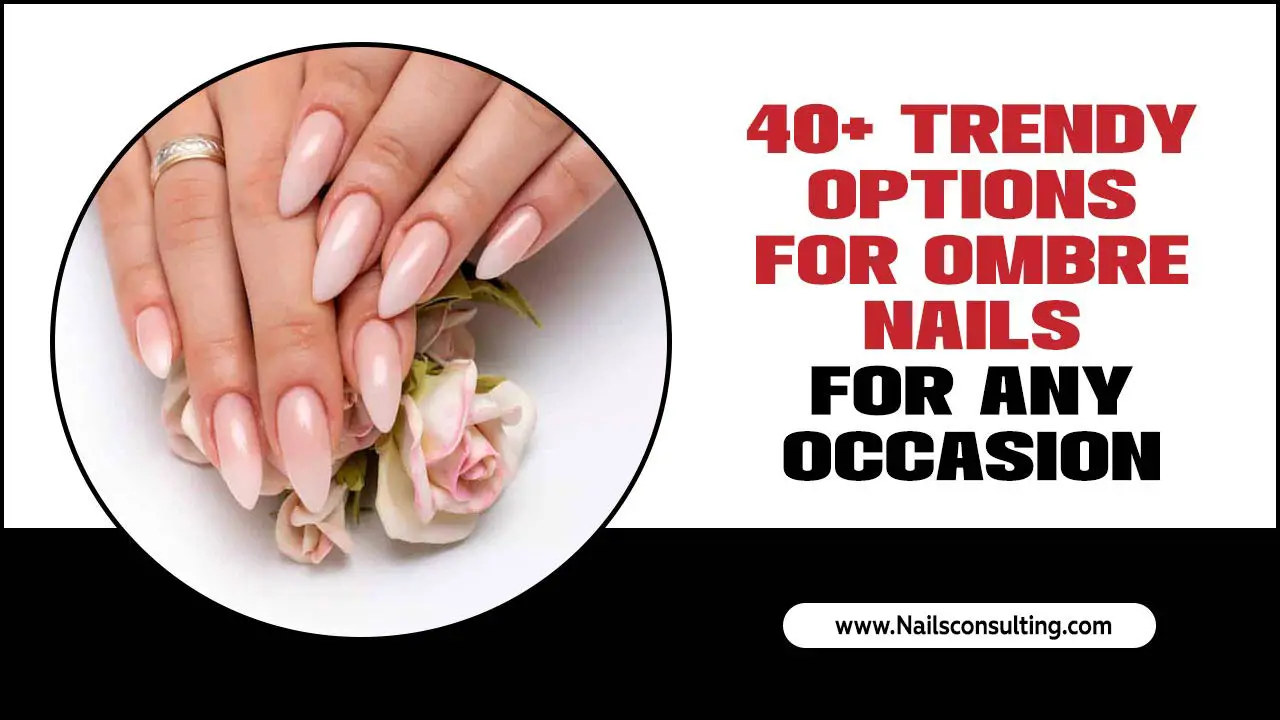
12.Simple Nude Mani
Creating a simple nude ombre manicure is easier than you think. Start by applying a base coat to protect your nails. Next, choose two nude shades that complement each other. Apply the lighter shade as your base colour and allow it to dry completely. Then, take a makeup sponge and apply the darker shade to the tip of the sponge.
Gently dab the sponge onto the nail, starting at the tip and working your way towards the base. Repeat this step until you achieve your desired gradient effect. Finally, seal in your design with a glossy top coat for a polished finish. With this simple tutorial, you can easily achieve a chic and sophisticated ombre nail design right at home.
13.Trendy And Sweet Pastel Gradient
Trendy and sweet, pastel gradient nails are a popular choice for those who love soft and feminine manicures. Here’s how you can create a trendy pastel gradient:
- Start by applying a base coat to protect your nails.
- Choose your favourite pastel colours, ranging from light to dark, with the lightest colour on your nail tip.
- Apply the lightest colour as the base of your gradient, covering the entire nail surface.
- Using a small brush, apply the next colour, slightly overlapping the lightest colour, and blend it towards the cuticles.
- Repeat this step with the remaining colours, gradually building up the gradient effect.
- Finish off with a top coat to seal your design and give your pastel gradient nails a glossy finish.

