Ombre nail design ideas with pastel shades offer a soft, chic way to elevate your manicure. Learn essential tips for achieving a seamless blend and discovering beautiful, easy-to-create looks perfect for beginners.
Dreaming of nails that blend effortless elegance with a touch of playful color? Ombre nails have long been a favorite for their smooth transitions, and when paired with delicate pastel shades, they become utterly enchanting. But achieving that perfect gradient without harsh lines can seem daunting, especially if you’re new to nail art. Fret not! This guide is here to show you just how simple and fun creating pastel ombre nails can be. We’ll walk you through everything you need, from the best colors to try, to the easiest techniques for that flawless blend. Get ready to transform your fingertips into works of art!
Why Pastel Ombre Nails Are a Winning Choice
Pastel shades evoke feelings of springtime, freshness, and gentle beauty. Think soft blues, blushing pinks, mint greens, pale lavenders, and creamy yellows. When these colors are blended in an ombre effect, the result is a manicure that is both sophisticated and subtly eye-catching. It’s a trend that’s incredibly versatile, looking just as stunning with casual outfits as it does with more formal attire. Plus, pastel gradients are forgiving, making them an ideal starting point for anyone exploring nail art.
The beauty of pastel ombre lies in its ability to create dimension and depth on your nails. Instead of a solid color, you get a beautiful spectrum that draws the eye. It’s a sophisticated way to add personality to your look without being overly bold, making it a perfect choice for everyday wear or special occasions.
Essential Tools for Your Pastel Ombre Manicure
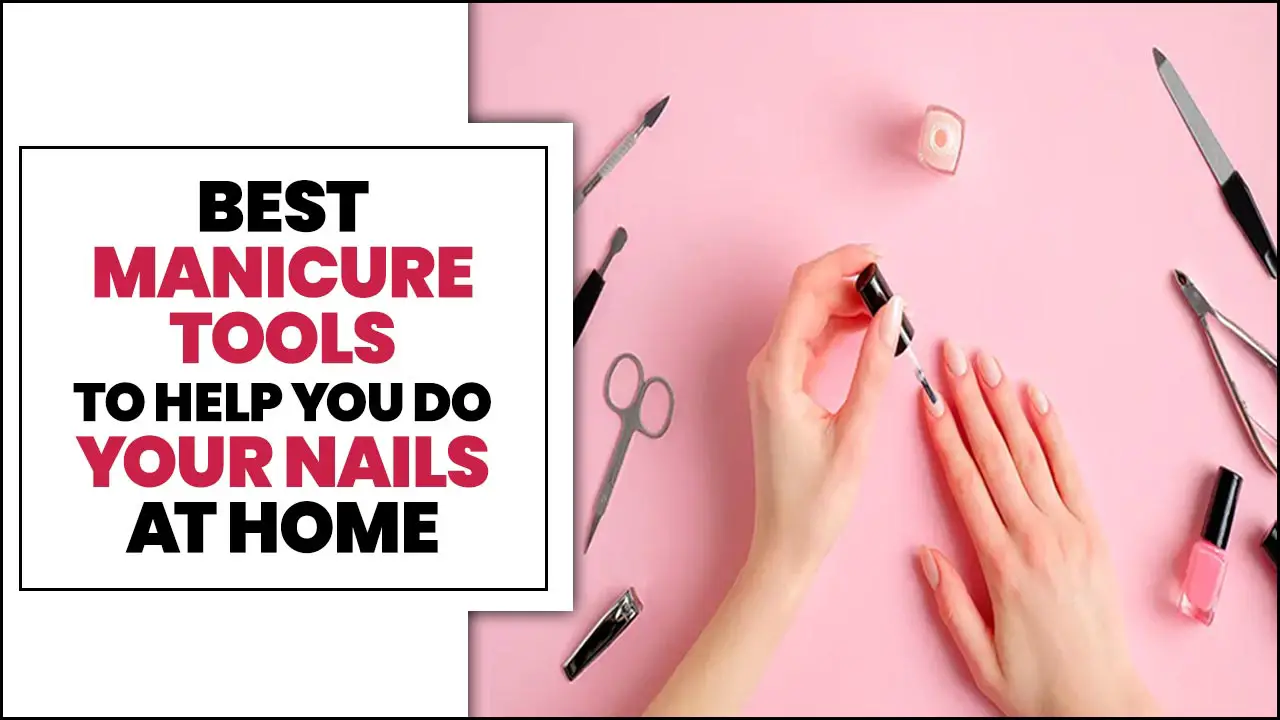
Before diving into the design, gathering the right tools is key to a smooth and professional-looking finish. Don’t worry, most of these are basic nail supplies you might already have!
- Base Coat: Always start with a good quality base coat to protect your natural nails and help your polish adhere better.
- Pastel Nail Polishes: Choose two or three complementary pastel shades. Think about color theory – pastels blend wonderfully in similar color families (e.g., different shades of pink) or through analogous colors (e.g., blue and green).
- Cosmetic Sponge or Makeup Sponge: This is your magic wand for blending! A dense, fine-pored sponge works best for a smooth gradient. You can find these at most drugstores or beauty supply stores.
- Top Coat: Essential for sealing your design, adding shine, and ensuring longevity.
- Clean-up Brush or Cotton Swab: For tidying up any polish that gets on your skin. An old, fine-tipped brush with a few bristles fanned out is perfect.
- Optional: Glitter Polish or Fine Glitter: For an extra touch of sparkle to enhance your ombre.
- Optional: Small Dish or Piece of Cardboard: To put a small amount of polish on for sponging.
Simple Techniques for Achieving the Perfect Pastel Ombre Blend
There are a few popular methods for creating ombre nails, but for beginners, the sponge technique is often the easiest and most effective. Let’s break it down.
The Sponge Technique: Your Step-by-Step Guide
This is the go-to method for most at-home ombre designs. It mimics the professional look with just a few simple steps.
- Prep Your Nails: Ensure your nails are clean, dry, and free of any old polish. File them to your desired shape and push back your cuticles.
- Apply Base Coat: Paint a thin layer of base coat and let it dry completely. This protects your nails and helps the polish last longer.
- Apply Your First Color (Optional but Recommended): Paint your entire nail with the lightest pastel shade you’ll be using. Let it dry thoroughly. This creates a uniform background and makes the gradient pop more.
- Prepare Your Sponge: Cut a cosmetic sponge into a few small pieces – a piece about 1-2 inches long is perfect. You want a size that’s easy to handle for each nail.
- Apply Polish to the Sponge: On a small dish or a piece of cardboard, dab a small amount of your first (lighter) pastel polish, then immediately dab the second (darker) pastel polish right next to it. You can even add a third color if you’re feeling adventurous! Work quickly as nail polish can dry fast.
- Create the Gradient: Lightly dab the sponge onto your nail, starting from the cuticle area or slightly above, and gently roll or tap your way to the tip of the nail. Apply gentle pressure so the colors blend. You might need to reapply polish to the sponge and repeat the dabbing motion a few times to build up the color intensity and achieve a smooth transition.
- Clean Up: Once you’re happy with the ombre effect, use your clean-up brush or cotton swab dipped in nail polish remover to carefully wipe away any excess polish from your skin.
- Apply Top Coat: After the polish is completely dry, apply a generous layer of top coat all over your nails. This seals the design, enhances the shine, and helps prevent chipping. For an extra smooth finish, you can apply a second layer of top coat once the first one is dry.
Tips for a Flawless Blend
- Work Quickly: Nail polish dries fast, especially when you’re layering it on a sponge. Have everything ready before you start applying to the sponge.
- Gentle Dabbing: Avoid pressing too hard with the sponge. Light, repetitive dabbing is key to blending the colors without creating harsh lines.
- Don’t Over-Saturate the Sponge: Too much polish can lead to a messy application and muddy colors. Start with small amounts.
- Build Color Gradually: It’s better to do multiple light applications of the ombre than one heavy one. This allows for better control and blending.
- Clean Between Nails: If you’re using the same sponge piece for multiple nails, you might want to lightly wipe it or use a fresh piece to avoid color contamination.
Stunning Pastel Ombre Nail Design Ideas
Now for the fun part – choosing your color palettes and design variations! Pastel ombre is incredibly versatile and can be adapted in so many beautiful ways.
1. Classic Two-Tone Pastel Ombre
This is the simplest and most elegant approach. Pick two complementary pastel shades.
- Peach to Creamy Vanilla: A warm and inviting combination.
- Baby Blue to Soft Pink: A classic, dreamy pairing often seen together.
- Mint Green to Lavender: A refreshing and whimsical blend.
- Pale Yellow to Light Coral: For a sun-kissed, cheerful vibe.
Follow the sponge technique described above, blending these two colors seamlessly from cuticle to tip, or side-to-side.
2. Three-Tone Pastel Dream
For a slightly more intricate look, incorporate a third pastel shade. Remember to work from lightest to darkest or vice-versa when applying to the sponge for the best blend. A common order might be:
- Light Pink -> Peach -> Pale Yellow
- Sky Blue -> Mint Green -> Soft Lavender
- Creamy White -> Pale Pink -> Light Peach
This creates a more layered and complex gradient that looks absolutely stunning.
3. French Ombre (Baby Boomer) with Pastels
The “Baby Boomer” is a modern take on the French manicure, blending a sheer pink or nude base with a white tip. You can adapt this using pastels!
- Start with a sheer pastel pink or nude base coat.
- On your sponge, apply a line of the sheer pastel base color and a line of a soft pastel white or a very light pastel shade (like pale pink or baby blue).
- Gently tap the sponge onto the tip of your nail, creating a subtle blend that fades into the base color.
- You can also do this effect vertically, blending a pastel color from the tip downwards.
This creates a super soft, diffused gradient that’s incredibly chic.
4. Side-Swept Pastel Ombre
Instead of blending vertically from cuticle to tip, try blending horizontally across the nail.
- Paint your nail with your base pastel color.
- On your sponge, dab two pastel colors horizontally, side-by-side.
- Tap the sponge horizontally across the nail to blend the colors from one side to the other.
This offers a unique and modern twist on the traditional ombre.
5. Pastel Ombre with Glitter
Add a touch of sparkle to your pastel ombre! This can be done in a few ways:
- Glitter Top Coat: Apply a clear top coat mixed with fine iridescent or pastel-colored glitter over your finished ombre.
- Glitter Gradient: Apply a fine glitter polish to the tips of your nails, allowing it to fade down into the pastel ombre for a beautiful accent.
- Full Glitter Ombre: Use a sponge to create a glitter ombre effect, blending different shades of fine glitter across the nail.
This is perfect for adding a festive or glamorous touch.
6. Subtle Pastel Ombre with Negative Space
For a minimalist yet trendy look, incorporate negative space. This means leaving a portion of your natural nail uncovered.
- Apply a thin layer of base coat.
- Using your sponge, apply the ombre effect only to the tips of your nails, leaving the cuticle area bare.
- Alternatively, you can do a French ombre style where only the very tip has ombre.
This design is airy, modern, and lets your natural nail health show through.
Color Palettes to Inspire Your Next Manicure
Choosing the right color combination is half the fun! Here are some winning pastel pairings:
| Theme/Vibe | Color Palette (Lightest to Darkest or Blend Order) | Occasion/Style |
|---|---|---|
| Spring Garden | Pale Pink, Mint Green, Soft Yellow | Everyday wear, picnics, brunch |
| Ocean Breeze | Sky Blue, Aqua, Lavender | Vacation, casual outings, fresh look |
| Sweet & Soft | Creamy Vanilla, Baby Pink, Peach | Bridal, elegant events, gentle style |
| Cotton Candy | Light Pink, Lavender, Baby Blue | Fun, playful, youthful |
| Sunrise Glow | Pale Yellow, Light Coral, Soft Peach | Summer vibes, cheerful days |
When selecting your colors, consider how they complement your skin tone. Generally, warmer pastels (like peach and yellow) suit warmer skin tones, while cooler pastels (like blues and lavenders) can enhance cooler skin tones. However, don’t be afraid to experiment – beauty is subjective!
Maintaining Your Pastel Ombre Nails
Once you’ve achieved your beautiful pastel ombre, keeping them looking fresh is easy with a few simple maintenance tips:
- Reapply Top Coat Regularly: A fresh layer of top coat every few days can help seal in the color and prevent chipping.
- Moisturize: Keep your hands and cuticles hydrated with cuticle oil or hand cream. Dryness can make manicures look older and more prone to damage.
- Be Gentle: Avoid using your nails as tools (e.g., to open cans or scrape things). Protect them during chores by wearing gloves.
- Touch-Ups: If you notice any minor chips or wear, you can often fix them with a small amount of polish and a careful touch-up with your clean-up brush.
Expert Tips for Longevity and Shine
For that salon-quality finish that lasts, here are a few extra secrets:
- Use a Gel-Like Top Coat: Many drugstore brands offer top coats that provide a gel-like finish and added durability without needing a UV lamp.
- Cap the Edges: When applying your base and top coats, sweep a little bit of polish along the free edge (the tip) of your nail. This “seals” the polish and prevents tip wear.
- Let Each Layer Dry: Patience is key! Ensure each coat of polish, including the base color and the ombre layers, is dry to the touch before proceeding to the next step or applying a top coat. This prevents smudging.
- Consider Nail Strengtheners: If you have weak or brittle nails, using a nail strengthener as a base coat can significantly improve your nail health over time. You can find great options from brands like OPI, Essie, and Sally Hansen. The Nail Foundation provides some excellent general nail care advice.
When to See a Professional
While DIY ombre nails are incredibly achievable, there are times when seeking professional help is beneficial:
- Complex Designs: If you’re aiming for very intricate patterns or multi-color blends that seem beyond your current skill level.
- Nail Damage: If your natural nails are brittle, peeling, or damaged, a professional can offer restorative treatments or advise on the best approach.
- Special Occasions: For major events like weddings or important photoshoots, a professional can guarantee flawless results.
- Gel or Acrylic Application: If you want to explore gel or acrylic ombre, which require specific products and curing lamps, a salon is the safest bet.
Common Questions About Pastel Ombre Nails
Q1: How many colors can I use for a pastel ombre?
A1: You can use two or three colors for a classic ombre. For more advanced techniques, you might blend four or more, but starting with two or three is easiest for beginners.
Q2: My ombre looks streaky. What can I do?
A2: Ensure you’re using a fine-pored sponge and dabbing gently. Apply polish to the sponge quickly and work fast. You might need to reapply polish to the sponge and do a few more gentle dabs to smooth the transition.
Q3: Can I do ombre nails without a sponge?
A3: Yes! You can use a makeup brush with fine bristles to gently blend the colors on the nail, or try a “drip” method where polish is applied and then blended with a thin brush. However, the sponge is usually the most beginner-friendly.
Q4: How long do pastel ombre nails last?
A4: With proper application and a good top coat, pastel ombre nails can last anywhere from 5 to 10 days, depending on your daily activities and how well you care for them. Regular top coat application can extend their life.
Q5: What are the best pastel colors to combine?
A5: Complementary colors often look great, like pink and purple, blue and green, or yellow and orange. Analogous colors (next to each other on the color wheel) also blend beautifully, such as pale blue and mint green. Don’t be afraid to mix warm and cool pastels for an unexpected look!
Q6: Do I need a special base coat for ombre?
A6: Not necessarily. A standard clear base coat is perfectly fine. If you want a more pronounced pastel ombre, applying a thin coat of the lightest pastel shade you’re using all over the nail before starting the ombre blend can help.
Q7: How do I clean up mistakes on my skin?
A7: Dip a small, fine-tipped brush (an old eyeliner or detail brush works well) into nail polish remover and carefully trace around your cuticle line to sweep away any excess polish. Cotton swabs also work but can sometimes be thicker and less precise.
Conclusion
And there you have it! Creating beautiful ombre nail designs with pastel shades is entirely within your reach, even as a beginner. With a few essential tools, a little patience, and our handy tips, you can achieve those soft, blended gradients that look like they came straight from a salon. Experiment with different color combinations, embrace the subtle elegance of pastels, and let your creativity shine through your fingertips. Your journey into the delightful world of pastel ombre nails has just begun, and we can’t wait to see the gorgeous looks you create!


