Ombre nail design ideas for beginners offer a stunning and achievable way to add beautiful color gradients to your nails. Learn simple techniques and creative concepts to master this trendy look with ease.
Ever scrolled through nail art inspiration and felt a little intimidated by those gorgeous, blended color gradients? Ombre nails might look fancy, but guess what? You can totally do them at home, even if you’re brand new to nail art! Forget complicated steps; we’re going to break down how to get that beautiful, seamless fade that looks like it came straight from a pro salon.
This guide is all about making ombre nails super simple and fun. We’ll cover the easiest methods, share some must-have tips, and show you how to create stunning looks without any stress. Get ready to transform your nails and impress yourself (and everyone else!) with your new skills.
Let’s dive into the world of ombre and discover how easy it is to create your own masterpiece!
Why Ombre Nails Are Perfect for Beginners
Ombre is a fantastic starting point for anyone new to nail art because it’s forgiving and incredibly versatile. The beauty of the ombre effect lies in its natural blend of colors. Unlike sharp lines or intricate designs, a gentle fade can hide minor imperfections, making it a great way to practice your steady hand and creativity. Plus, the endless color combinations mean you can tailor ombre nails to any outfit, mood, or occasion.
Think of it as painting with a soft brush. The colors melt into each other, creating depth and interest that’s both subtle and eye-catching. It’s a trend that’s always in style and can be adapted from bold and vibrant to soft and pastel.
Essential Tools for Your Ombre Nail Journey
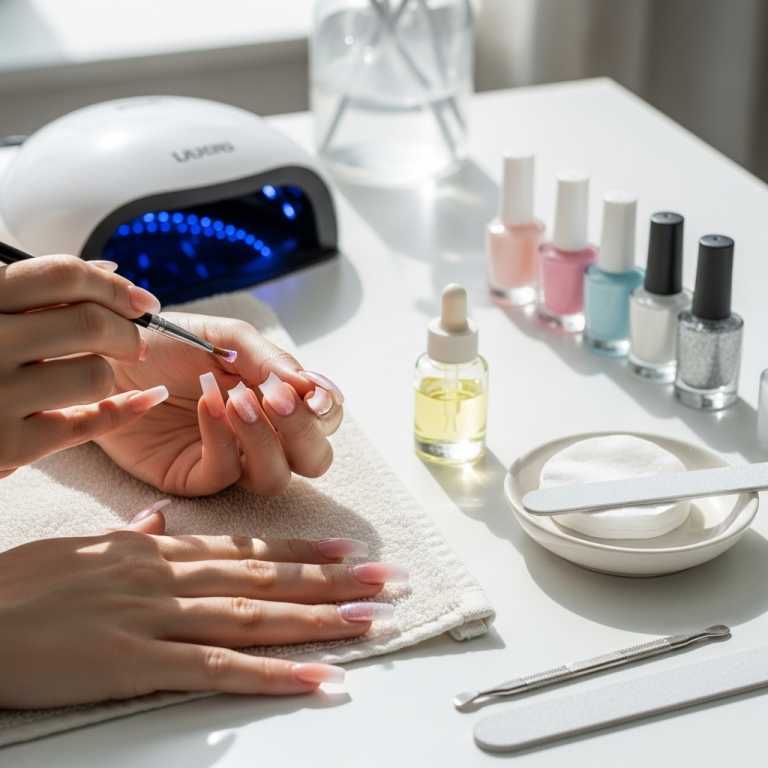
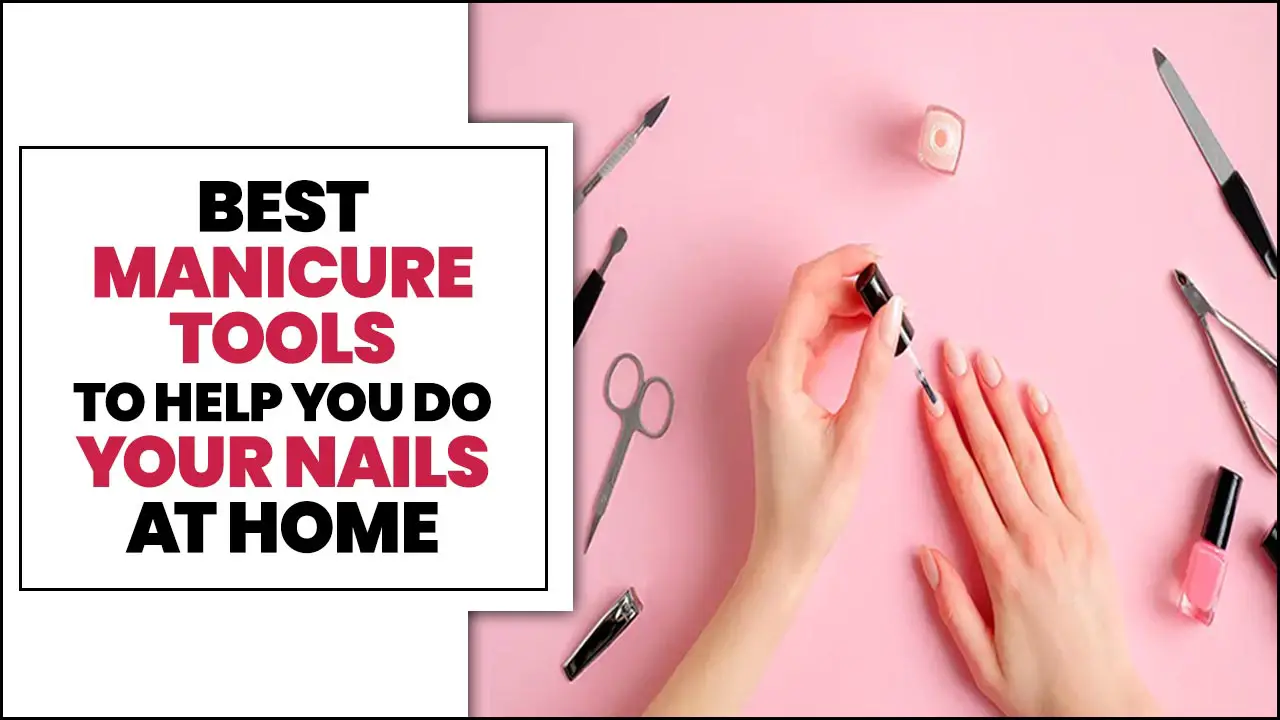
Before we start blending, let’s gather what you’ll need. Having the right tools makes the process smoother and the results much better. Don’t worry, most of these are probably already in your nail polish stash or are easy to find!
- Base Coat: Protects your natural nails and helps polish adhere better.
- Top Coat: Seals your design, adds shine, and extends the life of your manicure.
- Nail Polish Colors: You’ll need at least two colors that look good together. Lighter shades are often easier for beginners.
- Makeup Sponge or Cosmetic Wedge: This is your secret weapon for blending!
- Clean-up Brush or Orangewood Stick: For tidying up any polish that gets on your skin.
- Nail Polish Remover: To clean up mistakes with your brush.
- Optional: Small dish or piece of foil: To put your polish on before dabbing it onto the sponge.
The Easiest Ombre Nail Method: The Sponge Technique
This is by far the most popular and beginner-friendly way to achieve a beautiful ombre effect. It’s quick, effective, and requires minimal precision. Let’s break it down step-by-step:
Step 1: Prep Your Nails
Start with clean, dry nails. Push back your cuticles and gently buff your nails to create a smooth surface. Apply a good base coat and let it dry completely.
Step 2: Choose Your Colors
Select two or more nail polish colors. For your first attempt, try a lighter shade and a slightly darker shade of the same color family (e.g., baby pink and hot pink, or light blue and navy). This will make blending easier.
Step 3: Apply Polish to the Sponge
Place a strip of your first color onto the makeup sponge. Then, place a strip of your second color right next to it, slightly overlapping. If you’re using three colors, create three parallel strips.
Pro Tip: You can apply the polish directly to the sponge, or dab a small amount of each polish onto a piece of foil or a small dish and then pick it up with the sponge. This gives you more control over the amount of polish.
Step 4: Dab Onto Your Nail
Gently dab the sponge onto your nail. You want to impress the color onto the nail surface. You might need to dab a few times to get full coverage and a good blend. Don’t press too hard, or you’ll smudge the colors.
Tip for Blending: For a smoother transition, dab from the tip of the nail towards the cuticle, reapplying polish to the sponge as needed.
Step 5: Repeat for More Coverage (Optional)
If the color isn’t opaque enough or the blend isn’t as vibrant as you’d like, reapply polish to your sponge and repeat the dabbing process. You might need to let the first layer dry for a minute before the second.
Step 6: Clean Up Your Edges
This is where your clean-up brush or orangewood stick comes in handy. Dip it in nail polish remover and carefully wipe away any polish that got onto your skin around the nail. This step makes a huge difference and gives your manicure a polished, professional look.
Step 7: Apply Top Coat
Once you’re happy with the color blend and your edges are clean, apply a generous layer of top coat. This locks in the design, adds a beautiful glossy finish, and protects your ombre from chipping. Let it dry completely!
Creative Ombre Nail Design Ideas for Beginners
The sponge technique is just the beginning! Once you’ve mastered the basic blend, you can start experimenting with different color combinations and styles. Here are some stunning ombre nail design ideas perfect for beginners:
1. Classic Gradient
This is the most common and easiest ombre look. It involves blending two shades of the same color family smoothly from cuticle to tip, or vice versa. Think a soft sheer pink fading into a brighter rose, or a light lilac blending into a deep purple.
2. Reverse Ombre (Cuticle Ombre)
Instead of fading from tip to cuticle, the deepest color is at the cuticle and it fades towards the tip. This can look very chic and is achieved using the same sponge technique, just applied differently.
3. Horizontal Ombre
This is a fun twist where the colors blend across the nail horizontally, from one side to the other. It’s a bit trickier to get a clean blend, so consider using tape to section off colors or a more controlled sponge application. For beginners, try applying two colors side-by-side on the sponge with a minimal overlap and dabbing gently.
4. “Pop” Ombre
Use a neutral base (like nude, white, or sheer pink) and then add a vibrant pop of color at the tips (or cuticles) that fades into the neutral. This is a great way to incorporate a bold shade without overwhelming the nail.
5. Glitter Ombre
Start with your base color, then apply glitter polish strategically. You can dab glitter onto the tips of the nails and blend downwards with a sponge or brush, or create a full glitter gradient. This is super forgiving and adds instant glam!
6. Pastel Ombre
Soft, dreamy pastel shades are perfect for a gentle ombre effect. Try mint green fading into baby blue, or peach blending into soft yellow. These are usually sheerer polishes, making them great for practicing smooth blends.
7. Two-Tone Ombre
Don’t be afraid to mix complementary or contrasting colors! A coral fading into turquoise or a deep teal blending into a bright magenta can create a striking, modern look. Again, start with colors that have a similar base opacity for easier blending.
Helpful Resource: For more insights into color theory and how colors work together in design, the ColorCombos.com Color Theory Guide offers excellent, easy-to-understand information.
Ombre Nail Variations: Beyond the Sponge
While the sponge technique is king for beginners, there are other ways to achieve ombre effects. As you gain confidence, you might want to try these:
1. The Brush Blending Method
This method involves applying two polishes side-by-side on the nail, and then using a clean, slightly damp brush (or a specialized nail art brush) to blend the edges where the colors meet. It requires a steadier hand but offers more control.
- Apply one color to half the nail.
- Apply the second color to the other half, making sure they touch or slightly overlap.
- Quickly use your brush to gently feather the colors together at the division line.
- Clean up edges and apply top coat.
2. The Stamping Method
Special ombre stamping plates exist that create gradient patterns. You apply polish to the plate and then stamp it onto your nail. This is less “DIY blending” and more “pre-designed blend,” but still gives an ombre look.
3. The Gradient Airbrush Kit (Advanced)
This is a more professional and advanced technique that uses an airbrush to create seamless gradients. It’s not recommended for absolute beginners due to the equipment and skill required, but it produces incredibly smooth results.
Tips for Achieving Flawless Ombre Nails
Even with the easiest techniques, a few insider tips can elevate your ombre game significantly.
- Work Quickly: Nail polish dries fast! Have your sponge, polishes, clean-up tools, and top coat ready before you start.
- Don’t Over-Sponge: Too much dabbing can make the polish on the sponge gritty and the blend patchy. Aim for light, firm dabs.
- Layer Thinly: Multiple thin coats are better than one thick one. This allows for better blending and a smoother finish.
- Patience with Drying: Let each layer dry sufficiently before applying the next or the top coat. Rushing this can lead to smudging.
- Seal Your Edges: A good clean-up of the skin around your nails is crucial. It makes the difference between a DIY look and a salon-quality finish.
- Consider your polish type: Gels offer more working time for blending before curing, but require a UV/LED lamp. Regular polish is more accessible.
- Practice Makes Perfect: Your first attempt might not be salon-perfect, and that’s okay! The more you practice, the better you’ll become.
Troubleshooting Common Ombre Nail Issues
Even with the best intentions, sometimes things don’t go as planned. Here’s how to fix common problems:
| Problem | Solution |
|---|---|
| Patchy or uneven blend. | Apply another thin layer of polish to the sponge and dab gently, focusing on the patchy areas. A second or third light layer often smooths things out. Ensure the sponge isn’t too dry or too saturated. |
| Colors aren’t blending. | Make sure your colors have a similar consistency. If one is very thick and the other very thin, they won’t blend well. You can also try applying a very thin layer of the lighter color over the darker one to help smooth the transition. Using a clean, lightly dampened brush to feather the edge can also help. |
| Too much polish on the sponge, making it messy. | Use less polish on the sponge. You can also try dabbing off the excess onto a tissue or paper towel before applying to the nail. A sturdier sponge or slightly less absorbent material might also help. |
| Polish on the skin isn’t cleaning up well. | Ensure you’re using a fine brush and plenty of nail polish remover. Applying a liquid latex or a thick balm (like Vaseline) around your nails BEFORE you start painting can create a barrier that’s easy to peel off, keeping your skin clean. Check out guides on pro nail polish cleanup for valuable insights. |
| The design looks dull after drying. | A good, glossy top coat is key! It not only seals the design but also revives the color and shine. Ensure your top coat is fresh and not old or gummy. |
Frequently Asked Questions About Ombre Nails for Beginners
Q1: What colors are best for a beginner’s ombre nail design?
A1: Start with two colors from the same color family, like light pink and medium pink, or light blue and navy. These are easier to blend seamlessly. Pastels and nudes are also very forgiving.
Q2: Do I need a special sponge for ombre nails?
A2: No! Regular makeup sponges or cosmetic wedges work perfectly. You can cut them into smaller pieces for easier handling and to avoid transferring too much polish.
Q3: How long does it take to do ombre nails?
A3: With the sponge technique, you can typically do a full set in 20-40 minutes, depending on how quickly you work and how many coats you apply. Prep and cleanup time are also factors.
Q4: Can I do ombre nails with regular nail polish, or do I need gel?
A4: You can absolutely do beautiful ombre nails with regular nail polish! Gel polish offers a longer wear time and can be easier for blending as it stays wet until cured under a lamp, but regular polish is more accessible and works great for practice.
Q5: My ombre looks streaky. What am I doing wrong?
A5: Streaky results often come from a sponge that’s too dry, too much polish on the sponge, or not enough dabbing. Try dabbing with a bit more pressure, ensure the polish is distributed evenly on the sponge, and consider applying a second thin layer to even it out.
Q6: How do I get a smooth transition between colors?
A6: Overlap the colors slightly on the sponge. The key is light, firm dabbing to transfer the blended color. A good top coat will also help smooth out minor imperfections once dry.
Q7: Can I do ombre nails on short nails?
A7: Yes! Ombre looks great on all nail lengths, including short nails. Just scale down the stripes of color on your sponge accordingly. A vertical ombre (cuticle to tip) can also make short nails appear longer.
Conclusion: Your Ombre Nail Journey Starts Now!
See? Ombre nails are totally achievable for beginners! With a simple makeup sponge and a little practice, you can create these stunning, blended designs right in the comfort of your own home. Remember to prep your nails well, grab your favorite color combinations, and don’t be afraid to experiment.
The beauty of ombre lies in its versatility. Whether you’re going for soft pastels, bold jewel tones, or a dazzling glitter fade, there’s an ombre design waiting for you. Embrace the process, have fun with it, and celebrate your creativity. Each manicure is a chance to express yourself and refine your skills.
So go ahead, grab your polishes, snag a sponge, and get ready to master the ombre. Your nails are about to get a whole lot more interesting, and you’ll be amazed at what you can create!

