Ombre nail art is a beautiful way to blend colors seamlessly on your nails, creating a soft gradient effect. This guide provides essential stunning designs and beginner-friendly tips to achieve flawless ombre looks at home, transforming your manicure into a work of art with ease.
Dreaming of gorgeous, blended nail colors that look like they came straight from a professional salon? Ombre nail art can seem tricky, but it’s actually super achievable and incredibly fun to create! Many of us struggle to get that smooth color transition, ending up with harsh lines or uneven blends. But don’t worry! This guide breaks down everything you need to know to master this popular nail trend. You’ll learn how to create stunning ombre designs that will make your nails pop, whether you’re a total beginner or just looking to up your nail art game. Let’s dive in and explore some essential, beautiful ombre looks!
What is Ombre Nail Art?
Ombre nail art is a design technique where colors transition smoothly from one shade to another, creating a beautiful gradient effect. Think of a sunset, a soft cloud, or even denim fading – that’s the kind of blended beauty we’re talking about! This technique can be done vertically (from cuticle to tip) or horizontally (across the nail). The beauty of ombre is its versatility; it can be subtle and chic or bold and dramatic, depending on the colors you choose. It’s a fantastic way to add depth and dimension to your manicure, making your nails stand out.
Why Ombre is a Must-Try Nail Trend
Ombre has been a beloved trend for years, and for good reason! It offers a sophisticated yet playful way to express yourself through your nails. It’s incredibly versatile, working with virtually any color combination imaginable. Whether you prefer soft pastels, vibrant neons, or deep, moody tones, ombre can bring them to life with a stunning blend. It’s a forgiving technique, meaning even if your blend isn’t absolutely perfect, it often still looks artful. Plus, it’s a trend that keeps evolving, with new ways to incorporate it into your nail routine—from classic blends to glitter ombre and even French tip ombre!
Essential Tools for Ombre Nail Art
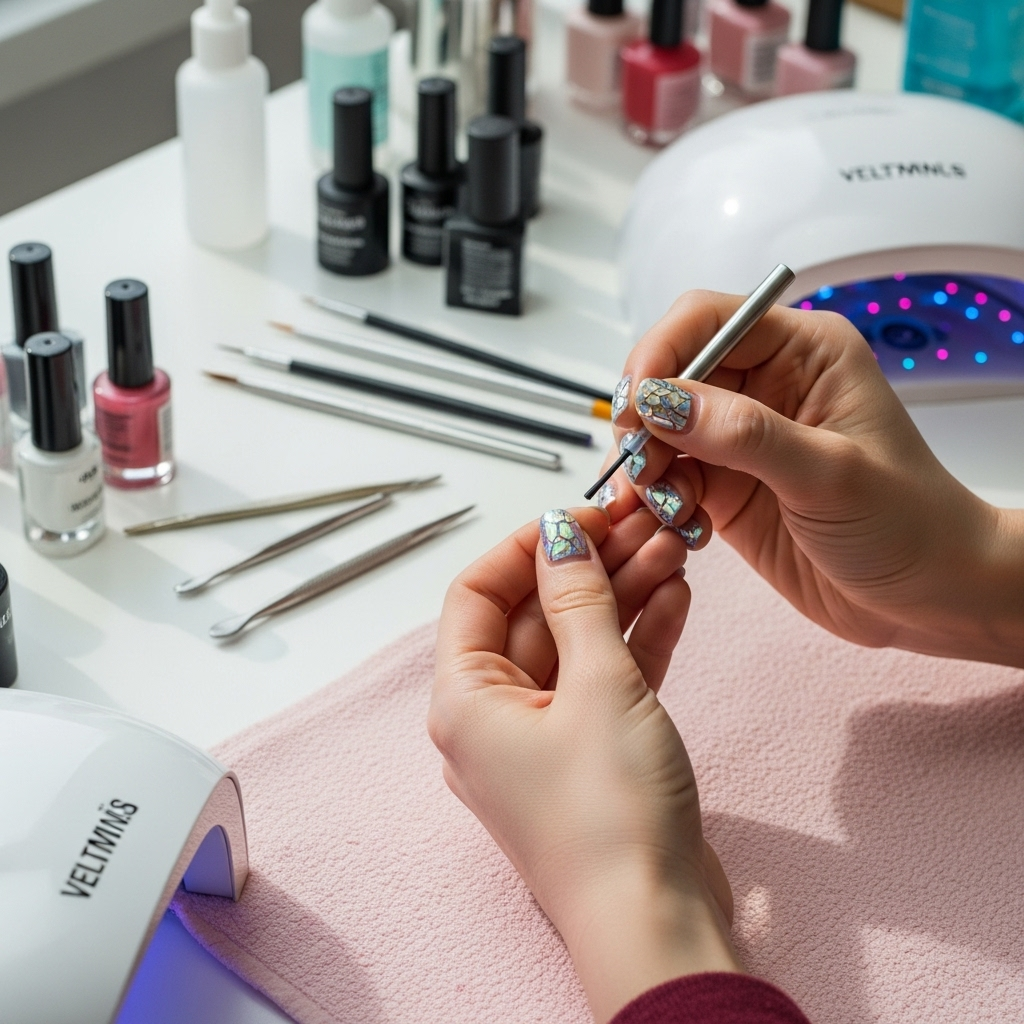
Getting that perfect smudge-free ombre effect is all about having the right tools. Don’t worry if you don’t have everything right away; you can build up your nail art kit over time! Here are the essentials to get you started:
- Nail Polish: You’ll need at least two colors that complement each other for your ombre blend.
- Sponge: A makeup sponge (like a beauty blender), a regular kitchen sponge cut into small pieces, or specialized nail art sponges work best. The pores of the sponge help create the gradient.
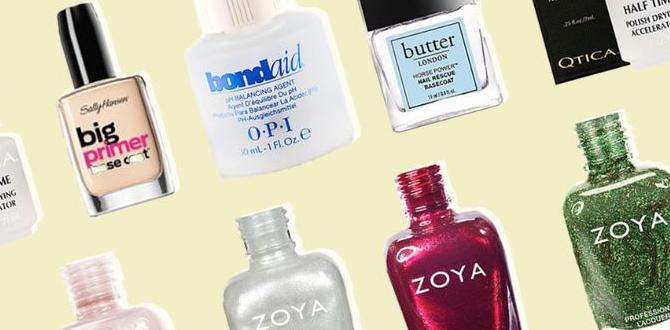
- Base Coat: Protects your natural nails and helps polish adhere.
- Top Coat: Seals your design and adds shine.
- Clean-up Tools: A small brush (like an old makeup brush or a fine-tipped art brush), cotton swabs, or an orangewood stick dipped in nail polish remover will be your best friend for cleaning up any stray polish.
- Nail Polish Remover: For cleaning up mistakes and your tools.
- Optional: Glitter Polish: For adding some sparkle to your ombre.
- Optional: Stencils/Tape: For creating sharper lines if desired, though not essential for a classic ombre.
How to Create Classic Ombre Nail Art: A Step-by-Step Guide
Ready to try your hand at ombre? It’s easier than you think! Follow these simple steps to achieve a beautiful color blend:
Step 1: Prep Your Nails
Start with clean, dry nails. Apply a base coat and let it dry completely. This is crucial for a long-lasting manicure and to protect your nails from staining.
Step 2: Apply Your First Color
Paint your nails with the lighter of your two chosen colors. Apply two thin coats for even coverage and let the second coat dry for a few minutes until it’s no longer wet to the touch. This is important; if it’s too wet, the colors will just mix into a muddy mess.
Step 3: Prepare Your Sponge
Cut a small piece from your sponge. It should be large enough to cover your nail plus a little extra. You can use a makeup sponge, a regular kitchen sponge, or a specialized nail art sponge. For best results, a denser sponge is often preferred.
Step 4: Apply Your Colors to the Sponge
This is where the magic happens! Apply stripes of your two chosen nail polish colors right next to each other on the sponge. For a gradient from cuticle to tip, place the lighter color near the cuticle end of the sponge and the darker color towards the tip. Don’t overload the sponge with polish!
Step 5: Start Blending
Gently press the sponge onto your nail, rolling it slightly from side to side to transfer the color. You might need to reapply polish to the sponge and repeat this dab-and-roll motion a few times to build up the color intensity and achieve a smooth blend. Don’t press too hard, or the colors might get too muddled.
Pro Tip: To help the colors blend seamlessly on the sponge, you can quickly tap the sponge on a scrap piece of paper or your nail bed once after applying the polish. This slightly melds the edges of the colors before hitting your nail.
Step 6: Clean Up Edges
This is where your clean-up tools come in. Use a small brush or cotton swab dipped in nail polish remover to carefully clean up any polish that got onto your skin around the nail. This step makes a huge difference in making your ombre look polished and professional!
Step 7: Repeat for Other Nails
Repeat steps 4-6 for each nail. You’ll likely need to reapply polish to your sponge for each nail.
Step 8: Apply Top Coat
Once all your nails are done and the polish is mostly dry, apply a generous layer of your favorite top coat. This not only seals the design and adds shine but also further helps to smooth out any faint lines from the sponge application, truly perfecting that gradient effect. Let it dry completely.
Essential Stunning Ombre Nail Art Designs
Ombre isn’t just one look; it’s a canvas for endless creativity! Here are some must-try designs that will help you master this technique and impress everyone.
1. Classic Nude-to-White Ombre
Why it’s stunning: This is the epitome of chic and elegant. The soft transition from a creamy nude to a crisp white is incredibly sophisticated and perfect for any occasion, from a wedding to a regular workday. It’s subtle enough to be minimalist but still eye-catching.
How to achieve it: Use a soft beige or blush nude polish as your base color and blend it upwards into a clean, milky white. The key here is super smooth blending so the transition is almost imperceptible.
2. Pastel Dream Ombre
Why it’s stunning: Imagine a soft sunset or a dreamy sky! Pastel ombre is perfect for spring and summer, offering a delicate and feminine vibe. Think baby pink blending into lilac, mint green into baby blue, or peach into soft yellow.
How to achieve it: Select two or three pastel shades that look beautiful together. Start with the lightest at the cuticle and blend into progressively darker shades as you move towards the tip. Using a three-color blend can add even more dimension.
3. Vibrant Sunset Ombre
Why it’s stunning: For those who love a bold statement, this is for you! Bright, fiery colors that mimic a tropical sunset are incredibly eye-catching and fun. It’s perfect for vacations, festivals, or when you just want to inject some serious fun into your look.
How to achieve it: Blend vibrant oranges, pinks, and yellows. You can even add a touch of red at the tip for extra drama. Ensure a good blend between each color stripe on the sponge.
4. Grayscale Gradient Ombre
Why it’s stunning: This is a modern, sophisticated take on ombre that feels very contemporary. It’s a great alternative to the classic nude-to-white, offering a bit more edge without being overwhelming. It pairs well with almost any outfit.
How to achieve it: Blend from a nearly black shade at the tip to a light grey, or even white, at the cuticle. Alternatively, you can go from a light grey at the cuticle to a darker grey/black at the tip. The sharp contrast can be very impactful.
5. Glitter Ombre (Glitter Fade)
Why it’s stunning: Who doesn’t love a little sparkle? Glitter ombre takes the classic blend and adds instant glamour. It’s perfect for parties, holidays, or any time you want to feel a bit dazzling. The glitter can also help disguise any minor imperfections in the color blend.
How to achieve it: Create a classic color ombre first using your chosen polishes. Once dry, apply a glitter polish strategically. For a typical glitter fade, start with a dense coat of glitter at the tip and gradually use fewer glitters as you move towards the cuticle, or vice versa. You can also get glitter polishes that are designed to be applied with a dabbing motion for this effect.
6. Black-to-Red Ombre
Why it’s stunning: This is bold, dramatic, and a little bit fierce! The deep contrast between black and red creates a powerful and sultry look that’s undeniably captivating. It’s a fantastic choice for evening wear or when you want to make a statement.
How to achieve it: Blend a deep red near the cuticle into a rich black at the tip. Alternatively, you can blend from black at the cuticle into red at the tip for a slightly different feel. Ensure your black and red polishes are opaque for the best effect.
7. French Ombre (Ombre French Tips)
Why it’s stunning: This is a modern twist on the classic French manicure. Instead of a solid white tip, the tip fades from opaque white into the nude or pink of your nail bed. It’s subtle, elegant, and very chic, offering an updated take on a timeless style.
How to achieve it: Start with a sheer nude or pink base coat. Then, use a sponge to create a gradient of white polish on the tips of your nails, blending it downwards into the base color of your nail. This requires precision with the sponge, perhaps using smaller sponge pieces.
Ombre Nail Art with Different Coloring Techniques
Beyond the classic sponge method, there are other ways to achieve an ombre effect, each offering a slightly different look and feel. Exploring these can help you find your perfect technique!
Using Different Sponges
The type of sponge you use can significantly impact the final look. A denser makeup sponge will give a smoother, more refined blend, great for subtle gradients. A coarser kitchen sponge might create a more textured, dappled effect, which can be interesting for certain designs. Experimenting with different textures can lead to unique results!
Vertical vs. Horizontal Ombre
While the sponge method often lends itself to vertical blending, you can achieve horizontal ombre as well. For horizontal ombre, you’ll typically apply the colors in stripes across the sponge and dab them onto the nail horizontally. This can create a beautiful, flowing effect, especially with multiple colors.
Ombre with Art Brushes
For those who prefer finer control or a more artistic approach, small art brushes can be used. Apply your base color, then use a slightly damp brush loaded with your second color to gently feather and blend the colors together. This method can be more time-consuming but offers incredible precision. Think of artists blending paints on a canvas!
Ombre with a Lifter or Stamper
Once you have your two colors applied next to each other on a palette or stamper plate, you can use a nail stamper’s sticky surface to pick up the blended colors, then stamp them onto your nail. This can create a very smooth, seamless blend, almost like a decal. You can also use a clean stamper to gently press and lift the color gradient from the nail to soften any harsh lines. According to Nails Magazine, understanding how polish components interact is key to successful application and longevity, which applies to even simple techniques like ombre.
Ombre Nail Art for Different Nail Lengths and Shapes
Ombre can look stunning on any nail, but the length and shape can influence how the gradient appears. As Lisa Drew from Nailerguy, I always say beauty is personal, and your nails are unique!
- Short Nails: A subtle, vertical ombre from the cuticle to the tip works wonderfully. A shorter blend area can make nails appear longer without looking overwhelming. Pastel or nude-to-white ombre is particularly elegant on short nails.
- Medium Nails: You have more space here to play with different color combinations and the length of your gradient. Both vertical and horizontal ombre can look fantastic. Consider a vibrant sunset or glitter ombre for a fun look.
- Long Nails: Long nails offer the most canvas! You can achieve dramatic gradients, incorporate multiple colors, or even try detailed ombre designs like the French ombre. Don’t be afraid to go bold here – long nails can handle it.
- Square/Squoval Nails: These shapes are great for showcasing distinct color blocks or crisp ombre lines. Horizontal ombre can look particularly striking.
- Round/Oval Nails: The natural curve of these shapes lends itself beautifully to soft, blended vertical ombre, mimicking the shape of the nail itself.
- Almond/Stiletto Nails: These elegant shapes are perfect for sharp, dramatic gradients, especially with darker colors or metallic finishes. Think a deep red to black blend!
Tips for Achieving Flawless Ombre Every Time
Even with the best intentions, ombre can sometimes be a bit fussy. Here are some pro tips to help you get that perfect blend:
- Quality Polish Matters: Opaque, good-quality polishes will make blending much easier than thin, streaky formulas.
- Don’t Overload the Sponge: Too much polish on the sponge will result in a messy application. Thin, even layers are key.
- Practice Makes Perfect: The first time might not be perfect, and that’s okay! Keep practicing. Try on a piece of paper or a nail tip first if you’re nervous.
- Layering is Your Friend: If your first blend isn’t opaque enough, let it dry a bit and then sponge another layer of color over the transition area.
- Use a White Base for Vibrant Colors: If you’re using very bright or light colors that need to pop, applying a white polish as your base coat (Step 2) before adding your ombre colors can make them appear more vivid.
- Clean Up Immediately: Don’t let the polish dry on your skin. Clean up the edges while the polish is still wet for the easiest removal.
- Seal it Well: A good top coat is essential for making the ombre look smooth and professional, and for protecting your hard work.
Ombre Nail Art FAQs
Got questions about ombre nail art? Here are answers to some common beginner queries!
| Question | Answer |
|---|---|
| What are the best color combinations for ombre nails? | You can mix and match almost any colors! Popular choices include nude-to-white, pastels (like pink-to-purple), vibrant sunsets (orange-to-pink-to-yellow), black-to-red, and blues from light to dark. Think about ombres that occur naturally, like skies or gradients in nature, for inspiration. |
| Can I do ombre nails with gel polish? | Yes! You can achieve ombre with gel polish. The technique is similar, but you’ll cure under a UV/LED lamp after each color application to the sponge and after your final top coat. Some find gel easier for blending as it stays workable until cured. |
| How do I get a smooth blend without streaks? | The key is a good sponge and gentle dabbing. Don’t press too hard. Applying thin layers of polish to the sponge and dabbing multiple times helps build the color and blend. A good top coat also helps smooth out any slight imperfections once dry. |
| How long does ombre nail art usually last? | With proper prep, good quality polish, and a strong top coat, ombre nails can last anywhere from 1-2 weeks, similar to a regular manicure. Using a base and top coat is crucial for longevity. |
| Is ombre nail art difficult for beginners? | It can take a little practice, but it’s definitely achievable for beginners! The sponge method is quite forgiving. Start with simple color pairs and focus on the dabbing technique. Watching a few video tutorials can also be very
|

