Ombre gel nails in neutral tones offer a sophisticated, versatile manicure perfect for daily wear, blending seamlessly with any outfit and occasion for a chic, polished look that’s surprisingly easy to achieve at home.
Hey nail lovers! Are you dreaming of nails that look polished and chic without being over-the-top? Do you love the idea of a gradient effect but find intricate designs a bit daunting? You’re not alone! Many of us want nails that are stylish enough for a special occasion but also subtle enough for our everyday hustle. That’s where the magic of ombre gel nails in neutral tones comes in. This trendy technique blends two colors for a beautiful, seamless fade, and when done with everyday neutrals, it’s the ultimate in understated elegance. It can be tricky to get that perfect blend at home, leading to streaks or uneven color. But don’t worry! I’m here at Nailerguy to break it all down for you, step-by-step. Get ready to transform your nails into a work of art that’s both effortless and incredibly chic.
First things first, let’s get you prepped and ready for your ombre gel nail adventure!
What You’ll Need for Your Neutral Ombre Gel Nails
Gathering your supplies is key to a smooth application. Think of it like gathering ingredients before baking a cake – you want everything at your fingertips so you can focus on the fun part!
Gel Nail Polish:
Two (or more) complementary neutral gel polish shades. Think creamy beiges, soft greys, milky whites, muted pinks, and earthy browns.
A clear gel top coat and base coat.
Tools:
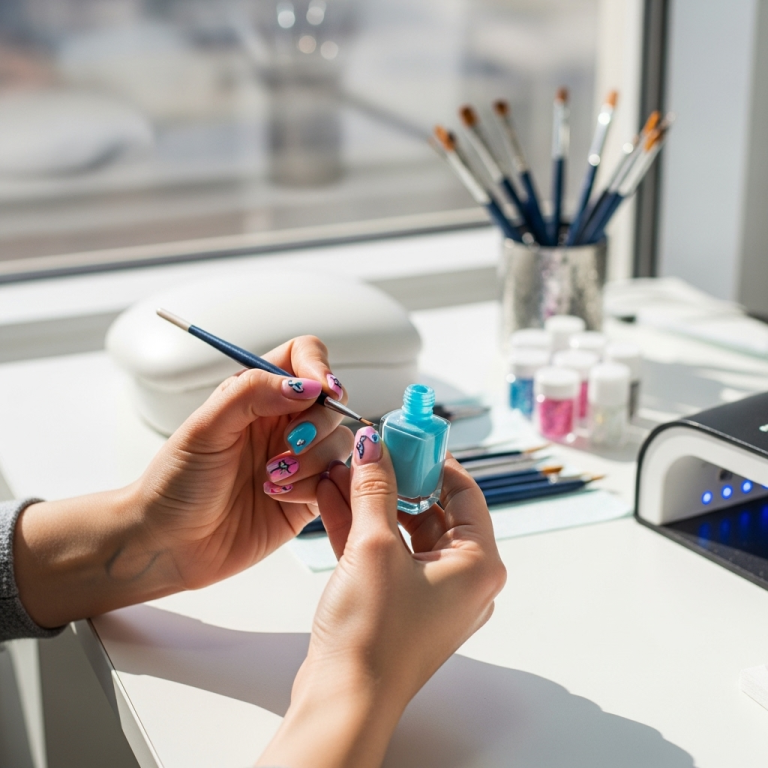
UV/LED Gel Lamp: Essential for curing your gel polish.
Small makeup sponge or a specialized ombre sponge.
Nail prep essentials: cuticle pusher, nail file, buffing block, alcohol wipes, lint-free cloths.
A palette or piece of foil to mix polish colors.
Optional: Gel brush for cleanup, thin striping brush for minor corrections.
Cuticle oil for post-manicure pampering.
When choosing your neutral shades, consider your skin tone. Lighter, cool-toned skin might look beautiful with soft greys and pale pinks, while warmer skin tones can shine with creamy beiges and warm browns. Don’t be afraid to experiment!
The Step-by-Step Guide to Effortless Neutral Ombre Gel Nails
Ready to dive in? Follow these simple steps, and you’ll have gorgeous ombre gel nails in no time.
Step 1: Nail Preparation is Key
Proper prep ensures your gel polish adheres well and lasts longer. It’s the foundation for a flawless manicure!
1. Cleanse and Shape: Start by removing any old polish. Push back your cuticles gently with a cuticle pusher. Then, file your nails to your desired shape.
2. Buff: Lightly buff the surface of your nails with a buffing block. This creates a smooth canvas for the gel.
3. Cleanse Again: Wipe each nail thoroughly with an alcohol wipe to remove dust and oils. Make sure they are completely dry.
Step 2: Apply the Base Coat and First Color
This is where your ombre journey truly begins!
1. Base Coat Apply a thin, even layer of your gel base coat and cure it under your UV/LED lamp according to the manufacturer’s instructions (usually 30-60 seconds).
2. First Color Layer Apply your lighter neutral shade as the “base” color for your ombre. Apply a thin coat and cure. You’ll likely need a second coat for full opacity. Whichever shade you choose as your first color, apply it to the entire nail. Cure again.
Step 3: Creating the Ombre Effect
This is the fun, transformative part!
1. Sponge Prep Get your makeup sponge ready. If it’s a new sponge, you might want to lightly pat it a few times on a clean surface to remove any loose bits. Cut a small piece of the sponge if it’s too large for your nails.
2. Polish Application to Sponge Apply stripes of your two chosen neutral gel polishes side-by-side onto your palette or foil. Don’t overload the palette, just enough for one nail at a time.
3. Dabbing Technique Gently press the sponge onto the polish stripes, picking up both colors.
4. Apply to Nail Lightly and repeatedly dab the sponge onto your nail, starting from the cuticle area and moving upwards towards the tip. You want to build the color gradient. Don’t press too hard, or you’ll get harsh lines. A gentle dabbing motion is key.
5. Repeat for Intensity Dab again with more polish on the sponge if needed to achieve your desired color intensity and blend. You might need to reapply polish to your sponge between dabs.
6. Cure Once you’re happy with the gradient, cure your nail under the UV/LED lamp immediately. This stops the polish from moving.
Step 4: Refining and Finishing
A little cleanup goes a long way for a professional finish.
1. Cleanup Use a lint-free cloth dipped in a bit of isopropyl alcohol to gently wipe away any gel polish that may have gotten on your skin or cuticles. A fine-tipped brush dipped in alcohol can be very precise for this. This step is crucial for a clean look!
2. Repeat for Other Hand Repeat steps 2 and 3 for all your nails.
3. Second Ombre Layer (Optional) If you want a more vibrant or blended ombre, you can repeat Step 3. Apply another thin layer of polish to the sponge and dab it very lightly over the existing gradient. Cure again.
4. Top Coat Apply a generous, even layer of your gel top coat. Make sure to cap the free edge of your nails to prevent lifting. Cure under the lamp.
5. Final Cleanse Wipe off the sticky inhibition layer on your cured top coat with an alcohol wipe or a specialized gel cleanser.
6. Cuticle Oil Finish by applying cuticle oil and massaging it in. This rehydrates your skin after the process.
Choosing Your Perfect Neutral Palette
The beauty of neutral ombre is its versatility. Here are some classic and foolproof combinations that work for almost everyone and every outfit.
Table 1: Popular Neutral Ombre Gel Nail Combinations
| Lightest Shade (Cuticle) | Mid-Tone Shade | Darkest Shade (Tip) | Overall Vibe |
| :———————– | :————- | :—————— | :—————— |
| Milky White | Soft Beige | Light Tan | Subtle & Chic |
| Pale Pink | Nude | Muted Rose | Soft & Feminine |
| Light Grey | Medium Grey | Charcoal | Modern & Edgy |
| Creamy Beige | Taupe | Light Brown | Warm & Earthy |
| Off-White | Light Peach | Rosy Beige | Delicate & Airy |
These combinations are just a starting point. Feel free to mix and match! For instance, a sheer nude base with a soft white tip can create a beautiful, understated French ombre.
Tips for Achieving the Smoothest Blend
The secret to beautiful ombre is a seamless transition between colors. Here are a few tricks from the pros:
Light Coats: Apply thin layers of gel polish. Thick layers are harder to blend and can lead to a messy edge.
Dabbing, Not Swiping: When using the sponge, focus on a gentle dabbing motion. This builds the color and blend without dragging the polish.
Work Quickly: Gel polish cures under the lamp, so work efficiently once you’ve applied polish to the sponge.
Sponge Density: A denser sponge will create a finer gradient, while a more porous sponge might leave a slightly more textured look. Experiment to see what you prefer!
Don’t Over-Saturate the Sponge: Too much polish on the sponge can lead to globs and unevenness. A little goes a long way.
Practice Makes Perfect: Your first attempt might not be salon-perfect, and that’s okay! The more you practice, the better you’ll get at controlling the sponge and achieving that flawless blend.
Maintaining Your Neutral Ombre Gel Nails
To keep your beautiful ombre gel nails looking fresh, a little care goes a long way.
Avoid Harsh Chemicals: Wear gloves when doing chores like washing dishes or using cleaning products. Harsh chemicals can damage the gel and dull the finish.
Moisturize: Apply cuticle oil regularly, especially once your manicure is finished. This keeps your cuticles and the surrounding skin healthy, which makes your nails look even better. Plus, hydrated nails are less prone to chipping.
Be Gentle: Avoid using your nails as tools, like to scrape or pry things open. This can cause lifting or breakage.
Touch-Ups: If you notice a tiny chip or wear on the tips, you can try to carefully file it down and reapply a thin layer of top coat to seal it.
Why Choose Neutral Tones for Ombre?
Neutral colors are the unsung heroes of the nail world. They offer a sophisticated elegance that’s incredibly hard to beat. When you combine these versatile shades with the modern allure of the ombre technique, you get a manicure that’s perfect for any situation.
Versatility: Neutral ombre nails go with absolutely everything. Whether you’re in a power suit for a board meeting, a casual outfit for a weekend brunch, or a little black dress for a night out, your nails will always look appropriate and stylish.
Subtle Chic: They provide a pop of interest and polish without being distracting. This makes them ideal for professional environments or for those who prefer a minimalist aesthetic.
Long-Lasting Appeal: Because neutral tones are timeless, your ombre manicure won’t feel “dated” after a week or two. They have a sophisticated quality that transcends trends.
Fuss-Free: They tend to be very forgiving. Minor imperfections are less noticeable on neutral shades compared to bold colors.
Elongating Effect: A well-done ombre can create an illusion of longer, slimmer nails, especially when the colors are chosen thoughtfully.
Ombre Gel Nails vs. Traditional Polish
You might be wondering why gel is the way to go for this technique. Gel polish offers distinct advantages that make the ombre process (and wear) superior.
Table 2: Gel Polish vs. Traditional Polish for Ombre
| Feature | Gel Polish | Traditional Polish |
| :—————- | :———————————————————————– | :—————————————————————————— |
| Application | Cured under UV/LED lamp; provides firmer, thicker layers for easier blending. | Air-dries; can be more prone to streaks and smudging during the blending process. |
| Durability | Highly resistant to chipping and peeling; lasts 2-3 weeks. | Prone to chipping within a few days; requires more frequent touch-ups. |
| Finish | High-gloss, smooth, and durable shine that lasts. | Can dull over time; shine may not be as consistently robust. |
| Removal | Requires soaking in acetone or special removers. | Can be wiped off with regular nail polish remover. |
| Build-Up | Allows for multiple thin layers for smooth gradient. | Thicker layers needed for depth can become bulky and difficult to manage. |
| Cost (DIY Home) | Higher initial investment for lamp and gels, but cost-effective long-term.| Lower initial investment, but frequent repurchase of polish needed. |
For a flawless, long-lasting ombre effect, gel polish is the clear winner. The ability to cure each layer firmly sets the blend, preventing the colors from smudging and giving you that perfect, smooth gradient.
Frequently Asked Questions (FAQ)
Q1: Can I do ombre gel nails with just two colors?
A1: Yes! The most common ombre uses two complementary colors. You can also use three or more for a more complex gradient, but two is a great starting point for beginners.
Q2: Is it difficult to do ombre gel nails at home for the first time?
A2: It might take a little practice to get the sponging technique down perfectly, but it’s definitely achievable for beginners! The key is to use thin layers and a gentle dabbing motion.
Q3: How long do ombre gel nails last?
A3: When applied correctly with proper prep and top coat, ombre gel nails can last for 2-3 weeks without chipping or losing their shine.
Q4: My ombre looks streaky. What did I do wrong?
A4: Streaks usually happen from pressing the sponge too hard or not having enough polish on the sponge. Try using lighter dabbing motions and ensure you have a good amount of both colors on the sponge before applying to the nail. Reapplying polish to the sponge for a second light pass can also help.
Q5: Can I use regular nail polish instead of gel for ombre?
A5: You can, but it’s much harder to achieve a smooth, blended look, and it won’t last as long. Gel polish cures hard, setting the blend in place. Regular polish remains wet and can easily become smudged or streaky during application.
Q6: What kind of sponge is best?
A6: A standard makeup sponge works well, or you can buy specialized ombre sponges that are designed for this purpose. If using a regular makeup sponge, choose one with a relatively fine pore structure for a smoother blend.
Q7: How do I clean up gel polish mistakes on my skin?
A7: The best way is to use a small brush (like a liner brush or a fine detail brush) dipped in isopropyl alcohol. Gently swipe away any excess gel polish from your skin before curing. Once cured, it’s harder to remove without damaging the surrounding gel.
Exploring Advanced Ombre Techniques (For Later!)
Once you’ve mastered the basic neutral ombre, you might want to try some variations. These are fantastic for when you want a little extra flair!
Reverse Ombre: Instead of the color fading from the tip to the cuticle, it fades from the cuticle to the tip. This is achieved by applying the lighter color at the tip and the darker color at the cuticle.
Vertical Ombre: The gradient runs from side to side on the nail, creating a different kind of visual interest.
Glitter Ombre: Blend neutral tones with a shimmering glitter polish for a touch of sparkle. Apply the glitter towards the tip and blend it downwards.
* French Ombre (Baby Boomer): This is a variation of the neutral ombre where you blend a milky white or sheer pink with a natural-looking nude or beige. It gives a very soft, almost “under-the-surface” glow.
Don’t feel pressured to try these right away! Master the basic neutral ombre first, and you’ll have a solid foundation for all these exciting variations. The world of nail art is vast, and the journey is half the fun!
Embrace Your Effortless Elegance
And there you have it! Your complete guide to creating stunning, effortless neutral ombre gel nails at home. We’ve covered everything from gathering your supplies to the step-by-step application, plus tips and tricks to ensure a flawless finish. The beauty of neutral tones is undeniable – they offer a sophisticated touch that elevates any look without demanding attention. Whether you’re heading to work, a casual coffee date, or a special event, your nails will exude understated chic.
Remember, nail art is about self-expression and having fun. Your first attempt might not be perfect, but each time you try, you’ll gain more confidence and skill. Embrace the process, experiment with your favorite neutral shades, and of course, enjoy the gorgeous results. You’ve got this! Happy polishing!


