Office nail designs need to look polished and professional without sacrificing style. Simple, elegant manicures in neutral or muted tones with clean lines and subtle accents are your best bet. Think classic French tips, solid muted colors, or minimalist details that impress without distracting.
<p>Navigating the world of professional nail styles can feel like a balancing act. You want your manicure to reflect your personality and style, but you also need it to be appropriate for the workplace. It’s a common frustration: finding that sweet spot where chic meets corporate. Many beginners worry about making the wrong choice, leading to nails that are either too bold for the office or too bland to feel like you. But don’t fret! We’re here to guide you through creating gorgeous, professional nail designs that will have you feeling confident and put-together, no matter your office dress code. Get ready to discover simple, elegant looks that are easy to achieve and perfect for any professional setting.</p>
<h2>Understanding Office-Appropriate Nail Etiquette</h2>
<p>When we talk about “office-appropriate” nail designs, it’s all about conveying professionalism, attention to detail, and good grooming. The goal is to have nails that complement your overall professional appearance, rather than distract from it. This means leaning towards styles that are clean, subtle, and well-maintained. Think of it as part of your power ensemble – your nails should say, “I’m detail-oriented and confident.”</p>
<p>Key factors that generally define an office-appropriate nail design include:</p>
<ul>
<li><strong>Color Selection:</strong> Neutrals, muted tones, and soft pastels are usually safe bets. Think nudes, beiges, pale pinks, soft grays, and even muted blues or greens. Deep reds and classic blues can also work if applied flawlessly and kept short.</li>
<li><strong>Length and Shape:</strong> Shorter to medium lengths are typically preferred. Almond, oval, and squoval shapes are generally considered more professional than very sharp stiletto or long square shapes.</li>
<li><strong>Design Complexity:</strong> Simple is often best. Intricate nail art, excessive glitter, or loud patterns might be distracting. Focus on clean lines, subtle accents, or solid colors.</li>
<li><strong>Finish and Maintenance:</strong> A smooth, chip-free finish is crucial. Regular touch-ups and cuticle care are as important as the design itself.</li>
</ul>
<h2>The Foundation: Perfecting Your Base</h2>
<p>Before diving into any design, whether simple or slightly more intricate, a strong foundation is essential. This means having healthy, well-maintained nails. For professional settings, this is non-negotiable. Chipped polish, rough cuticles, or ragged nail edges can detract from even the most sophisticated outfit.</p>
<h3>Essential Nail Prep Steps</h3>
<p>Let’s get your nails ready for their professional makeover:</p>
<ol>
<li><strong>Cleanse:</strong> Remove all old nail polish with an acetone-free remover. Wash your hands thoroughly with soap and water.</li>
<li><strong>Shape:</strong> File your nails to your desired shape. For office-appropriate styles, consider a gentle curve or a soft square shape. File in one direction to prevent splitting.</li>
<li><strong>Cuticle Care:</strong> Gently push back your cuticles using an orange stick or a cuticle pusher. Avoid cutting them, as this can lead to infection. A tiny bit of cuticle oil can help soften them beforehand.</li>
<li><strong>Buff:</strong> Lightly buff the surface of your nails to smooth out any ridges and create an even canvas for polish. Don’t over-buff, as this can weaken your nails.</li>
<li><strong>Apply Base Coat:</strong> This is crucial! A good base coat protects your natural nail from staining and helps your polish adhere better, making your manicure last longer. For a natural look, a clear or milky base coat is perfect and can be found at most beauty retailers like Ulta or Sephora.
</li>
</ol>
<h3>Choosing the Right Polish Finish</h3>
<p>For the office, most polish finishes work as long as the color is appropriate. Matte finishes offer a sophisticated, subtle look, while glossy finishes provide a classic sheen. Avoid polishes with large glitter particles or extreme shimmer, as these can be too flashy for conservative environments.</p>
<h2>Proven Office Nail Designs: Elegant & Effortless Styles</h2>
<p>Now for the fun part! These designs are tried-and-true for a reason. They are chic, professional, and surprisingly easy to achieve, even for beginners. We’ll focus on techniques that are subtle yet stylish.</p>
<h3>1. The Classic Manicure (Neutral Tones)</h3>
<p>This is the ultimate foolproof professional look. A solid, well-applied color is always a winner. The key is selecting the right shade and ensuring a flawless application.</p>
<h4>Best Colors:</h4>
<ul>
<li>Soft nudes and beiges</li>
<li>Pale pinks and blush tones</li>
<li>Light grays</li>
<li>Milky whites</li>
<li>Muted blues or greens (in creative industries)</li>
</ul>
<h4>Application Tips:</h4>
<ol>
<li>Apply two thin coats of your chosen polish over the base coat.</li>
<li>Let each coat dry completely.</li>
<li>Finish with a clear top coat for shine and durability. A good quality top coat, often found in professional nail supply stores or online, can protect your manicure from chipping for days.</li>
</ol>
<h3>2. The Modern French Manicure</h3>
<p>Forget the harsh white tips of yesteryear! The modern French manicure is soft, subtle, and incredibly chic for the office. It’s about a sheer, milky base with a barely-there white or soft beige tip.</p>
<h4>How to Achieve It:</h4>
<ul>
<li><strong>Base:</strong> Apply one or two coats of a sheer nude, pink, or milky polish. Ensure it’s opaque enough to hide any nail discoloration but still looks natural.</li>
<li><strong>Tips:</strong>
<ol>
<li>For a clean line, you can use French tip guide stickers, available at most drugstores. Carefully place the sticker along the natural curve of your nail tip.</li>
<li>Paint a very thin line of a soft white or nude polish over the tip.</li>
<li>Carefully remove the sticker before the polish dries completely.</li>
<li>Alternatively, for a freehand approach, start with a clean, thin line and build it up for precision. A fine-tipped brush can help with this.</li>
</ol>
</li>
<li><strong>Top Coat:</strong> Apply a clear or slightly glossy top coat.</li>
</ul>
<h3>3. The Gradient or Ombré Nail</h3>
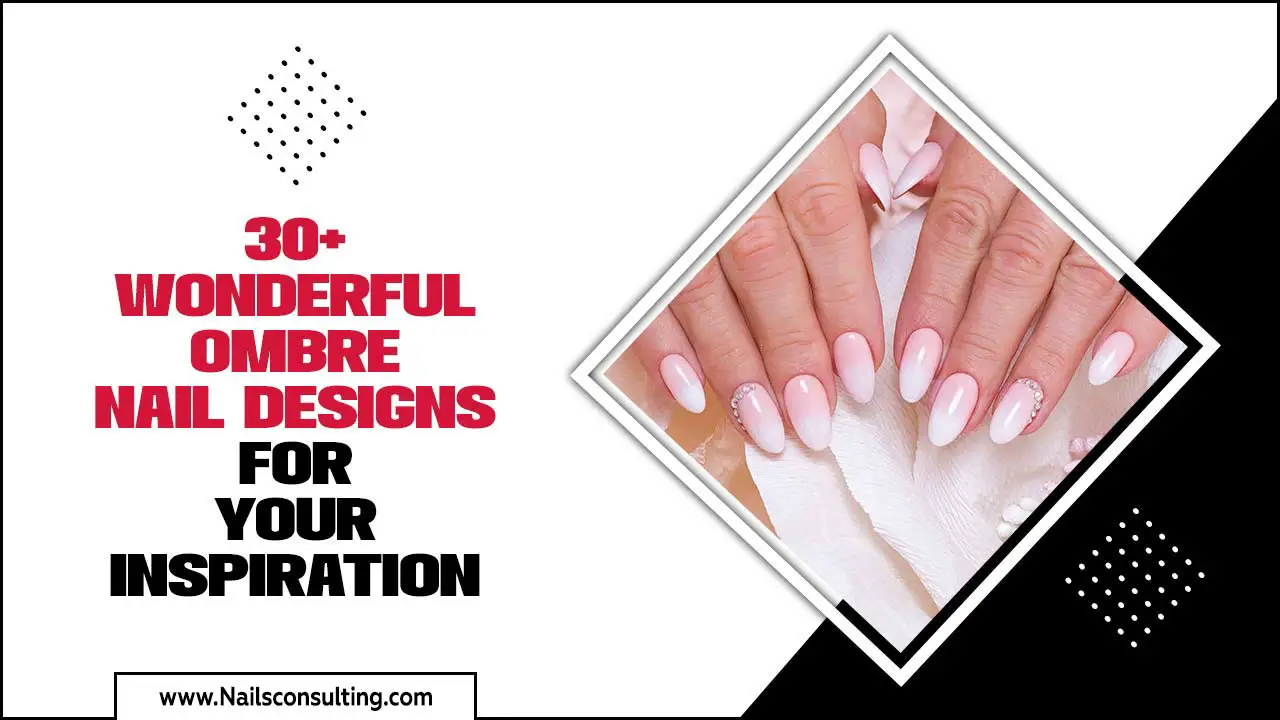
<p>This design offers a touch of artistic flair without being over the top. A subtle ombré effect, where colors blend seamlessly, can add visual interest to your nails.</p>
<h4>Easy Ombré Technique:</h4>
<ul>
<li>Start with a light color base coat (like a pale pink or nude).</li>
<li>On a makeup sponge, dab two complementary, muted colors next to each other (e.g., a soft beige and a light grey).</li>
<li>Gently dab the sponge onto your nail to transfer the color blend. You may need to dab a few times to build color intensity.</li>
<li>Clean up any excess color around your cuticle with a small brush dipped in nail polish remover.</li>
<li>Apply a top coat to seal the design.</li>
</ul>
<h3>4. Minimalist Accent Nail</h3>
<p>For a bit of personality, dedicate one nail on each hand as an accent. This could be your ring finger or pinky. Keep the design on this nail simple and elegant.</p>
<h4>Accent Nail Ideas:</h4>
<ul>
<li><strong>Single Thin Line:</strong> Use a fine-tipped brush or striping tape to create a single, delicate line in metallic gold, silver, or a complementary color across the center or base of the accent nail.</li>
<li><strong>Tiny Dot:</strong> Place a single, small dot near the cuticle or at the edge of the nail with a dotting tool.</li>
<li><strong>Geometric Shapes:</strong> A simple geometric shape like a small triangle or square in a subtle metallic or contrasting matte shade.</li>
<li><strong>Textured Polish:</strong> Use a subtle textured polish (like a fine sand finish) on just the accent nail for a touch of interest.</li>
</ul>
<p>The key here is restraint. The accent should be a subtle statement, not a loud one. Resources like Essie and OPI offer extensive collections with shade cards that can inspire color combinations suitable for professional settings.</p>
<h3>5. The Semi-Sheer “Jelly” or “Milk Bath” Manicure</h3>
<p>This trend is beautifully subtle and polished. It involves using sheer, milky, or translucent polishes that give your nails a soft, healthy glow. It’s elegant and requires minimal effort.</p>
<h4>Achieving the Look:</h4>
<ul>
<li>Apply one to three coats of a sheer milky white, soft pink, or nude polish. The number of coats determines the opacity.</li>
<li>For a “milk bath” effect, you can add a few tiny, dried flower petals carefully placed on the nail with clear polish and then sealed with a top coat. This is more advanced but looks stunning for certain creative roles.</li>
<li>Ensure an even application for a smooth, luminous finish.</li>
</ul>
<h3>6. The Matte Finish</h3>
<p>A matte top coat can transform almost any color into a sophisticated, office-appropriate shade. It offers a velvety, understated finish that feels modern and chic.</p>
<h4>How to Use a Matte Top Coat:</h4>
<ul>
<li>Apply your chosen color polish as usual.</li>
<li>Once completely dry, apply a matte top coat. Be sure to get one specifically designed to create a matte finish, as regular clear coats will remain shiny.</li>
</ul>
<p>Matte finishes are particularly effective with deeper, muted tones like burgundy, deep forest green, or navy blue, giving them a sophisticated edge that is office-friendly.</p>
<h2>Tools & Products for Professional Nails</h2>
<p>Having the right tools makes all the difference, especially when aiming for a polished, professional look. You don’t need a lot, just the essentials.</p>
<table border=”1″>
<thead>
<tr>
<th>Tool/Product</th>
<th>Purpose</th>
<th>Beginner Tip</th>
</tr>
</thead>
<tbody>
<tr>
<td>Glass Nail File</td>
<td>To shape nails smoothly without causing splitting or peeling.</td>
<td>Use gentle, sweeping motions in one direction. These are more durable than emery boards.</td>
</tr>
<tr>
<td>Cuticle Pusher/Orange Stick</td>
<td>To gently push back the cuticle after softening.</td>
<td>Never cut your cuticles; pushing them back creates a cleaner look and makes nails appear longer.</td>
</tr>
<tr>
<td>Buffing Block</td>
<td>To smooth nail ridges and create a consistent surface for polish.</td>
<td>Use the finest grit side gently. Avoid over-buffing.</td>
</tr>
<tr>
<td>Base Coat</td>
<td>Protects natural nail, prevents staining, and helps polish adhere better.</td>
<td>It’s the unsung hero of a long-lasting manicure.</td>
</tr>
<tr>
<td>Quality Nail Polish (in professional shades)</td>
<td>The color and finish of your manicure.</td>
<td>Opt for well-known brands like OPI, Essie, or Sally Hansen for good formulas and color selection. Look for “3-free”, “5-free”, or “10-free” polishes for fewer potentially harmful chemicals, as recommended by sources like the American Academy of Dermatology.</td>
</tr>
<tr>
<td>Top Coat</td>
<td>Adds shine, protects polish from chipping, and speeds up drying time.</td>
<td>A gel-like top coat can add extra gloss and durability without needing a UV lamp.</td>
</tr>
<tr>
<td>Fine-Tipped Brush / Striping Tape</td>
<td>For creating clean

